How to Wrap Text Around Objects in Photoshop
Photoshop Text Effects
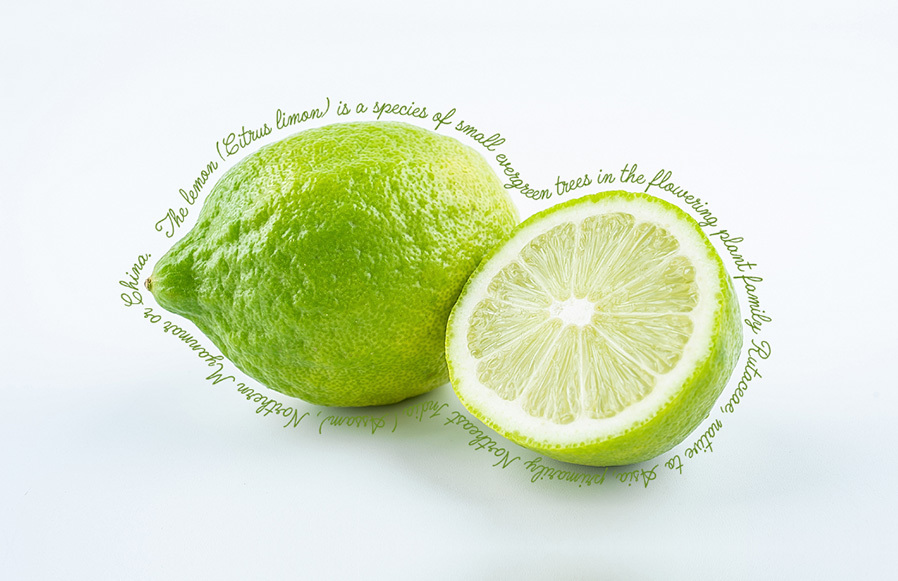
As you may guess, there are a few different ways to wrap text around objects in Photoshop; you can draw paths, make manual selections, etc. But with selection improvements in the latest Photoshop versions, things are becoming easier to make, and wrapping text around any kind of objects is now a 5 minutes task. Today, I will show you how easily you can wrap any kind of text around any kind of object in Photoshop using the Select Subject feature, converting that selection to a Path and using that path to type your text and all you need is a picture with a good contrast between your subject and the background.
Step 1
Open your image in Photoshop.

Step 2
Go to Select > Subject.

Step 3
With the selection active go to Select > Modify > Expand. Set the value to around 20 pixels and click OK.

Step 4
Now go to Select > Modify > Smooth. Set the Sample Radius to about 30 pixels and click OK.

Step 5
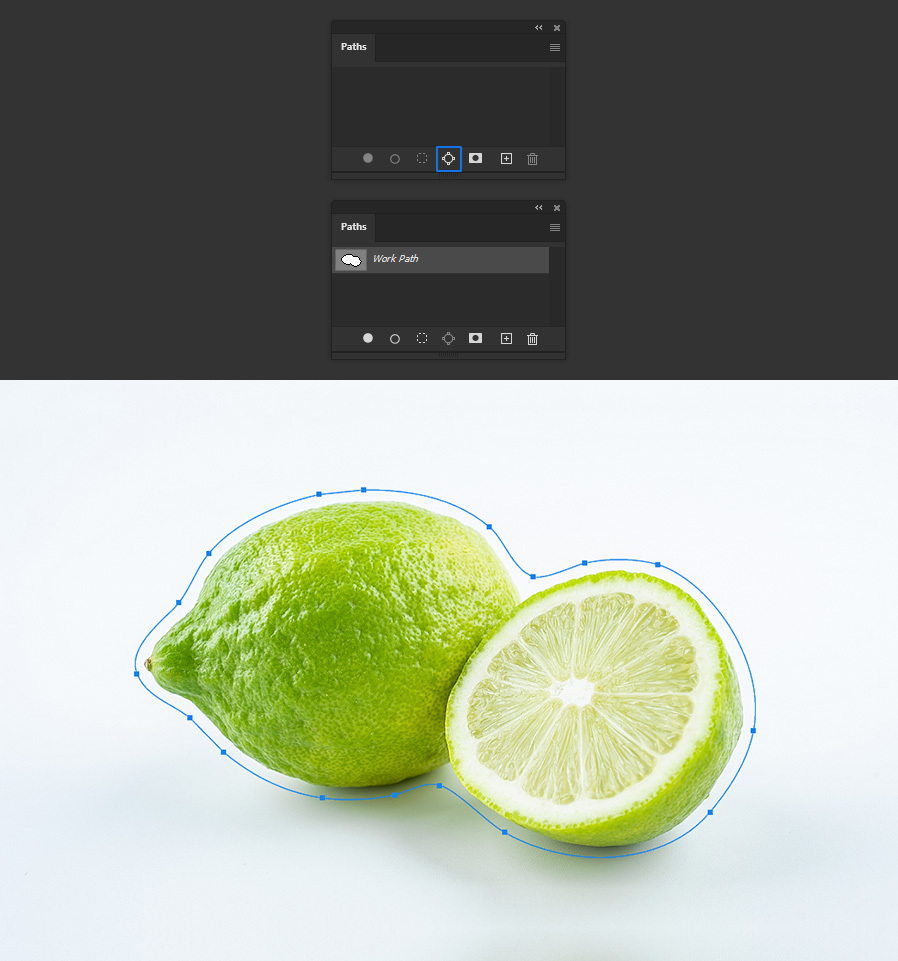
With the selection active, go to Window > Paths and click on the "Make work path from selection" icon.

Step 6
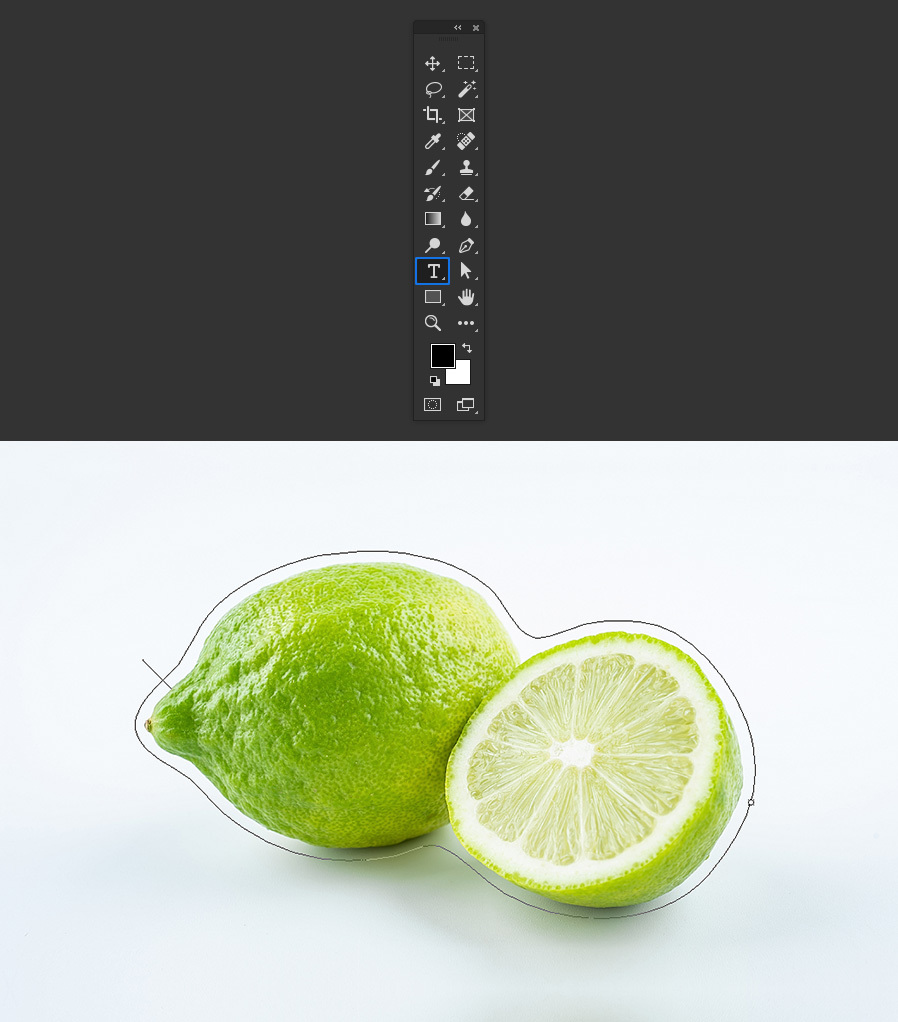
Select the Horizontal Type Tool (T) and click once over the recently created path.

Step 7
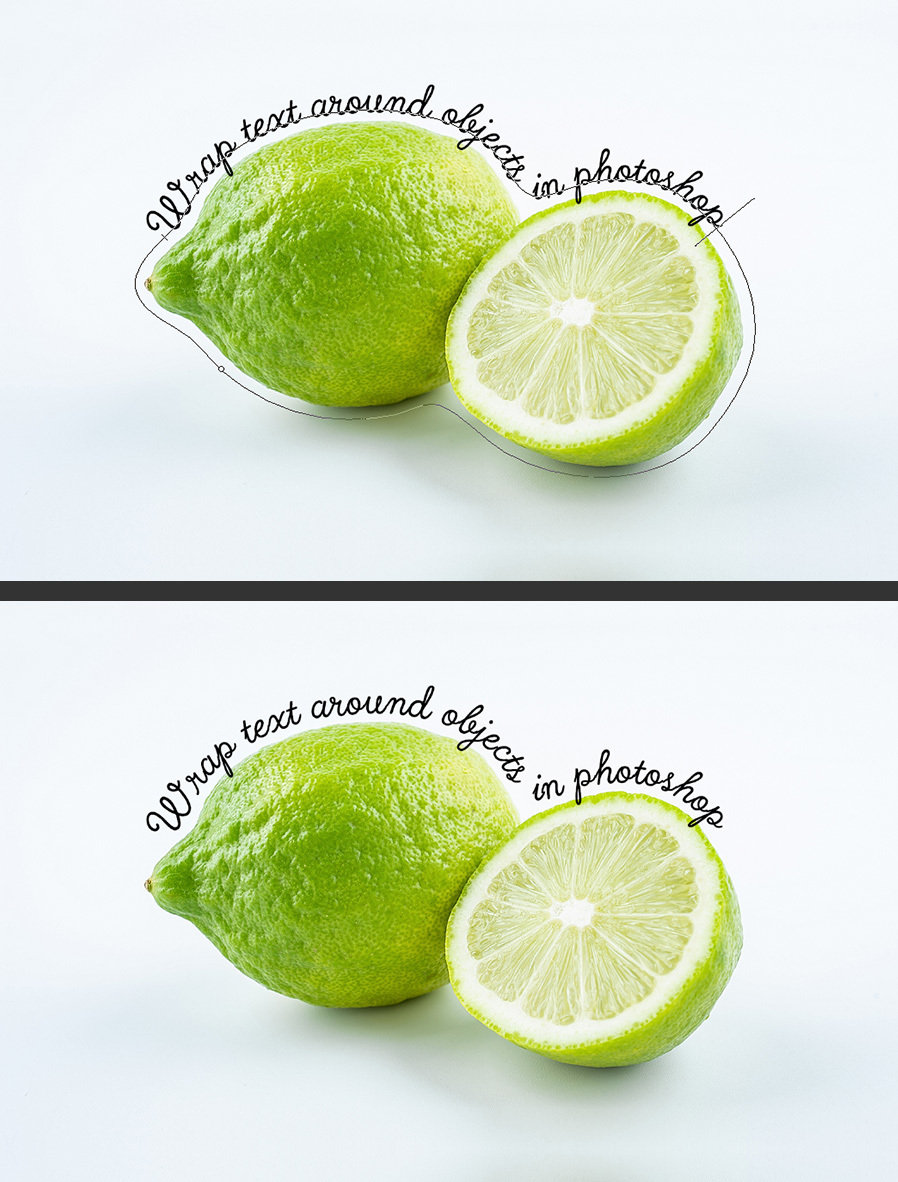
Now simply type your text as you normally do in Photoshop using any font at any size you wish.

Step 8
With the Work Path and the text already placed around your object, and since the text on the path remains fully editable, you can easily change the font size, color and typeface as you normally do with any text in Photoshop.

A Final Tip:
Now that you know how easily you can wrap text around any object in Photoshop, you can fine tune the text in the Character Panel (Window > Character) by adjusting the Kerning, Tracking and the Baseline Shift values to make you text looks just perfect.


