How to Copy Gradients from an Image in Illustrator
Illustrator Tools
Capturing the exact colors and transitions from an image used to be a time-consuming task in Illustrator — but not anymore. Thanks to the new Gradient Trace tool, you can now quickly and accurately extract gradients directly from any image. In this tutorial, we'll show you step-by-step how to use this powerful feature to speed up your workflow and achieve perfect color matches with minimal effort.
Step 1
Open your gradient image in illustrator.

Step 2
With your image selected go to Window > Image Trace.

Step 3
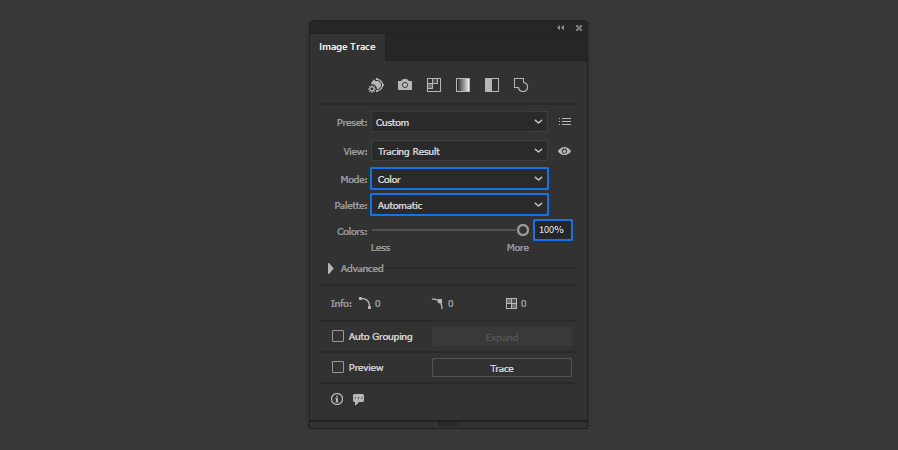
Under "Mode" select "Color" and be sure to have the Palette option set to "Automatic".
Step 4
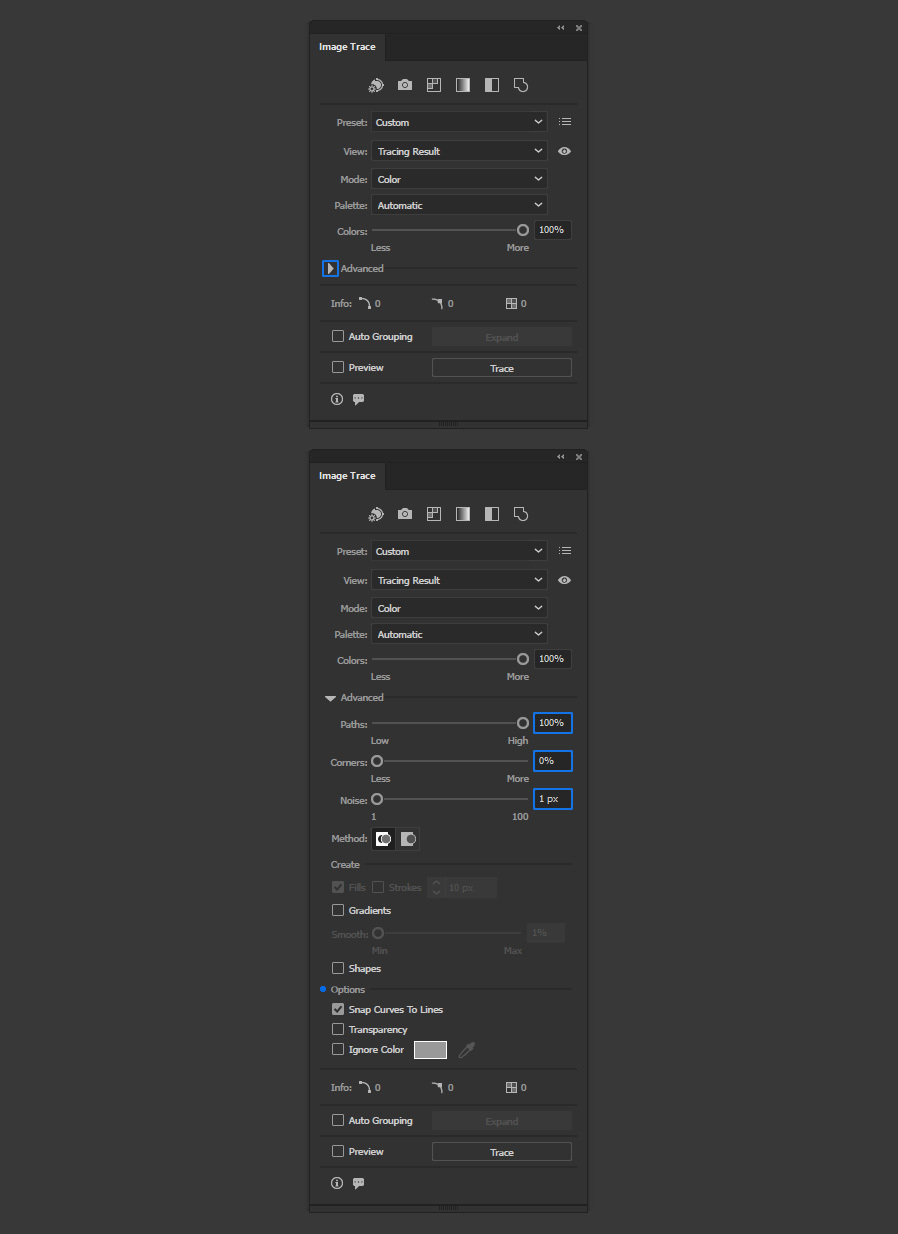
Open the Advanced options. Set the "Paths" to 100%, the "Corners" to 0% and the "Noise" to 1px.
Step 5
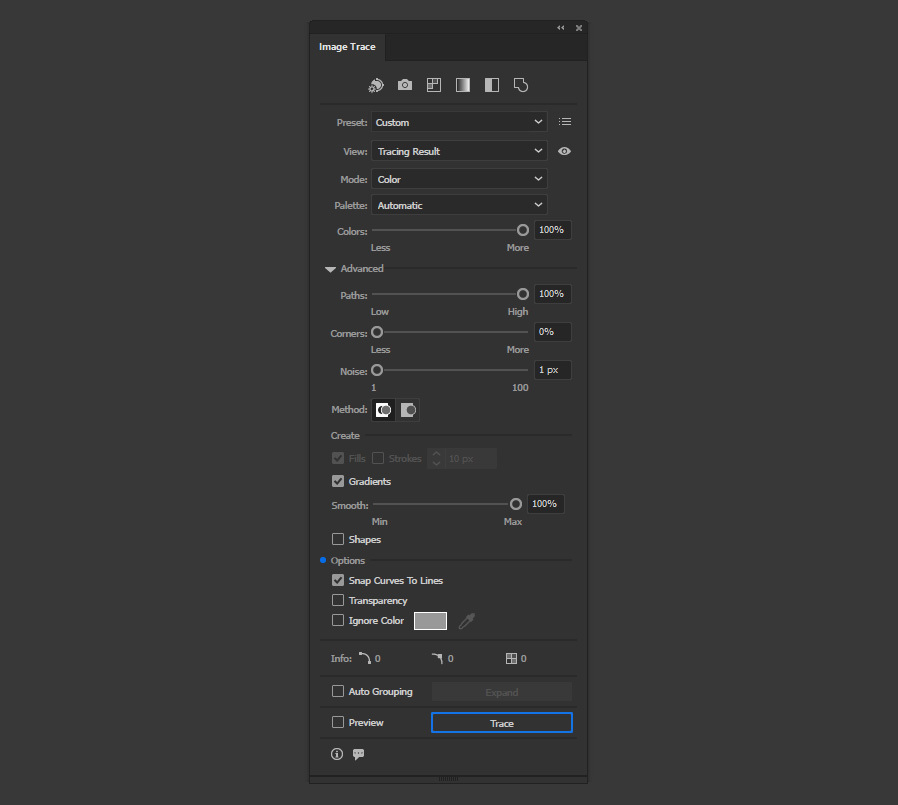
Check the "Gradients" option and set the "Smooth" slider all the way to Max.

Step 6
Click the "Trace" button and wait a few seconds for Illustrator to process the image.
Step 7
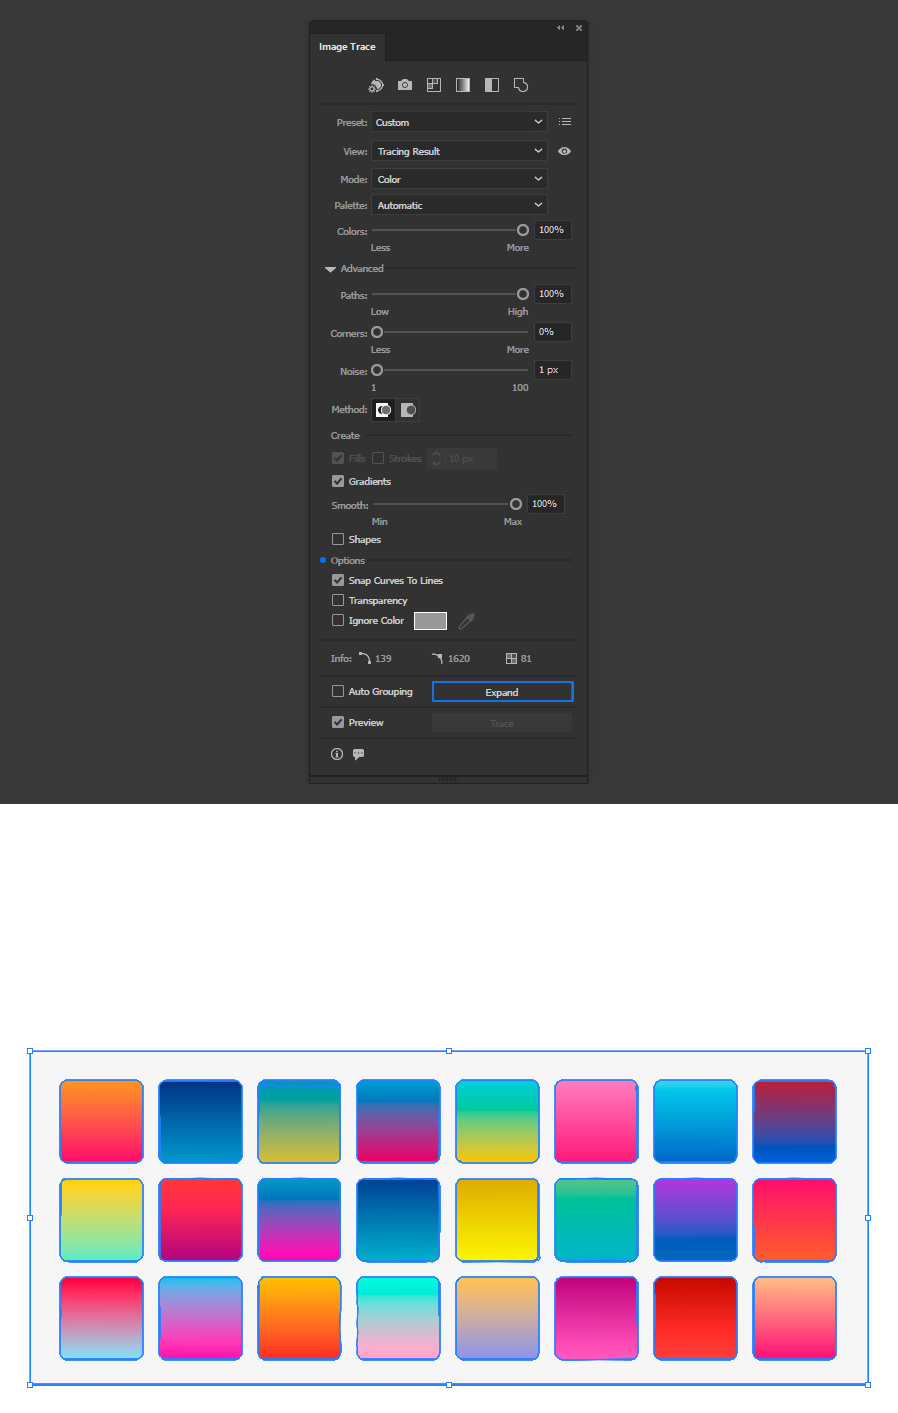
Once finished, click the "Expand" button.
Step 8
Now draw any shape you want to apply a gradient to. In this case I will simply draw a rounded corner square.
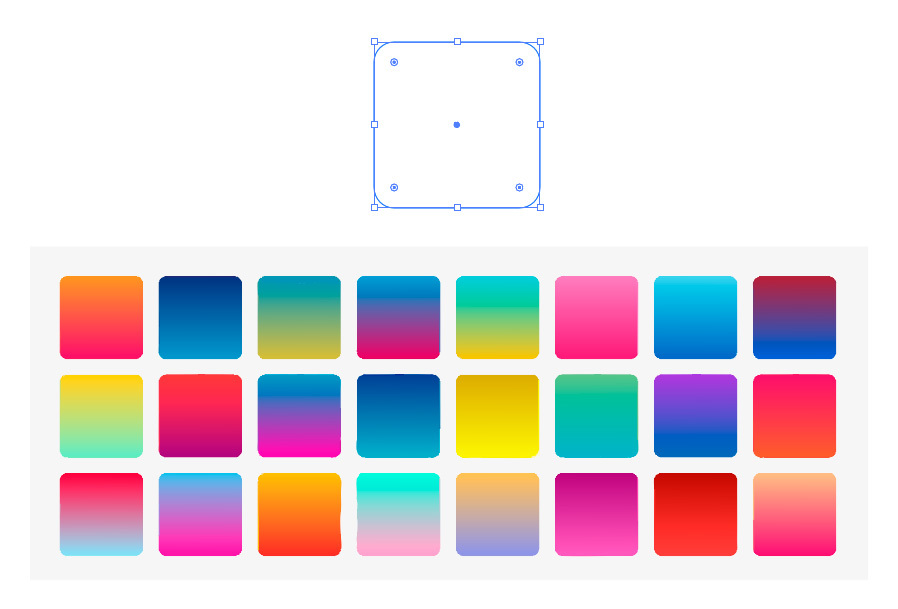
Step 9
With your shape selected, pick the Eyedropper Tool and click over any of the vectorized gradients.

Conclusion:
Using the Gradient Trace tool in Illustrator makes it incredibly easy to capture and recreate smooth color transitions from any image. You can even use it creatively — for example, by tracing the gradient of a sunset sky from a photo to incorporate natural color palettes into your own work, as shown in the following example taken from a sunset image.


