How To Easily Make Die Cut Lines in Illustrator
Illustrator Tips & Tricks
At some point you may faced the challenge to get your files ready to print on a printing company, and you may have noticed that there are a few instructions on how to setup your file to guarantee a perfect result. Making folding and cutting lines, converting text to curves and many more instructions could be a bit confusing if you don't know how to properly make them, so today, I will show you a very easy way to make die cut lines on Illustrator so you can send your sticker files with confidence that they will be cut correctly and you get the exact result you are looking for.
Step 1
Open your design in Illustrator. In this case, I will be using one of the pre-made characters that you may find in the "Cute Animals Character Creation Kit" at Medialoot.

Step 2
Go to Select > All.

Step 3
Go to Object > Group.

Step 4
Go to Edit > Copy and then to Edit > Paste in Place.

Step 5
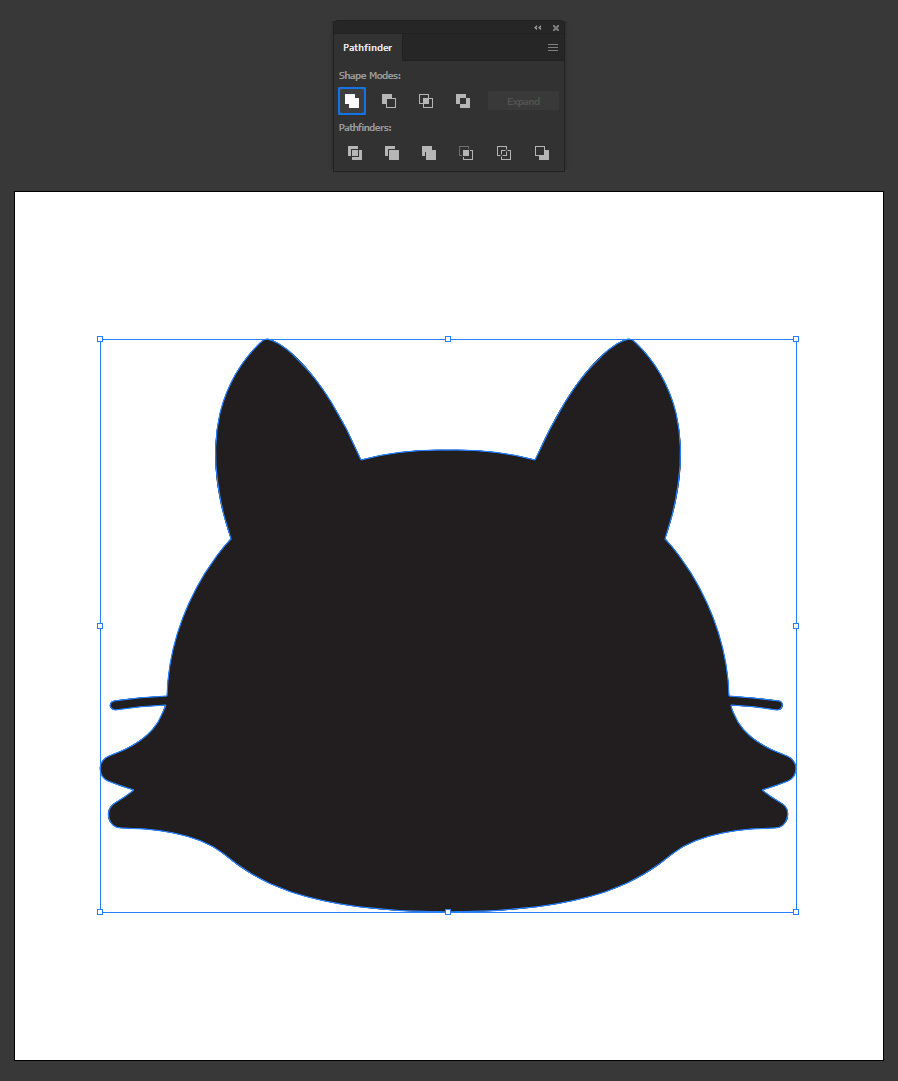
Go to Window > Pathfinder and click the "unite" icon.

Step 6
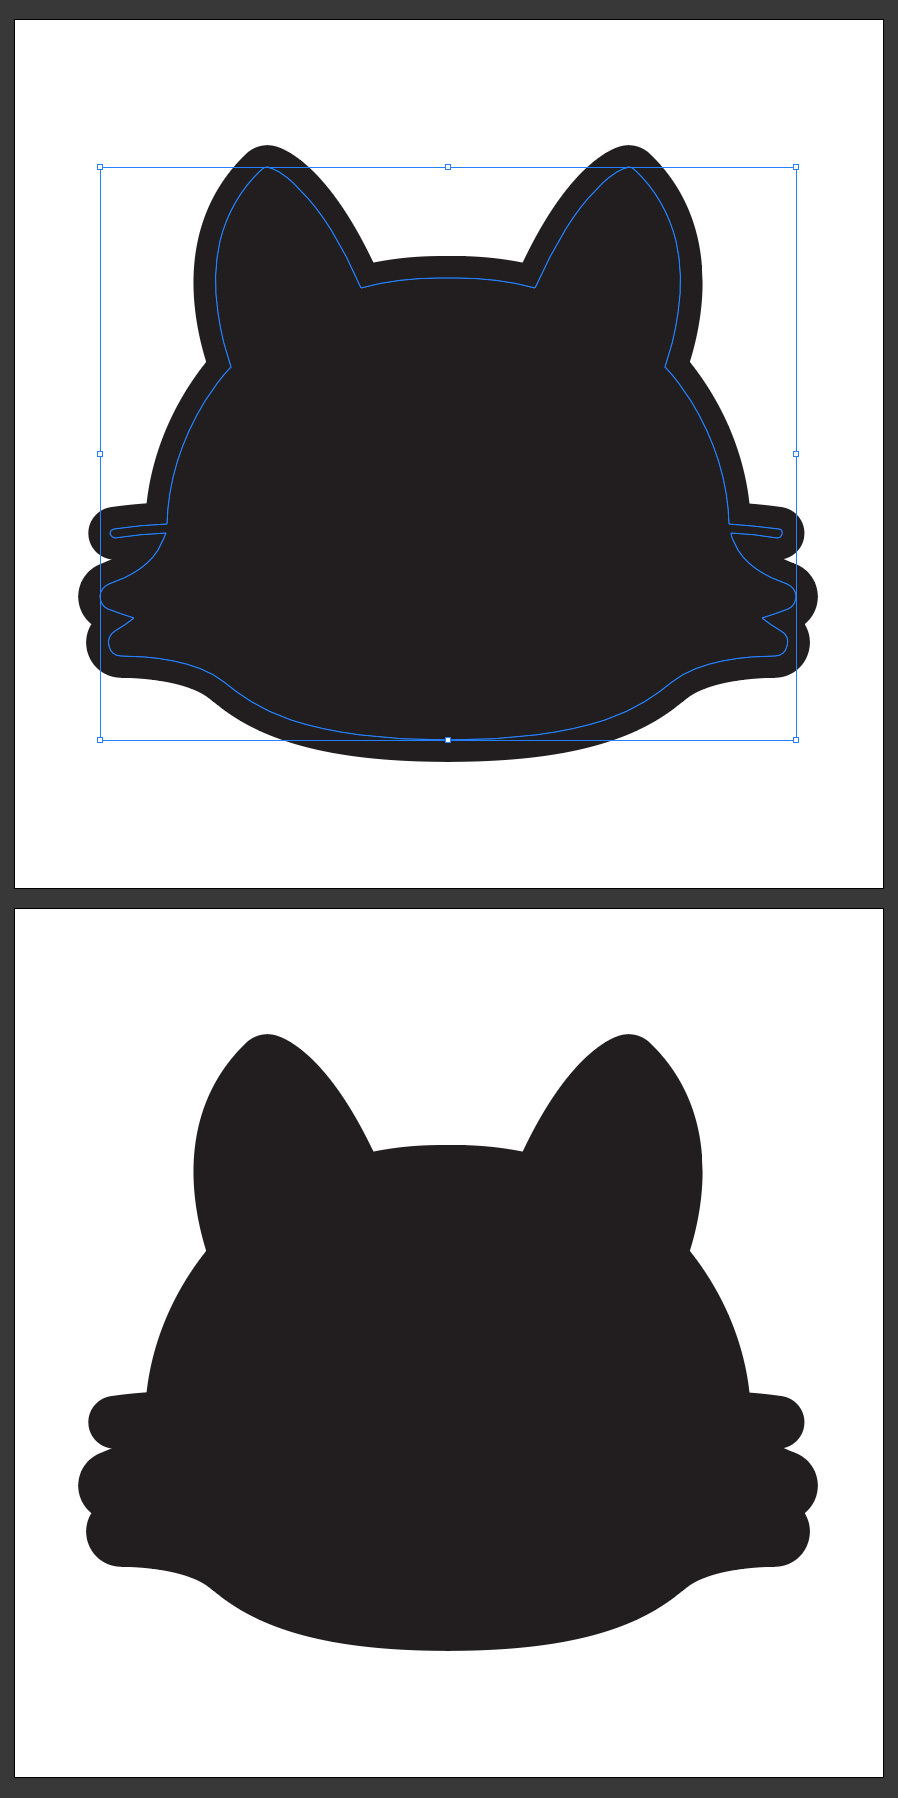
With the path still active, go to Object > Path > Offset Path. Set the offset amount you want for your sticker, be sure to select "Round" in the Joins menu, set any Miter limit you want (usually a value between 4 and 8 works just fine) and click OK.

Step 7
Select the initial shape and delete it.

Step 8
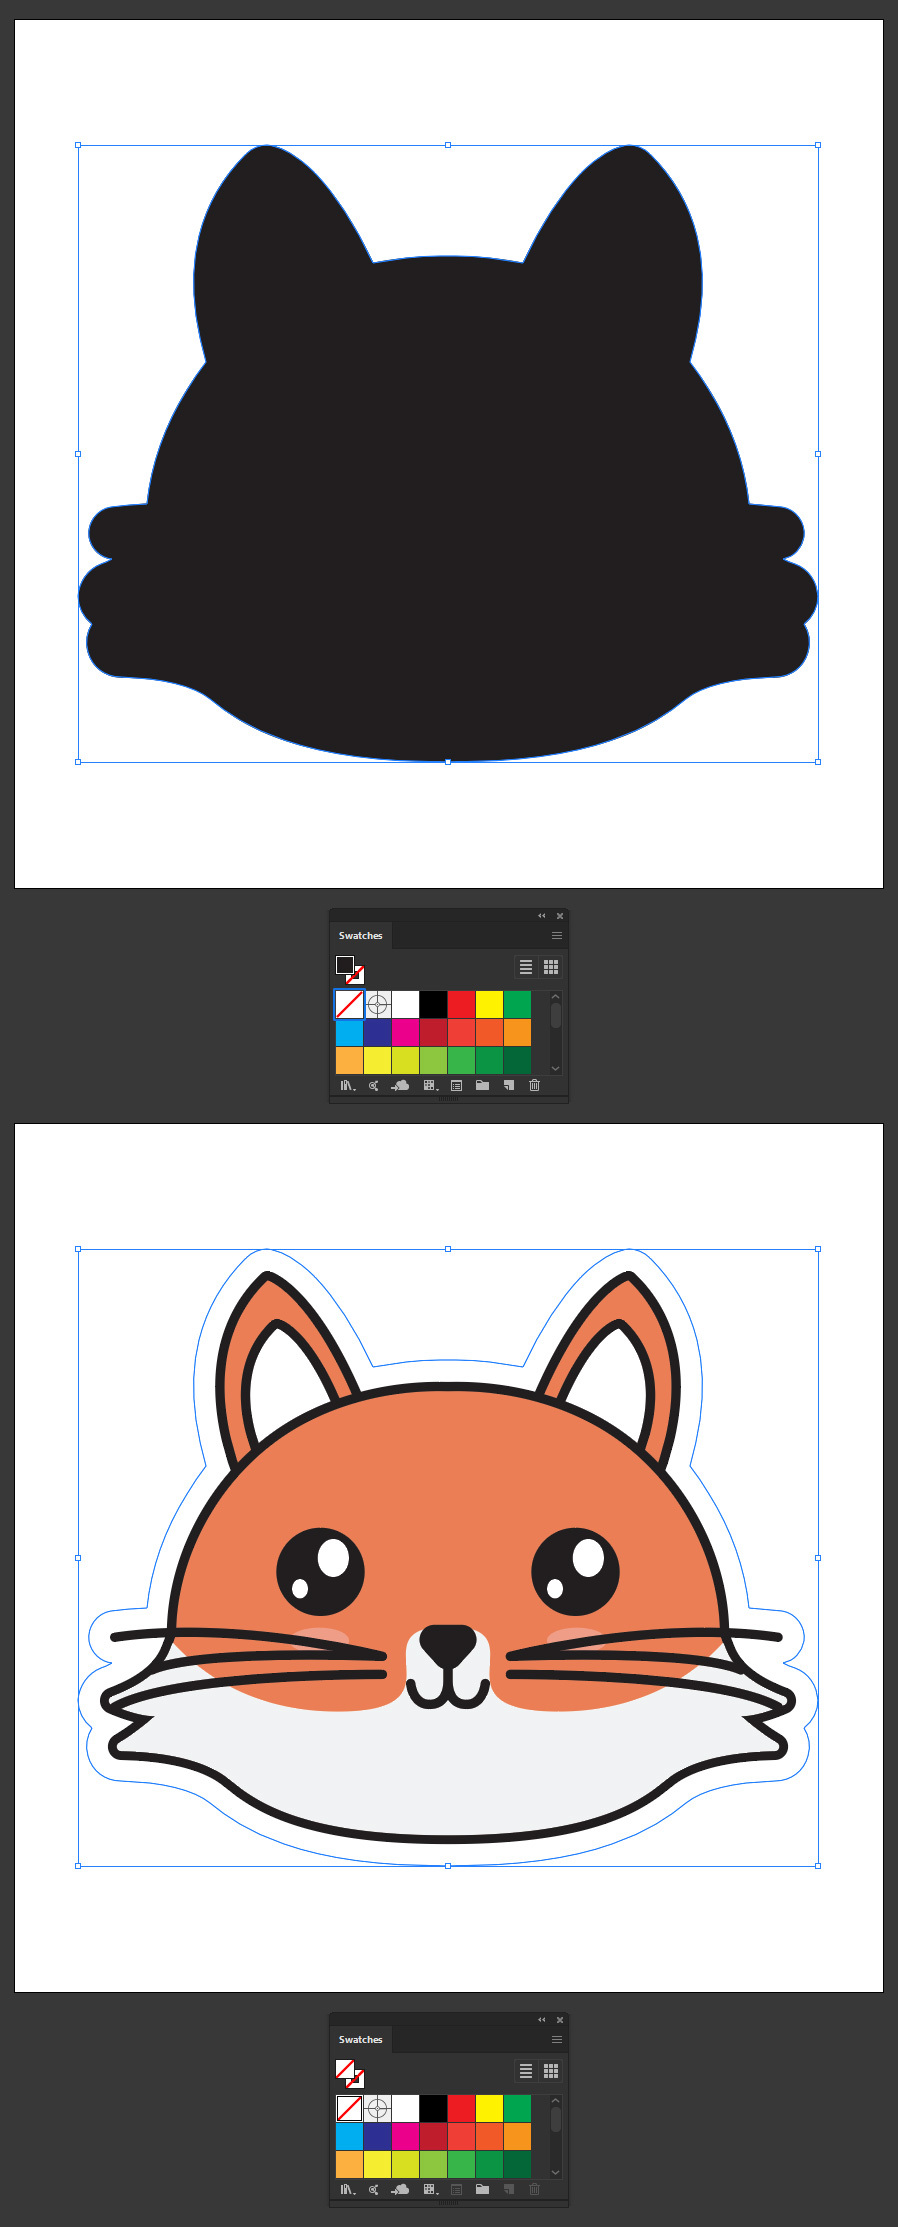
Select the offset path we just did and in the Swatches window (Window > Swatches) set the fill to "none".

Step 9
Lastly, click over the Stroke icon to make the stroke color active and set the stroke color to "CMYK Cyan" (or any other color that the printing company require).

Some Final Notes:
Now that you know how to easily make die cut lines in Illustrator, you may follow the same procedure on any other type of graphic that you want to send to print and make a sticker out of it like in the following example.


