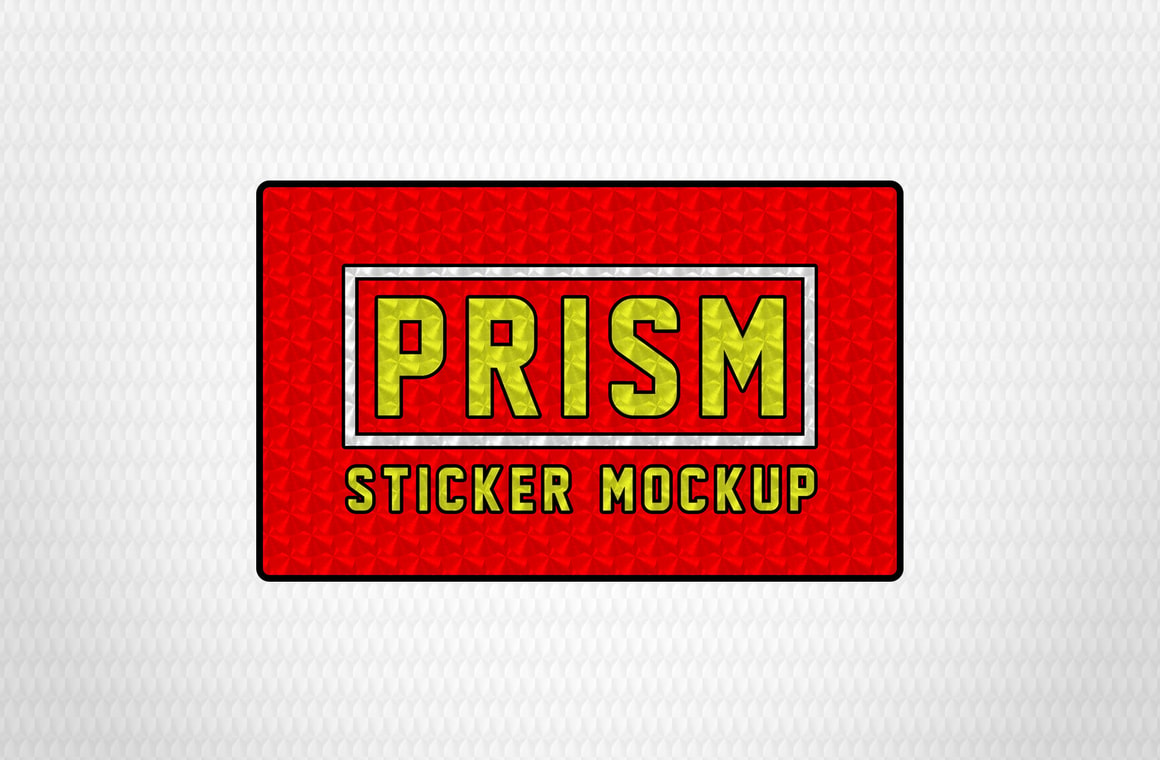


Easily create your own 80s Prism Decals with the Prism Sticker Mockup for Photoshop. Simply replace the smart object with your own design and then turn on/off different layers to achieve a unique effect. Available at 3000 x 2000 px at 72dpi both in Horizontal and Vertical orientation, creating your own decals is a breeze.
You can control the stroke, the background color for the main image and the frame, choose between 2 different prism textures and also control the brightness and contrast of the main image.
How to Use:
- Open any of the 2 available Prism Sticker Mockups in Photoshop.
- Double click on the thumbnails of the first layer named "Your Design".
- Replace the placeholder with your own artwork.
- Save and Close the smart object.
- Inside the "Main Figure" layer group, turn on/off the texture you want to use.
- Turn on/off the "Texture Overlay 1 or 2" to match your main figure texture.
- Turn on/off the frame texture you want to use.
How to Change Colors:
- If you are working with a transparent background figure, double click on the "Figure Background Color" inside the "Main Figure" layer group.
- Pick any color you want and click OK.
- To change the Frame color, simply double click on the "Base" layer inside the frame layer group.
- Pick any color you want and click OK.
Tips:
- Turn on "Texture Overlay 1" and pick the "Main figure - texture 2" layer inside the Main Figure layer group to achieve a new effect.
- If you want to use a darken texture for the frame, turn off the "Lighten" layer and turn on the "Darken" layer inside the Background Frame layer group.
- If your design already have a stroke on it, turn off the "Main Figure - stroke" layer inside the Main Figure layer group.


