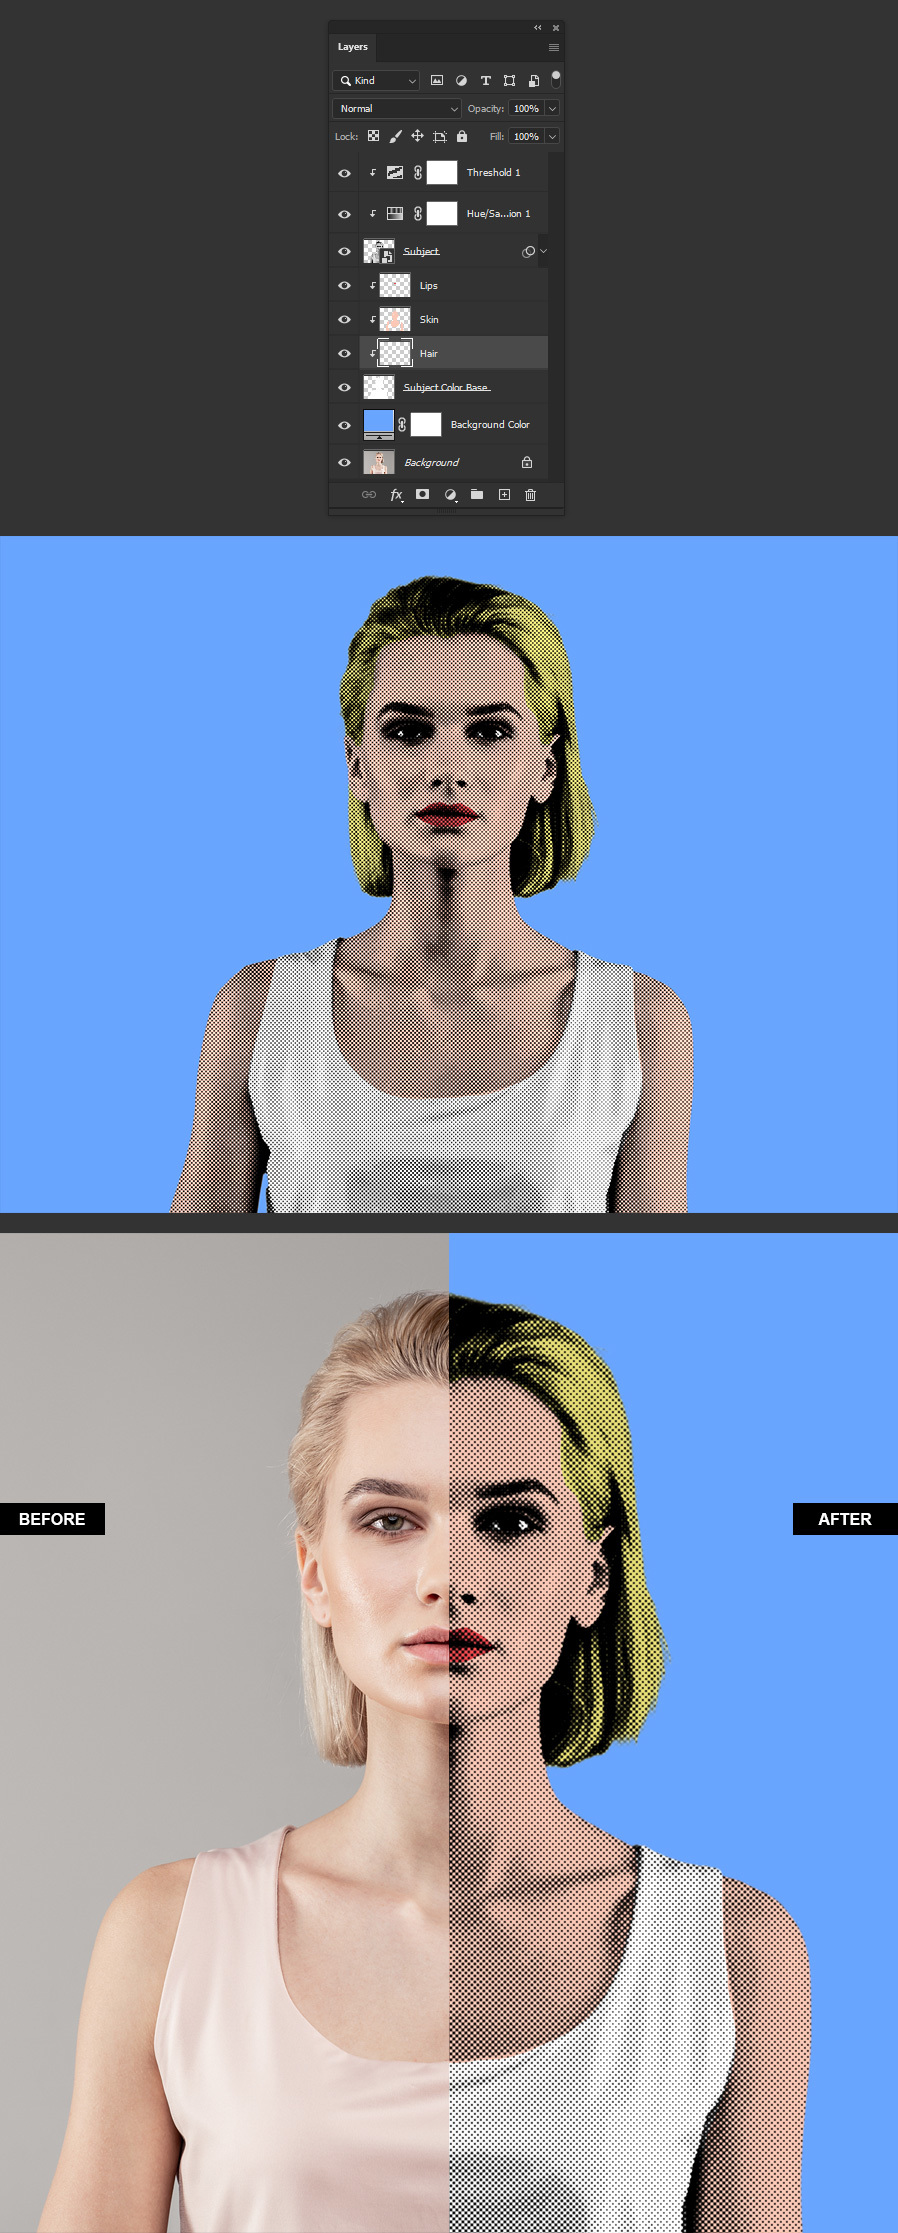
How to Easily Make a Pop Art Effect in Photoshop
Photoshop Photo Effects
Back in the 60's, new artistic movement known as "Pop Art" emerged from various artists, such as Andy Warhol and Roy Lichtenstein. The aesthetics of this movement is still used today in various designs, though mostly digitally. So today, I will show you how you can replicate the aesthetics of Pop Art in Photoshop using any photo you want and with the default tools and filters.
Step 1
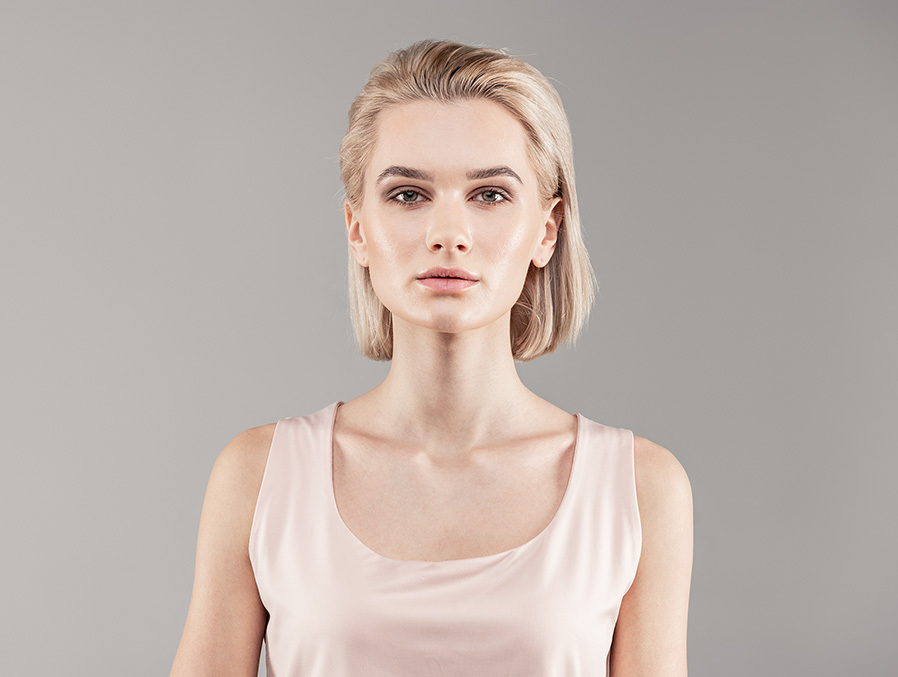
Open your image in Photoshop.
Step 2
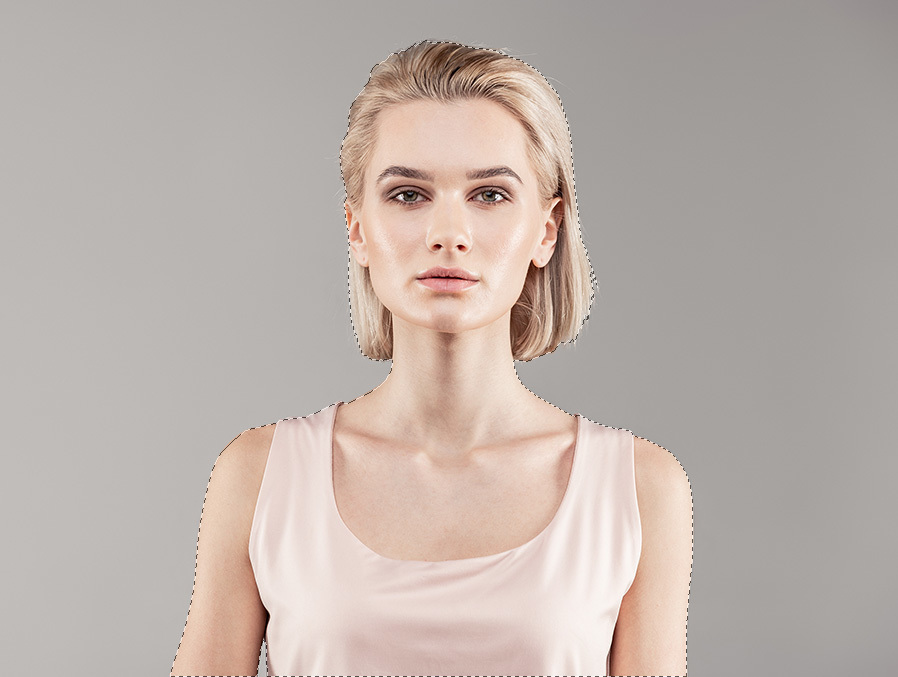
Using your favorite method, make a selection of your subject.
Step 3
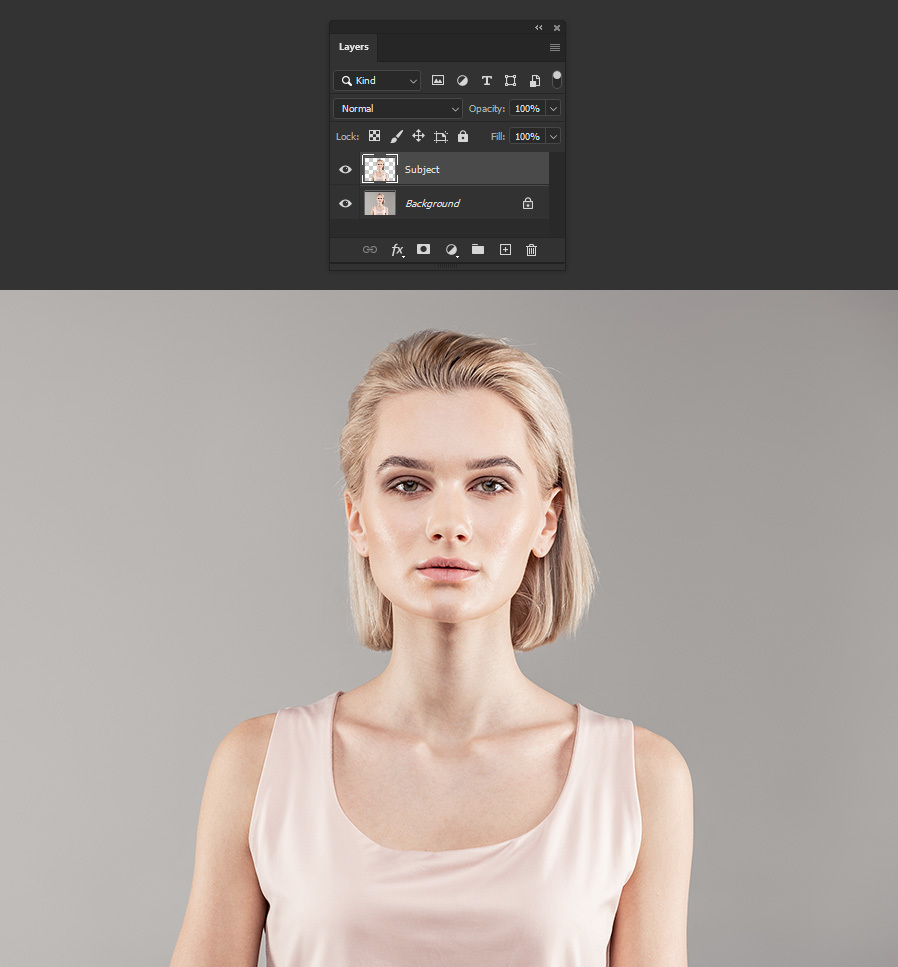
Press Ctrl+C to copy the selection and then Ctrl+V to paste it on a new layer. Rename this layer to "Subject".
Step 4
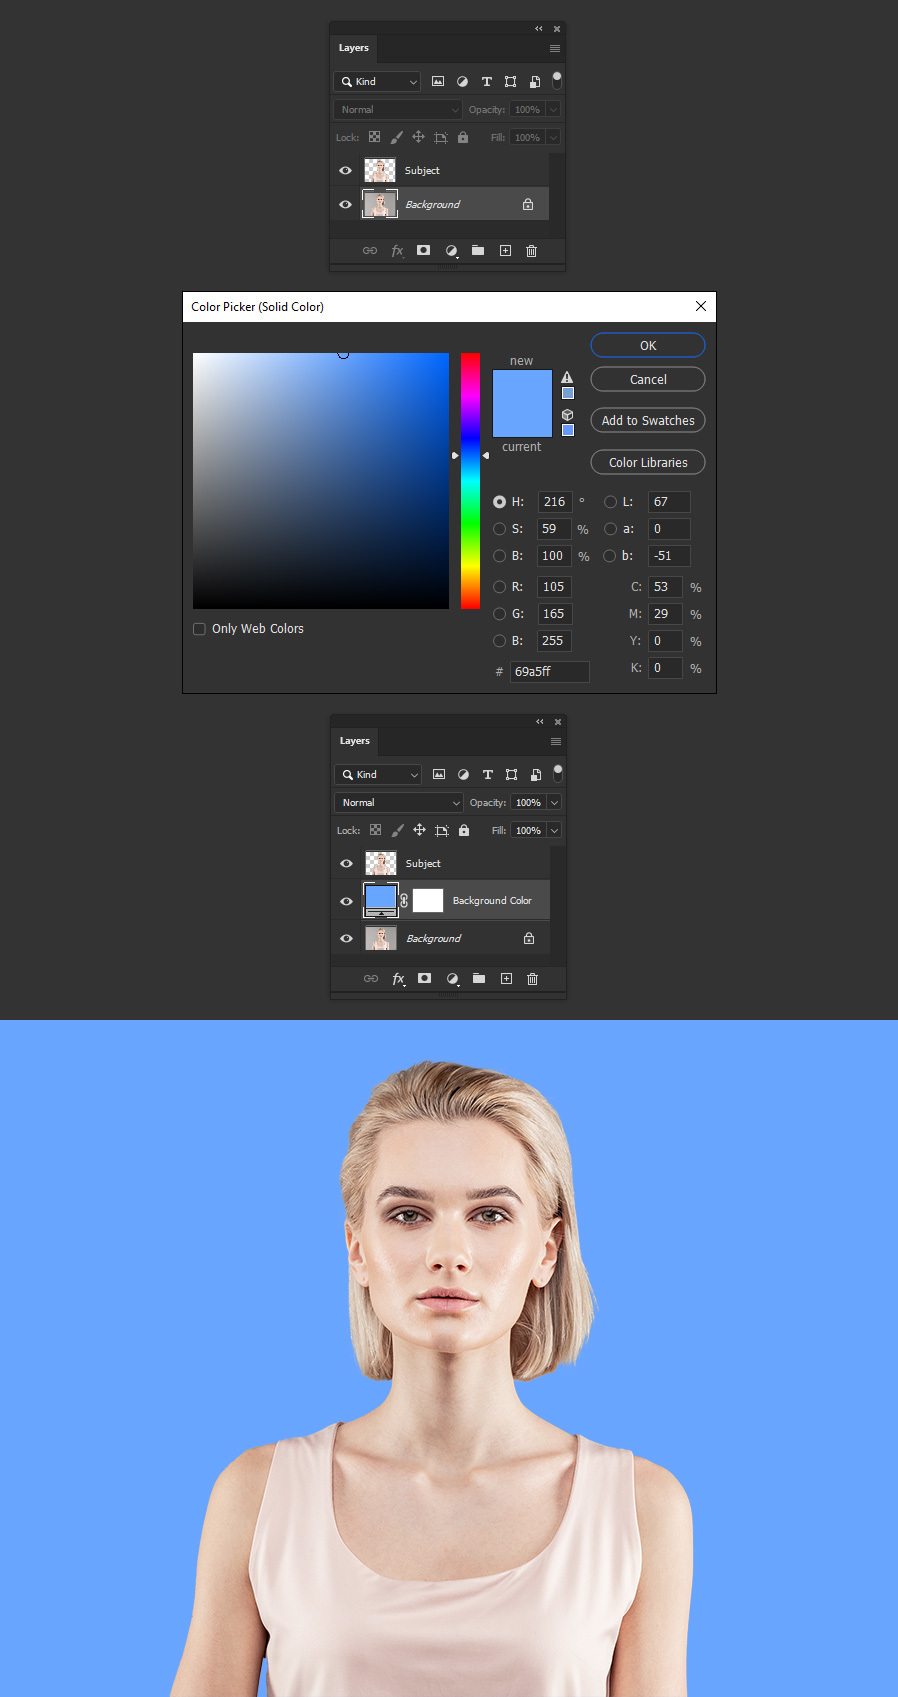
Select the Background layer and go to Layer > New Fill Layer > Solid Color. Pick any color you want on the Color Picker window and click OK. Rename the layer to "Background Color".
Step 5
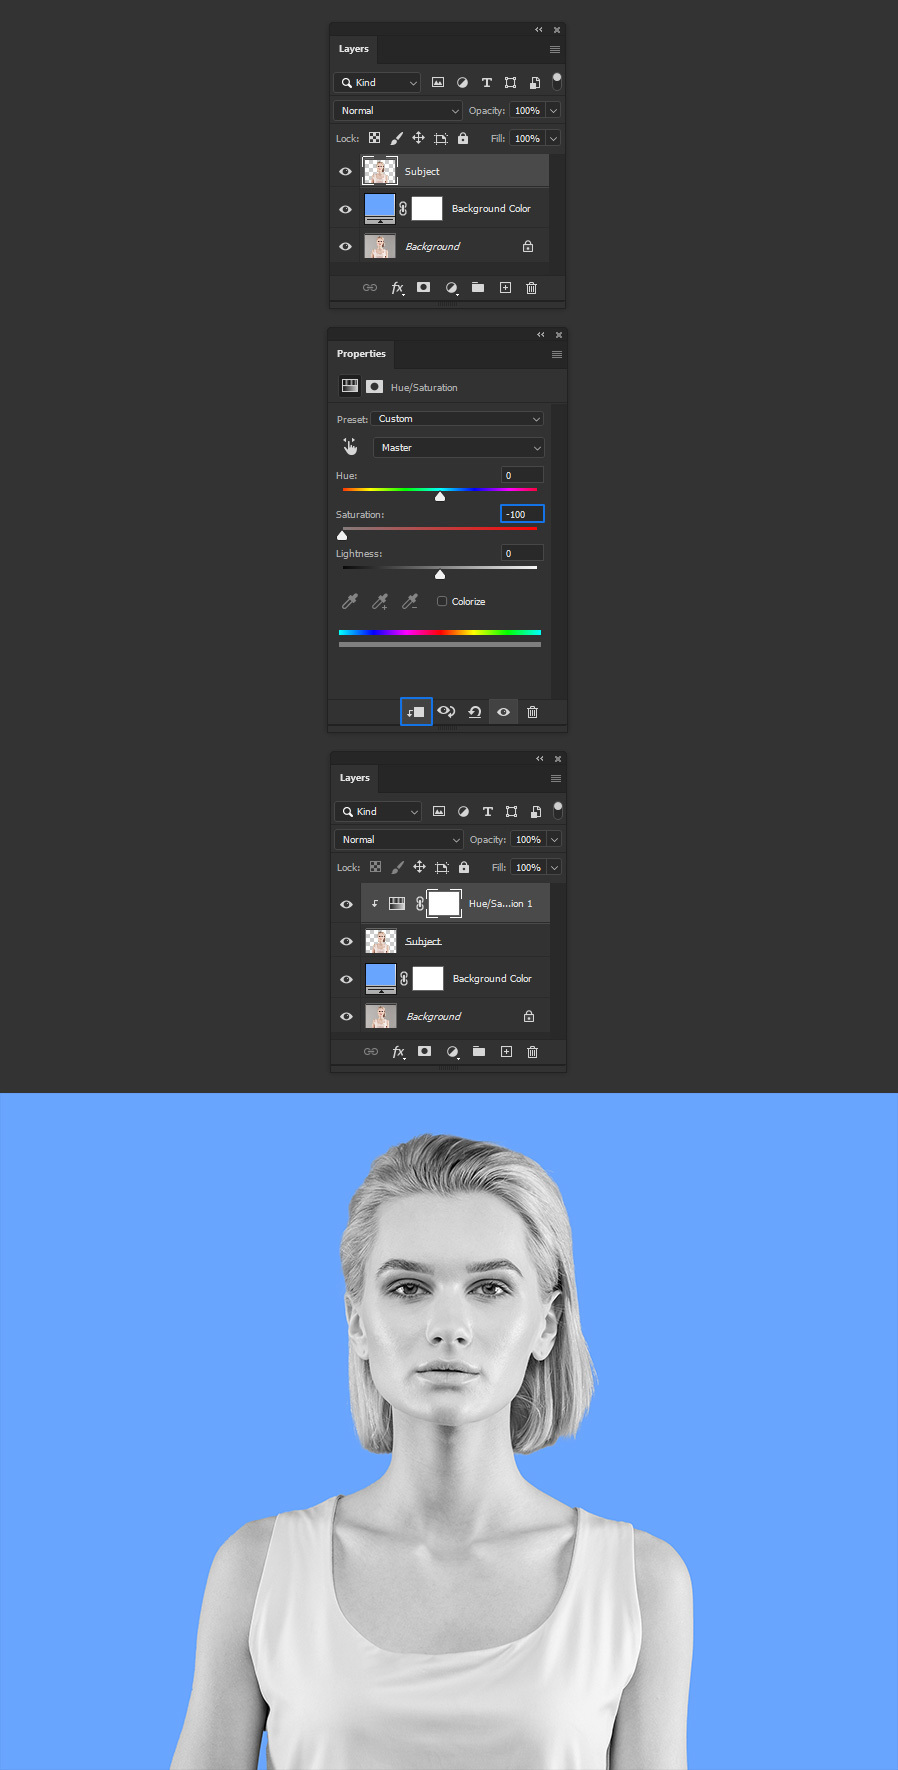
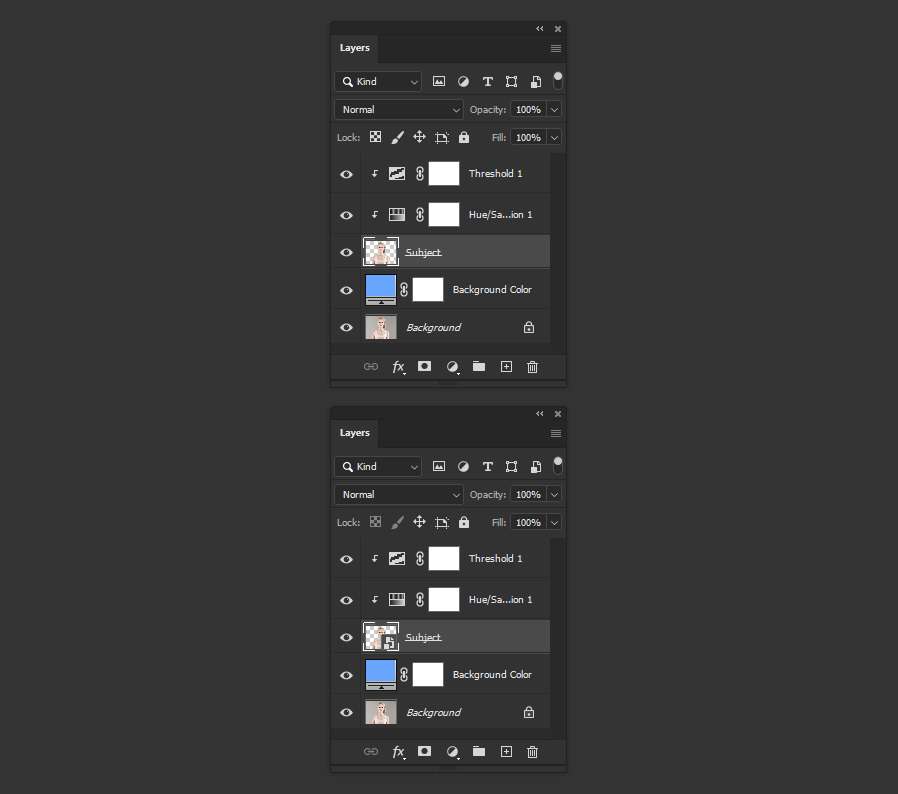
Select the "Subject" layer and go to Layer > New Adjustment Layer > Hue/Saturation. Set the Saturation to -100 and be sure to click on the Clipping icon so it only affect the subject.
Step 6
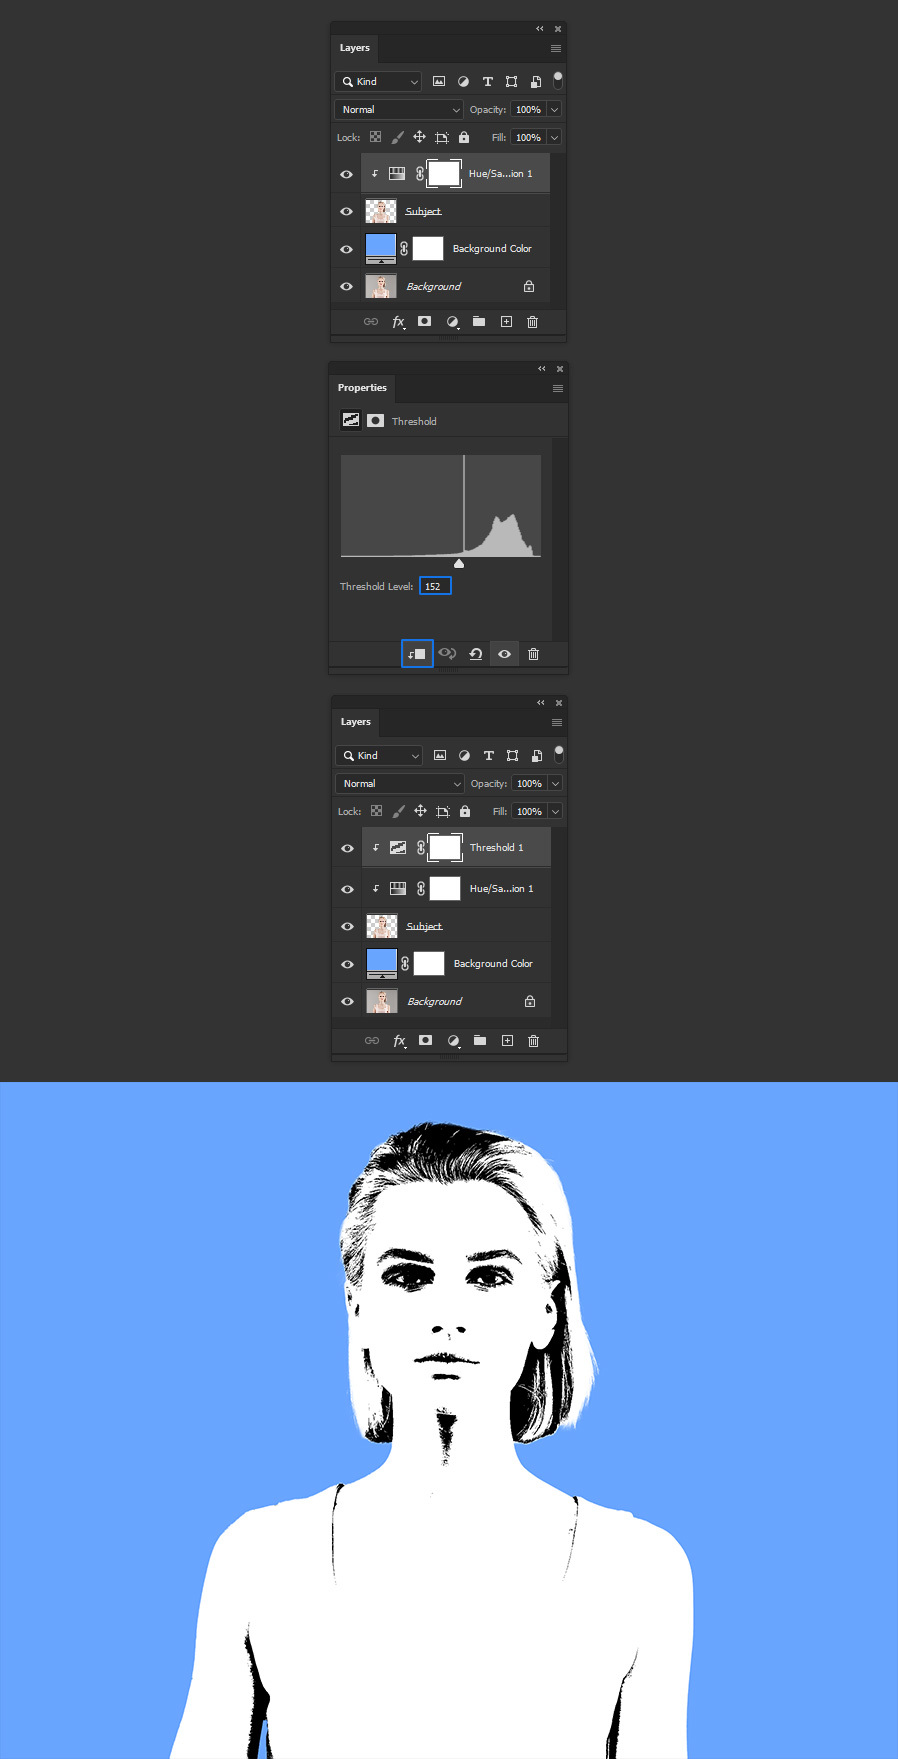
Go to Layer > New Adjustment Layer > Threshold. Set the Level to about 150 and be sure to click on the Clipping icon.
Step 7
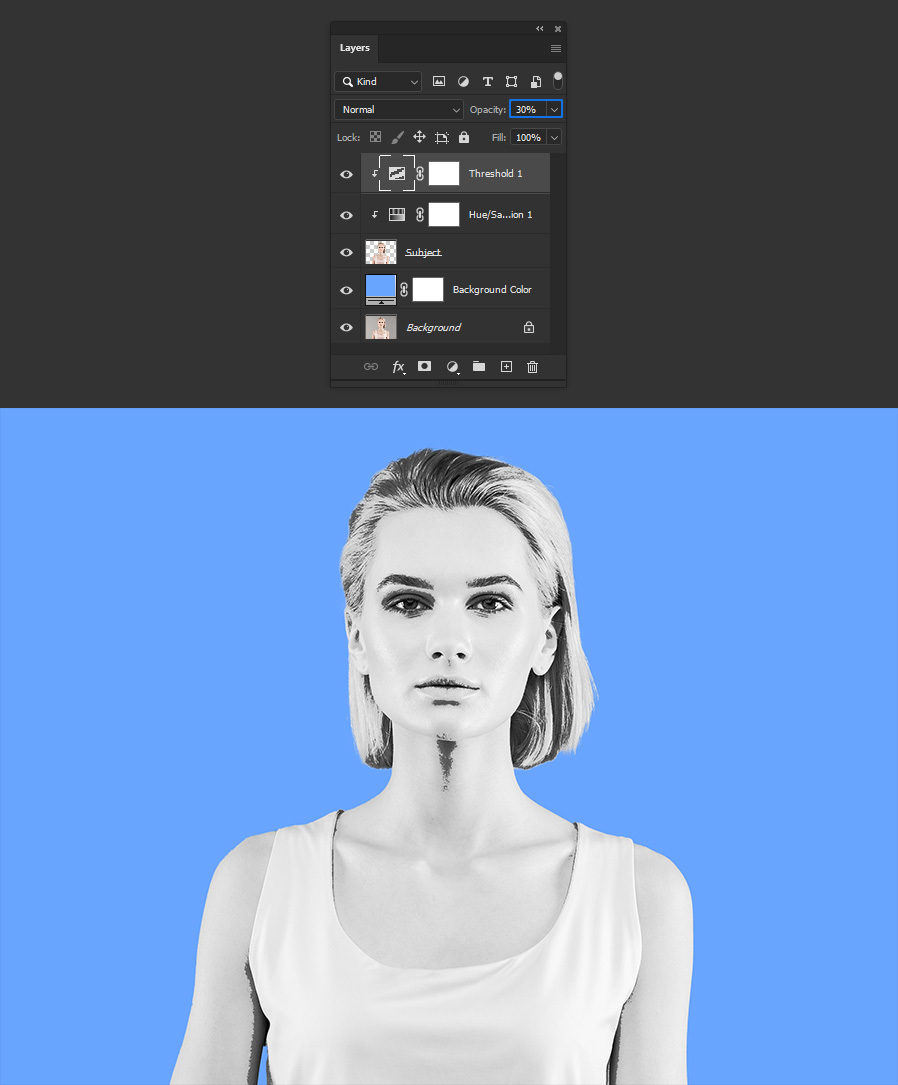
In the Layers Panel, bring down the Threshold layer opacity to about 30%.
Step 8
Select the "Subject" layer and go to Layer > Smart Objects > Convert to Smart Object.
Step 9
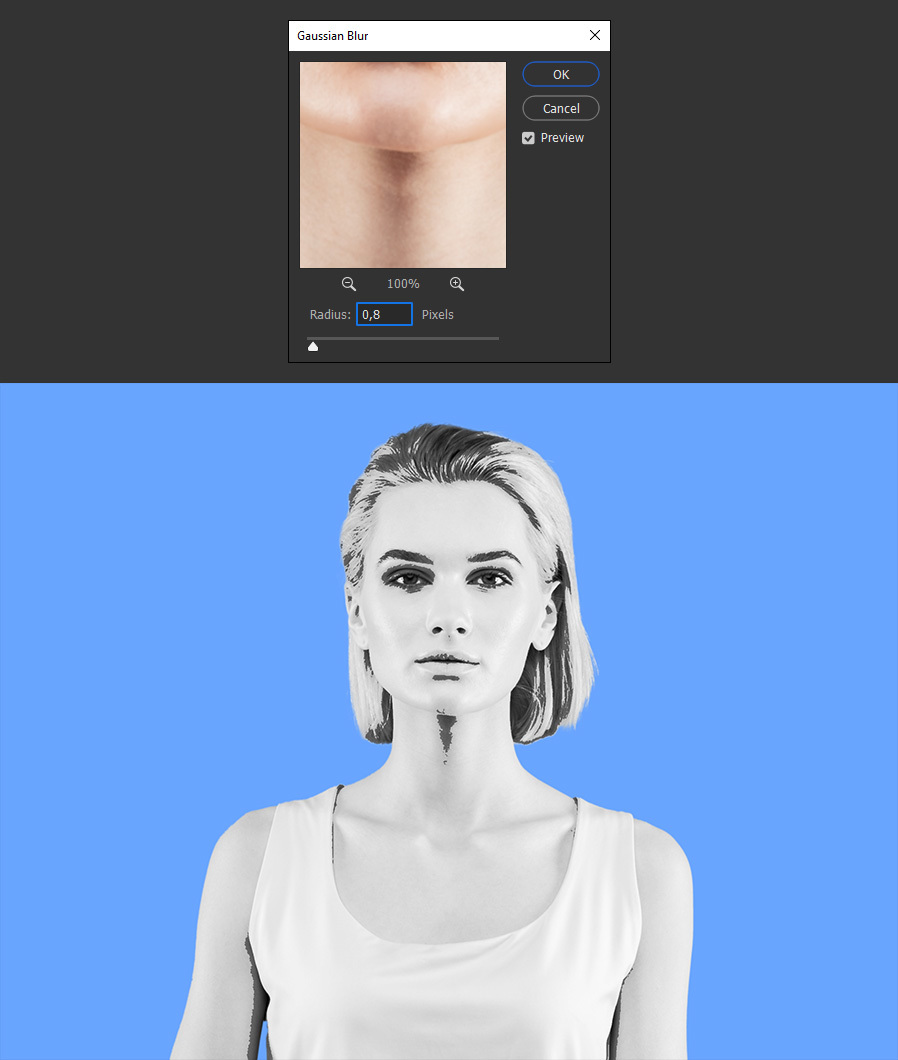
Go to Filter > Blur > Gaussian Blur. Set the Radius to 0,8 pixels and click OK.
Step 10
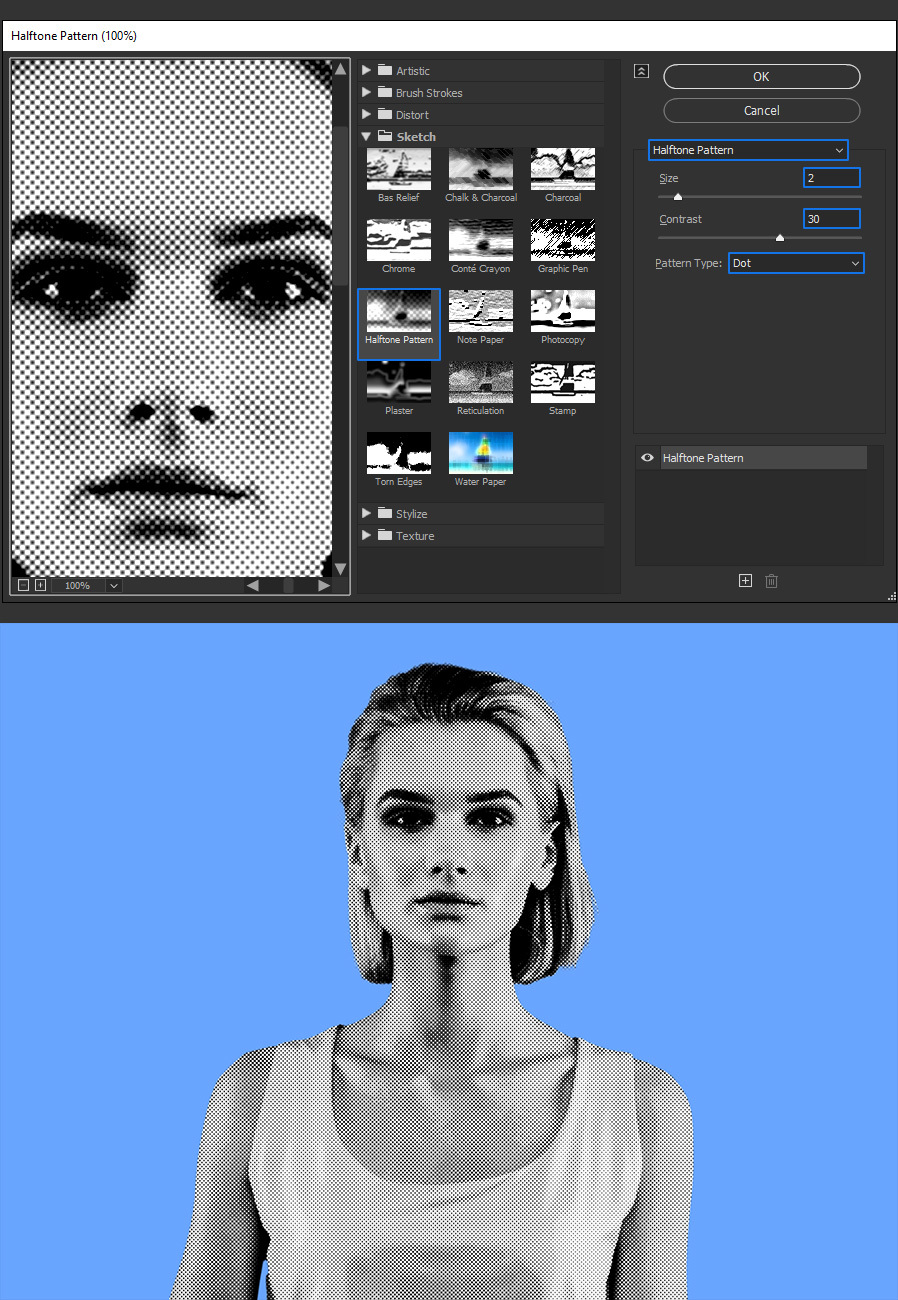
Go to Filter > Filter Gallery. Under Sketch, select the Halftone Pattern effect, apply the following settings, and click OK.
Step 11
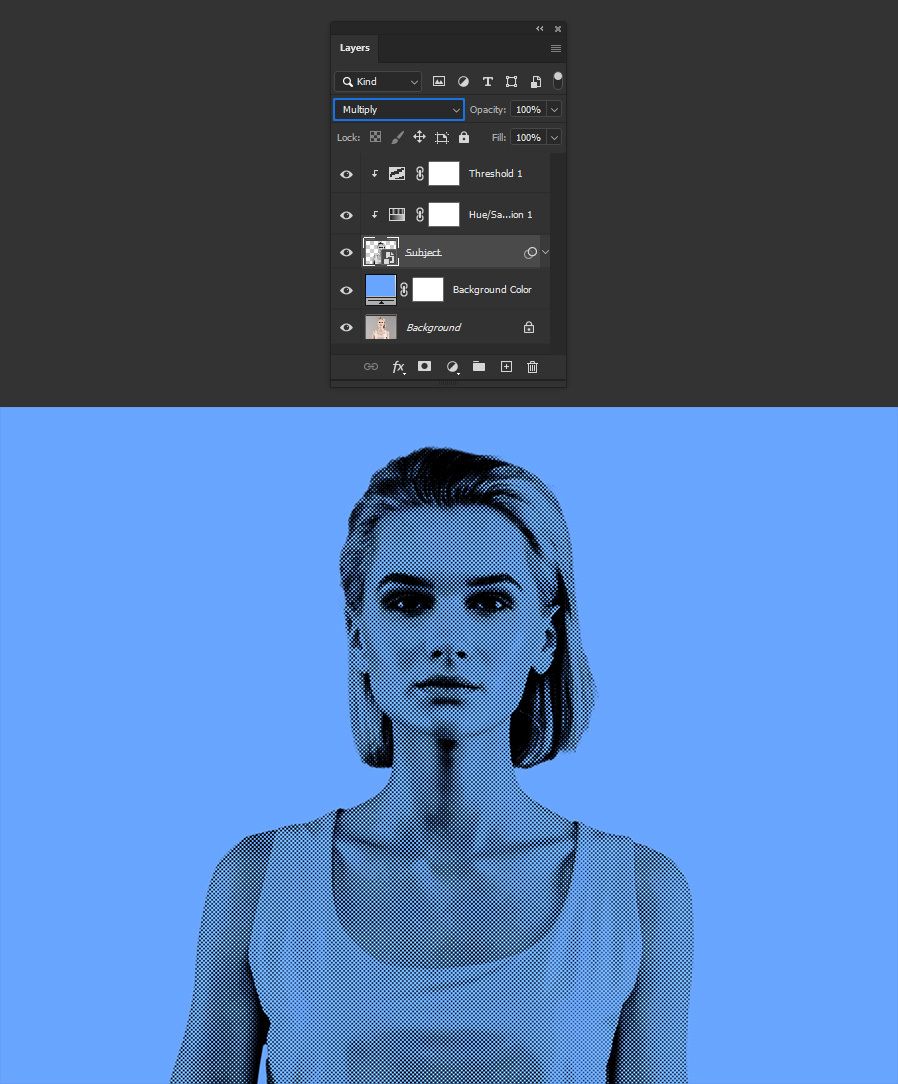
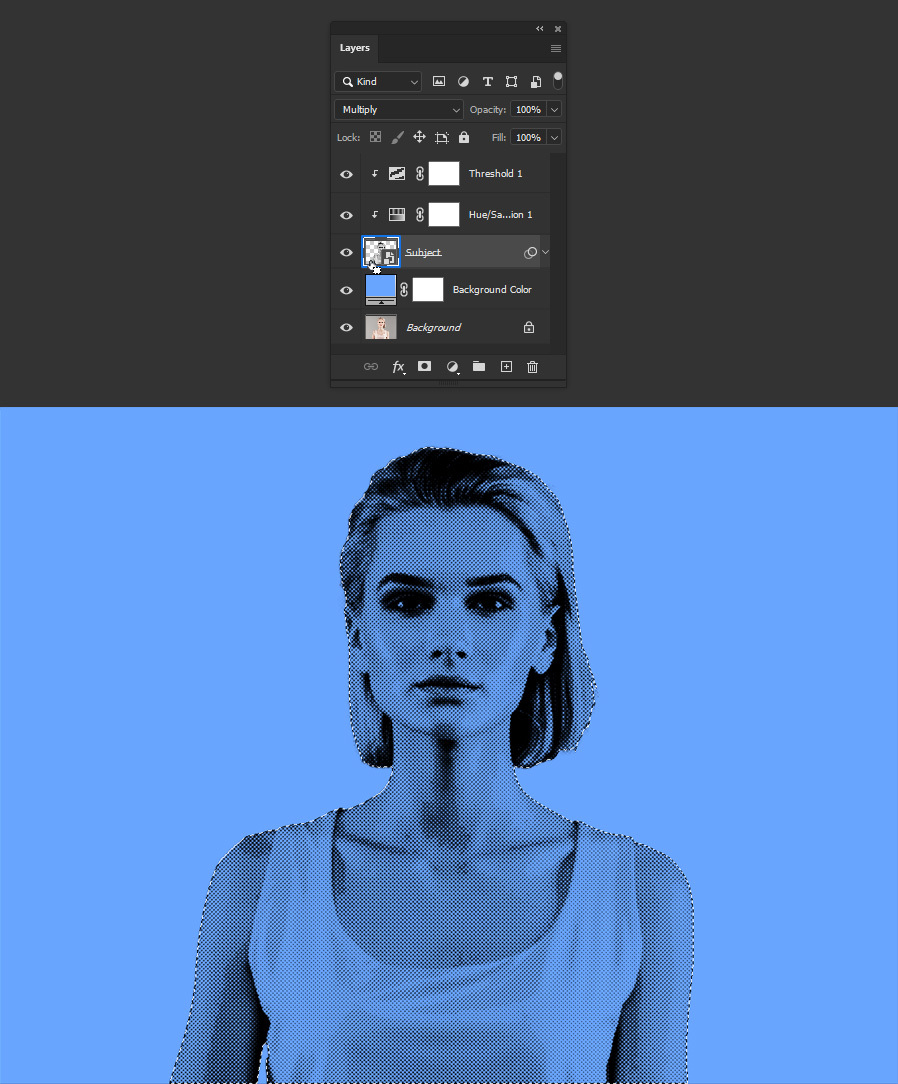
Set the "Subject" layer blending mode to Multiply.
Step 12
Hold the Ctrl key and click on the "Subject" layer thumbnail to make a selection.
Step 13
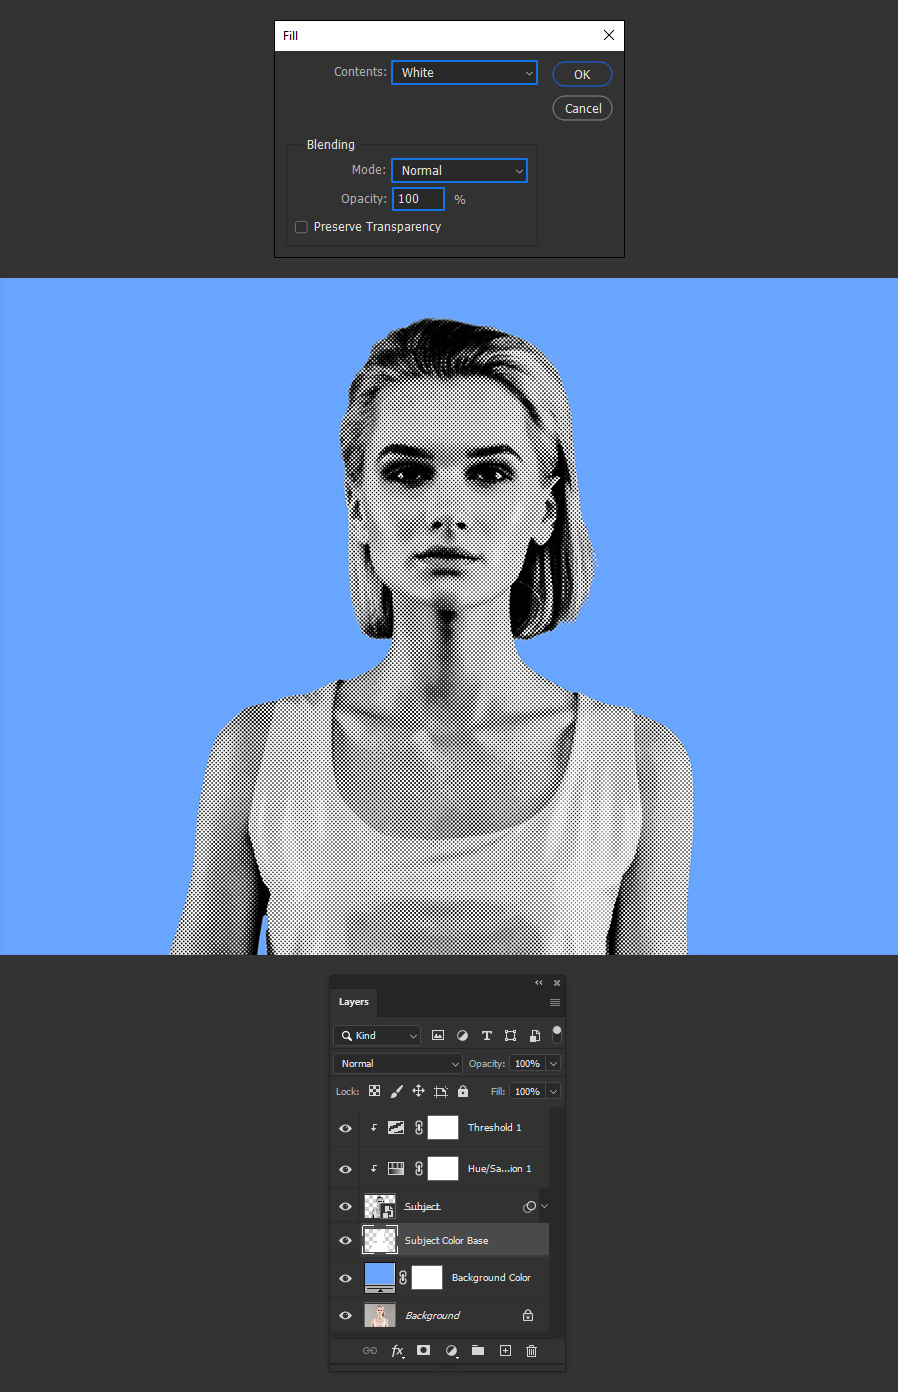
With the selection active, select the "Background Color" layer and click on the "Create New Layer" icon in the layers panel. Name this layer as "Subject Color Base".

Step 14
Go to Edit > Fill. Select "White" under contents and click OK.
Step 15
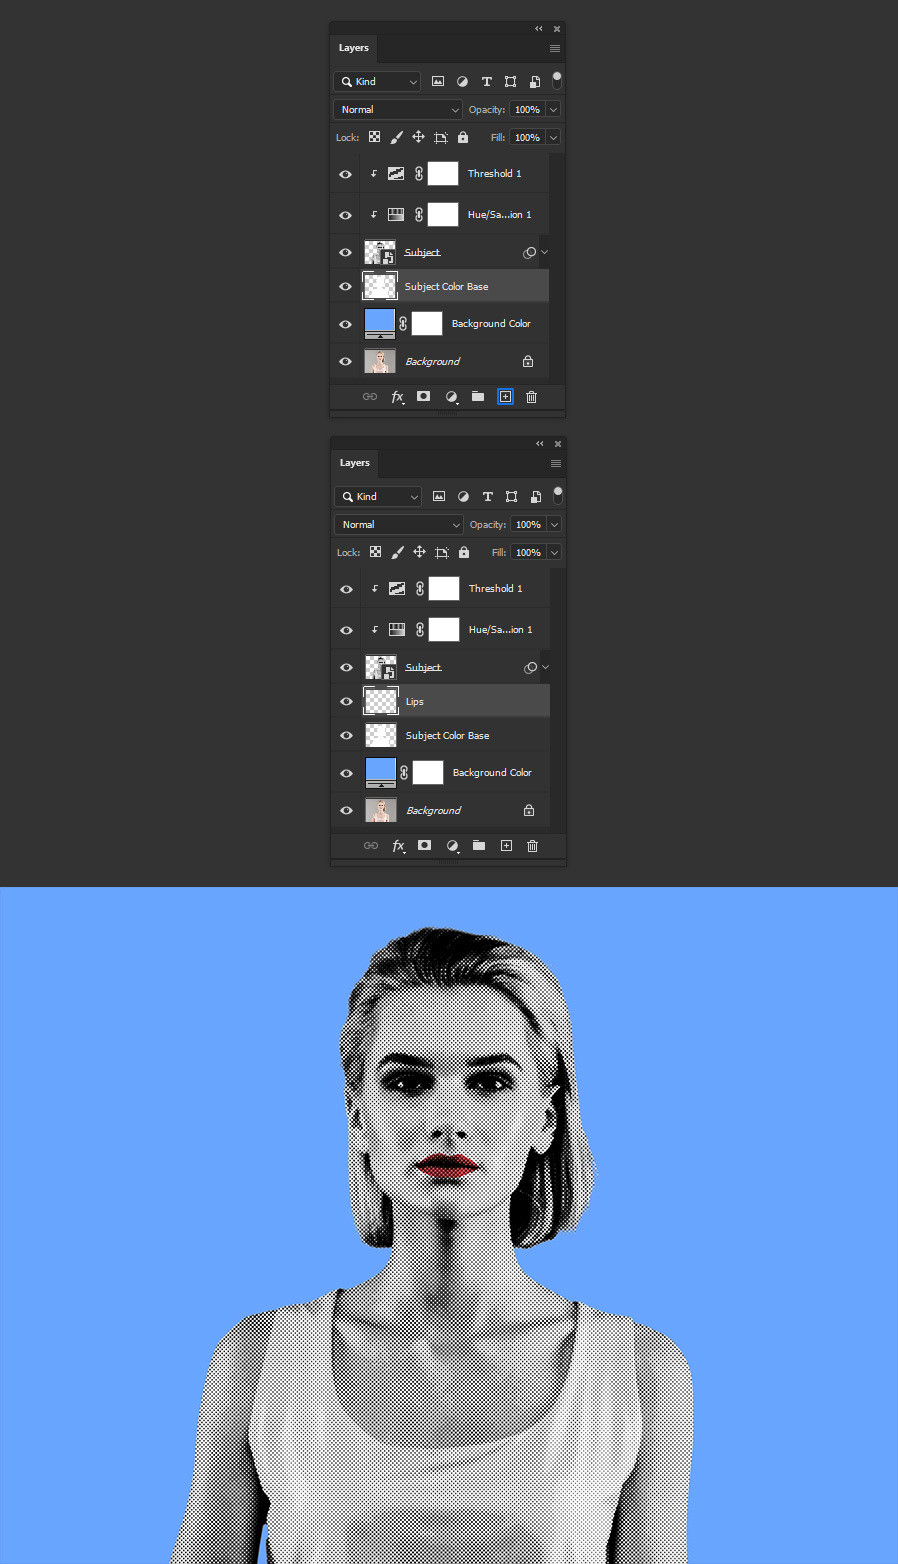
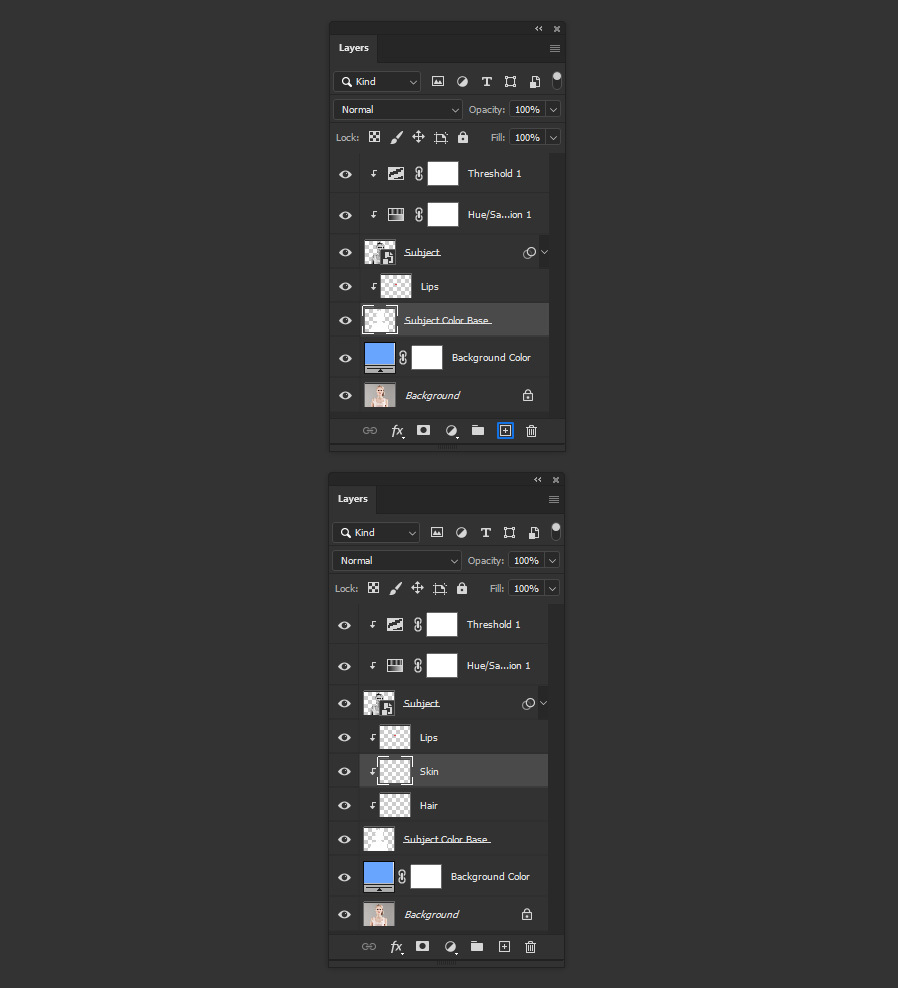
With the "Subject Color Base" layer selected, click on the "Create New Layer" icon in the layers panel. Name this layer as "Lips" and using a red color paint over the subject lips as shown.
Step 16
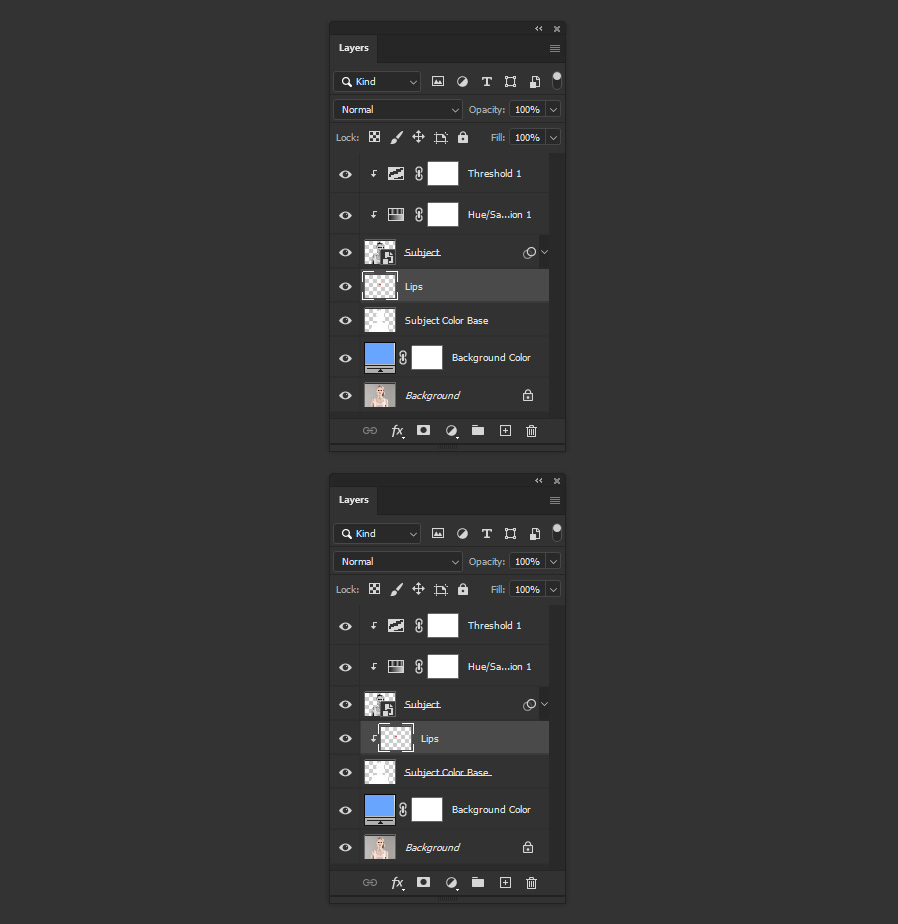
Go to Layer > Create Clipping Mask.
Step 17
Again, select the "Subject Color Base" layer and this time click twice on the "Create New Layer" icon. Rename the layers to "Hair" and "Skin".
Step 18
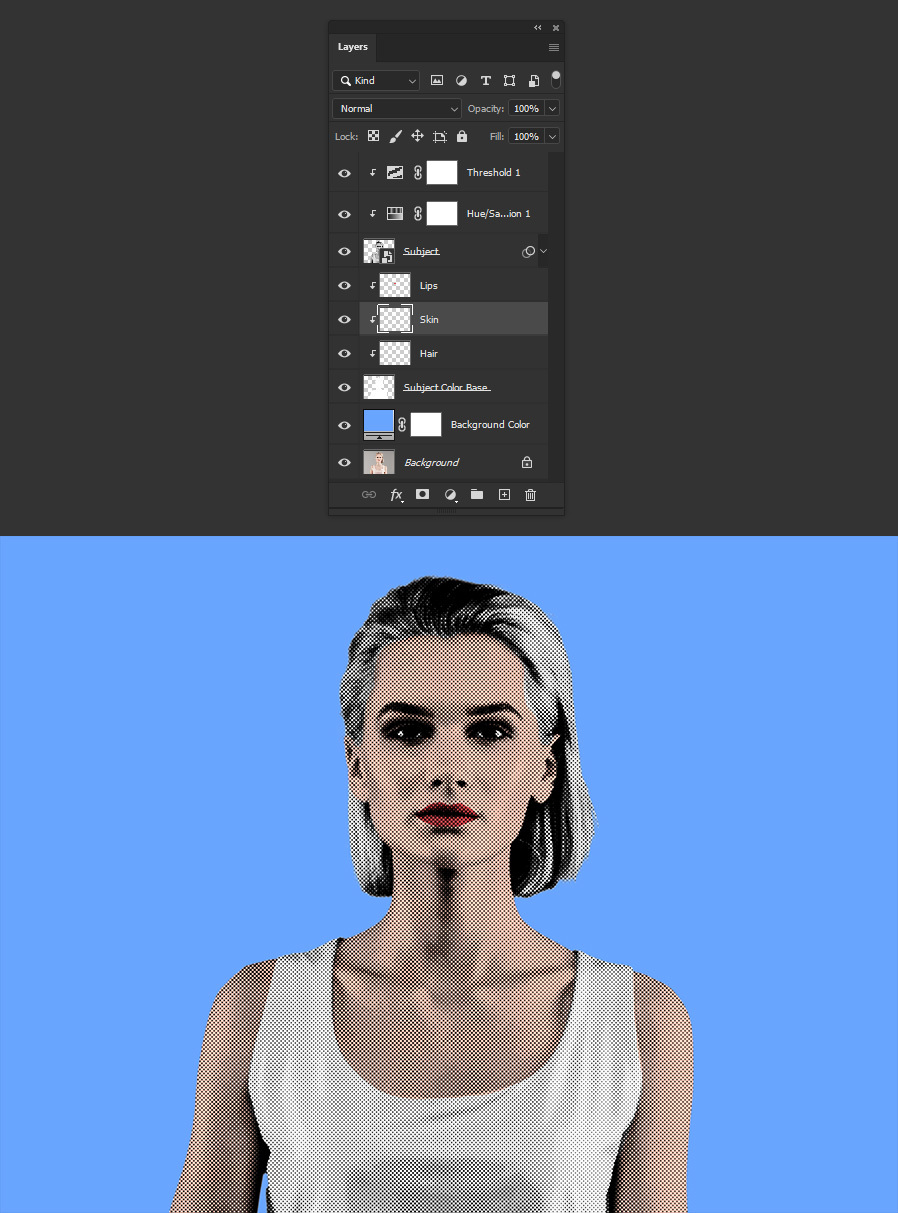
Select the "Skin" layer and using any skin color (I will be using #fcc8b6) paint over your subject skin parts.
Step 19
Lastly, select the "Hair" layer and using any color you want (I will be using #e6dd76) paint over your subject hair parts.
