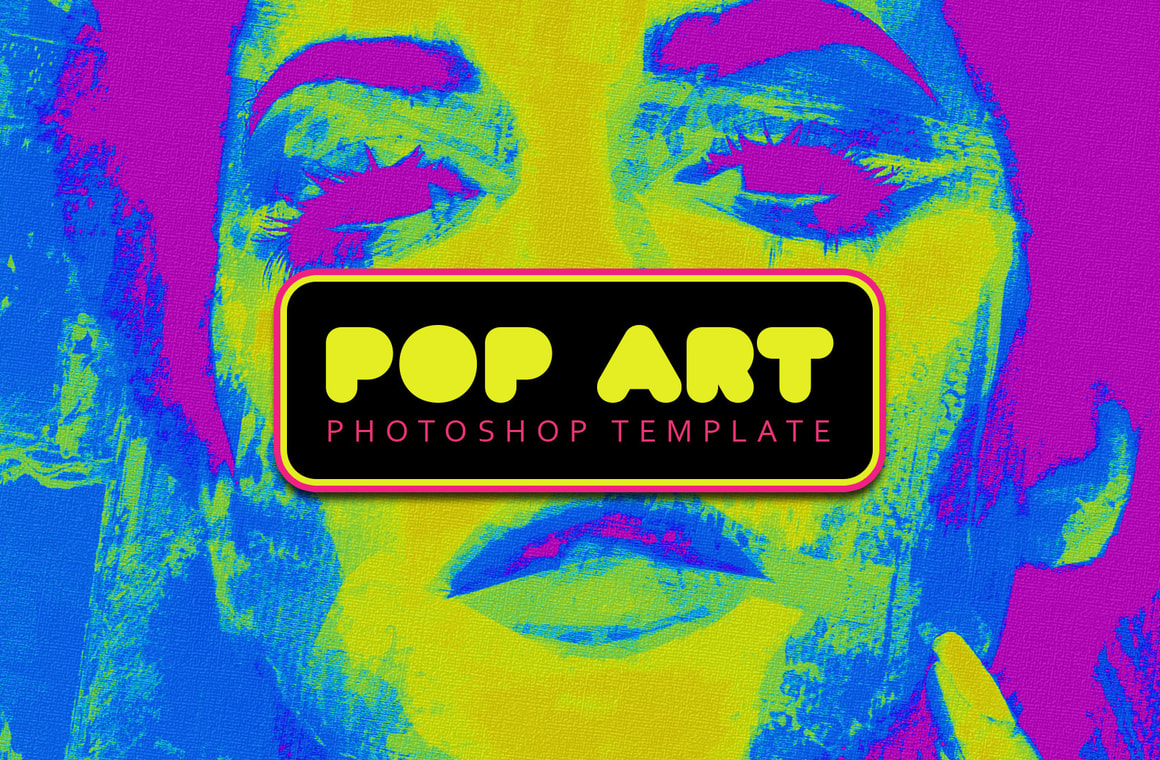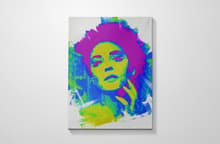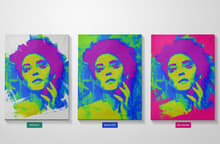


With the Pop Art Template for Photoshop you can instantly emulate a painted canvas with the color effects used during the Pop Art era. Perfect to transform your pictures and designs into an authentic Pop Art style easily by replacing one single Smart Object. All of the effects are applied automatically, and all you have to do is replace the Smart Object with your own image.
After updating the Smart Object, you can turn on/off the different adjustment layers to fine tune the end result and change the colors to your liking by editing the Gradient Map Filters. As all of the effects are made using smart filters, if you are an advanced Photoshop user, you can also edit all of them to your liking and create a unique style. The included PSD file has a resolution of 300 dpi with a dimension of an A4 paper for your to easily print the end result at your home or on your local print shop.
How to use
Updating the Smart Object
- Open the "Pop Art Template.psd" file in Photoshop.
- Double click on the "[Your Image Here]" Smart Object layer thumbnail.
- Replace the sample artwork with your own content.
- Save and close the Smart Object.
Changing Colors
- Double click on any of the "Gradient Map 1, 2 or 3" layers thumbnails.
- Pick any Gradient that you wish from the dropdown menu, create your own or edit the current one with your colors and click OK.
Hiding the Mask
- Select the "Main Effect" layer group.
- Right-click on the mask layer thumbnail and from the dropdown menu select "Disable Layer Mask".
Note: The Art Canvas Mockup used on the preview images is not included in the download file.


