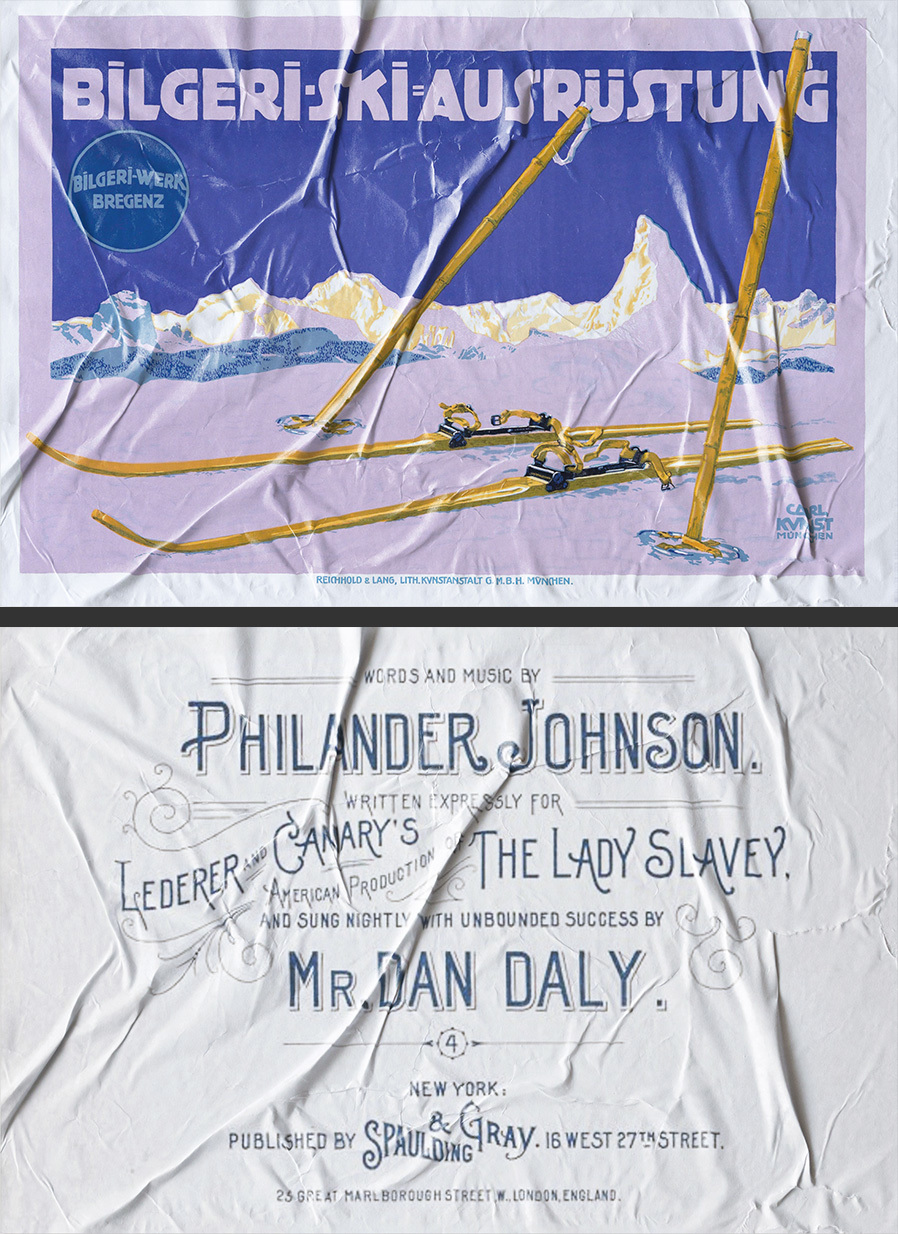
How to Place Anything over a Glued Paper in Photoshop
Photoshop Photo Effects
Turning your design into a realistic mockup could sound a bit harder than it actually is. In Photoshop, there are may different ways to make mockups depending on the object you want to place your desing, but today I will show you how easily you can place anything over a glued paper in Photoshop keeping all lights, shadows and textures to make your own realistic mockups for any of your pictures or designs that will take you less than 10 minutes.
Step 1
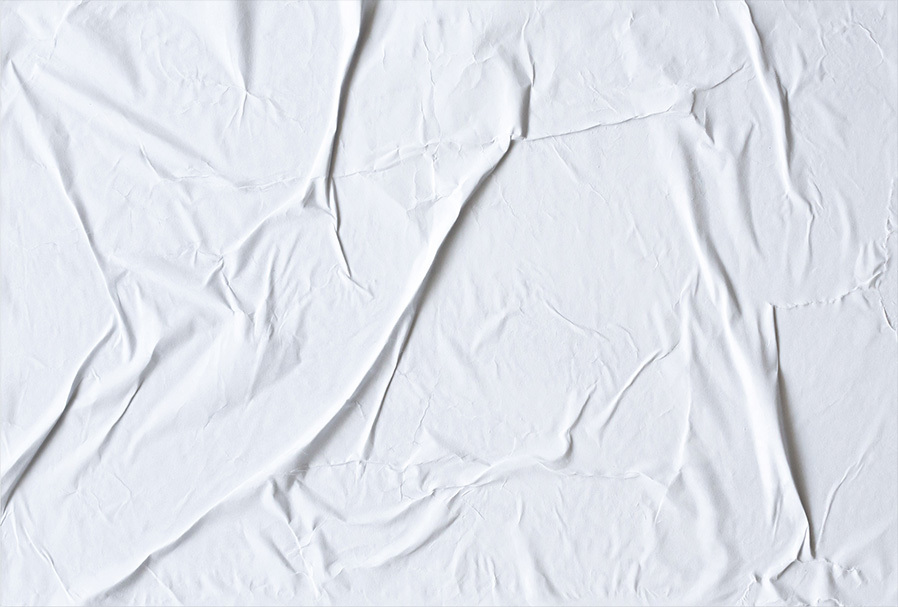
Open the glued paper image in Photoshop.
Step 2
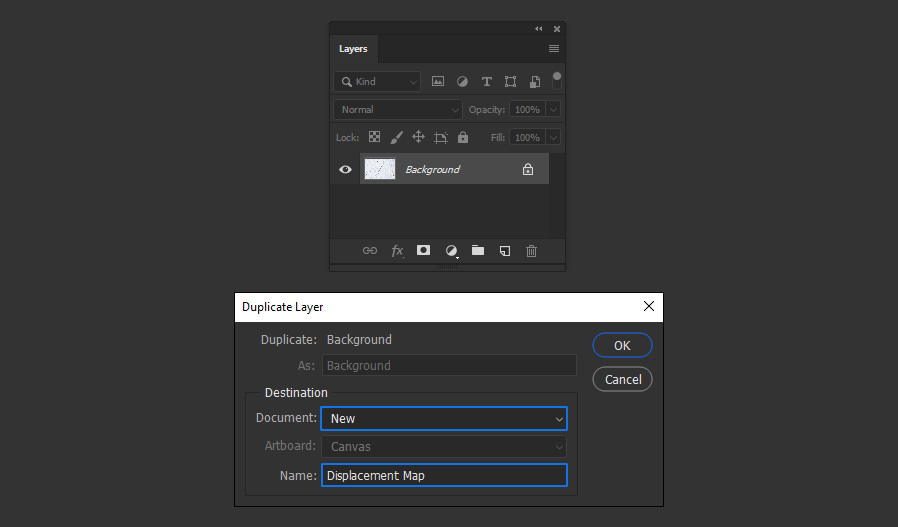
Go to Layer > Duplicate Layer. Under Destination select "New", name the new document as "Displacement Map" and click OK.
Step 3
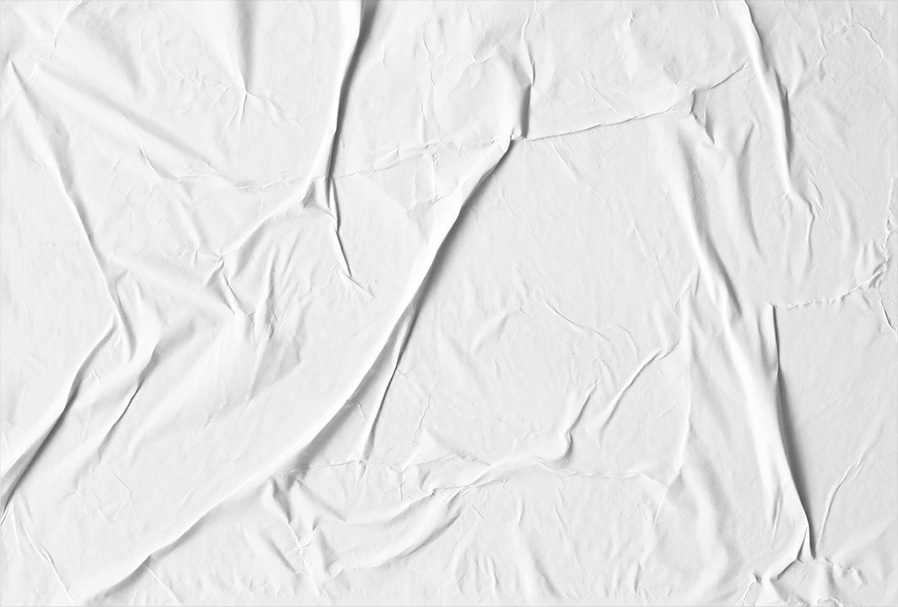
In the Displacement Map document go to Image > Adjustments > Desaturate.
Step 4
Go to Filter > Blur > Gaussian Blur. Set a value between 2 and 3 pixels and click OK. The key here is to blur a bit the sharp edges of the wrinkles for a more smooth effect.
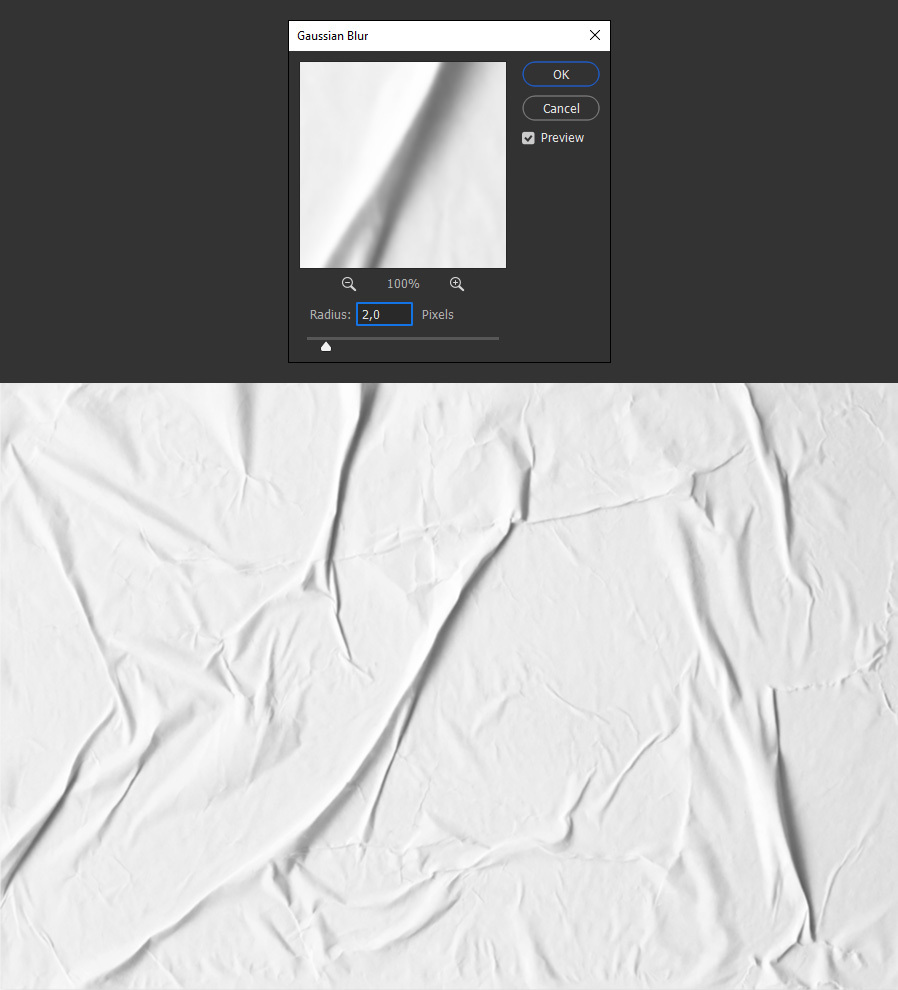
Step 5
Save the file as "Displacement Map.psd" on your computer and close the document.
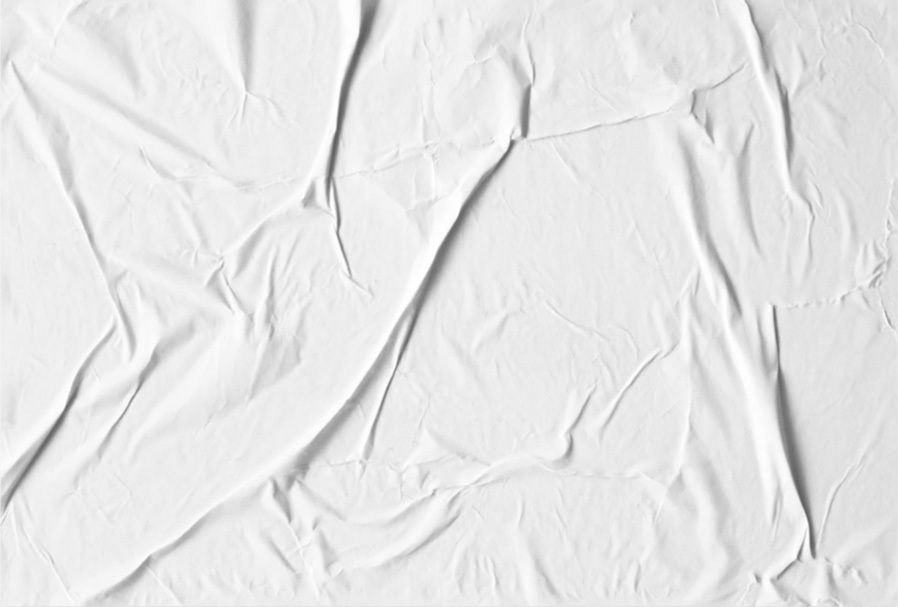
Step 6
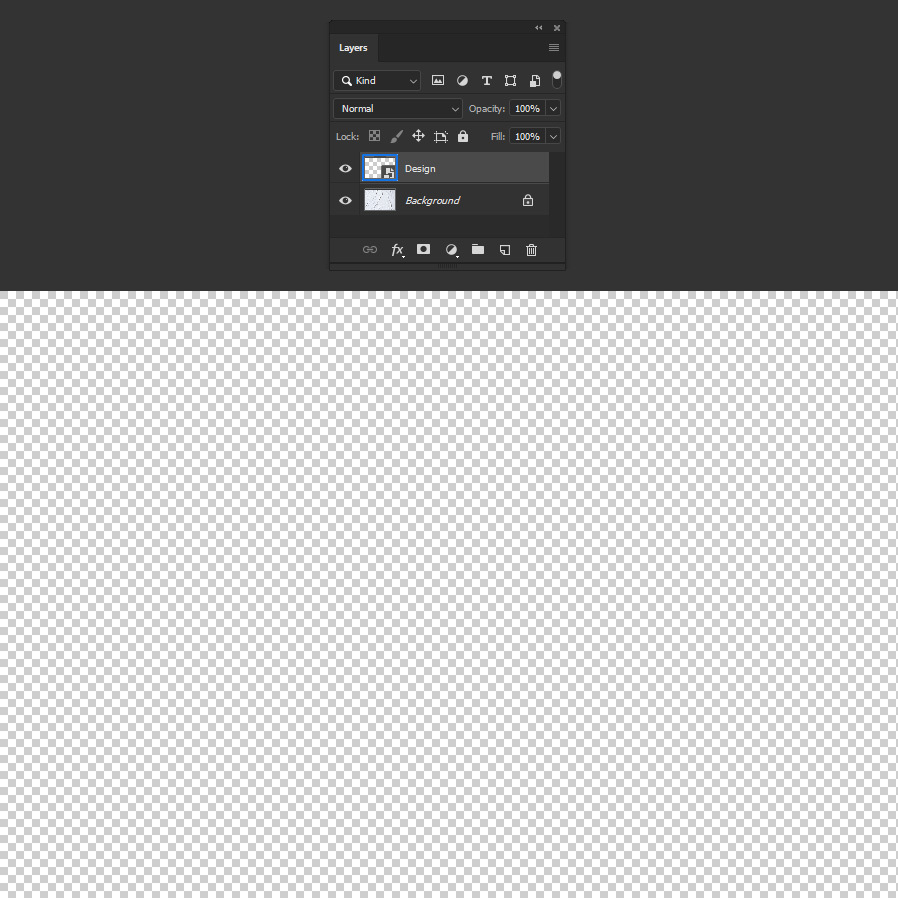
Back in the original image, make a new empty layer by clicking on the "Create New Layer" icon in the layers panel.
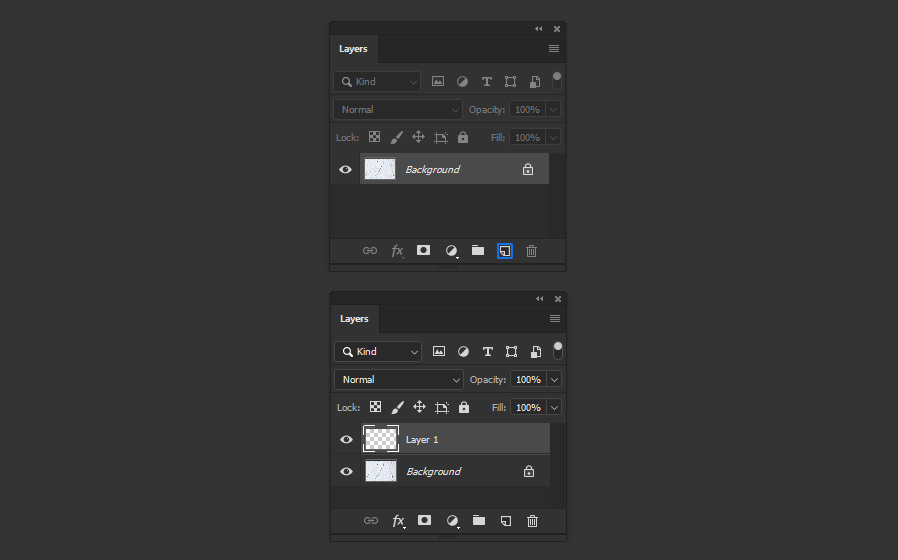
Step 7
Rename the layer to "Design" and go to Layer > Smart Objects > Convert to Smart Object.
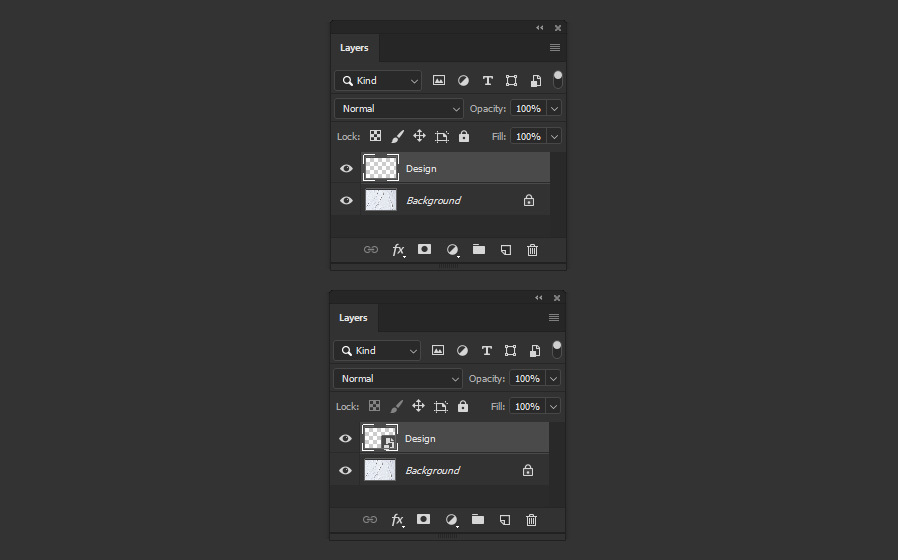
Step 8
Double click on the Smart Object layer thumbnail to open the smart object document.
Step 9
Place your design in this opened document, go to File > Save and then close the window.

Step 10
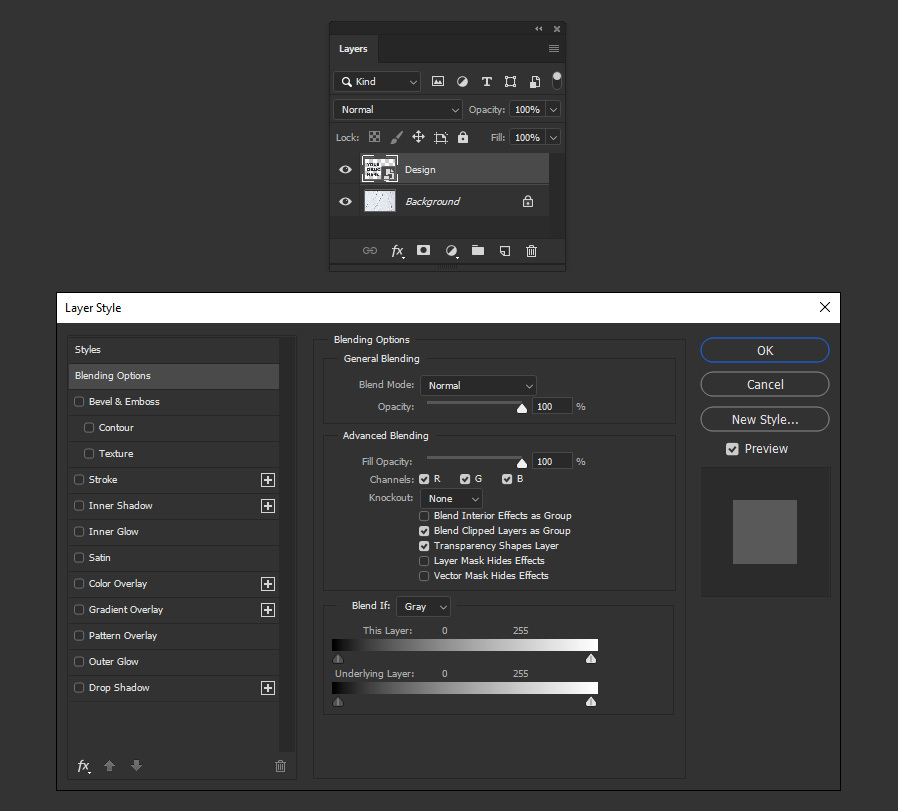
Back in the original file, be sure to have the "Design" layer selected and go to Layer > Layer Style > Blending Options.
Step 11
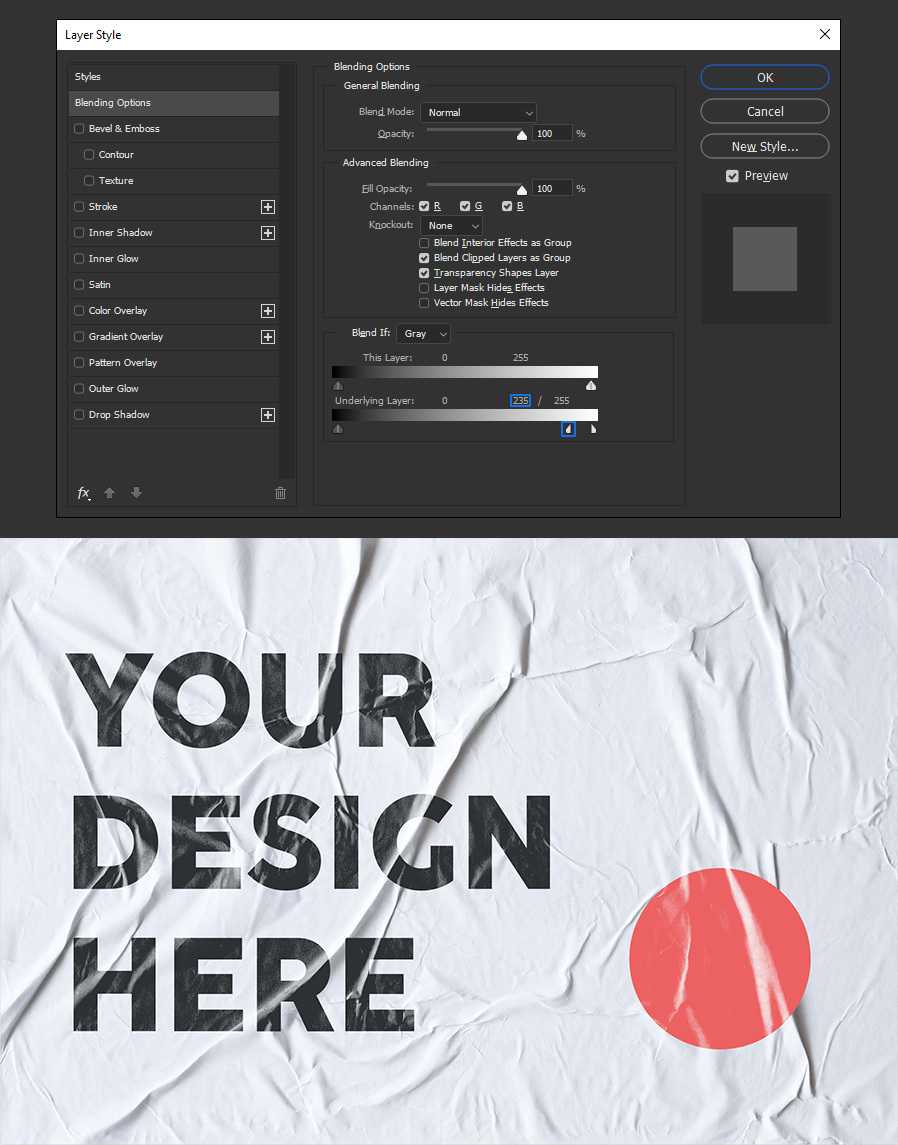
Hold the Alt key on your keyboard (to split the slider in two). Drag the the white slider of the "Underlying Layer" until you reach a value of 235 and click OK.
Step 12
Go to Filter > Distort > Displace. Apply the following settings and click OK.

Step 13
Locate the "Displacement Map" file we saved before on your computer and click Open.
Step 14
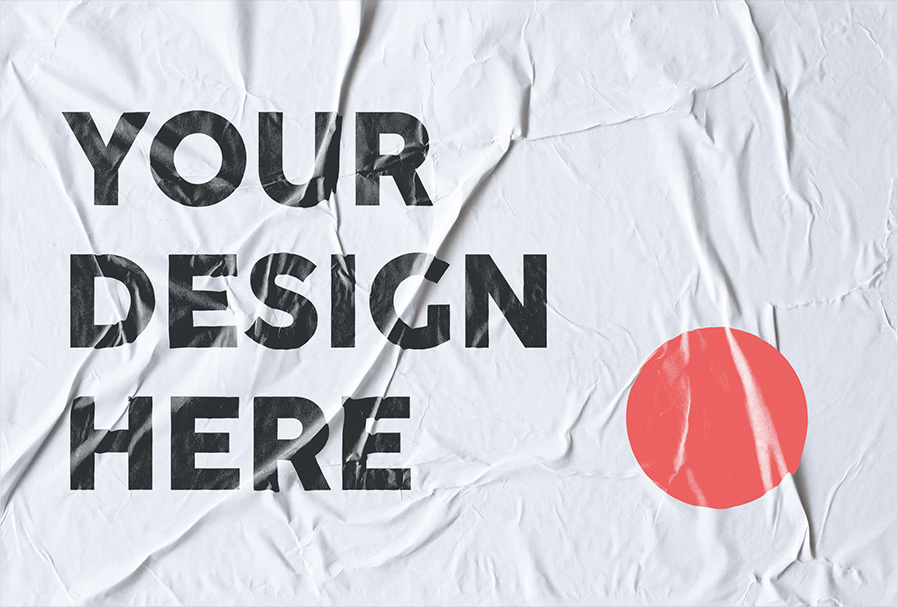
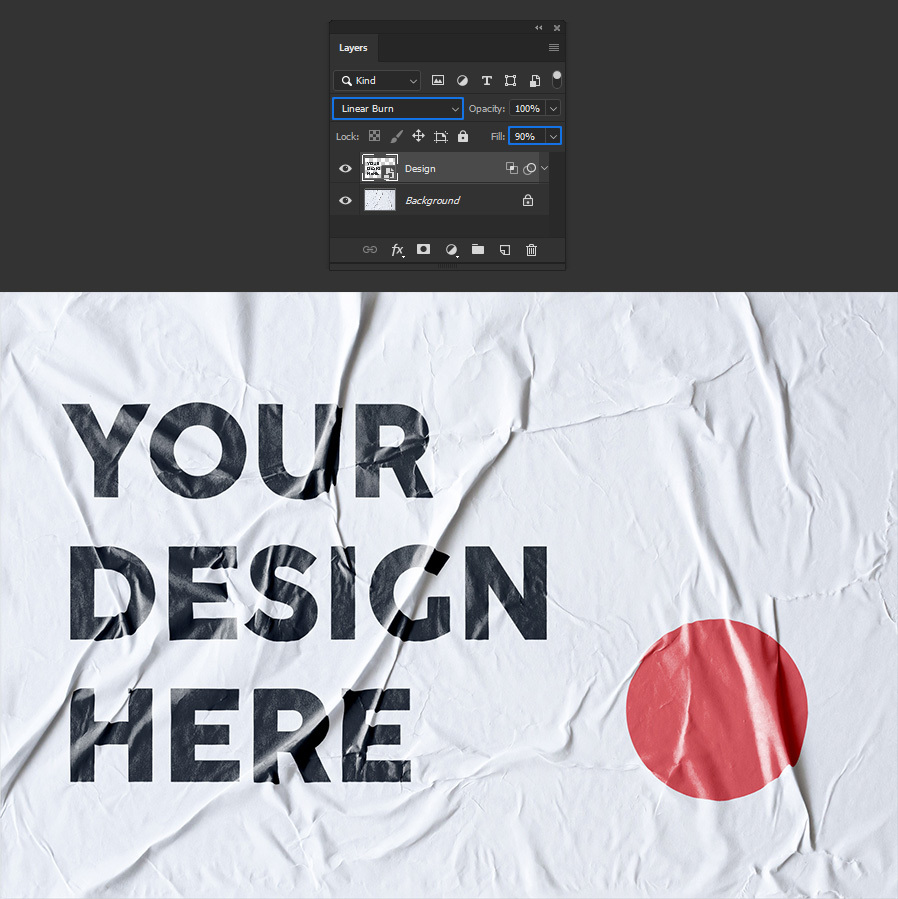
Lastly, set the "Design" layer blend mode to Linear Burn and bring down the Fill to about 90%.
A Final Tip:
The next time you want to change the design, simply double click on the smart object layer thumbnail, place your new design, save the file and it will be automatically updated with all the effects in the original file as you can see in the following examples.
