How to Make an Editable Sliced Text Effect in Photoshop
Photoshop Text Effects
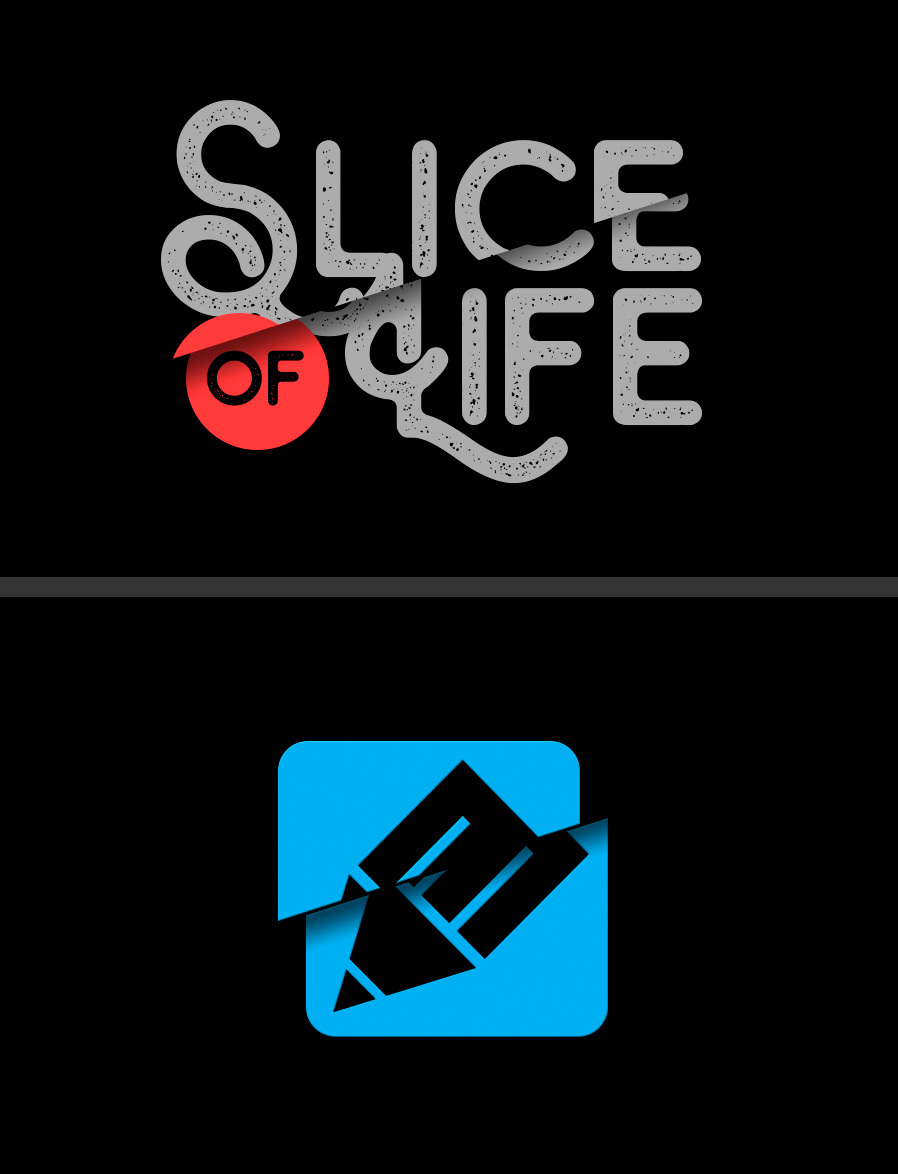
In Photoshop, there are many different methods to make a sliced text effect. However, most of them require you to rasterize the text making it impossible to edit after you make the effect. But today, I will show you how easily you can make a sliced text effect in Photoshop while keeping the text fully editable even after the effect is applied. You'll be able to do this using only 2 layers and with the possibility of using not only text, but almost any kind of graphic (quotes, logos, etc).
Step 1
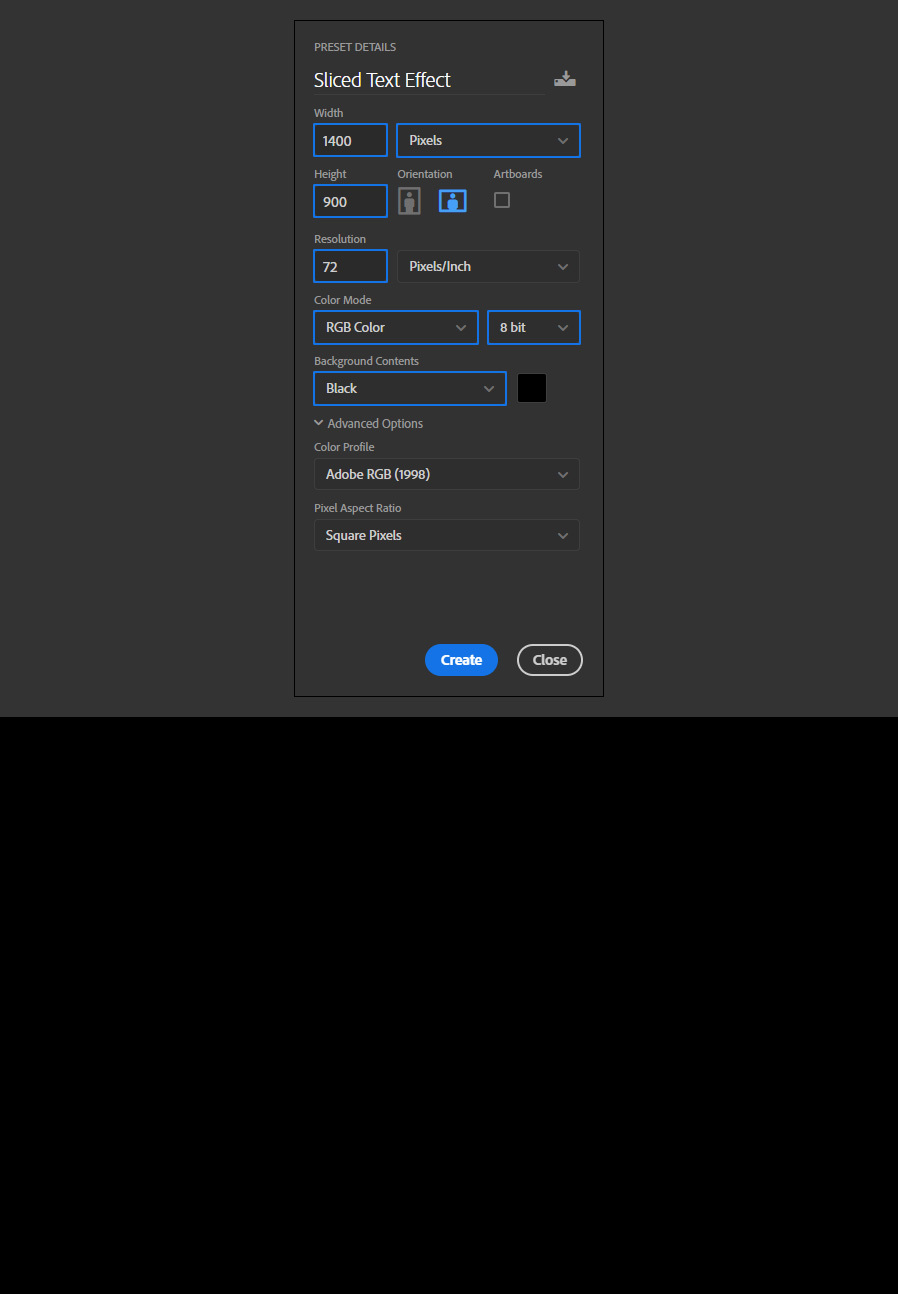
Open Photoshop and make a new file at any size you want. In this case, I will set mine at 1400 x 900 px using a Black background color so you can better see the effect.
Step 2
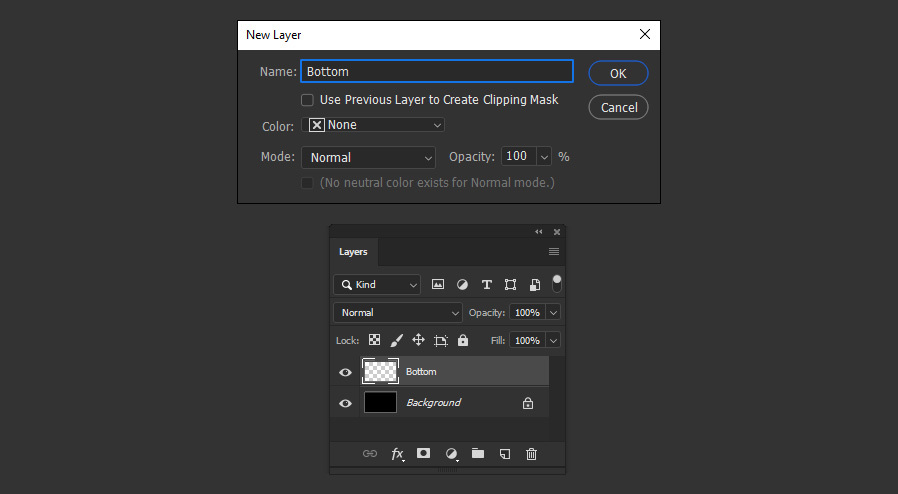
Go to Layer > New > Layer. Name the layer as "Bottom" and click OK.
Step 3
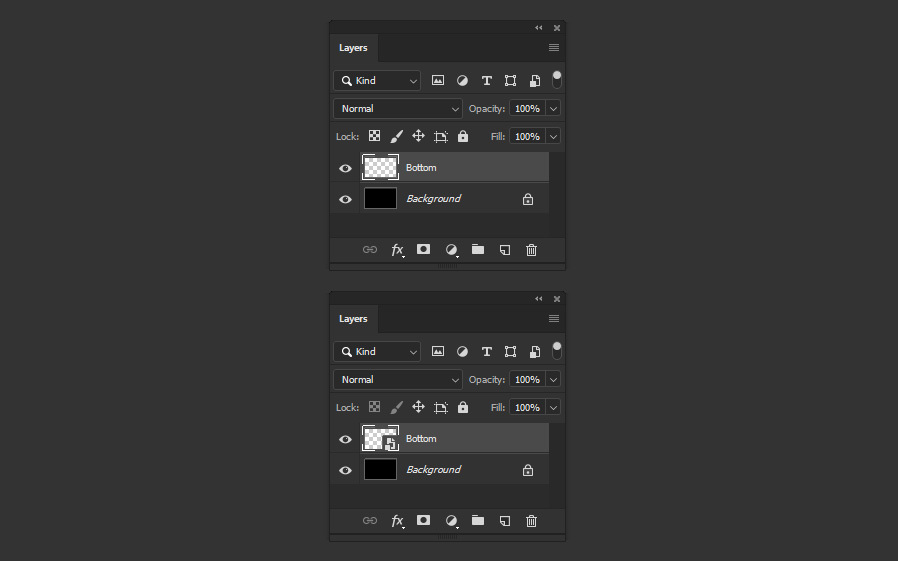
Go to Layer > Smart Objects > Convert to Smart Object.
Step 4
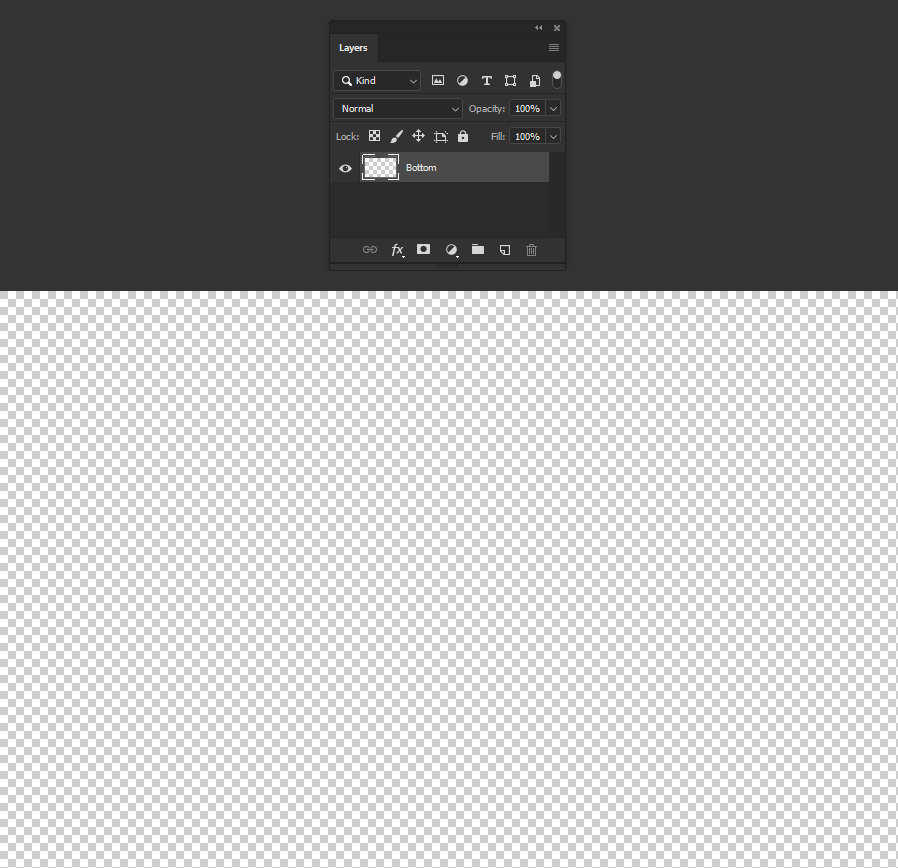
Go to Layer > Smart Objects > Edit Contents.
Step 5
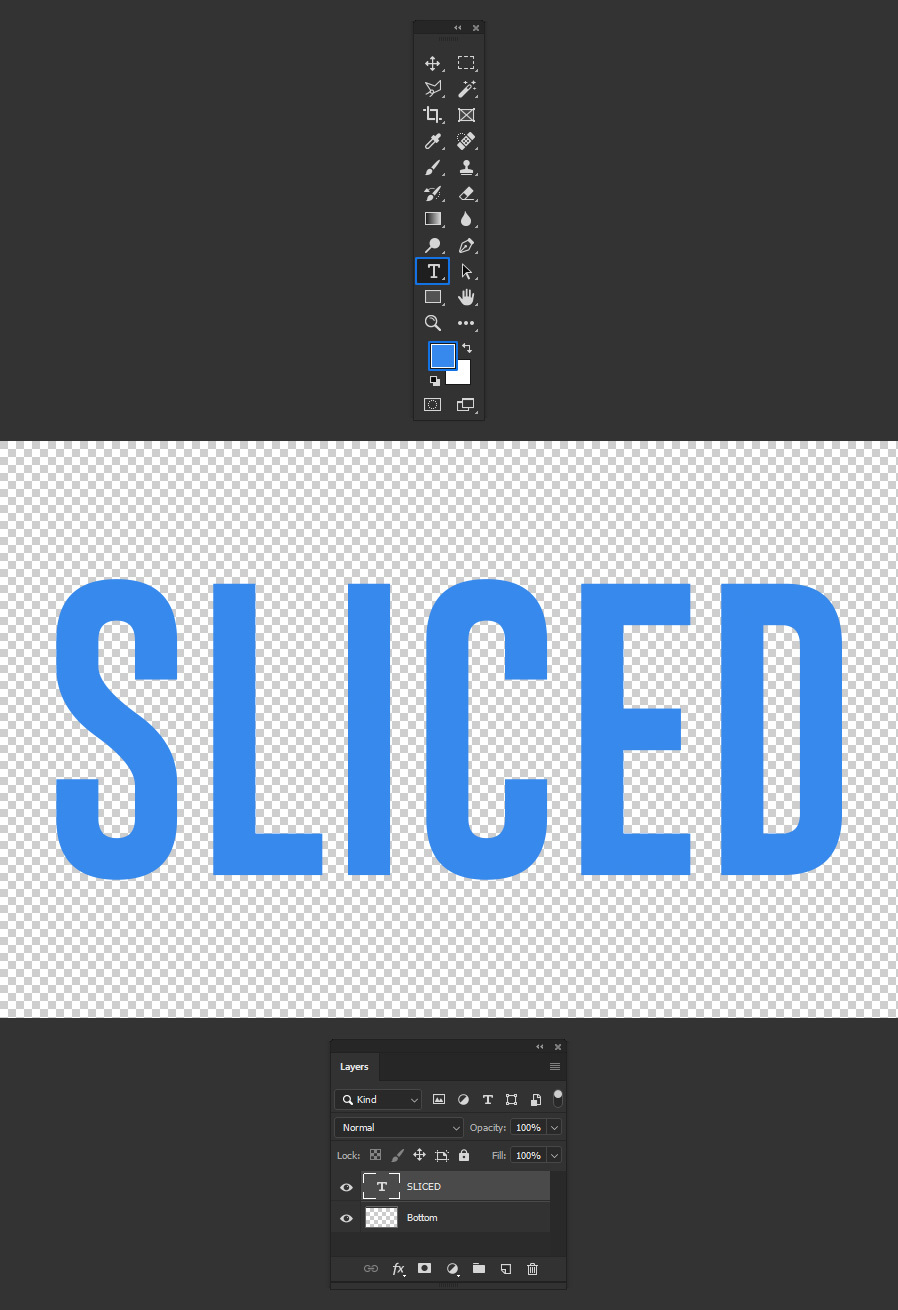
In the new opened window, select the Horizontal Type Tool (T) and type your text using any font, size and color that you want.
Step 6
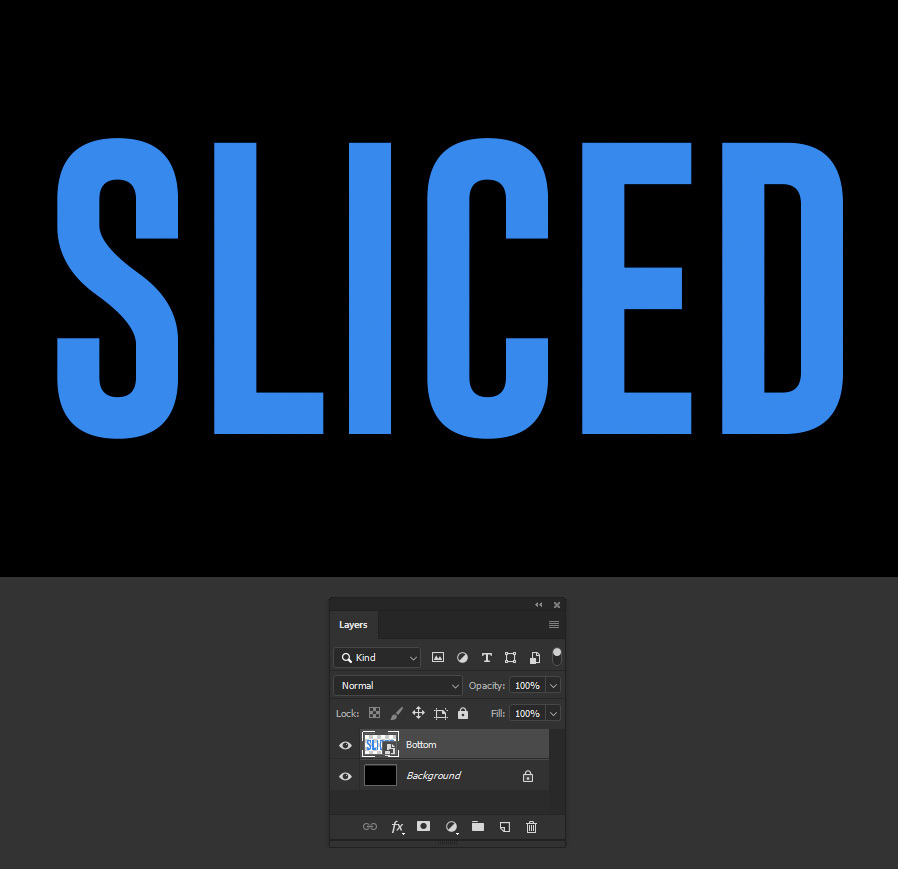
Go to File > Save and close the Smart Object window to go back to the original file.
Step 7
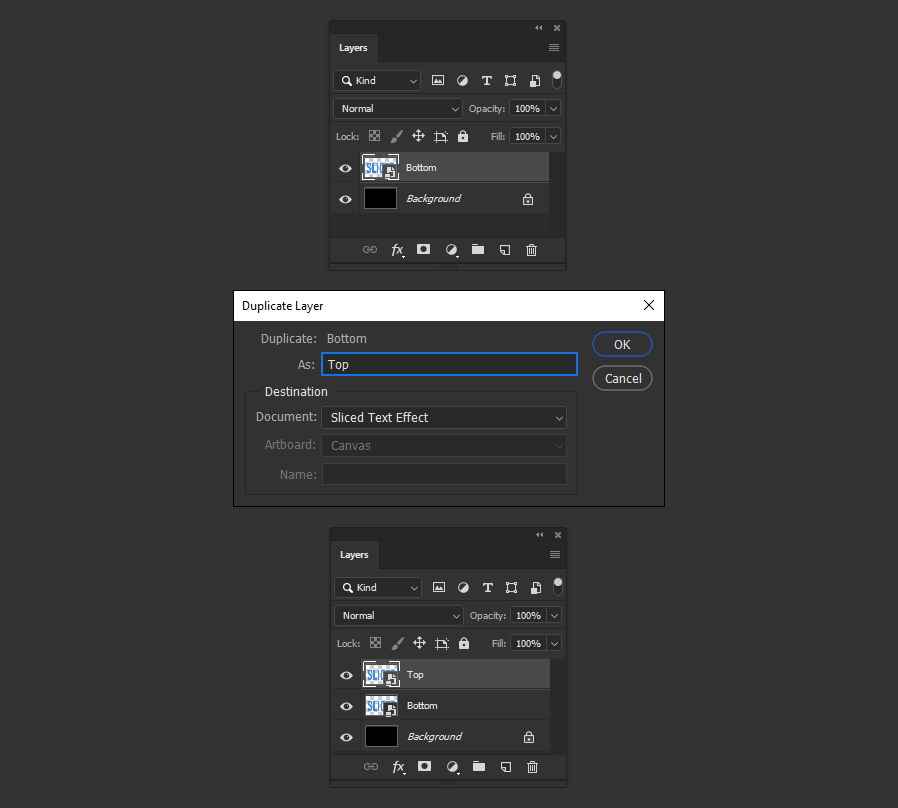
With the "Bottom" layer selected, go to Layer > Duplicate Layer. Name this layer as "Top" and click OK.
Step 8
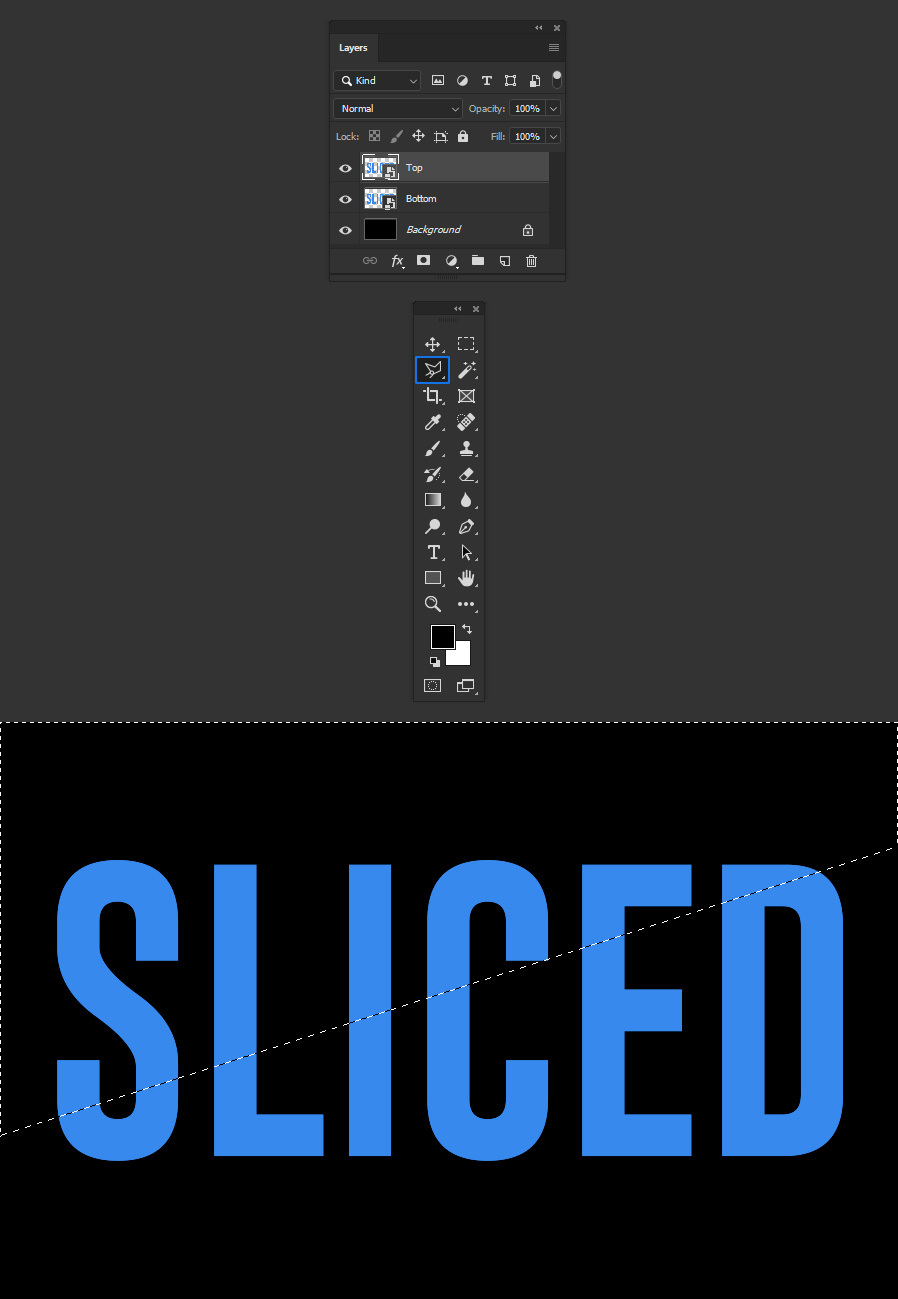
Select the Polygonal Lasso Tool (L) and make a selection where you want your text sliced as shown.
Step 9
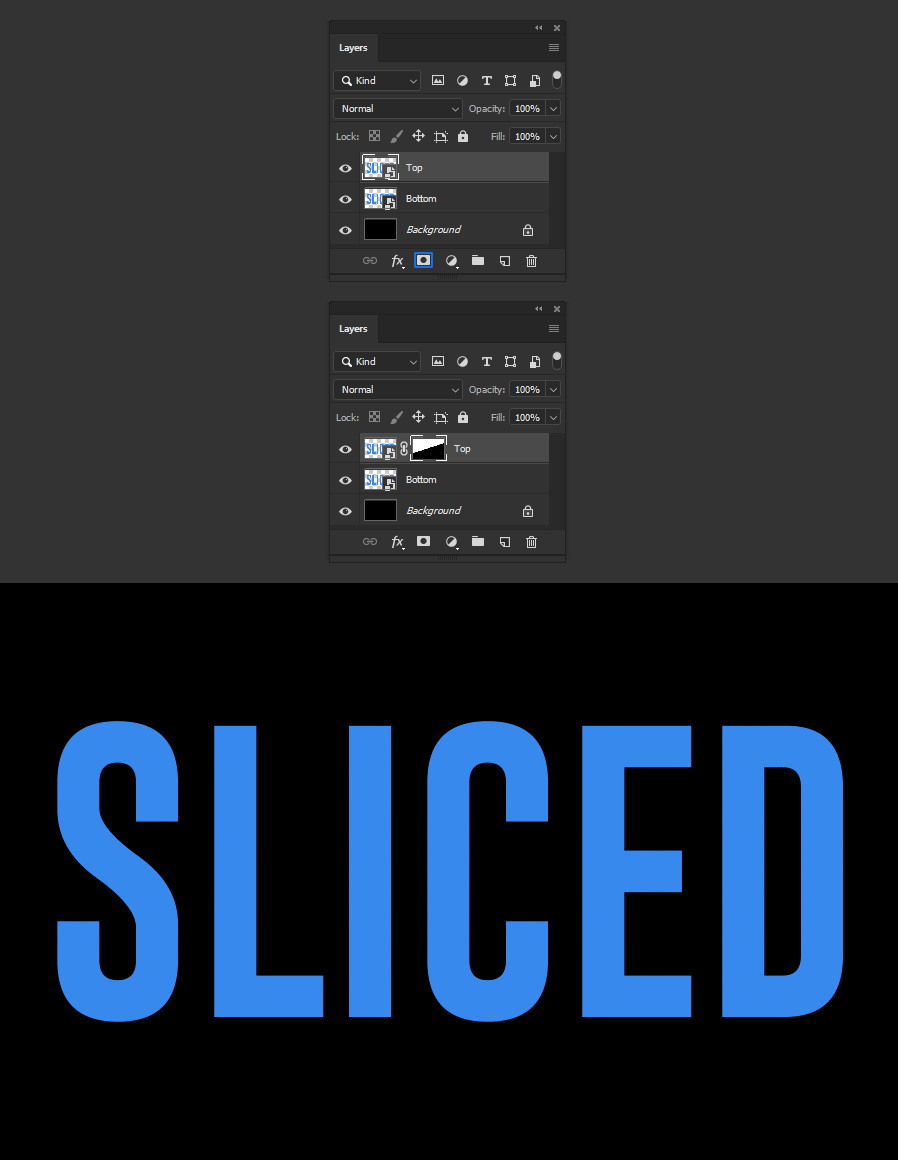
With the selection active, click on the "Add Layer Mask" icon in the Layers panel.
Step 10
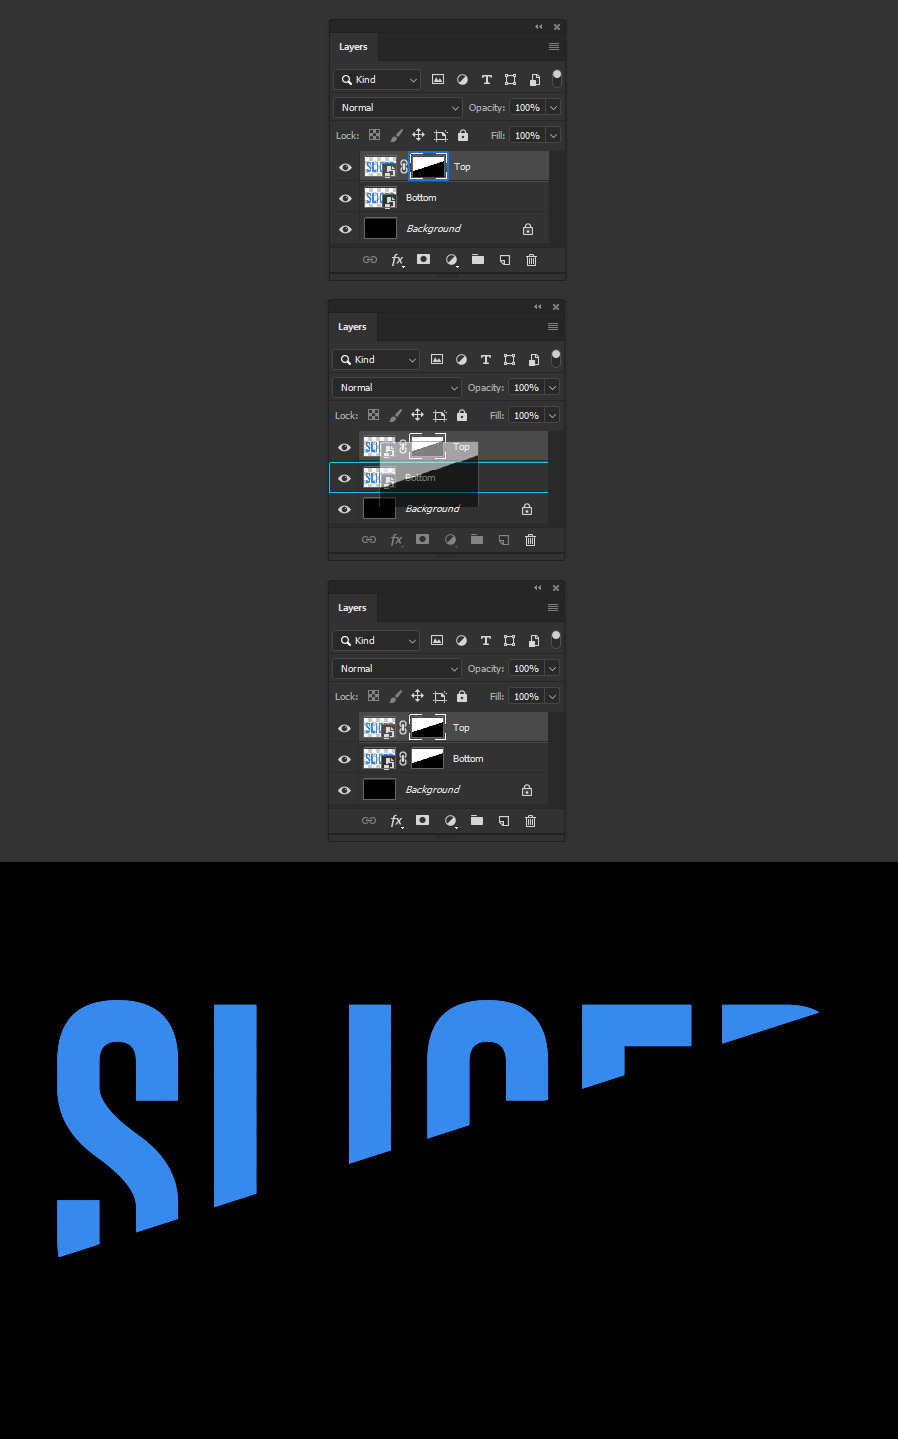
Hold the Alt key on your keyboard and drag the layer mask thumbnail of the "Top" layer to the "Bottom" layer.
Step 11
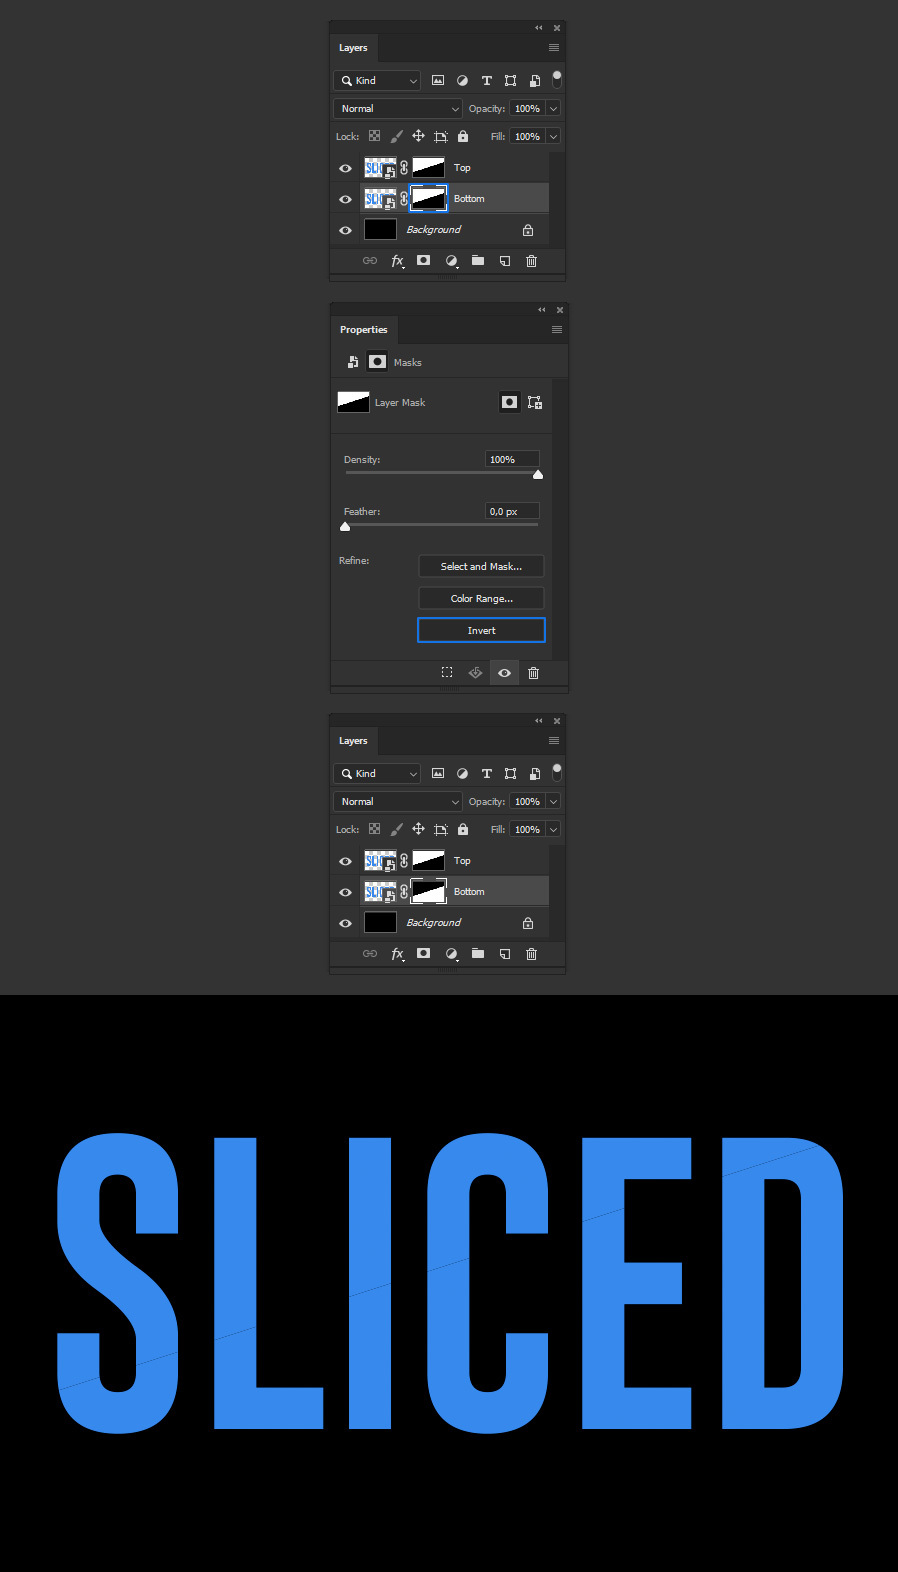
Select the layer mask thumbnail of the "Bottom" layer. Go to Window > Properties and click the "Invert" button.
Step 12
With the "Bottom" layer selected, go to Layer > Layer Style > Gradient Overlay. Be sure to select the "Foreground to Background" gradient in the gradient thumbnail, apply the following settings and click OK.
Note: Depending on your slice angle, you may need to change the gradient angle to match yours.
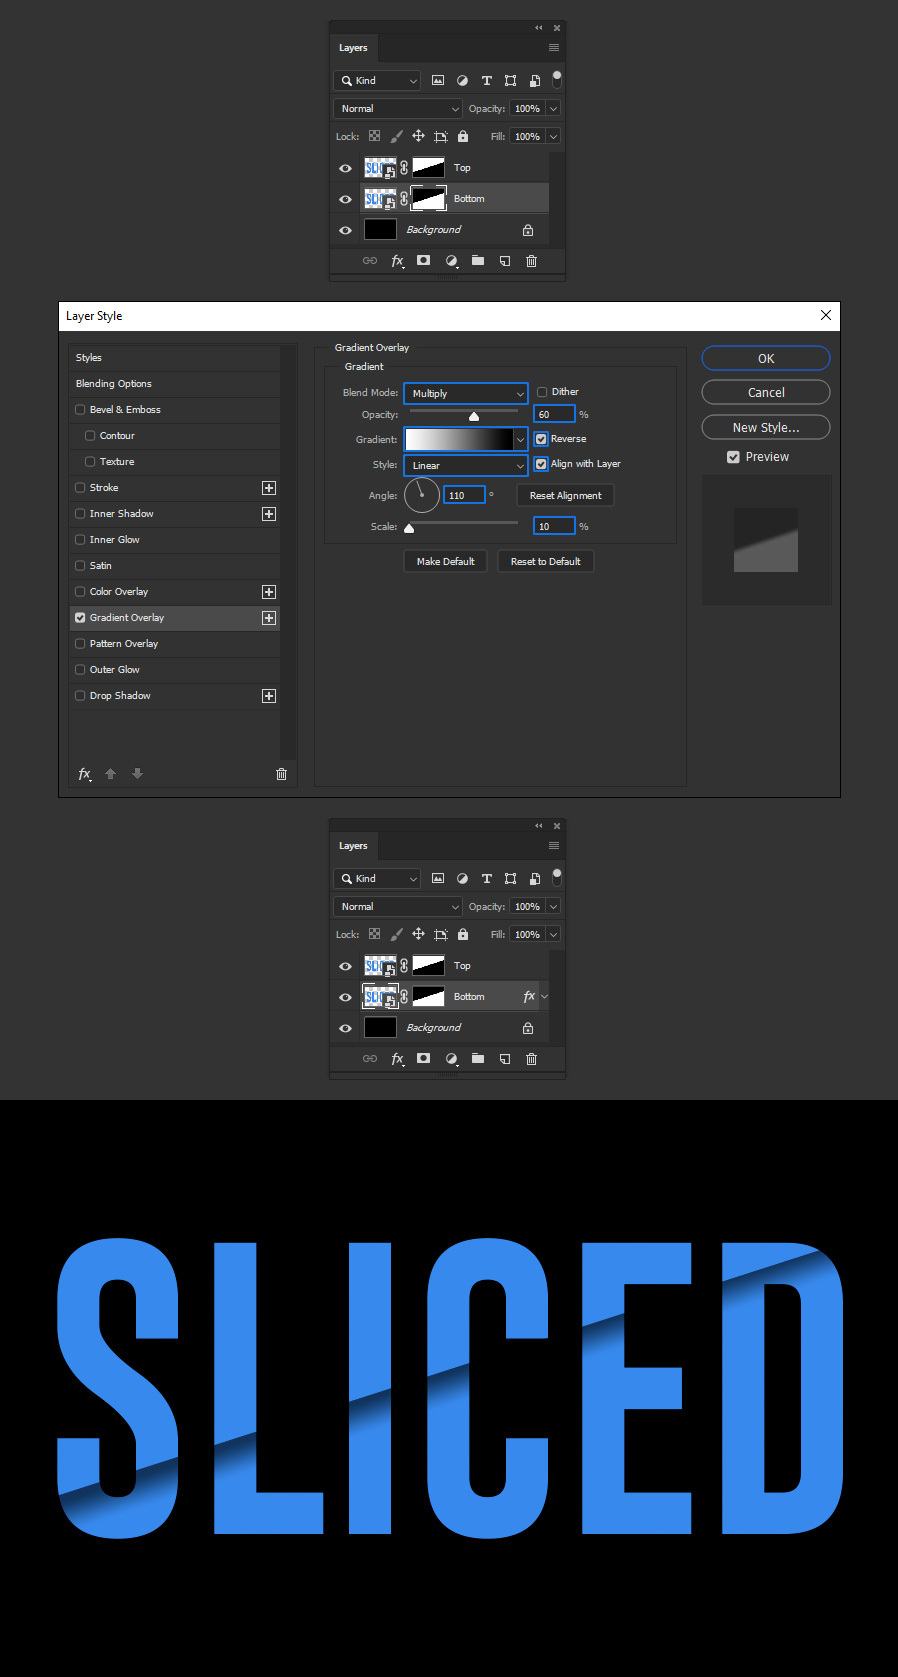
Step 13
Now simply select the "Top" layer and move it a bit to the left and down to achieve the sliced effect.
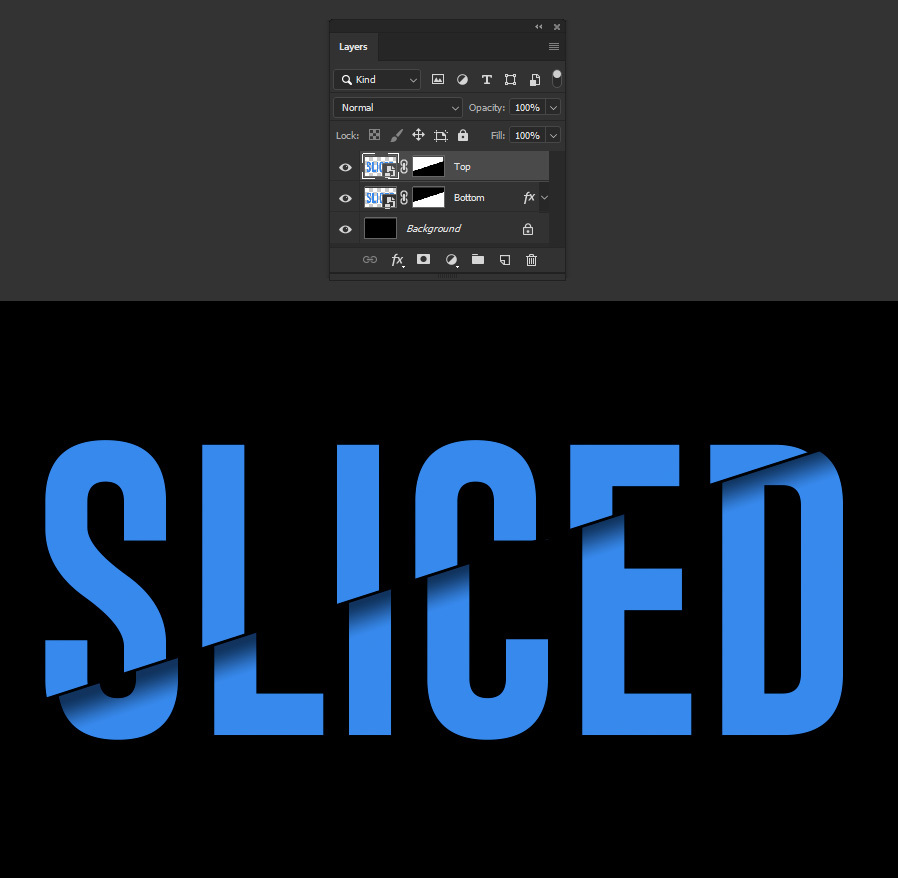
Some Final Notes
As we used a Smart Object for the text, you can now easily change the font, size, color, and even use a logo to get the sliced effect without having to do the whole process again. Simply select any of the Smart Object layers, go to Layer > Smart Objects > Edit Contents edit your content, save it, and the file will be updated with your new design. Also, you can freely move any of the Smart Object layers to make the effect more visible of subtle.
