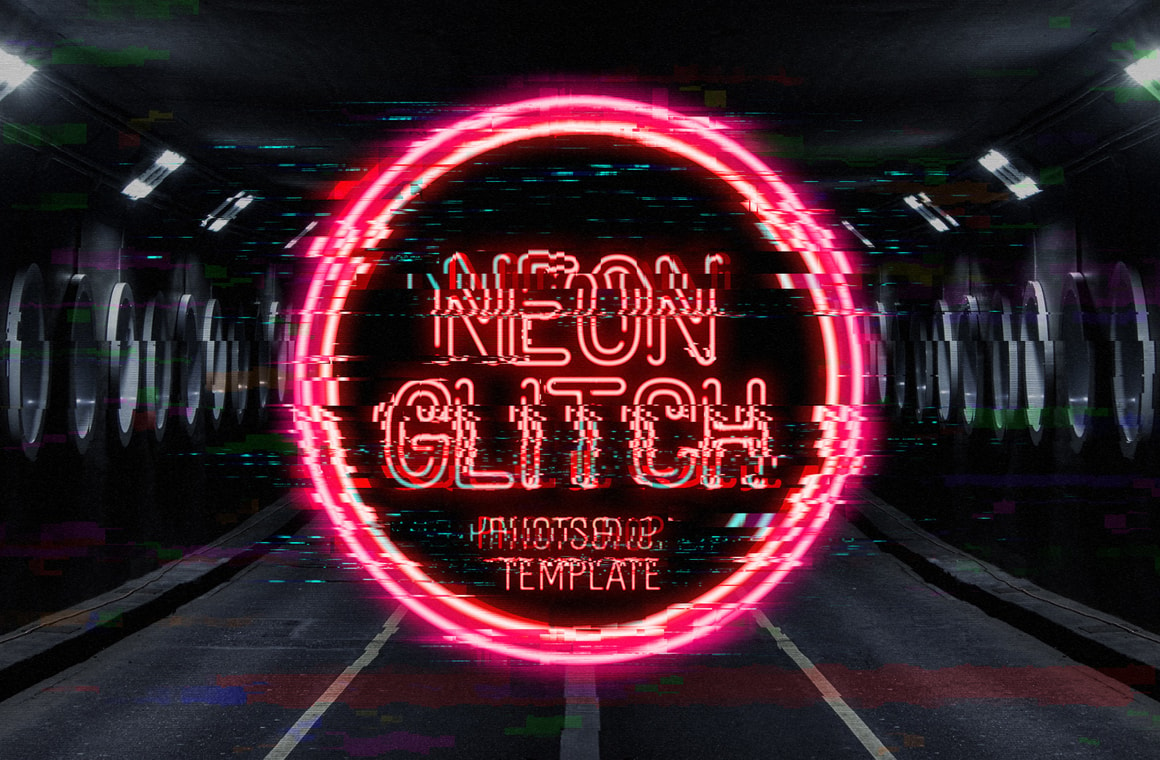
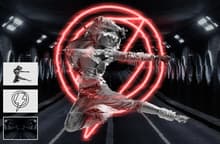
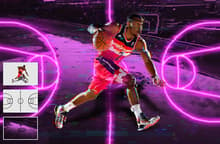

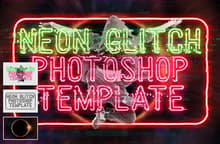
With the Neon Glitch Template for Photoshop you can instantly emulate a glitched effect from any photo or graphic that you want. Simply replace the Background, Neon and Subject smart objects and the file will automatically transform your images into a Neon Glitched one.
After updating the Smart Object, you can pick from 10 different glitch effects, add scan noise and scan lines, turn on/off the neon glow and distortion over your subject, show or hide the neon on the back as well to enable or disable the glitch background effect to fine tune the end result. The included PSD file has a resolution of 300 dpi with a dimension of 4800 x 3200 px in RGB color mode perfect to be used on your digital designs.
How to update the Smart Objects
- Open the "Neon Glitch Template.psd" file in Photoshop.
- Double click on any of the 3 red labelled "[Your Image Here] - X" Smart Object layer thumbnails.
- Replace the sample artwork with your own content.
- Save and close the Smart Object.
How to change the neon color
- Double click on the thumbnail of the "[Your Image Here] - Neon" Smart Object layer.
- In the new opened window, double click on the "[Change Neon Color]" layer thumbnail.
- Pick any color from the Color Picker window and click OK.
Quick Tip for a better neon effect
- If you are using an outlined shape for the Neon Design, we recommend a minimum of 40 px stroke.
- If you are using a text layer for the Neon Design, we recommend you use a neon styled font like Roadhouse Neon at 300 px size.
- Be sure to have your subject isolated over a transparent background to see the background and neon back sign design.
- If you want to use some of your already made neon images, simply replace the "Subject" smart object and turn off the "Neon Glow" and "Neon Glitch" layers above the "Subject" layer group.


