How to Easily Make a Overprint Effect in Photoshop
Photoshop Effects
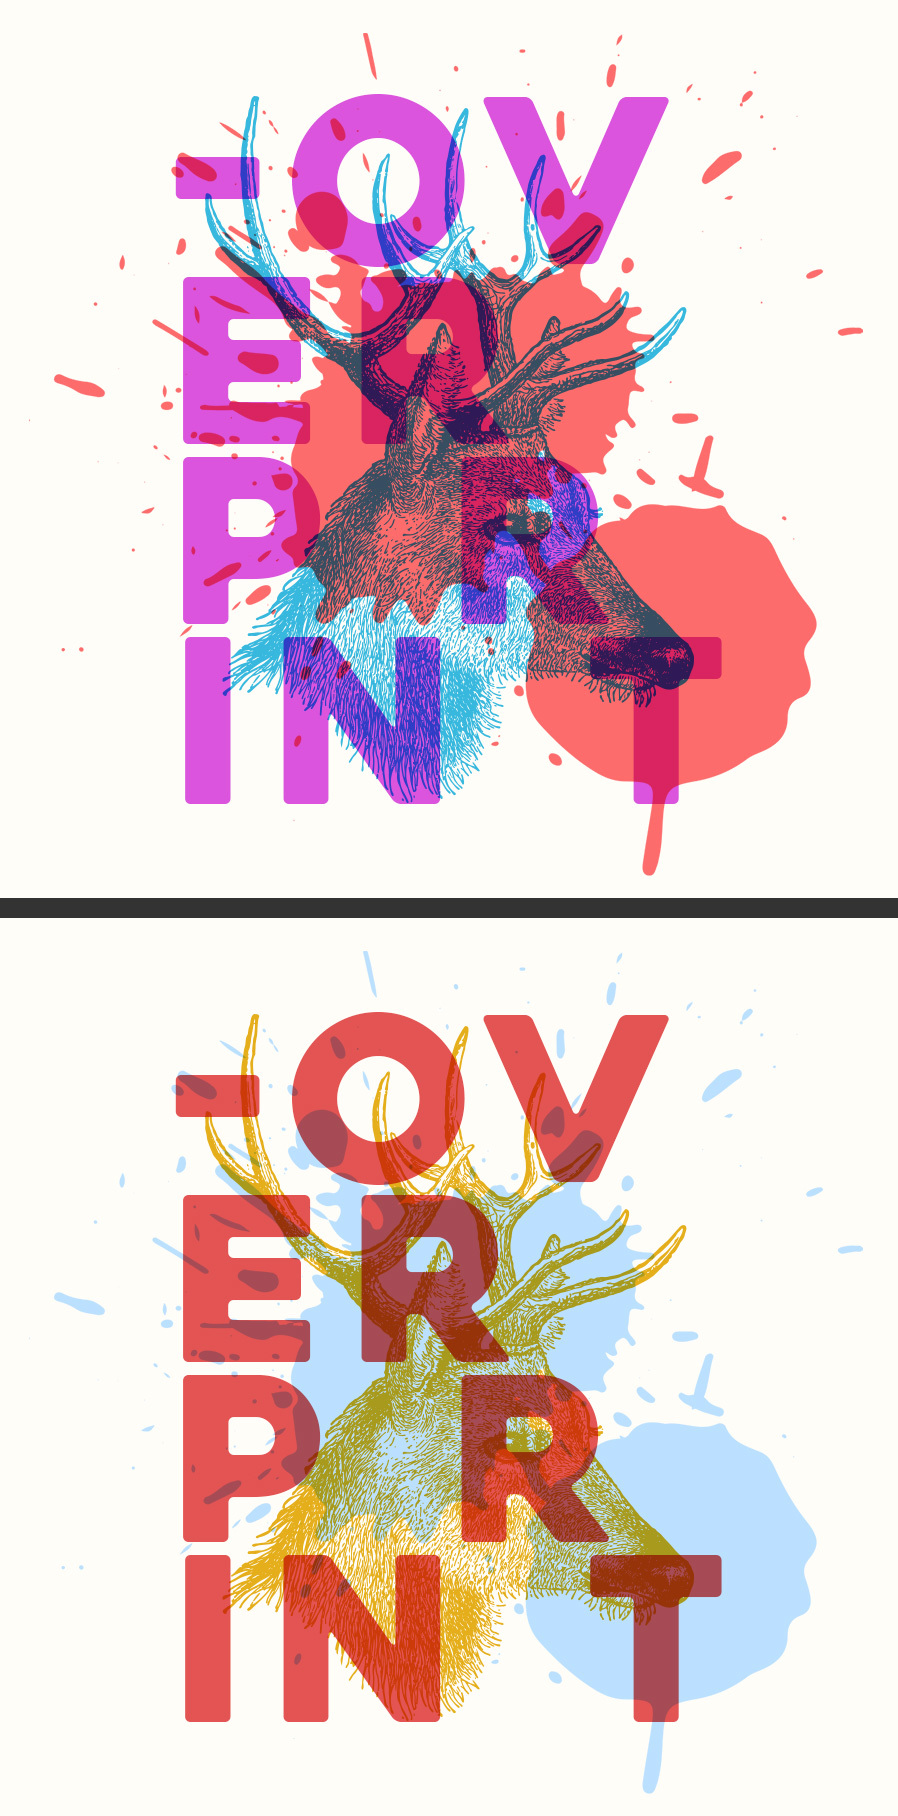
In the printing world, overprints are often used as a way to save one or more extra ink passes when using ink screen-based printing methods. Today, I will show you a very easy way to replicate this overprint effect in Photoshop you can use with any of your images and even change the "printing" colors once the effect was made.
Step 1
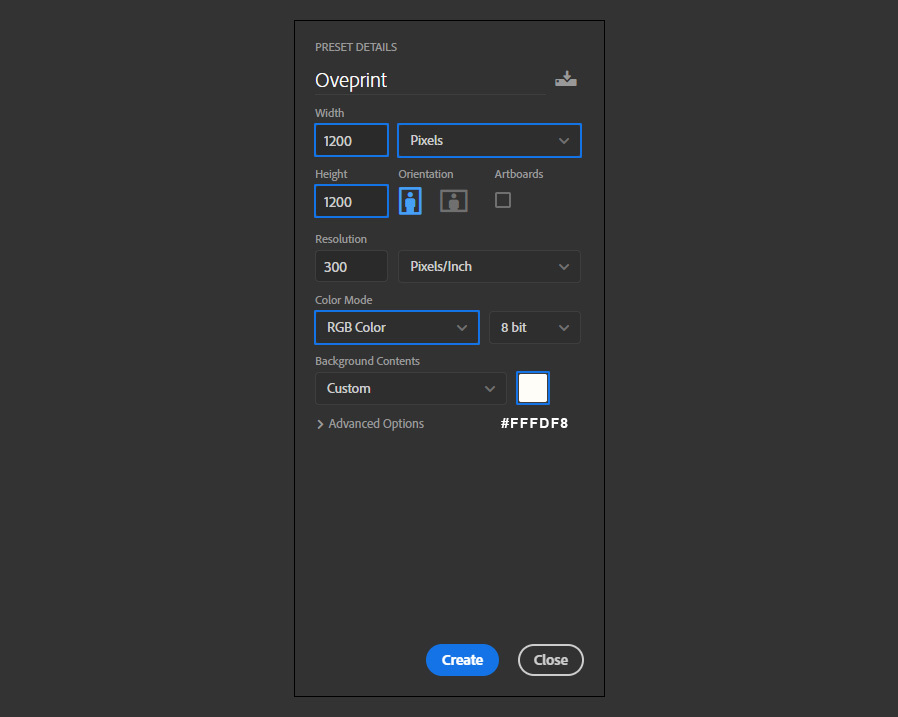
Open Photoshop and make a new file at any size you want. In this case, I will make mine at 1200 x 1200 px with the background color set to #fffdf8.
Step 2
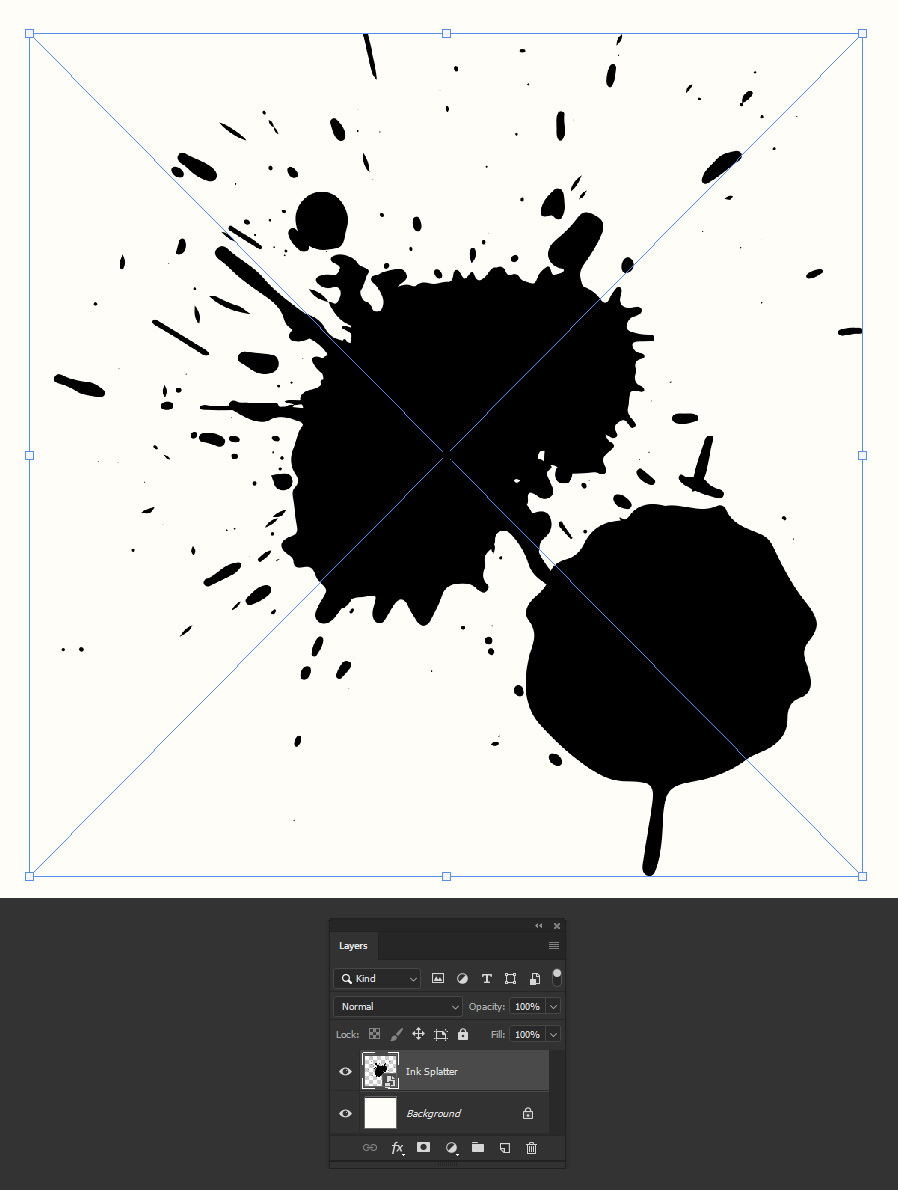
Go to File > Place Embedded and locate the image you want to use on the back part of your design on your computer and click the Place button. In this case, I will use a simple ink splatter image.
Note: Be sure your image has a transparent background to get a better end result.
Step 3
In the Layers Panel, set the layer blend mode to "Multiply".

Step 4
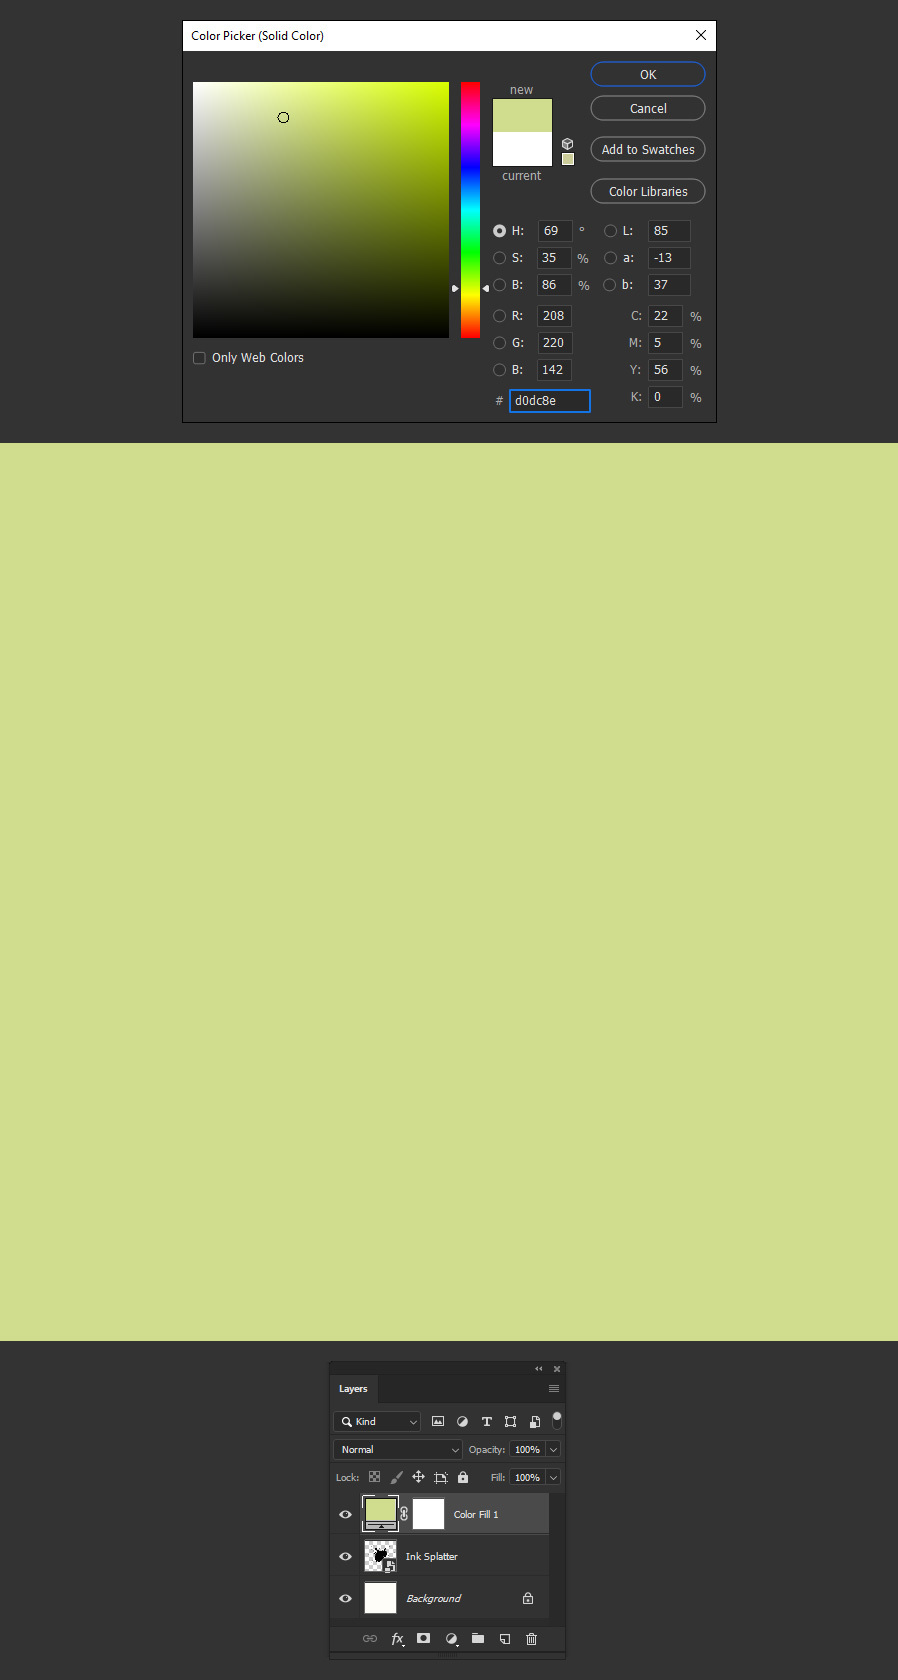
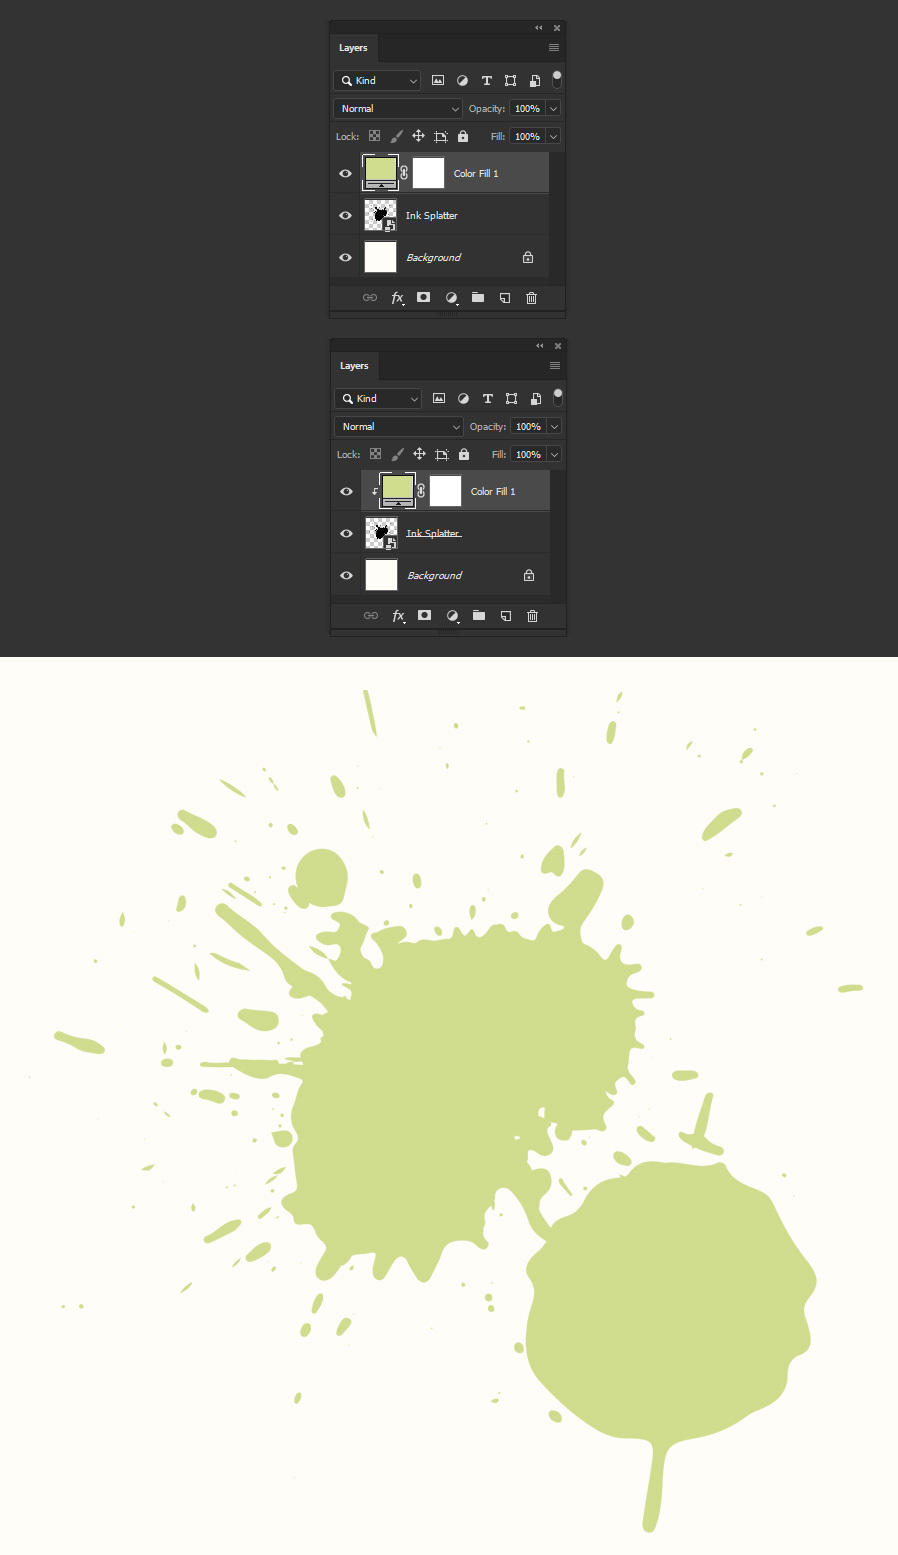
Still in the Layers Panel, click on the "Create new fill or adjustment layer" icon and select "Solid Color" from the dropdown menu.

Step 5
Pick any color you want to use in the Color Picker window and click OK. In this case, I will set mine to #d0dc8e.
Step 6
With the Color Fill layer selected go to Layer > Create Clipping Mask.
Step 7
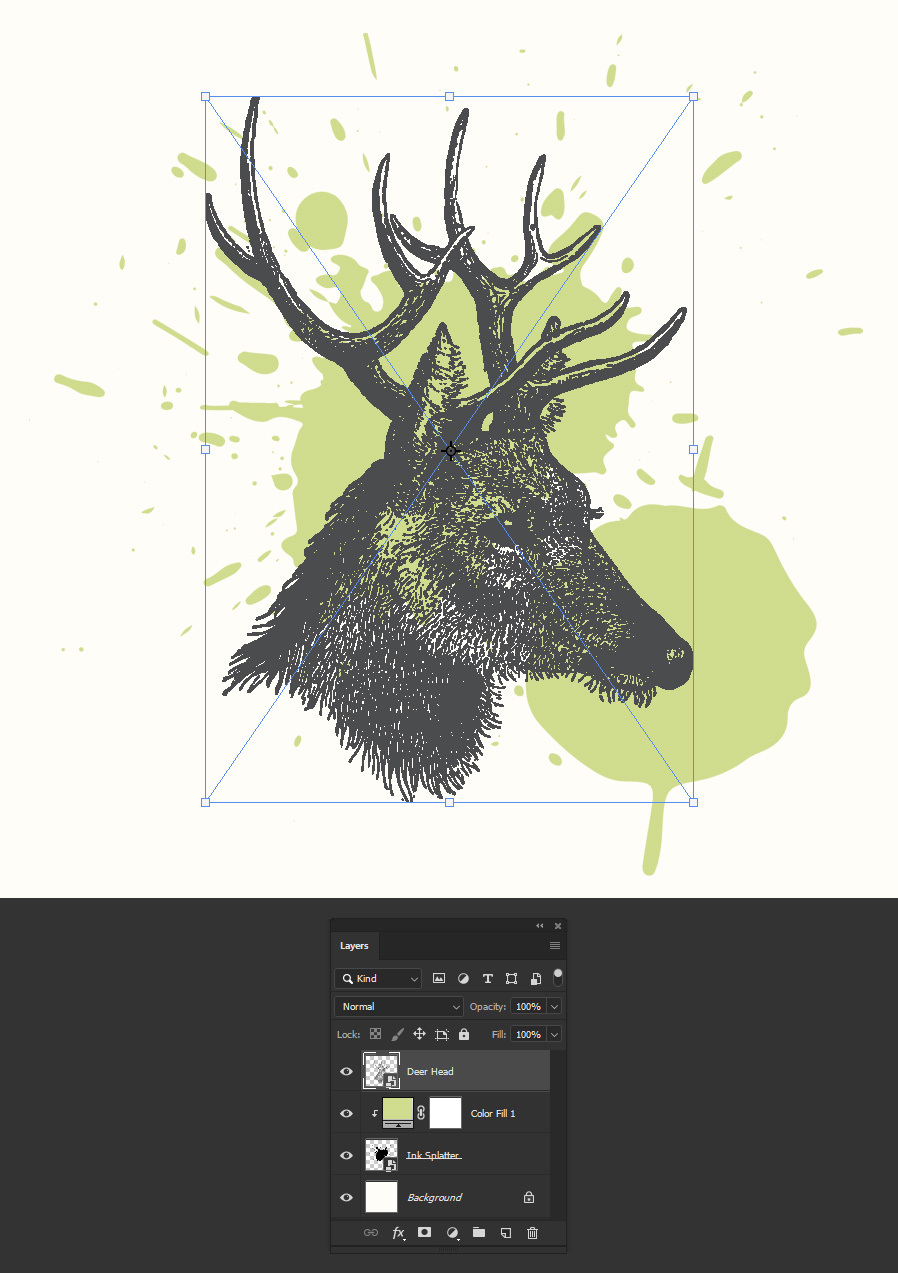
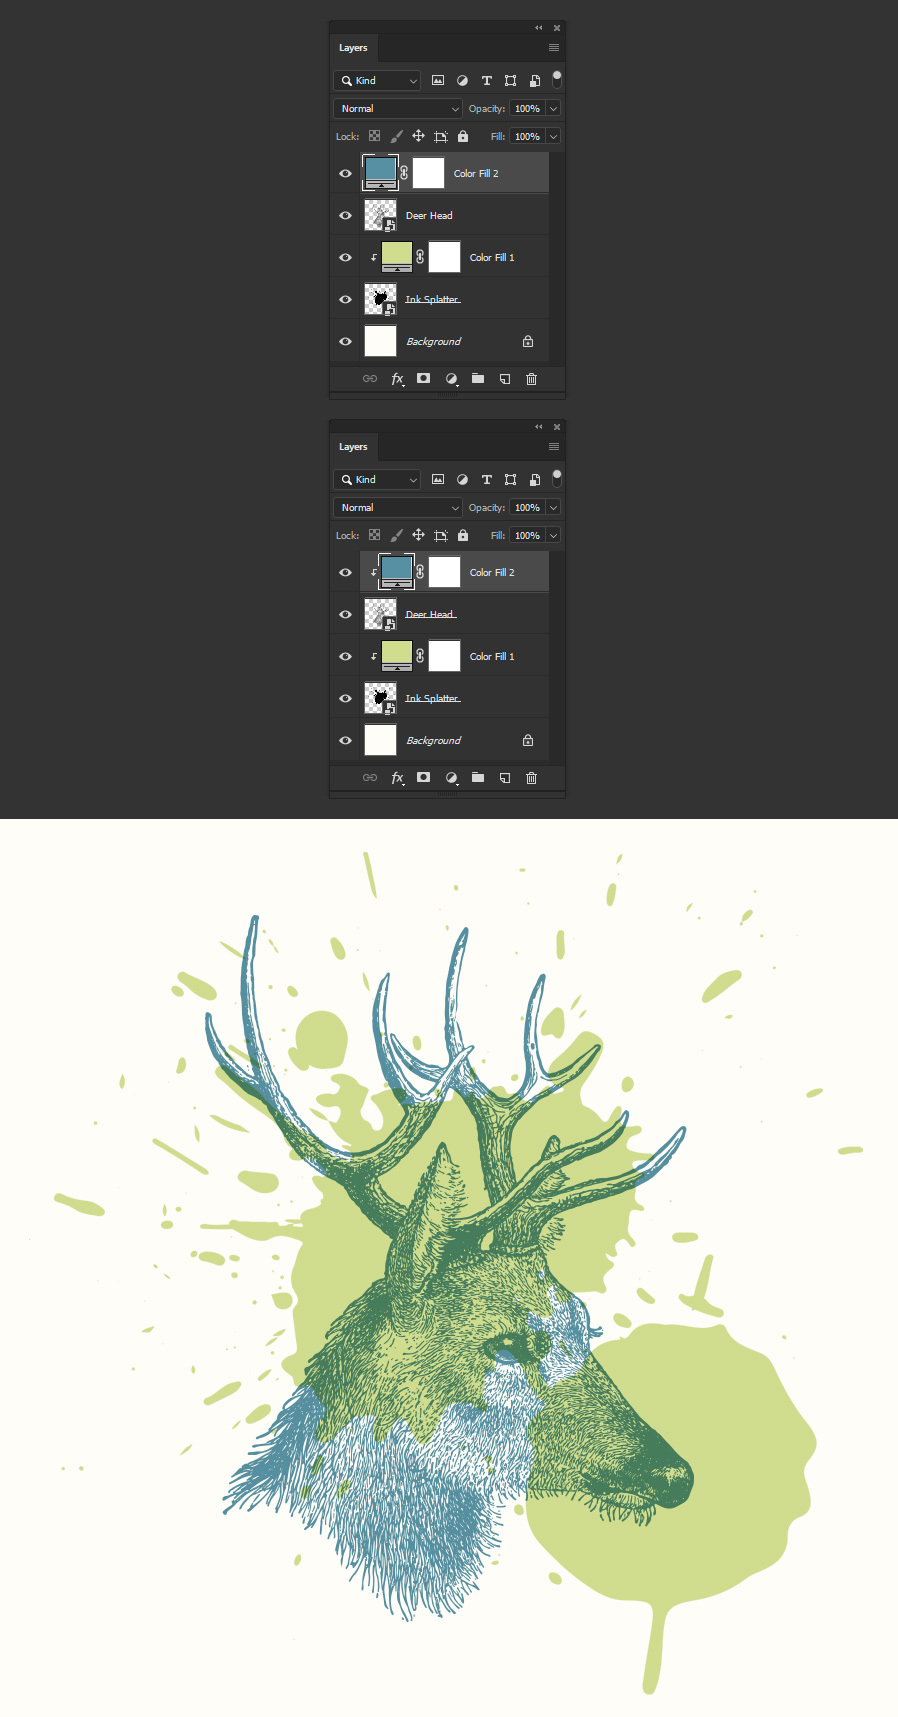
Again, go to File > Place Embedded. Locate the image you want to use on the front part of your design on your computer and click the Place button. In this case I will use a deer head image that you can find on the "Vector Vintage Animals" set right here at Medialoot.
Note: If you use a different image, be sure it has a transparent background to get a better end result.
Step 8
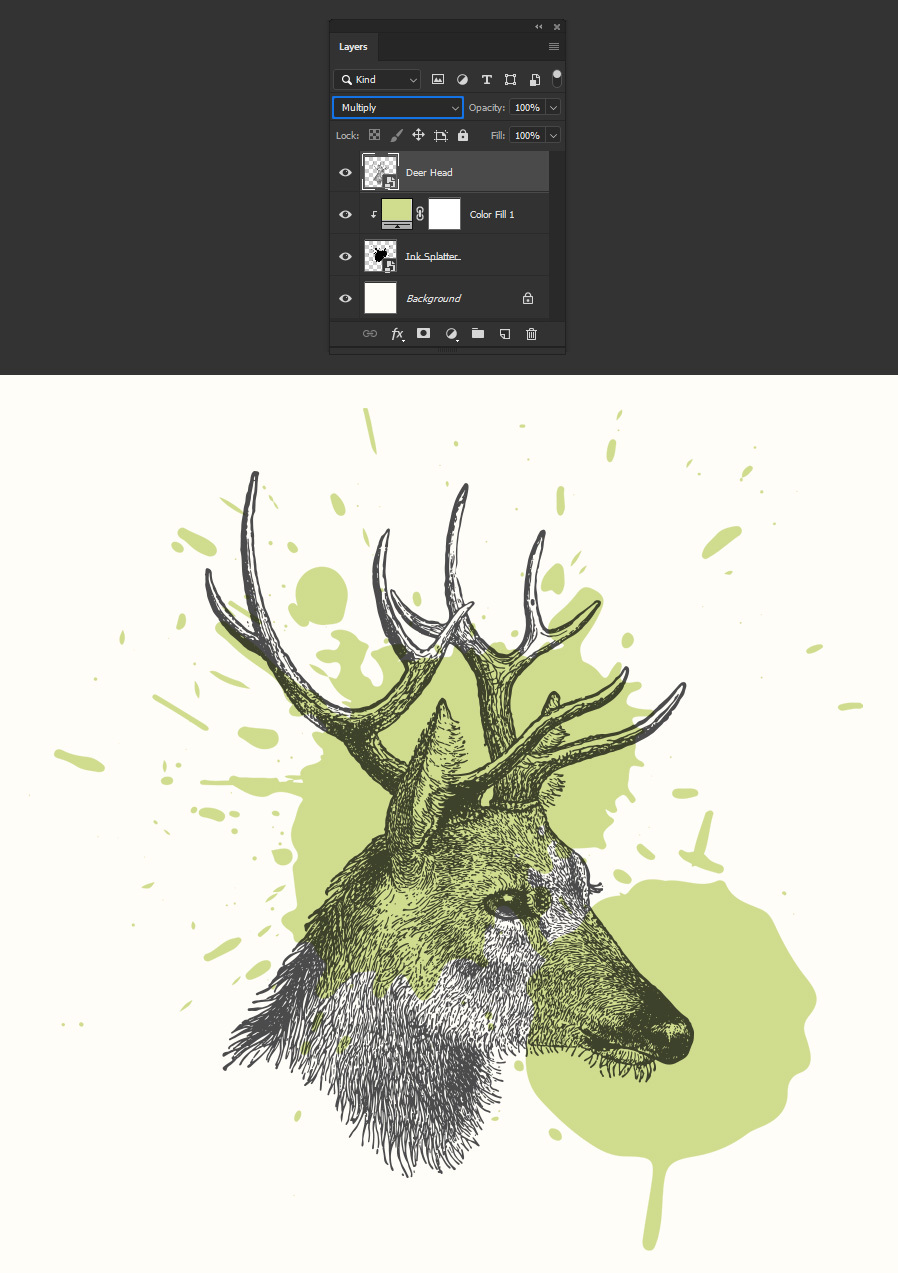
In the Layers Panel, set the layer blend mode to "Multiply".
Step 9
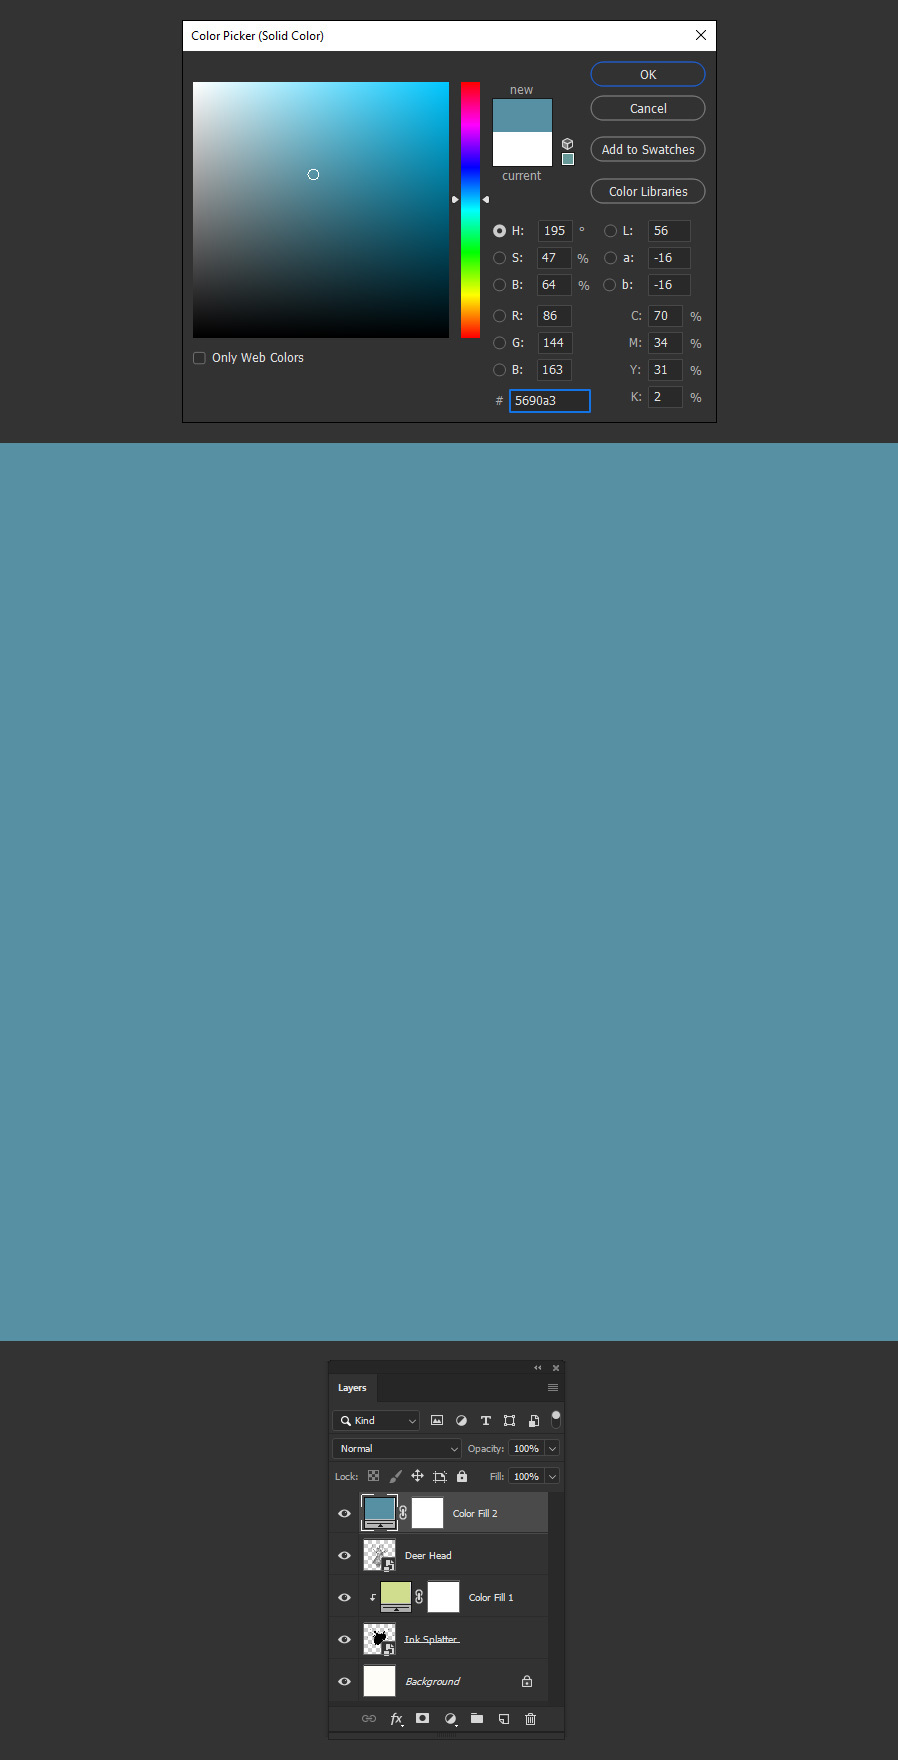
Still in the Layers Panel, click on the "Create new fill or adjustment layer" icon and select "Solid Color" from the dropdown menu.

Step 10
Pick any color you want to use in the Color Picker window and click OK. I will set mine to #5690a3.
Step 11
With the Color Fill layer selected go to Layer > Create Clipping Mask.
Step 12
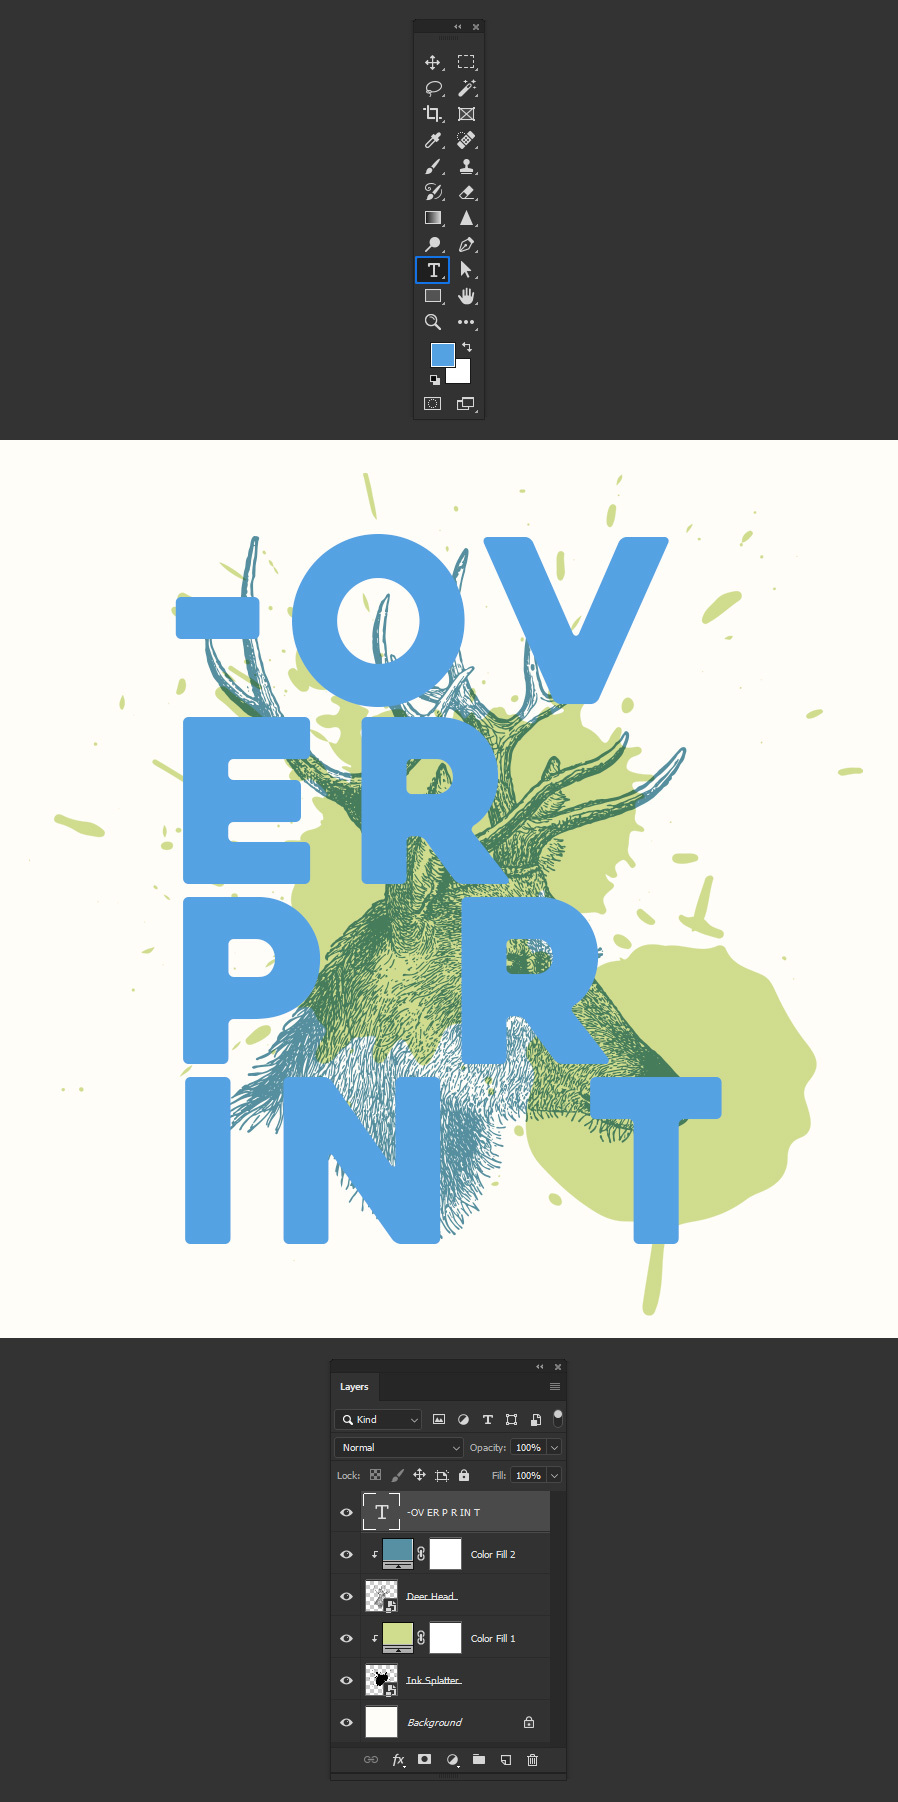
Select the Horizontal Type Tool (T) and type your text using any font you want. I will simply write "overprint" using Heavitas at 75pt with the color set to #55a2e3.
Step 13
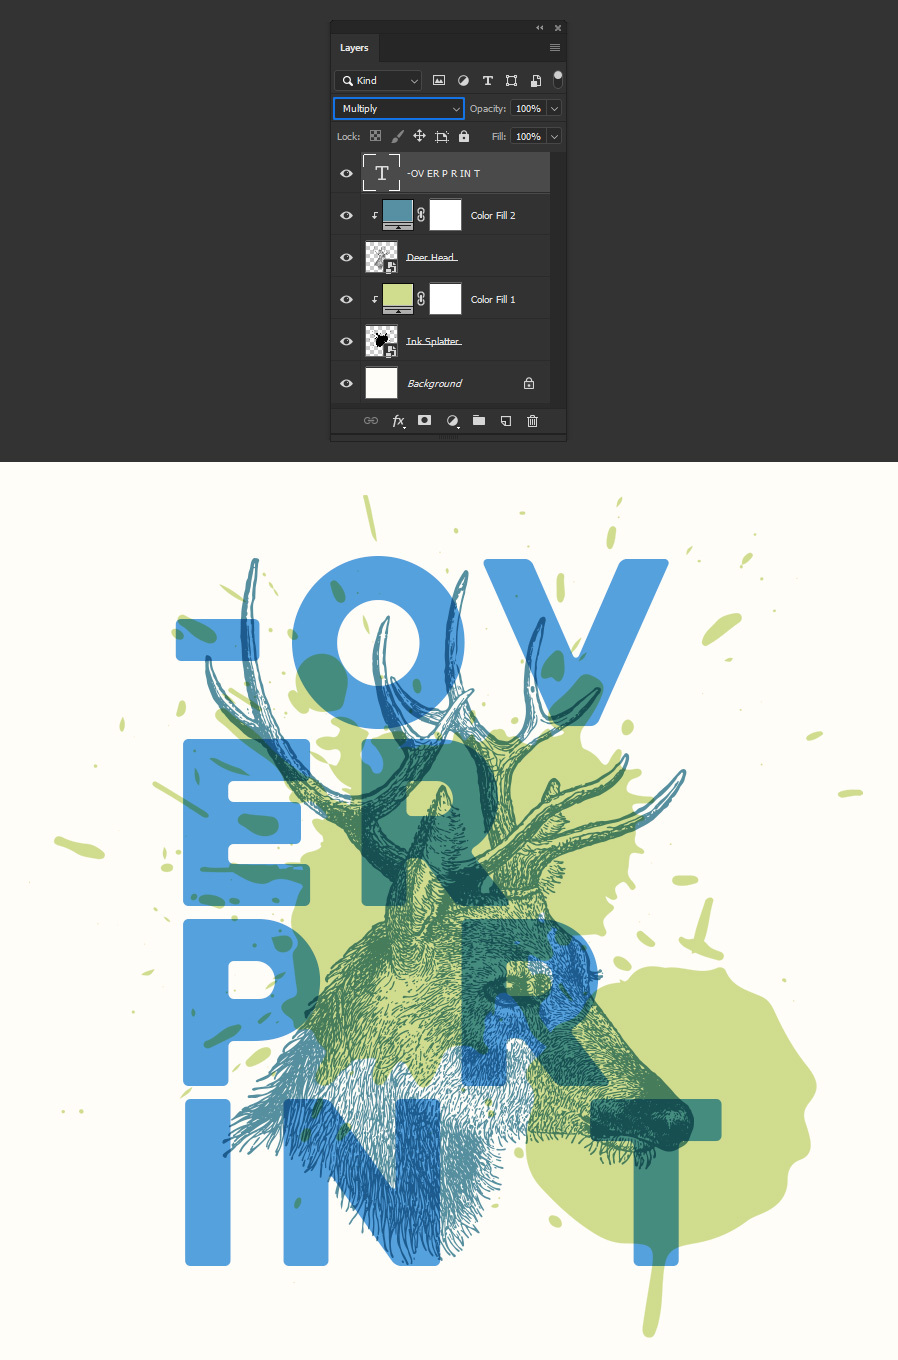
Lastly, with the text layer selected, set the layer blending mode to "Multiply" in the Layers Panel.
Some Final Notes
Now that you already completed the overprint effect, you can easily change the colors by double clicking on the color fill layers, add more overlapping elements following the same procedure, rearrange any of the design elements and play with the layer blending modes (like Linear Burn) to get even more effects.
