How to Make a Faux Heatmap Effect in Photoshop
Photoshop Photo Effects
There are many different techniques in Photoshop to mimic a Heatmap. But many of these will take a long time due most of them using several curves, hue/saturation, and even lens blur adjustments. But today, I will show you a very simple way to mimic a heatmap in Photoshop that will take you less than 5 minutes and in a way that you can easily change the colors later once the effect is made.
Before we begin, and if you want to follow this tutorial exactly as described, please download the following free image from Pexels: Download.
Step 1
Open your image in Photoshop.

Step 2
Go to Layer > Smart Objects > Convert to Smart Object.

Step 3
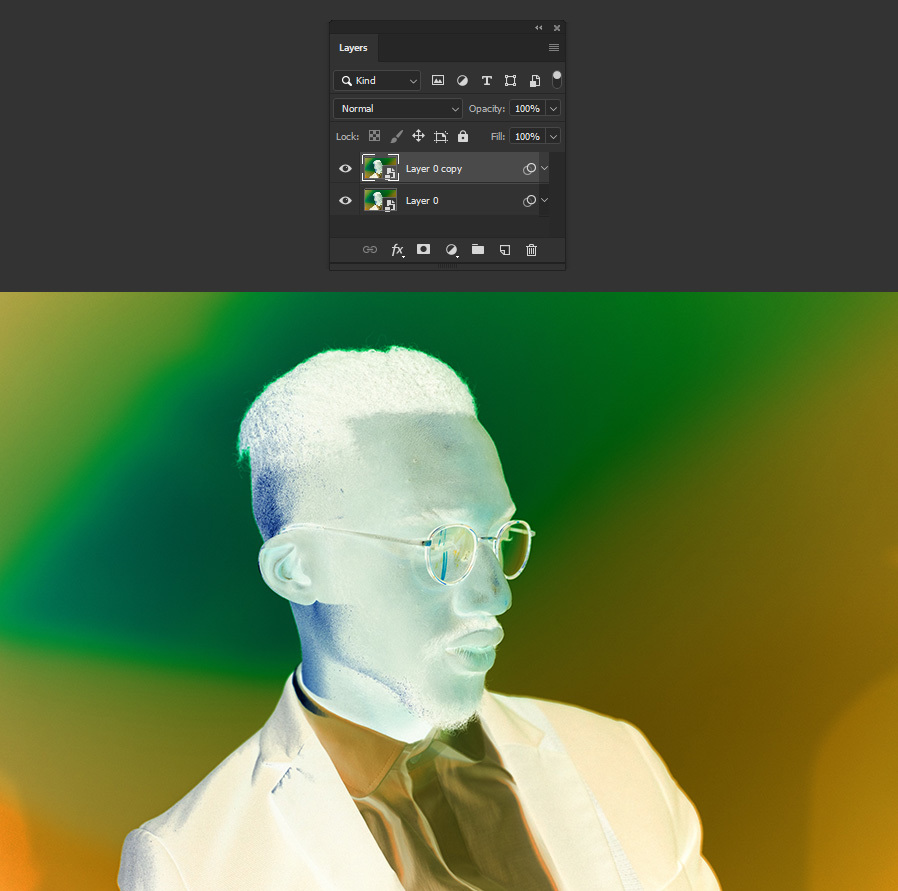
Go to Image > Adjustments > Invert.

Step 4
Go to Layer > Duplicate Layer.
Step 5
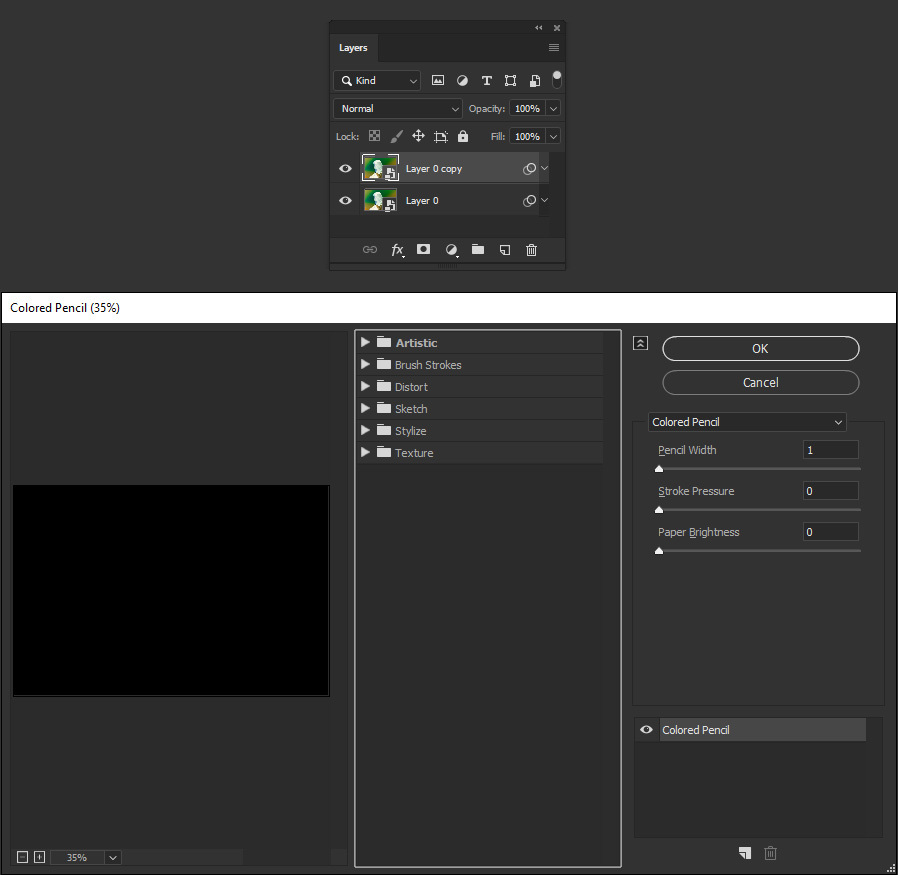
With the duplicated layer active, go to Filter > Filter Gallery.
Step 6
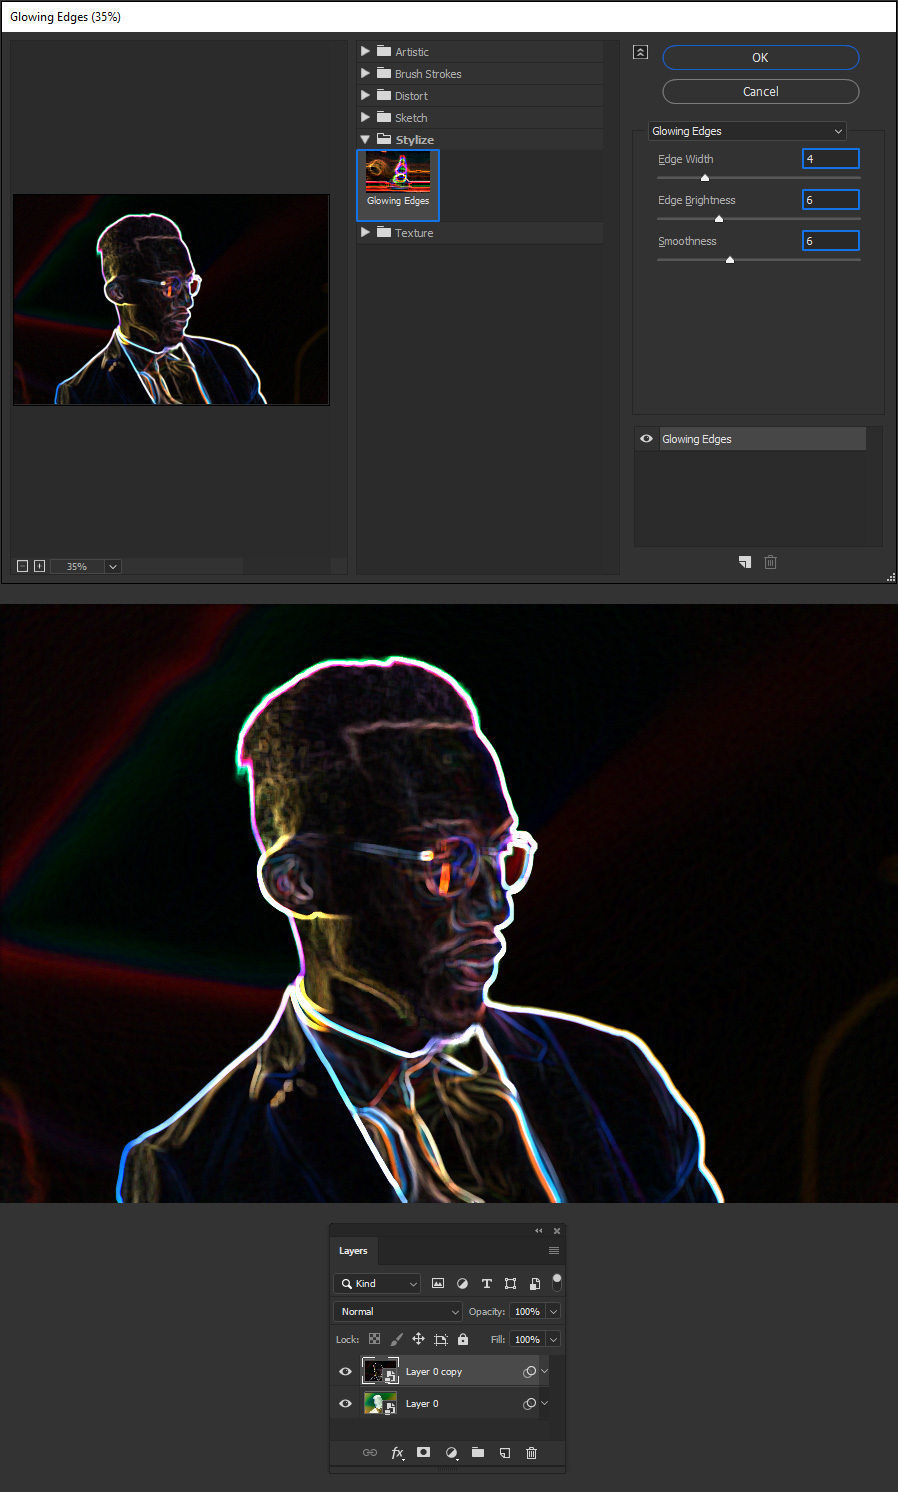
Open the Stylize folder, select the "Glowing Edges" effect, apply the following settings, and click OK.
Step 7
Set the blend mode of the copied layer to "Soft Light" and bring down the Opacity to about 50%.

Step 8
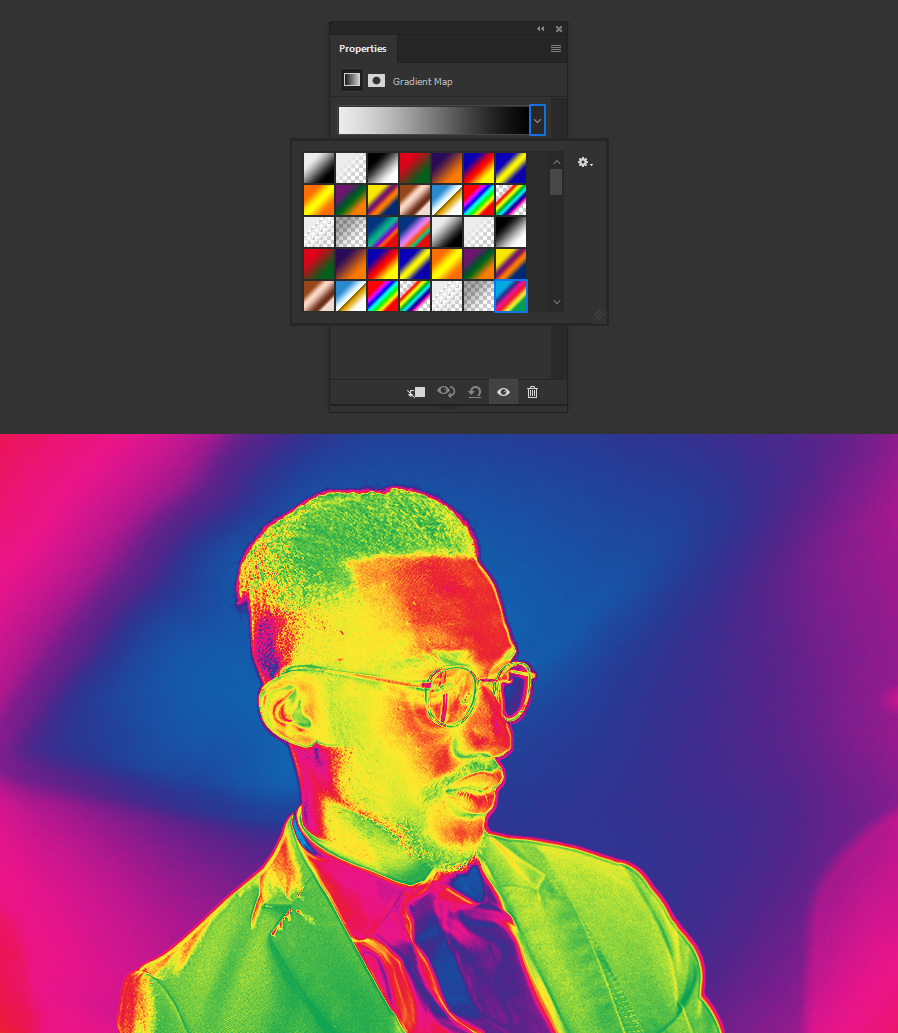
Go to Layer > New Adjustment Layer > Gradient Map.

Step 9
In the Gradient Map Properties window, click on the down arrow of the gradient thumbnail and select the "Spectrum" gradient.
Step 10
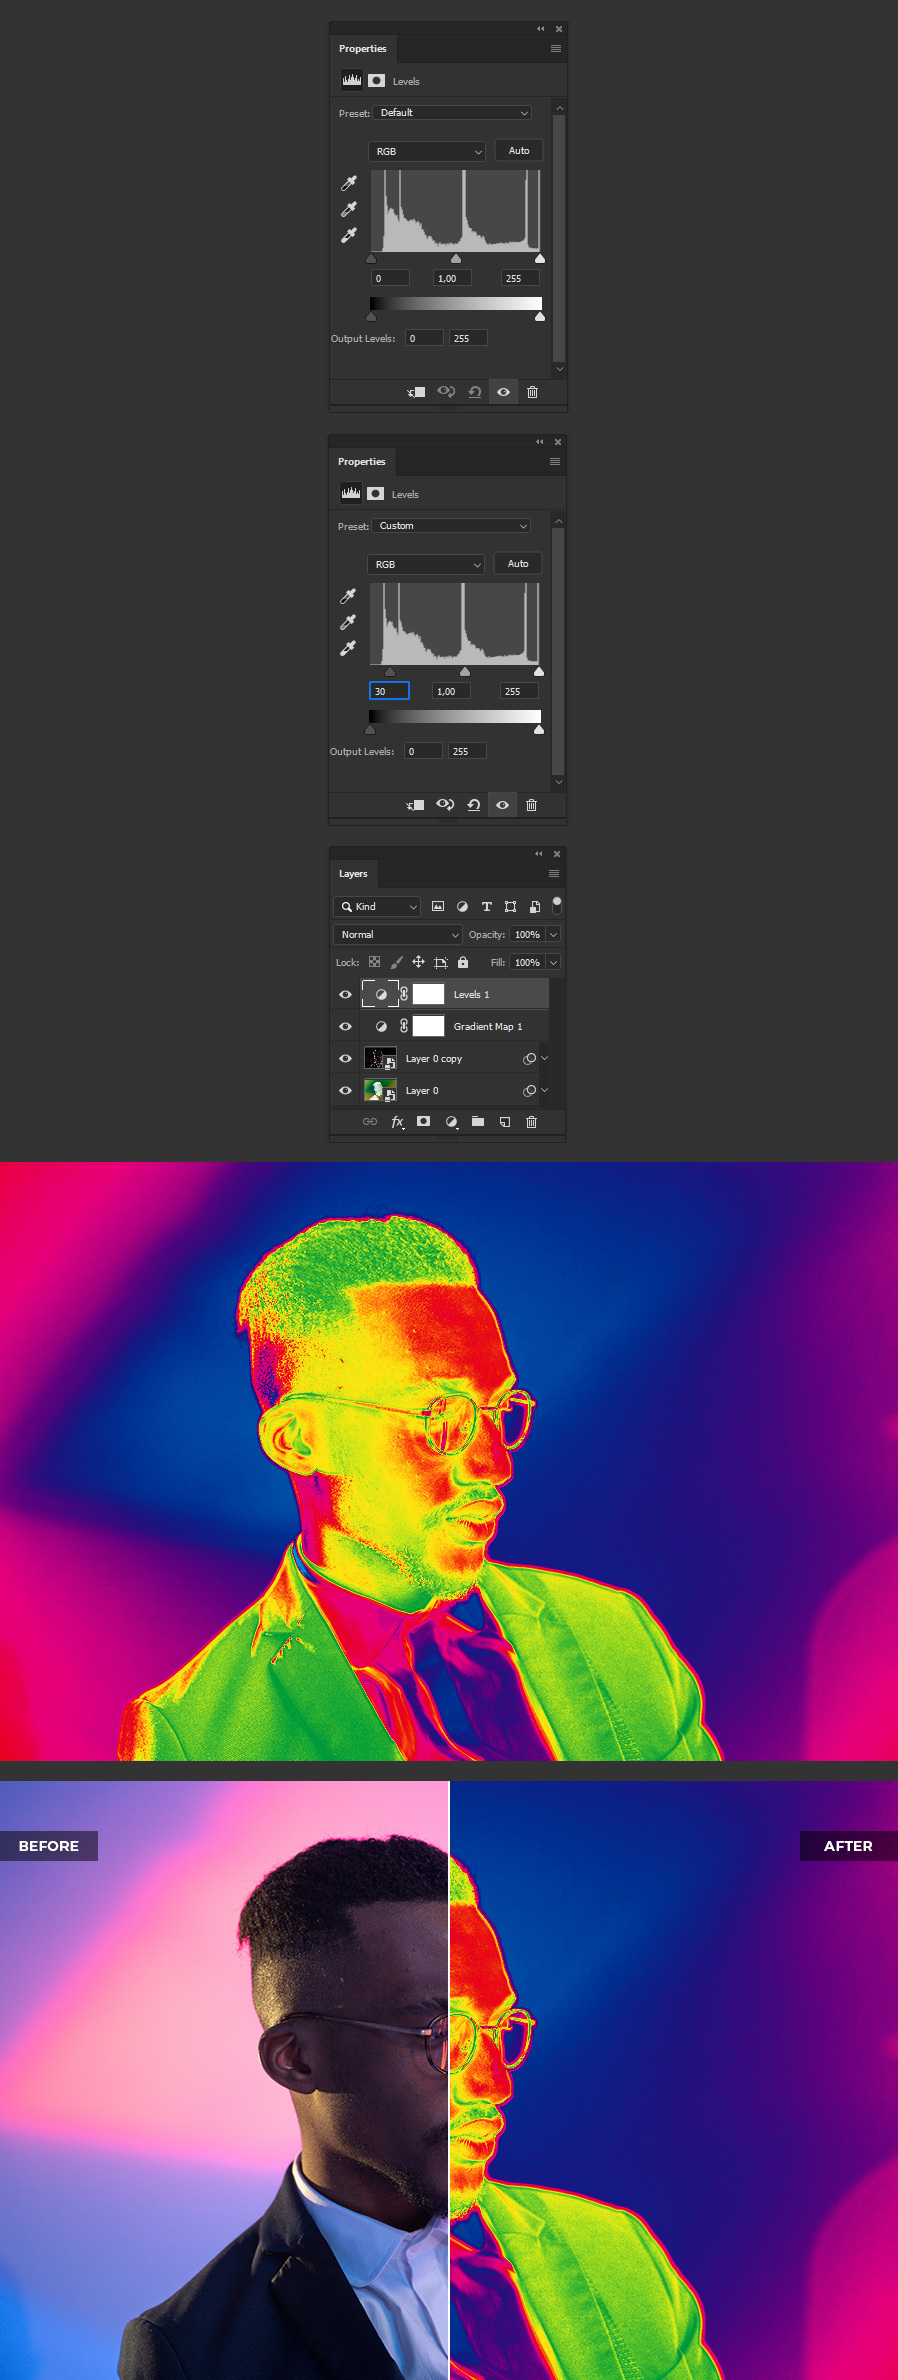
Lastly, go to Layer > New Adjustment Layer > Levels and set the Shadow Input Level to 30.
A Final Tip
Now that you know how easily you can make a faux heatmap in Photoshop, you can use this technique on any image you want and experiment with different gradient colors to get a wide range of effects like in the following examples.


