
How to Easily Remove Dust From an Image
Photoshop Post Processing
Removing dust from an image can be a time consuming and tedious task, but with some of the Photoshop tools the process can be much easier and efficient. In this tutorial, we will explore some simple steps to help you remove dust from an image in Photoshop quickly and easily whether you're dealing with old scanned photos, digital images with visible dust or simply want to clean up a shot for a professional look. To help you remove dust from your images, you have a few tools that you can use like the Spot Healing Brush or the Clone Stamp Tool but there is a quick and easy way to achieve the same results, so today I will show you how you can remove dust from any image in less than a minute by using the powerful Dust & Scratches filter and a simple layer mask.
Step 1
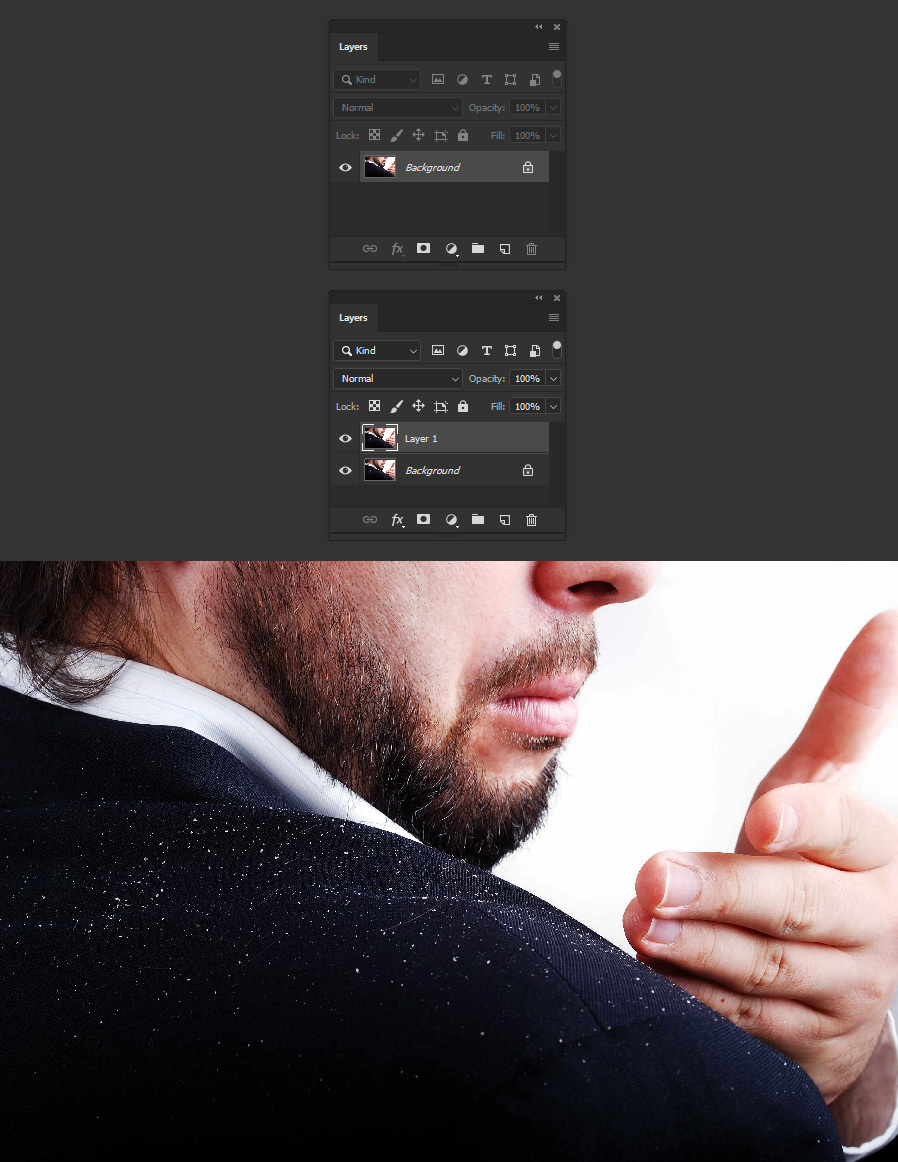
Open your image in Photoshop.

Step 2
Press "Ctrl+J" on your keyboard to make a copy of the image.
Step 3
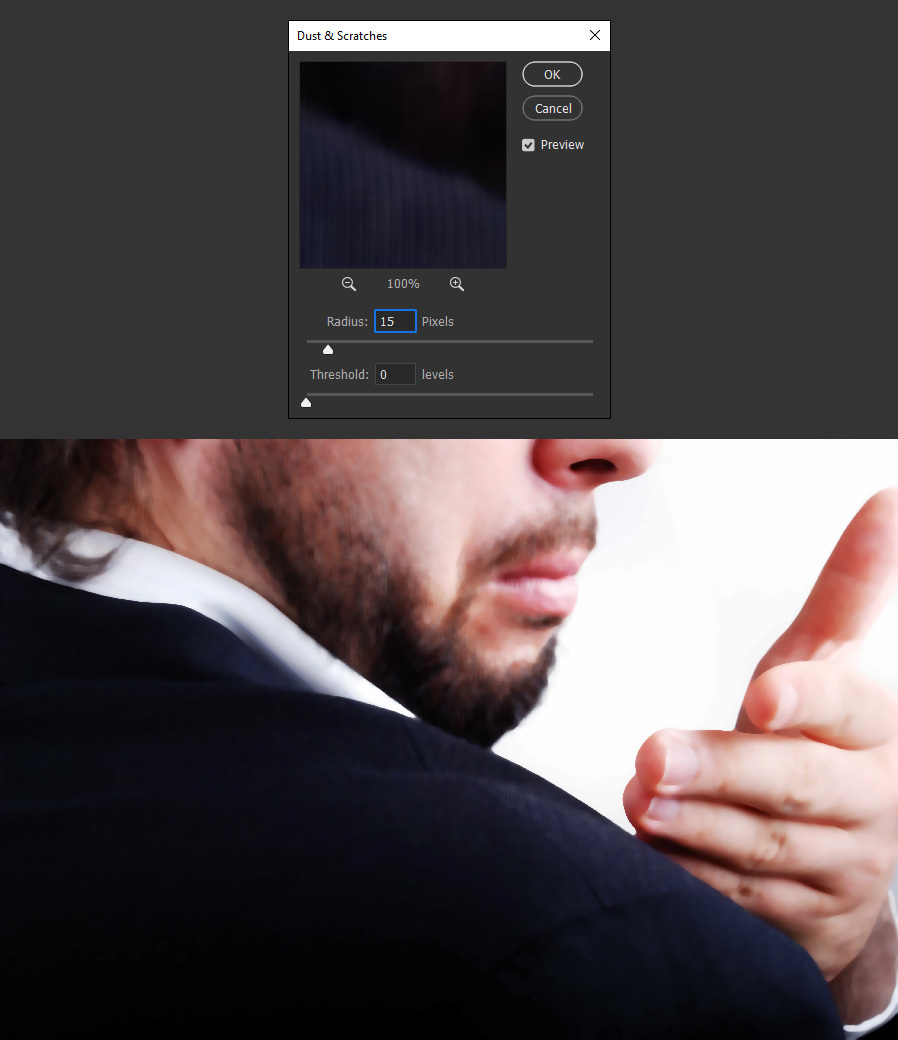
With the copied layer selected, go to Filter > Noise > Dust & Scratches.

Step 4
Start by setting a proper Radius for your particular image. Aim to blur all the possible dust you can without loosing too much detail. In this case, a Radius of 15 pixels will work just fine.
Step 5
Next, set the Threshold levels to get back some of the details and click OK in the Dust & Scratches window. In this image, a value of 40 seems to work just fine.

Step 6
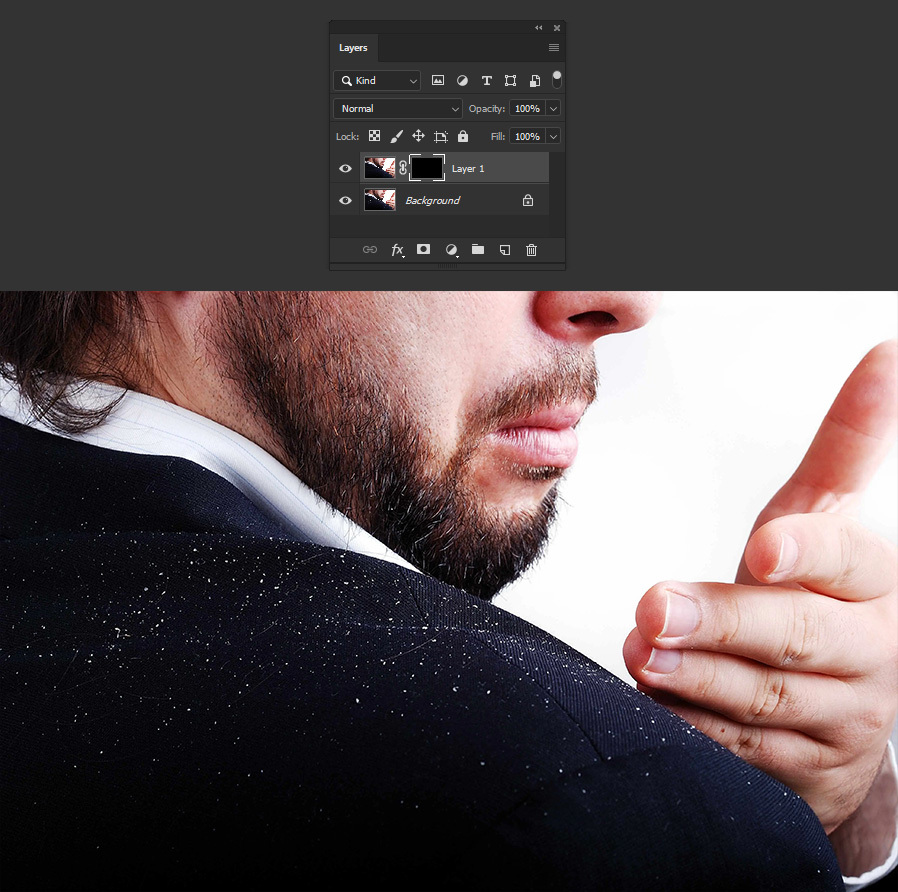
Go to Layer > Layer Mask > Hide All.
Step 7
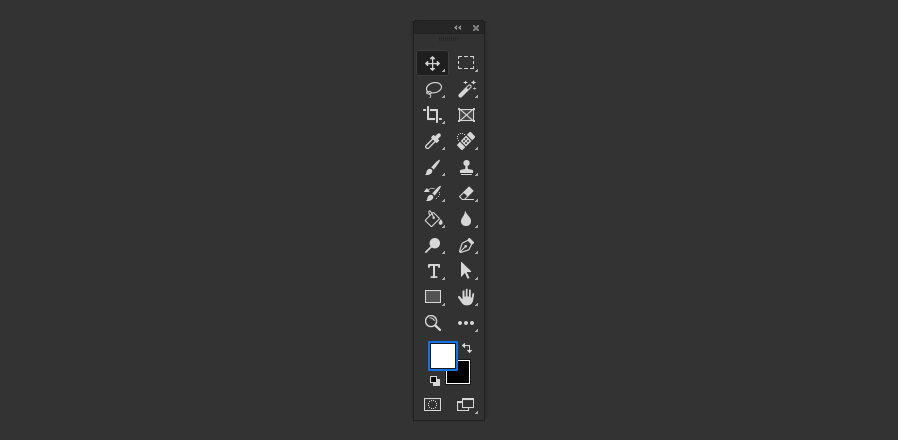
Set the Foreground color to white.
Step 8
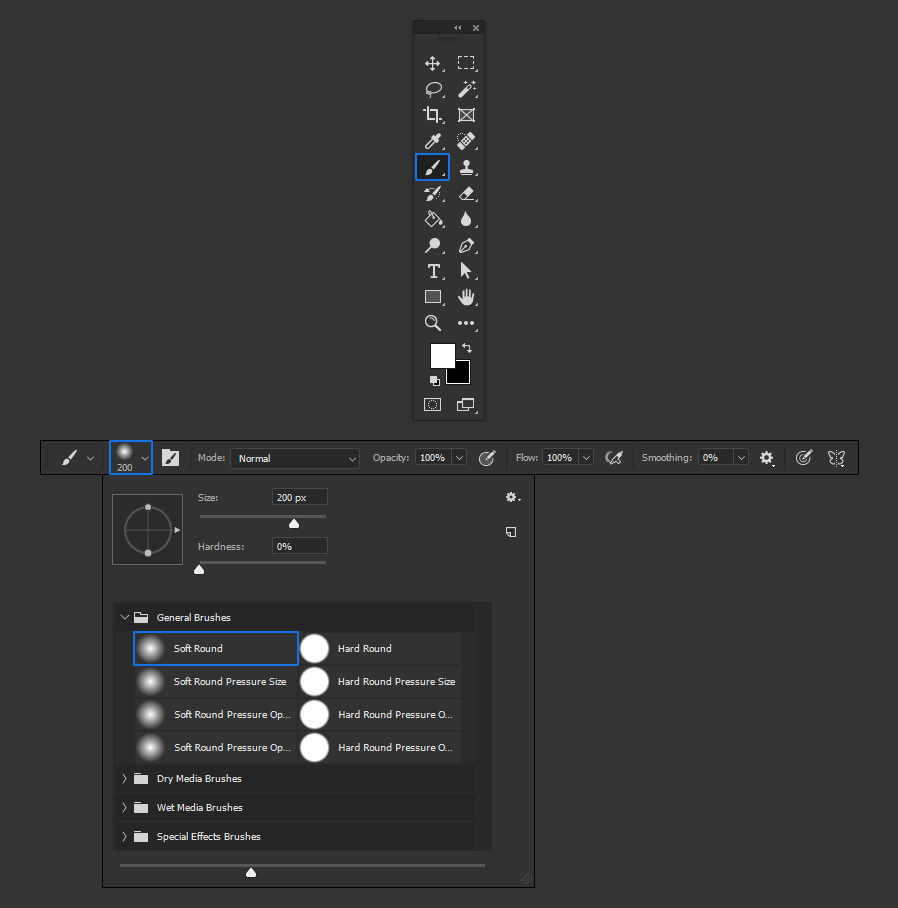
Select the Brush Tool (B) and pick a soft round brush in the top toolbar.
Step 9
Lastly, be sure to have the Layer Mask selected in the Layers Panel and paint over the part of your image that you want to remove the dust.

More from Quick Tips

How to Quickly Make Live Metaballs in Illustrator
Quick Tipsby Diego Sanchez
Metaballs, with their fluid and organic shapes offer an endless creative potential for various design projects. But sometimes in Illustrator, a simple shape can take you a few extra minutes to make. And this is the case with metaballs, because if you make them using a traditional method (like manually drawing the paths between two circles) you will accomplish the task, but using more time than you need. So today, I will show you a very simple method to create metaballs in Illustrator, using only the default tools, with the ability to scale and move the shapes used and with no need to manually trace anything.
Read more
How to Easily Remove Dust From an Image
Quick Tipsby Diego Sanchez
Removing dust from an image can be a time consuming and tedious task, but with some of the Photoshop tools the process can be much easier and efficient. In this tutorial, we will explore some simple steps to help you remove dust from an image in Photoshop quickly and easily whether you're dealing with old scanned photos, digital images with visible dust or simply want to clean up a shot for a professional look. To help you remove dust from your images, you have a few tools that you can use like the Spot Healing Brush or the Clone Stamp Tool but there is a quick and easy way to achieve the same results, so today I will show you how you can remove dust from any image in less than a minute by using the powerful Dust & Scratches filter and a simple layer mask.
Read more
How to Quickly Fix Perspective Distortions in Photoshop
Quick Tipsby Diego Sanchez
As you may already know, there are many different ways to achieve the same end result in Photoshop whether it's a color correction or a very complex effect; and fixing a photo perspective distortion is not an exception to that rule. You may use the Perspective Warp, a simple crop and distort method or just the Lens Correction filter, but the end results may not be as good as you expect; but today I will show you a quick and easy way to fix the perspective distortion of an image in less than 2 minutes with very good end results by using a combination of the Lens Correction filter and the Geometry of the Camera Raw filter.
Read more
How to Quickly Make a Floral Design in Illustrator
Quick Tipsby Diego Sanchez
Sometimes, you see very complex illustrations that you think it can take hours to create, but those complex illustrations can be made real quick if you know which tools to use. Today, I will show you how quickly you can make what it seems to be a very complex flower in Illustrator by using the Pucker & Bloat effect and the powerful Transform Panel, which you can adjust the values later to make different effects without the need to make the whole process again. And all of this in less than 5 minutes and 6 easy to follow steps.
Read more