How to Quickly Fix Perspective Distortions in Photoshop
Photoshop Post Processing
As you may already know, there are many different ways to achieve the same end result in Photoshop whether it's a color correction or a very complex effect; and fixing a photo perspective distortion is not an exception to that rule. You may use the Perspective Warp, a simple crop and distort method or just the Lens Correction filter, but the end results may not be as good as you expect; but today I will show you a quick and easy way to fix the perspective distortion of an image in less than 2 minutes with very good end results by using a combination of the Lens Correction filter and the Geometry of the Camera Raw filter.
But before we begin, and if you want to follow this tutorial exactly as described, please download the following free image from Pexels: Download.
Step 1
Open your image in Photoshop.

Step 2
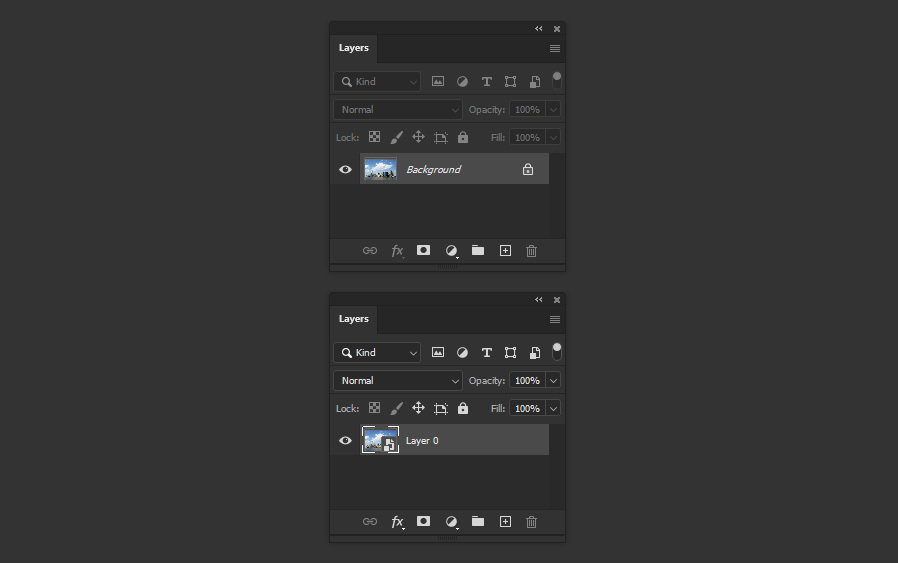
Go to Layer > Smart Objects > Convert to Smart Object.
Step 3
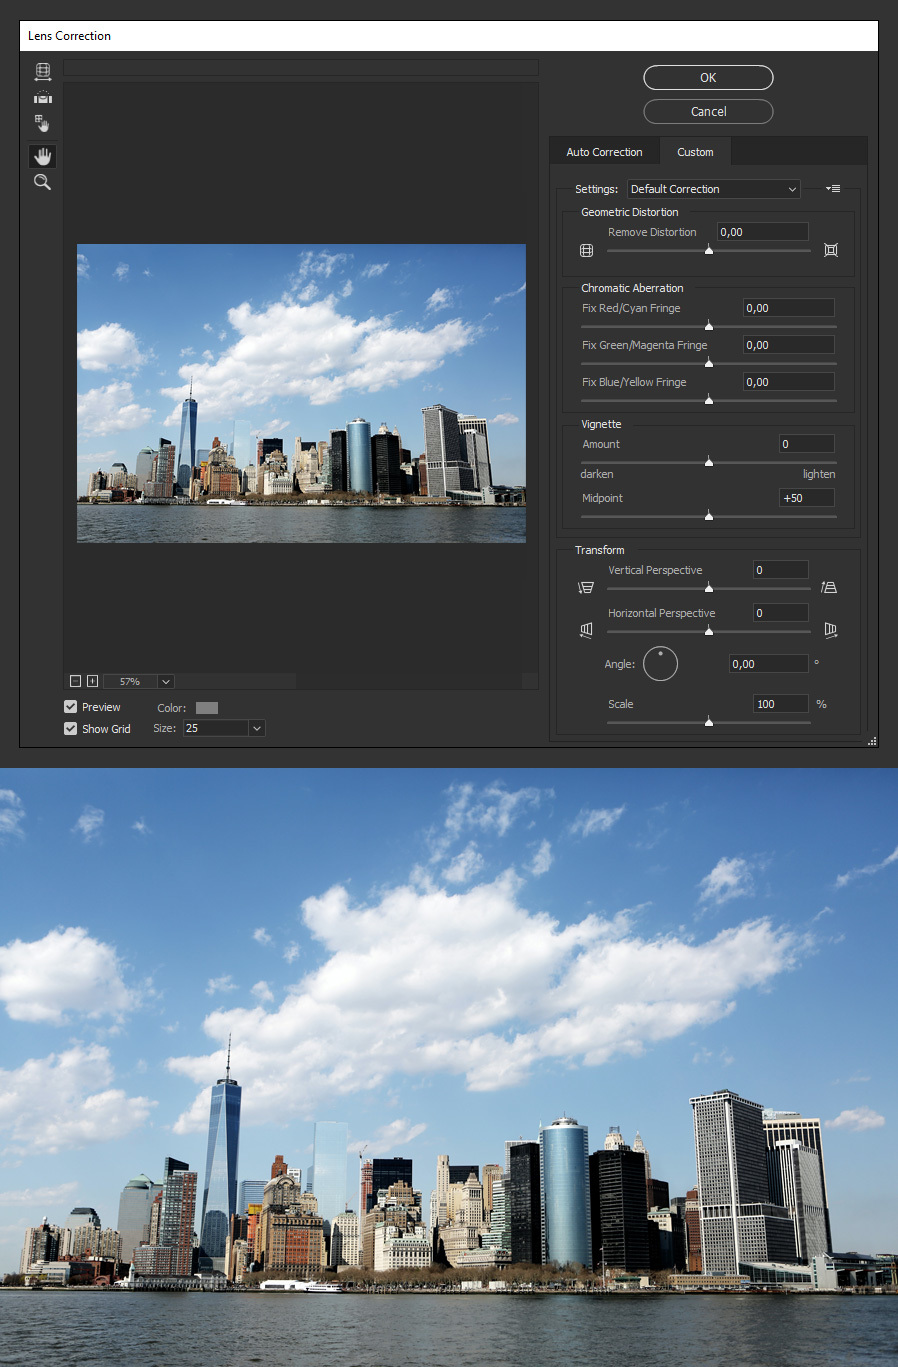
Go to Filter > Lens Correction.
Step 4
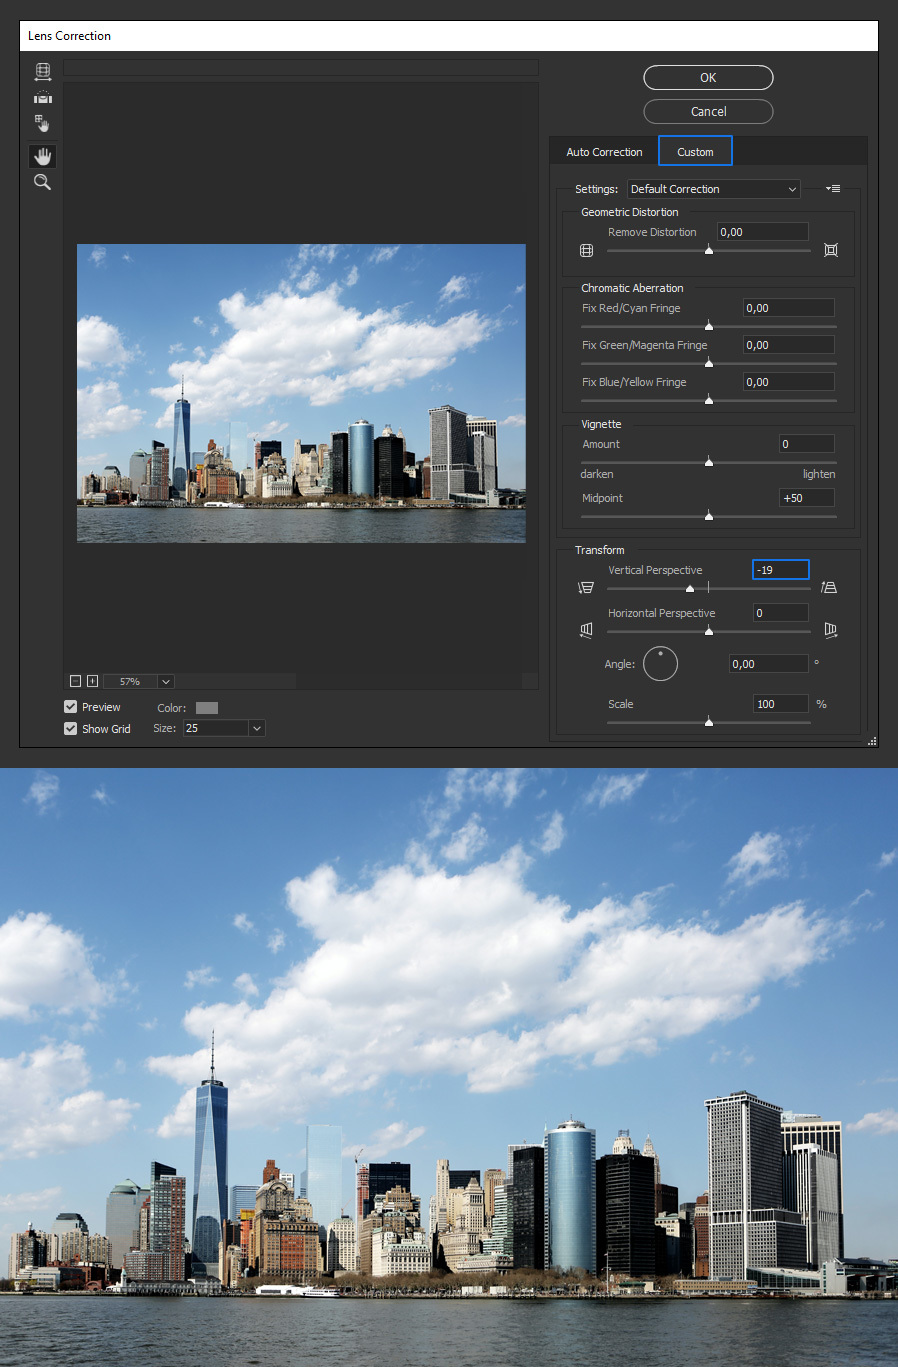
In the "Custom" tab under "Transform" drag the Vertical Perspective slider (or Horizontal if it is your case) until you see that the distortion dissapear and click OK. In this case, a value of -19 in the Vertical Perspective seems to work just fine.
Step 5
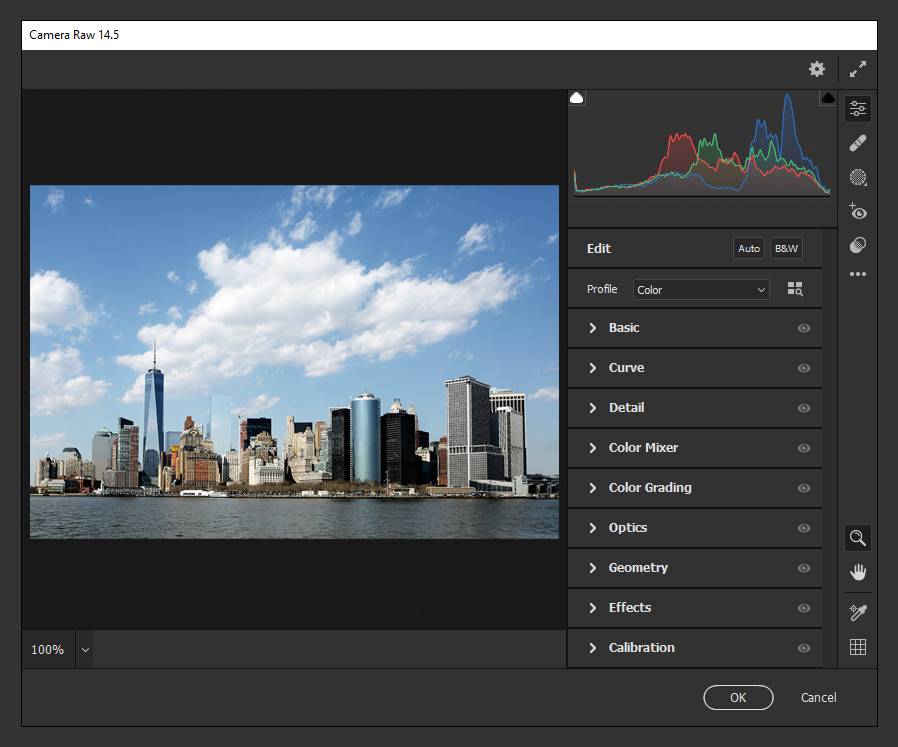
Now that the most noticeable perspective distortion is fixed go to Filter > Camera Raw Filter.
Step 6
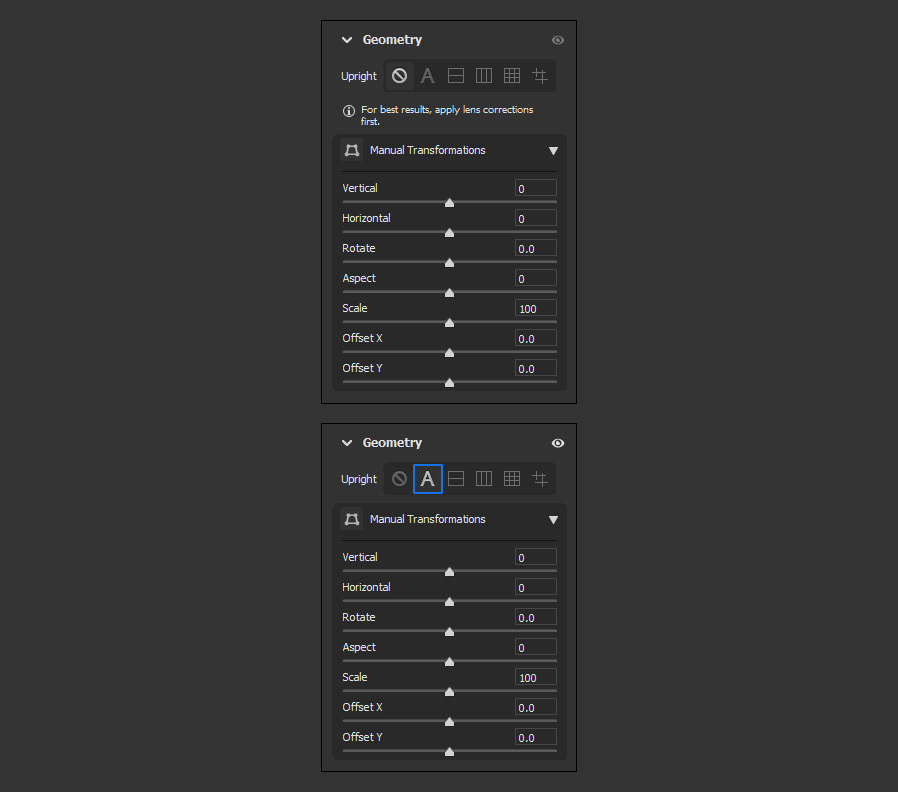
Expand the "Geometry" tab and click on the "Auto" icon.
Step 7
Lastly, simply click OK in the Camera Raw window to apply the changes.

Some Final Notes:
Now that you know how to easily fix perspective distortions in Photoshop, you can use this method on any image simply by dragging the Vertical or Horizontal slider in the Lens Correction filter (where you can also make some manual adjustments) for the most noticeable distortion and then fix the remaining details by using the Geometry inside the Camera Raw filter. And as we converted the layer to a Smart Object, you can always go back and make any changes to the filters until you are happy with the end result.


