How to Easily Make a Fake Window Reflection in Photoshop
Photoshop Photo Effects
Adding glass reflections to an image to make it look like the picture was taken through a window is a very easy process if you use the right tools in Photoshop. Of course, there is more than a way to make this effect, but the one I will show you today will let you control how much of the reflection you want to show even after the effect is made. Also, you will be able to change both the subject and the reflection after we complete this tutorial just by replacing the Smart Objects we will use/create.
Step 1
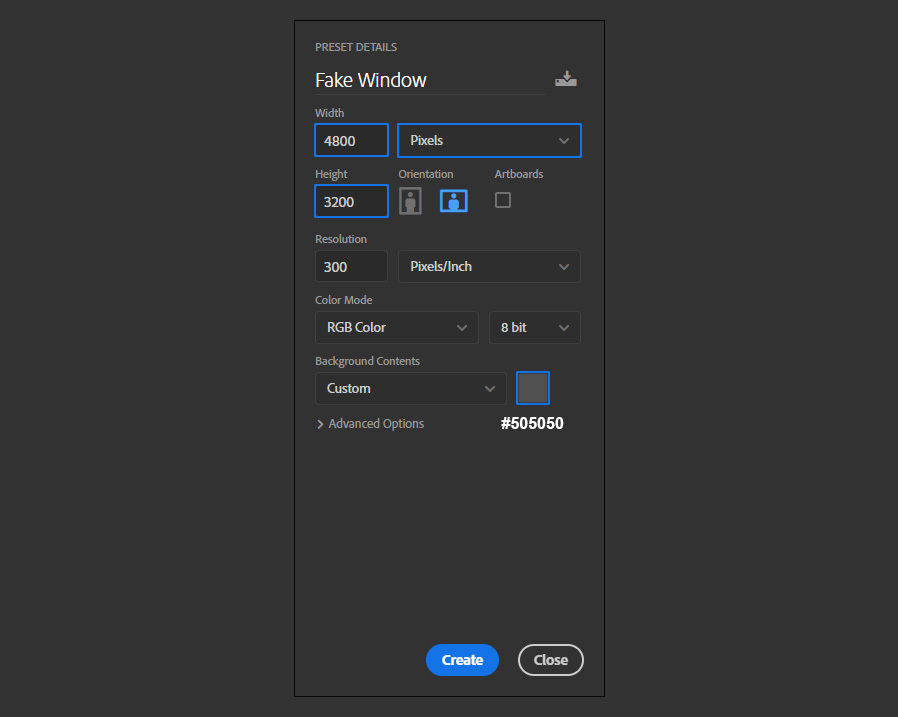
Open Photoshop and make a new document at any size you want using #505050 as the background color. In this case, I will make mine at 4800 x 3200 px.
Step 2
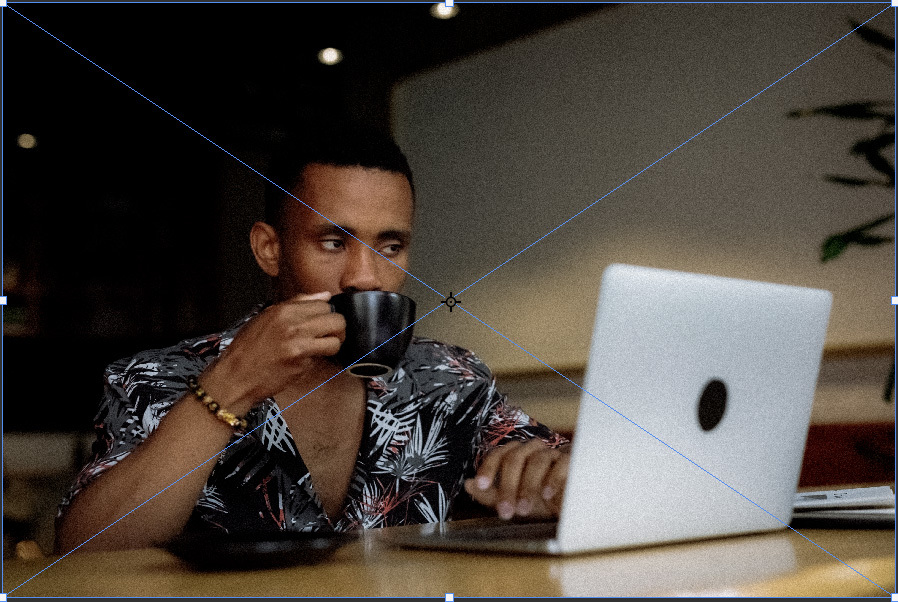
Go to File > Place Embedded. Locate the main subject image on your computer and click the Place button.
Step 3
If needed, resize the image to fit the artboard and hit the Enter key on your keyboard to commit the changes.

Step 4
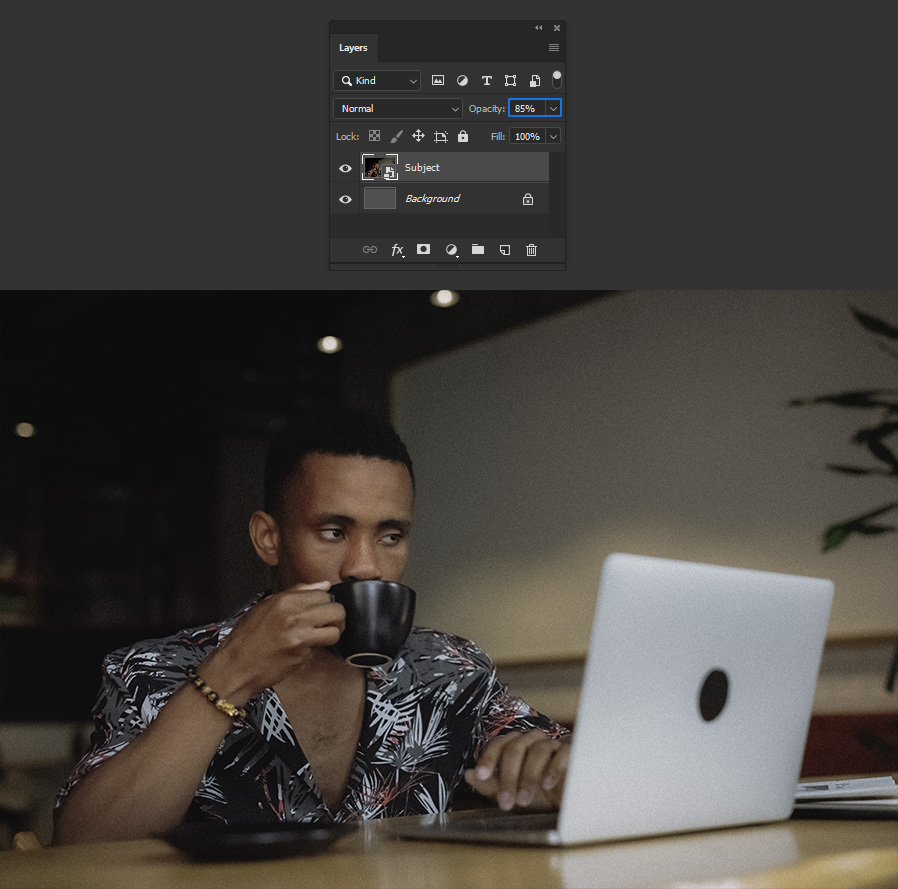
In the Layers Panel, set the Subject layer opacity to 85%.
Step 5
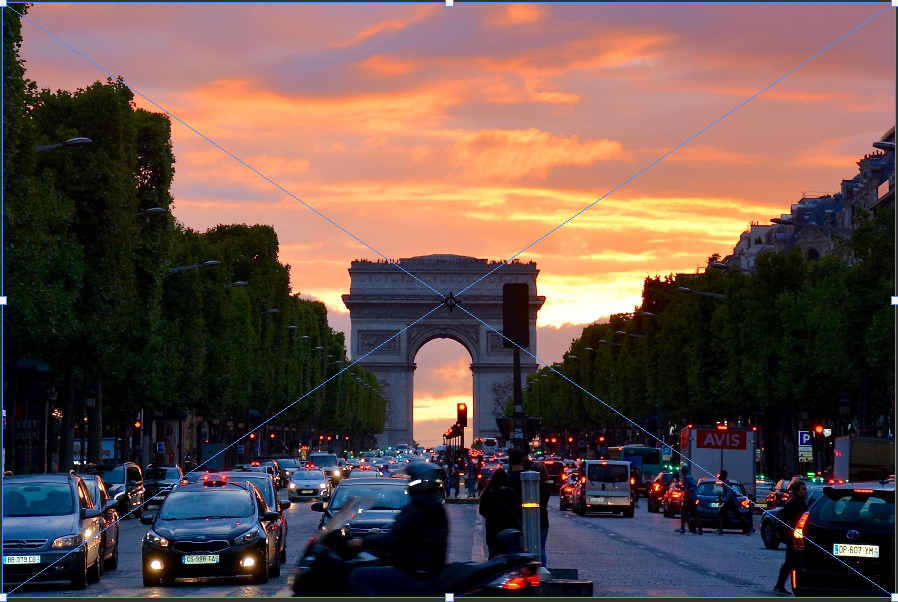
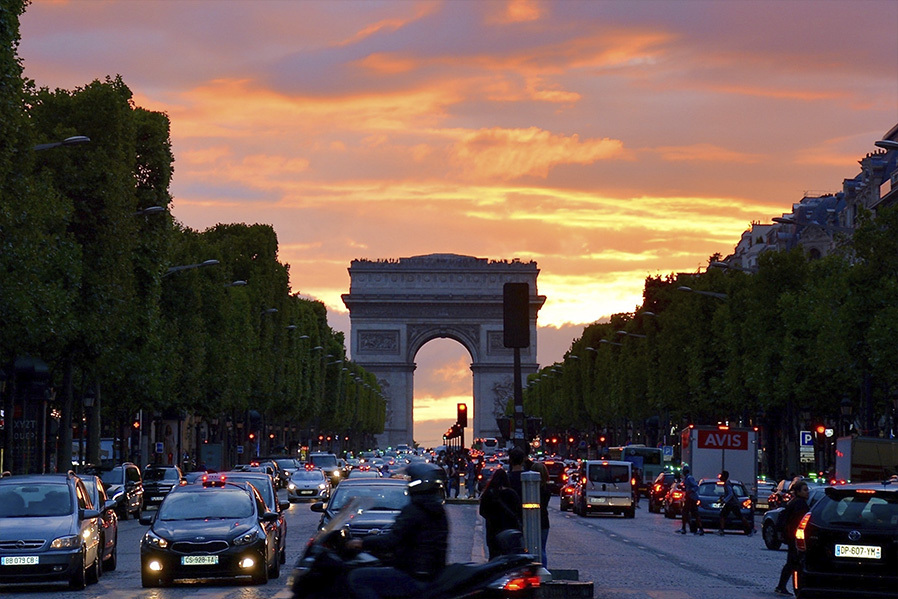
Again, go to File > Place Embedded. Locate the image you want to use as a reflection on your computer and click the Place button.
Step 6
If needed, reposition and/or resize the image to fit the artboard and hit the Enter key on your keyboard to commit the changes.
Step 7
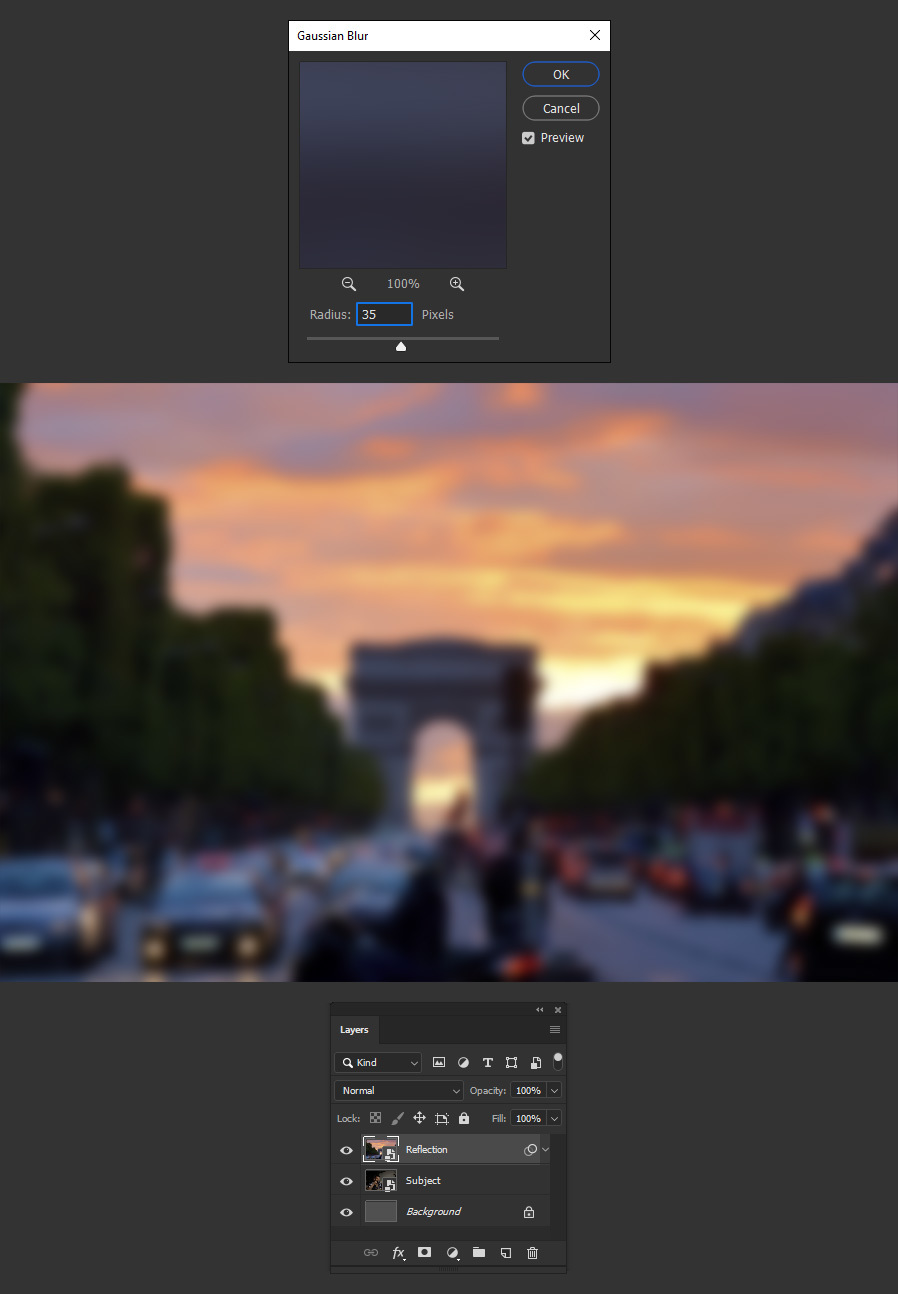
With the reflection layer selected, go to Filter > Blur > Gaussian Blur. Set the Radius to about 35 pixels and click OK.
Step 8
In the Layers Panel, set the blending mode of the Reflection layer to Screen and lower the Opacity to about 30%.

Step 9
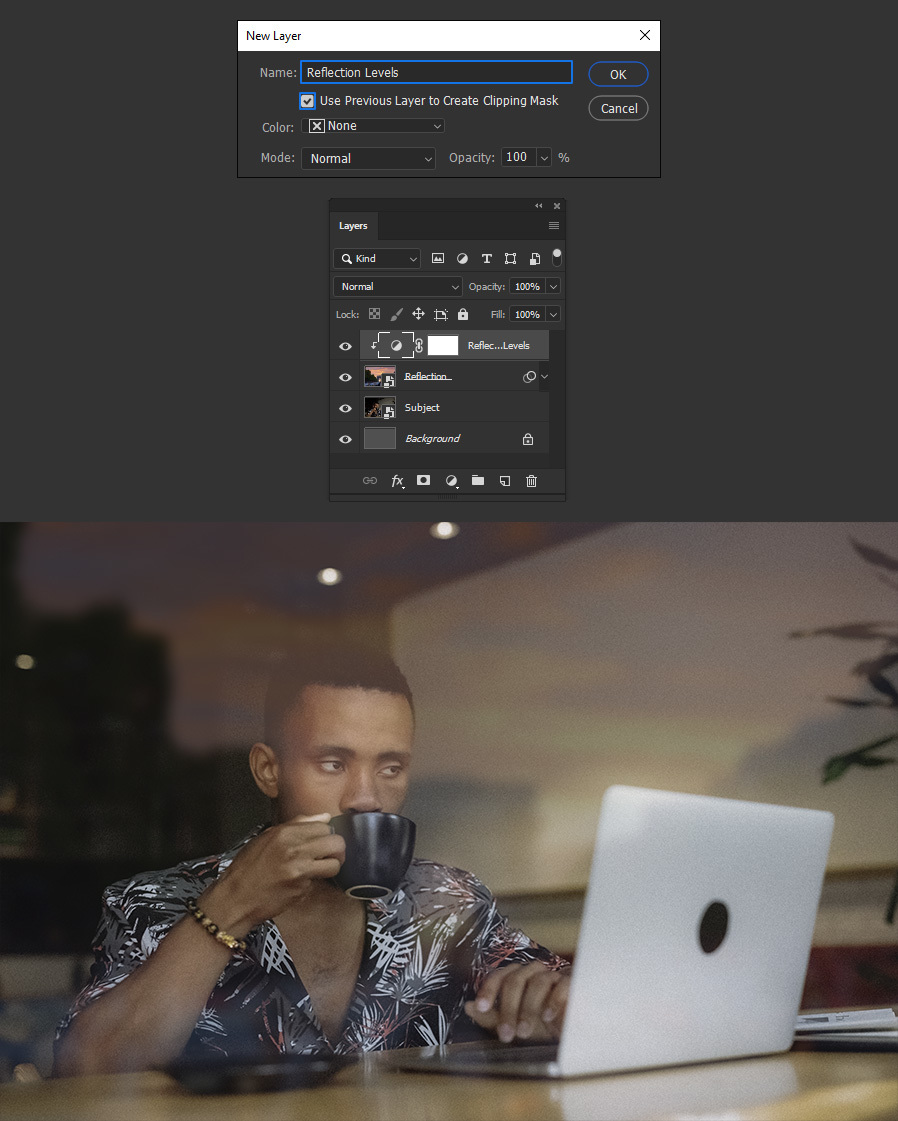
Go to Layer > New Adjustment Layer > Levels. Name this layer "Reflection Levels". Be sure to check the "Use Previous Layer to Create Clipping Mask" option and click OK.
Step 10
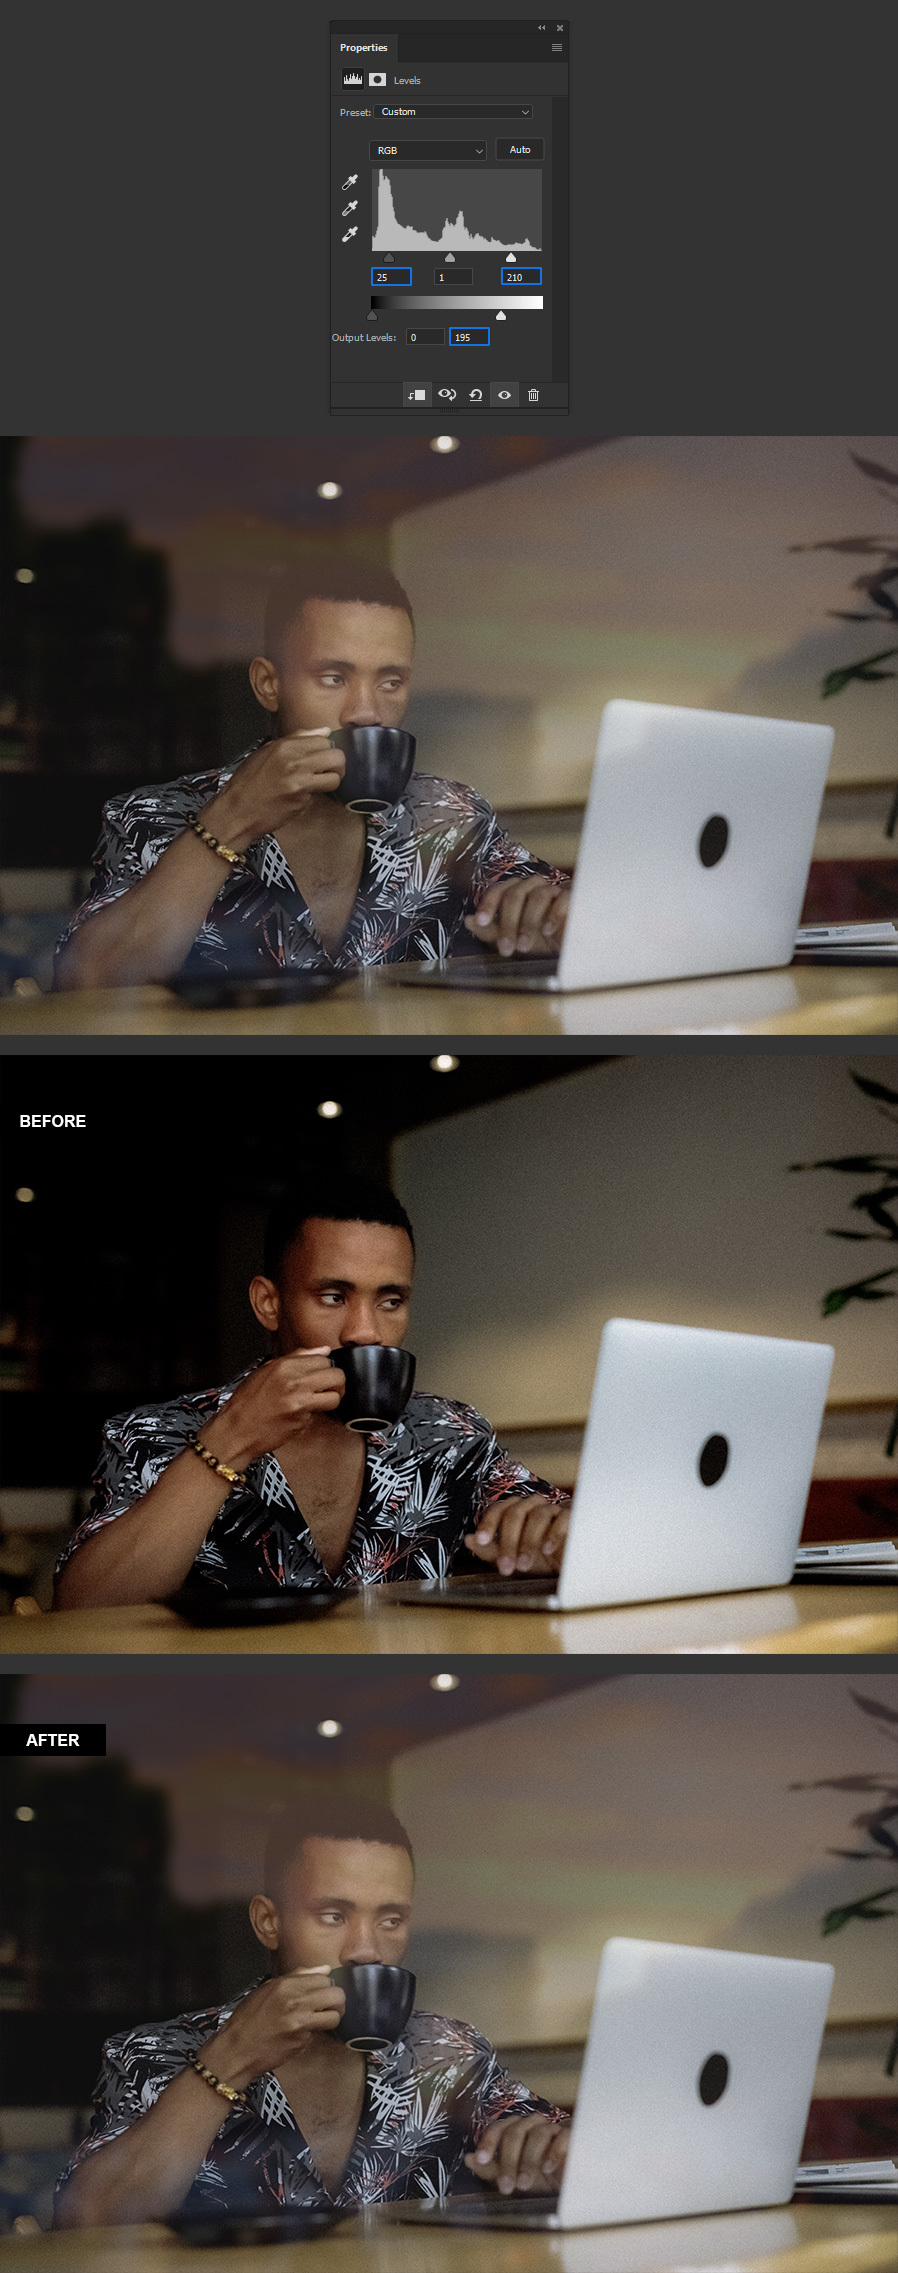
To finish the fake window reflection effect, in the Levels Properties window, set the Shadow input value to 25, the Highlight input value to 210 and the Highlight Output Levels to about 195.
Some Final Notes
To show more or less of the reflection, simply increase or decrease the Reflection layer Opacity. If you want to use a different image for your subject or Reflection, just double click on the corresponding layer thumbnail, replace the image with another one, save the smart object and the file will be updated with your new image without having to make the effect again.
