How to Easily Interlace Objects in Illustrator
Illustrator Tips & Tricks
In previous versions of Illustrator, interlacing objects could easily turn into a time consuming task if you don't know which tools to use in which order. But those times are gone! In the newest Illustrator version, there is a tool that simplifies the entire interlacing process making a 10 minute grind become a one minute task. Today, I will show you how easily you can now interlace objects in Illustrator using the new "Interwine" option.
Step 1
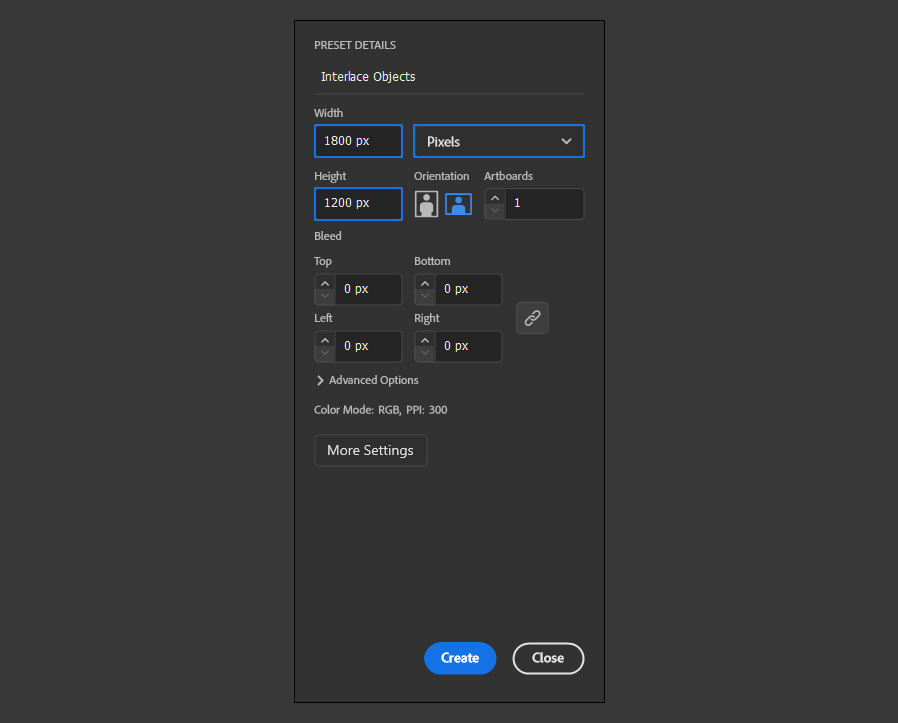
Open Illustrator and make a new file at any size you want. In this case, I will make mine at 1800 x 1200 px.
Step 2
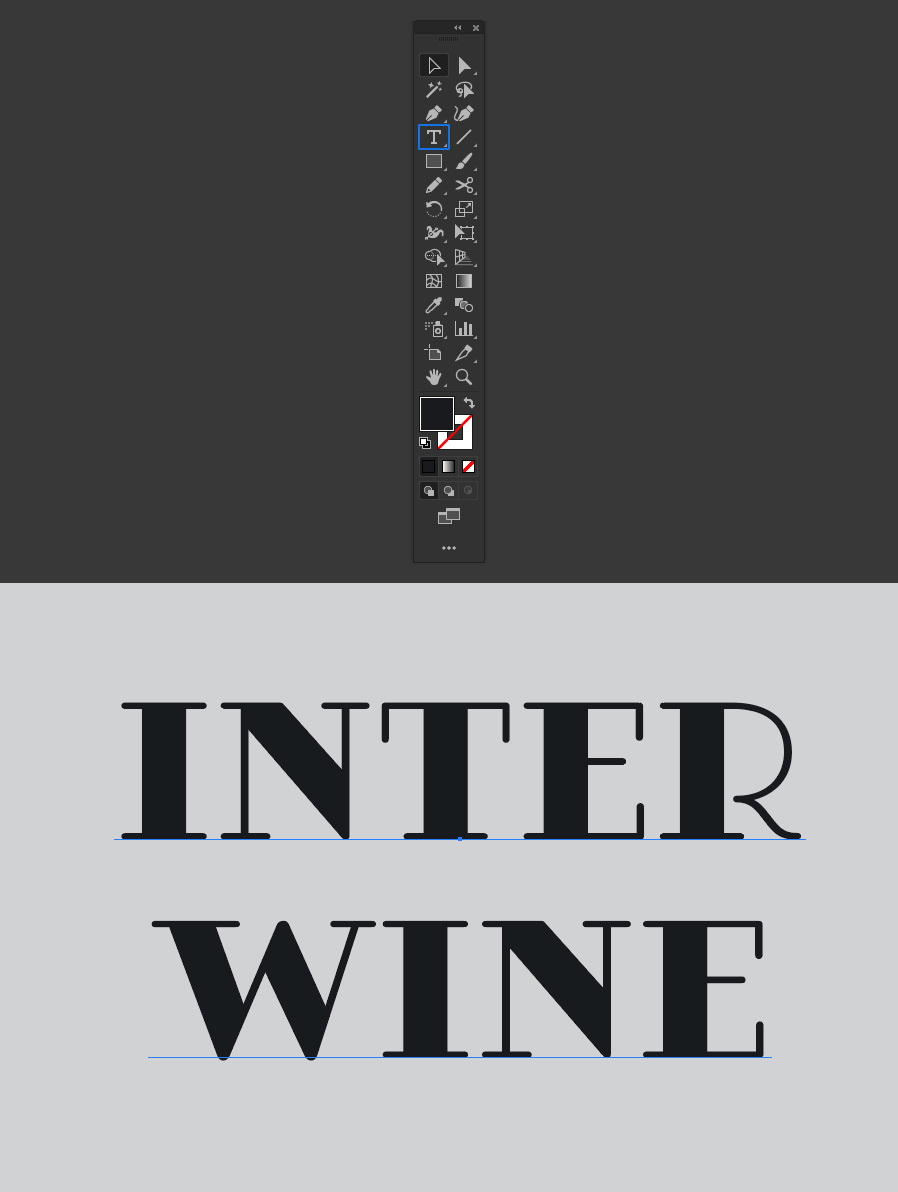
Select the Type Tool (T) and type any text you want. I will be typing "interwine" using the Fairwater font at 350 pt.
Step 3
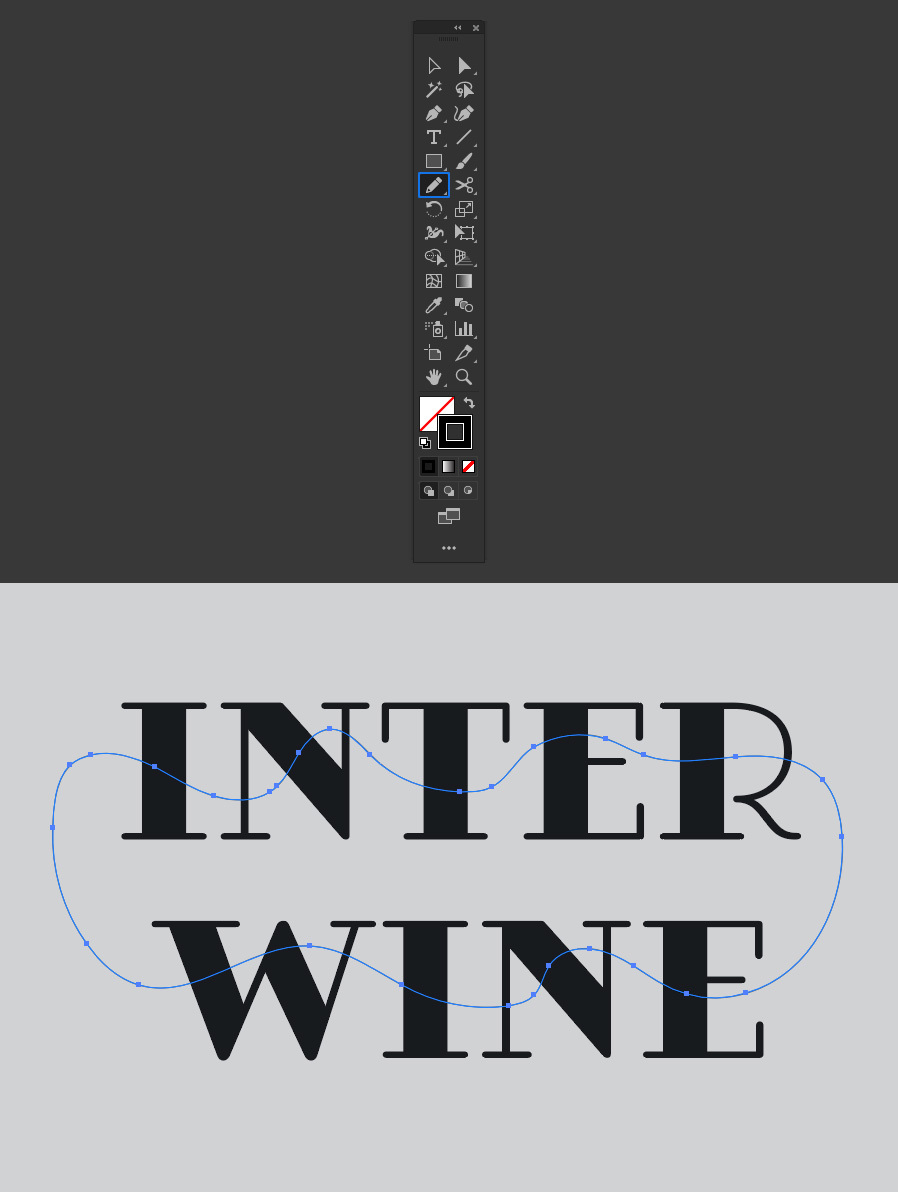
Next, make any other kind of shape you want to interlace with your text. Here I will select the Pencil Tool (N) and draw a path over my text.
Step 4
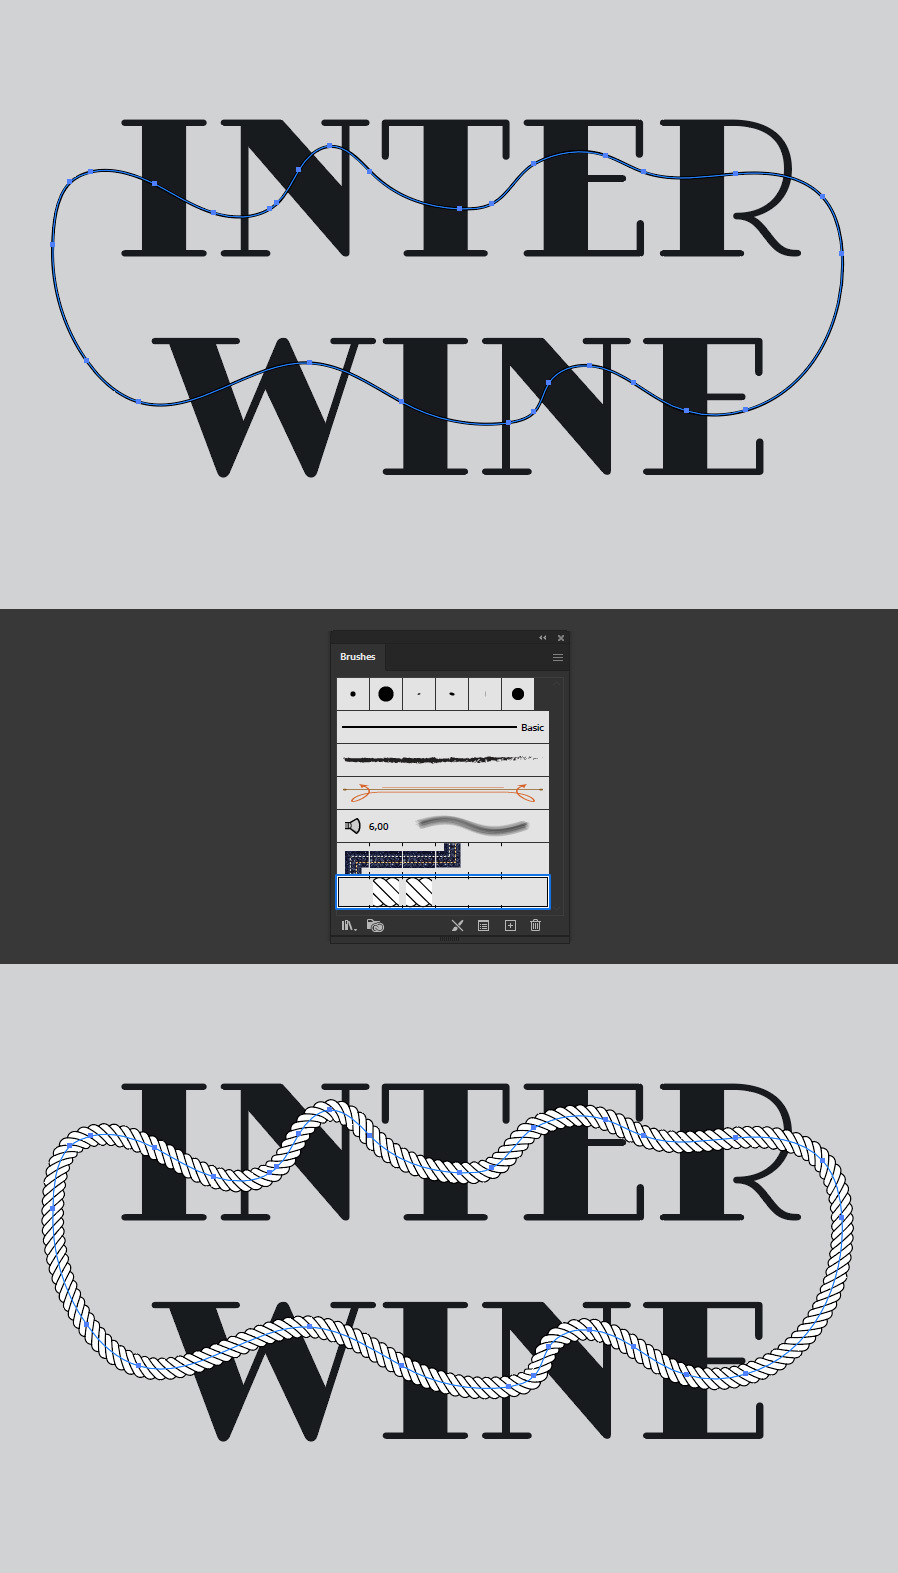
Go to Window > Stroke and set the stroke weight to your liking. In this case I will set mine to 5 pt.

Step 5
This step is optional, but to make the path (and the tutorial) a bit more interesting, I will be using a rope brush (which you can easily learn how to make here). With the path selected, go to Window > Brushes and select any pattern brush you wish.
Step 6
Select the text and the path and go to Object > Interwine > Make.
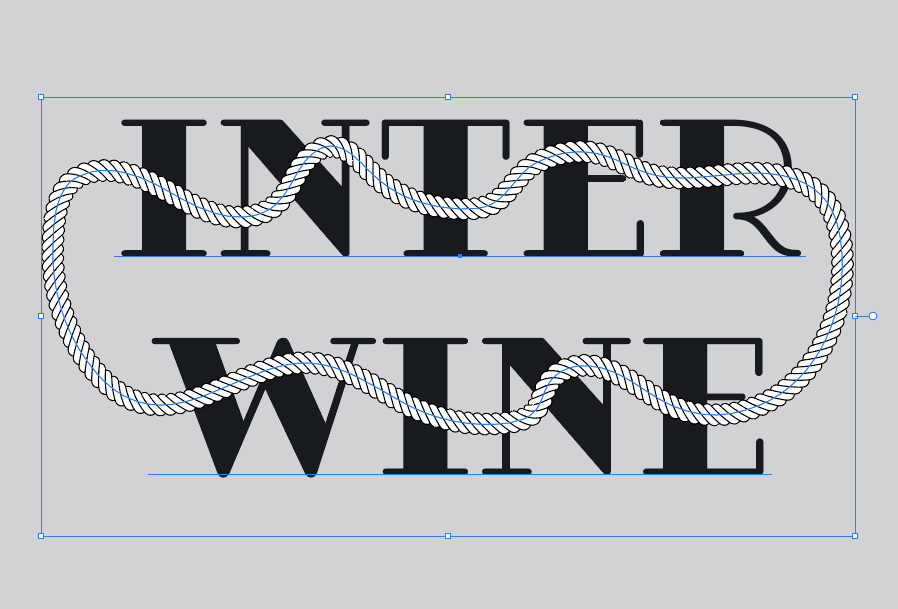
Step 7
As you may notice, the pointer changes to a kind of "lasso" cursor. Now simply draw a path around the area where you want the path and the text to interact. You will notice that what was in front is sent to the back.
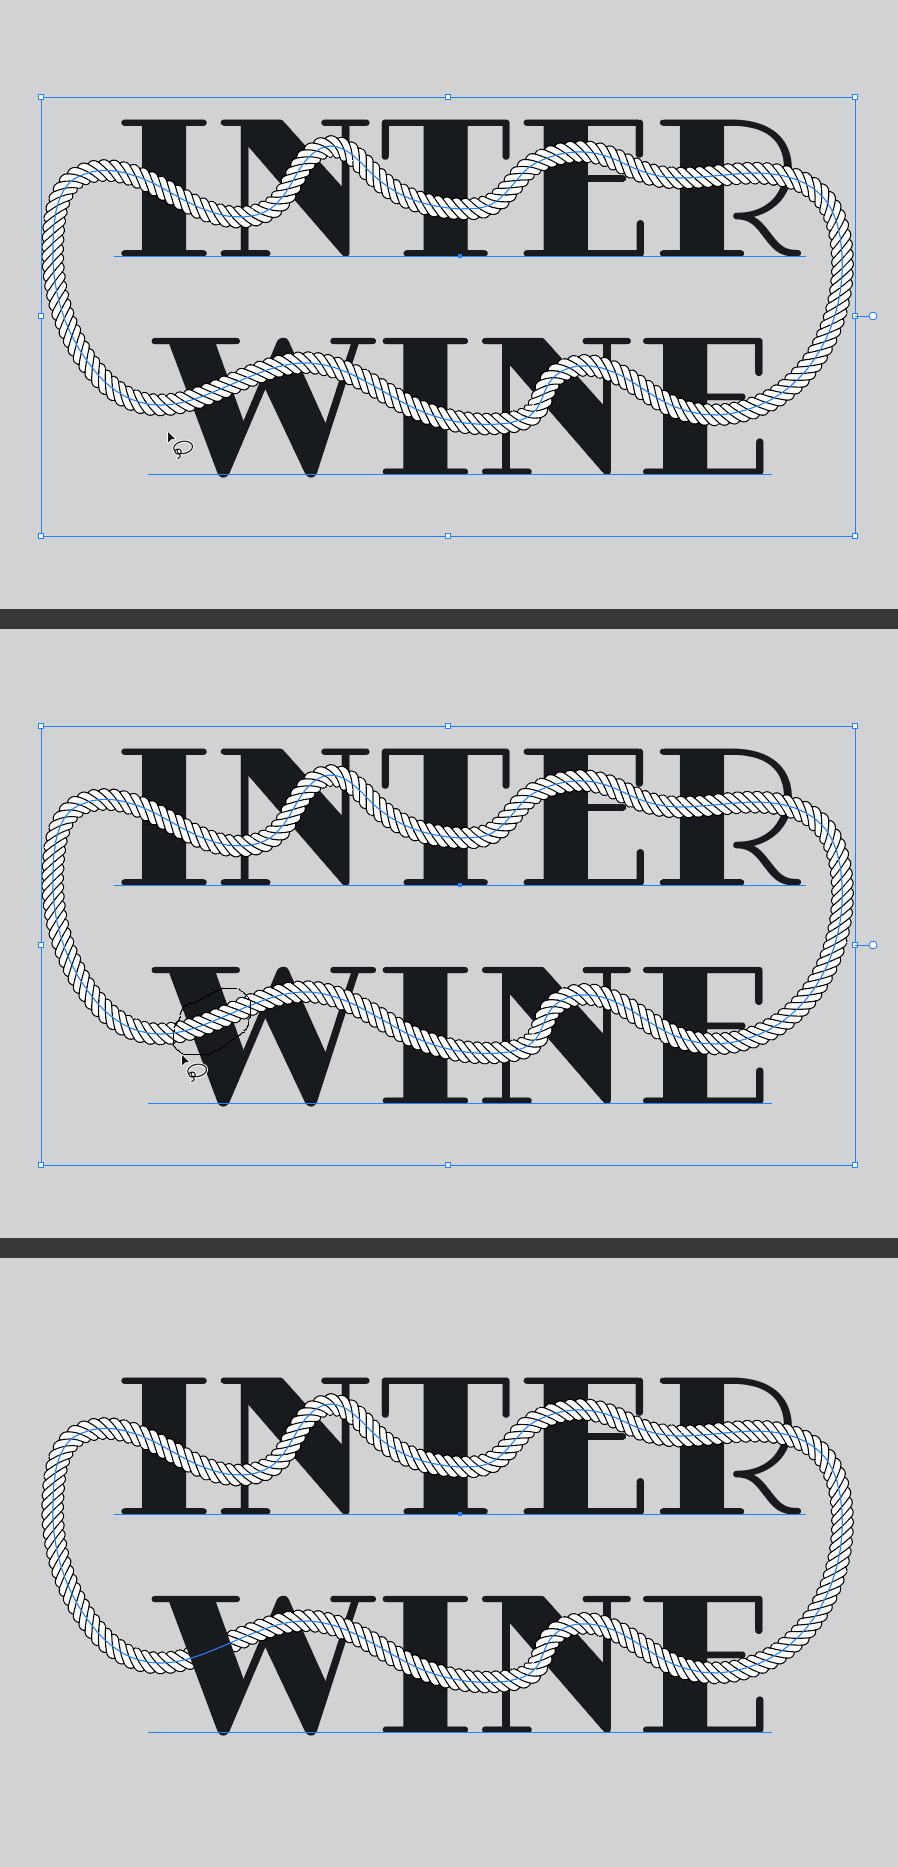
Step 8
With the Interwine still active, keep making selections around the areas you want to interlace over your design.
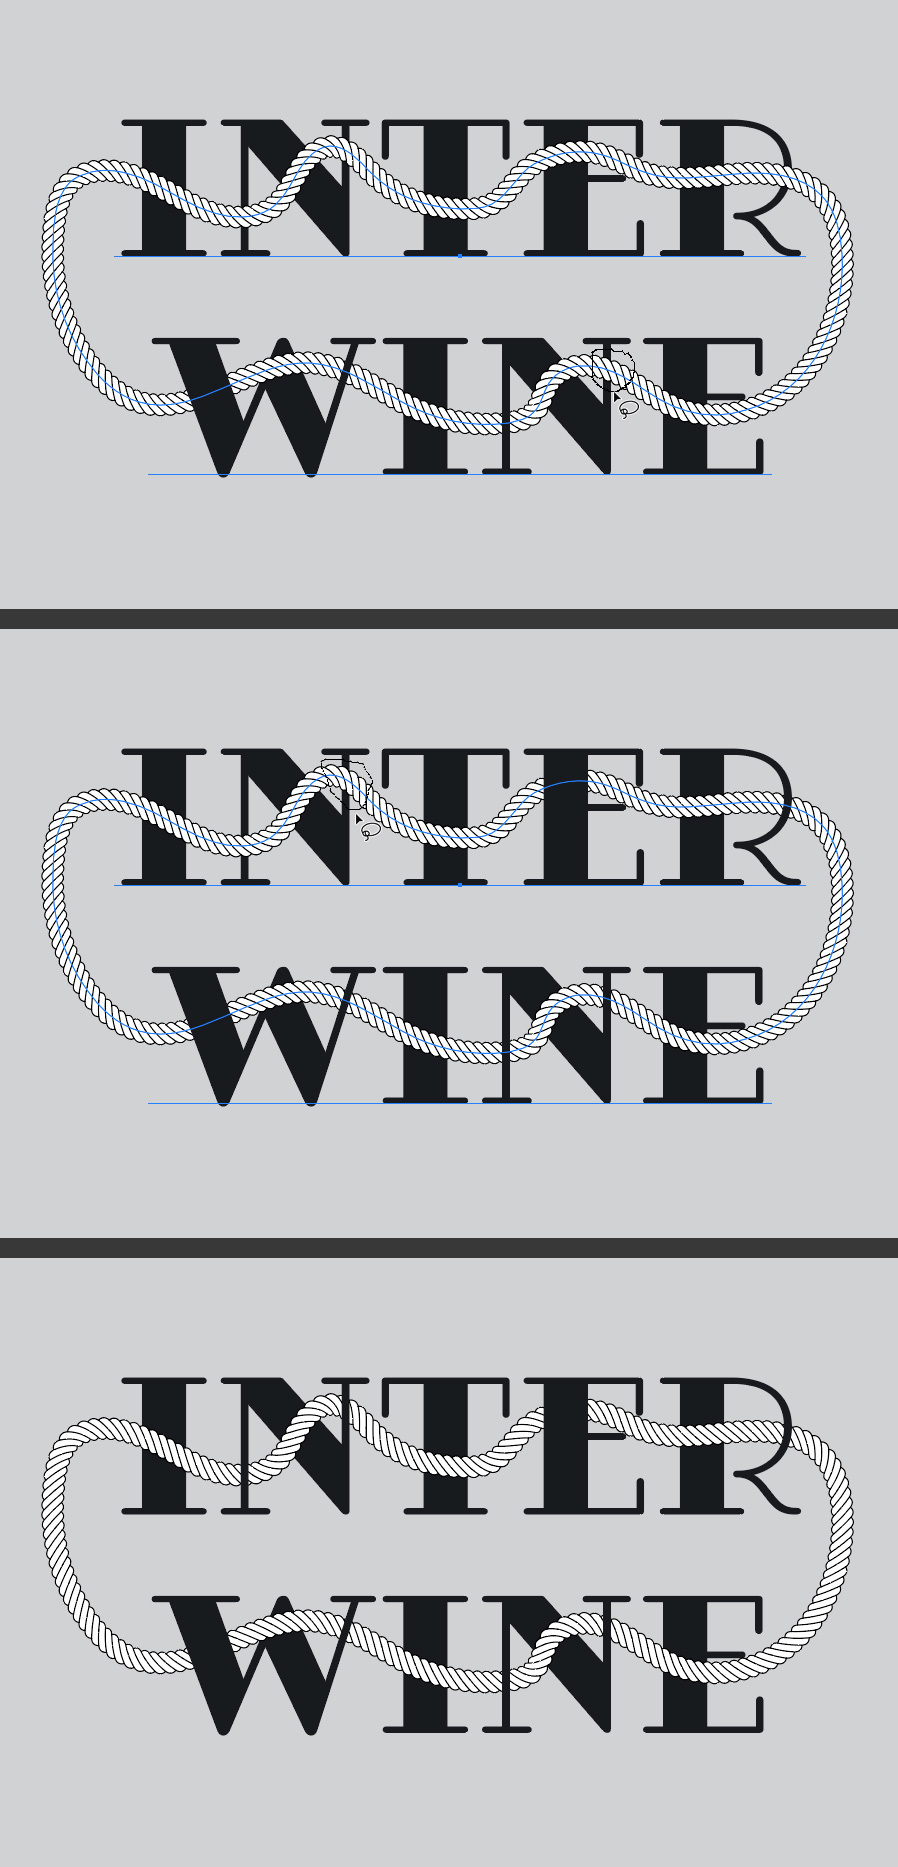
Conclusion
Now you know how to use the Interwine option, you can create all those time consuming designs in less than a minute without using the traitional method where you need to expand your objects, use the Live Paint Bucket Tool, or expand it.
