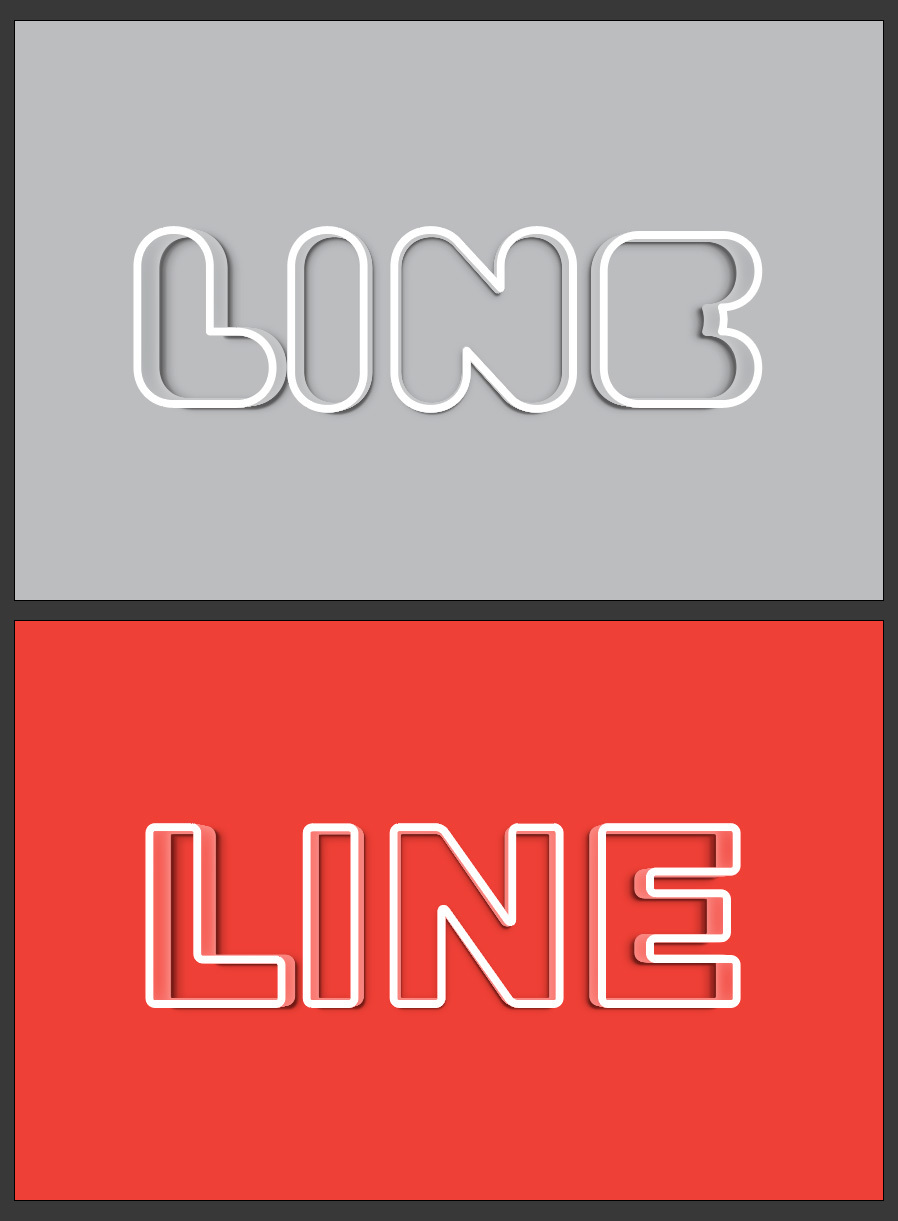
Easily Make an Editable 3D Line Text Effect in Illustrator
Illustrator Text Effects
There are many different ways to make a 3D Text Effect in Illustrator. Unfortunately, some methods to make this effect require a bit more time than others. Others require you to convert the text to curves, making it impossible to edit later. So, today I will show you a simple and easy way to make a 3D Line text effect in Illustrator. It's easy to update and the text will remain fully editable without having to make the whole effect again.
Step 1
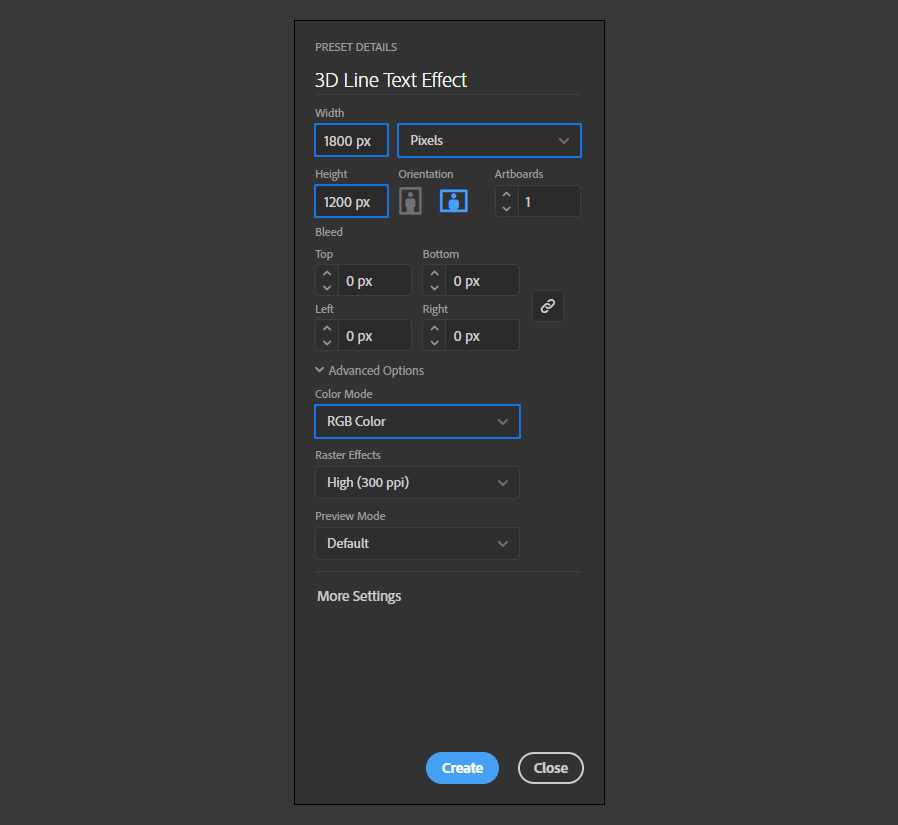
Open Illustrator and make a new file of any size you want. In this case, I will setup mine at 1800 x 1200 px.
Step 2
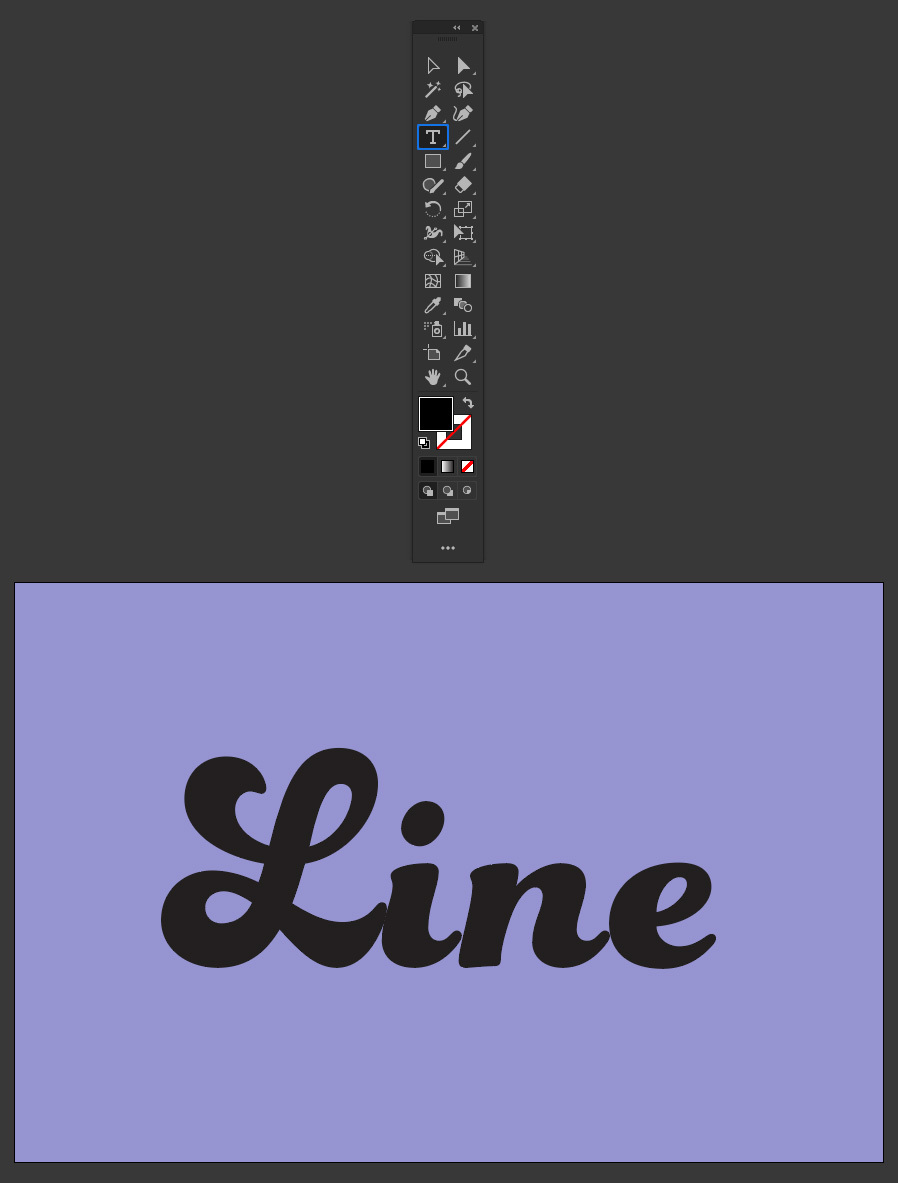
Select the Type Tool (T) and type your text using any font that you want. I will be using "Funkydori" at 680 pt over a colored background for you to better see the effect.
Step 3
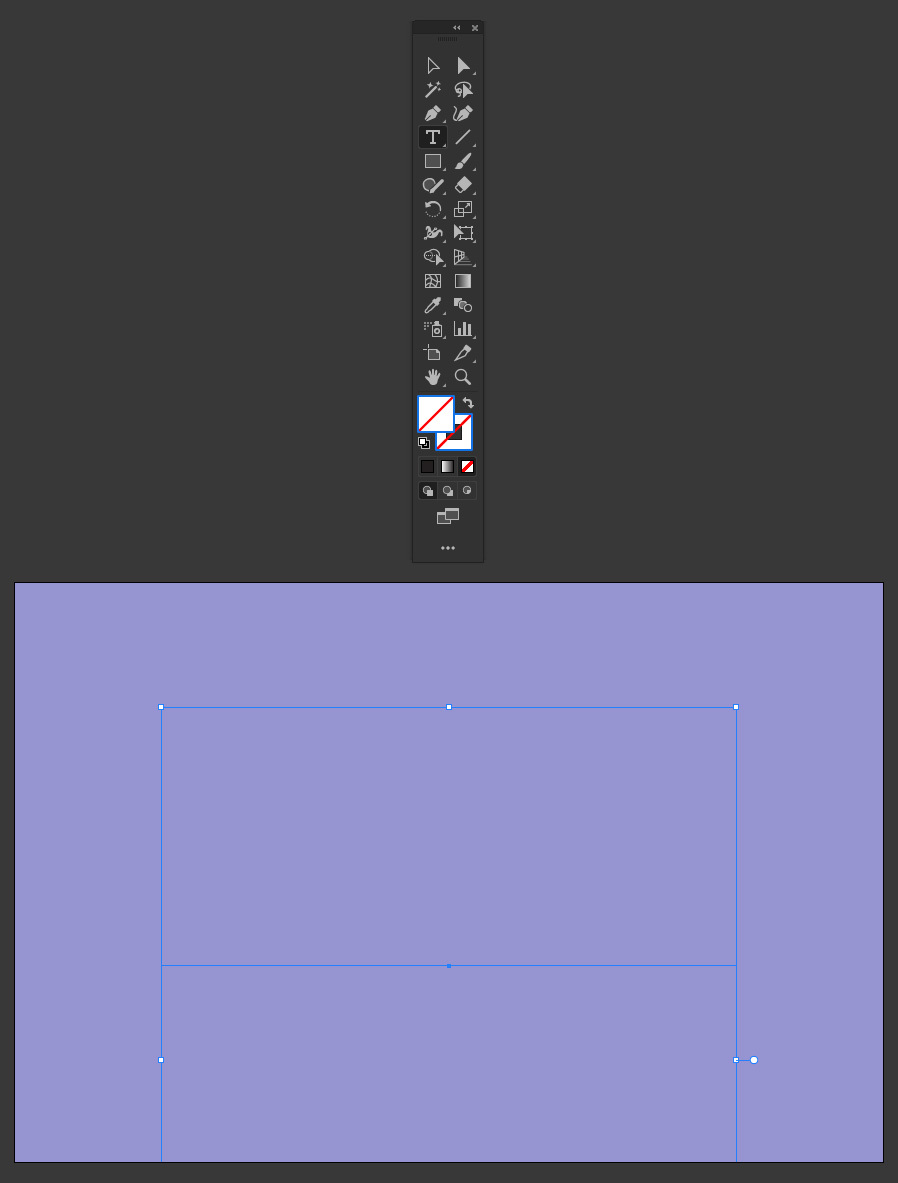
Set your text Fill and Stroke to "none" in the Tools Panel.
Step 4
Go to Window > Appearance.

Step 5
Click on the "Add New Stroke" icon.

Step 6
Set the stroke to 15 pt using any color you want. In this case, I wil be using White.
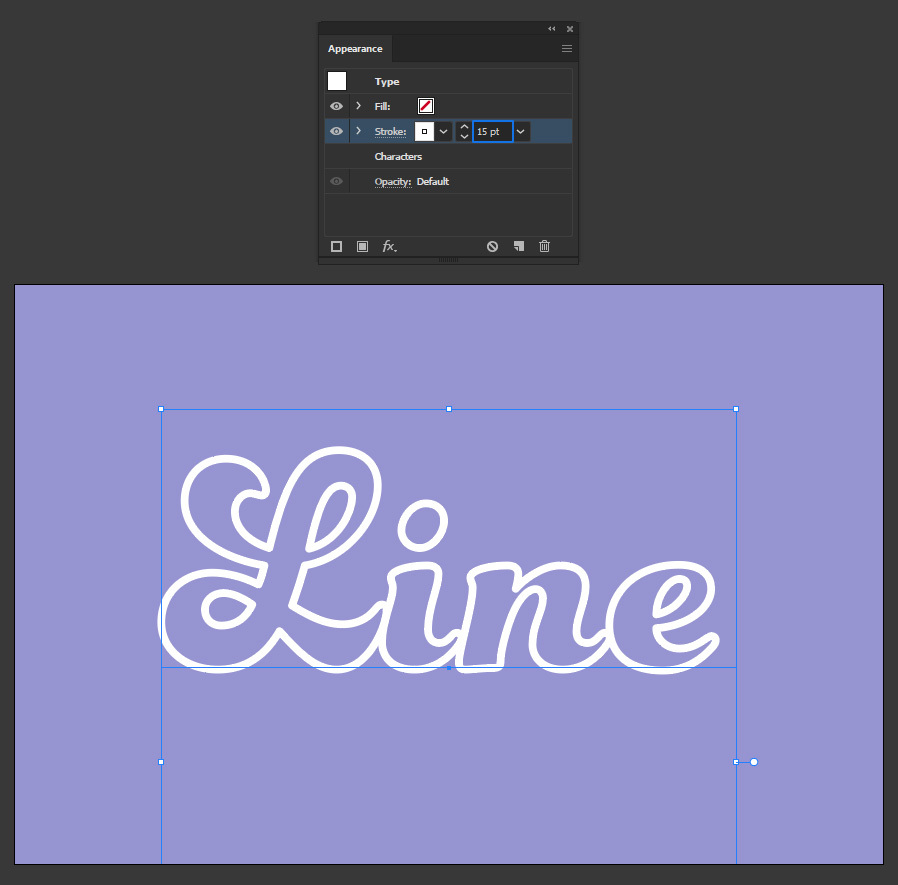
Step 7
Again, click on the "Add New Stroke" icon. Set the stroke to 15 pt using any color you want. In this case, I wil be using #9493ce.
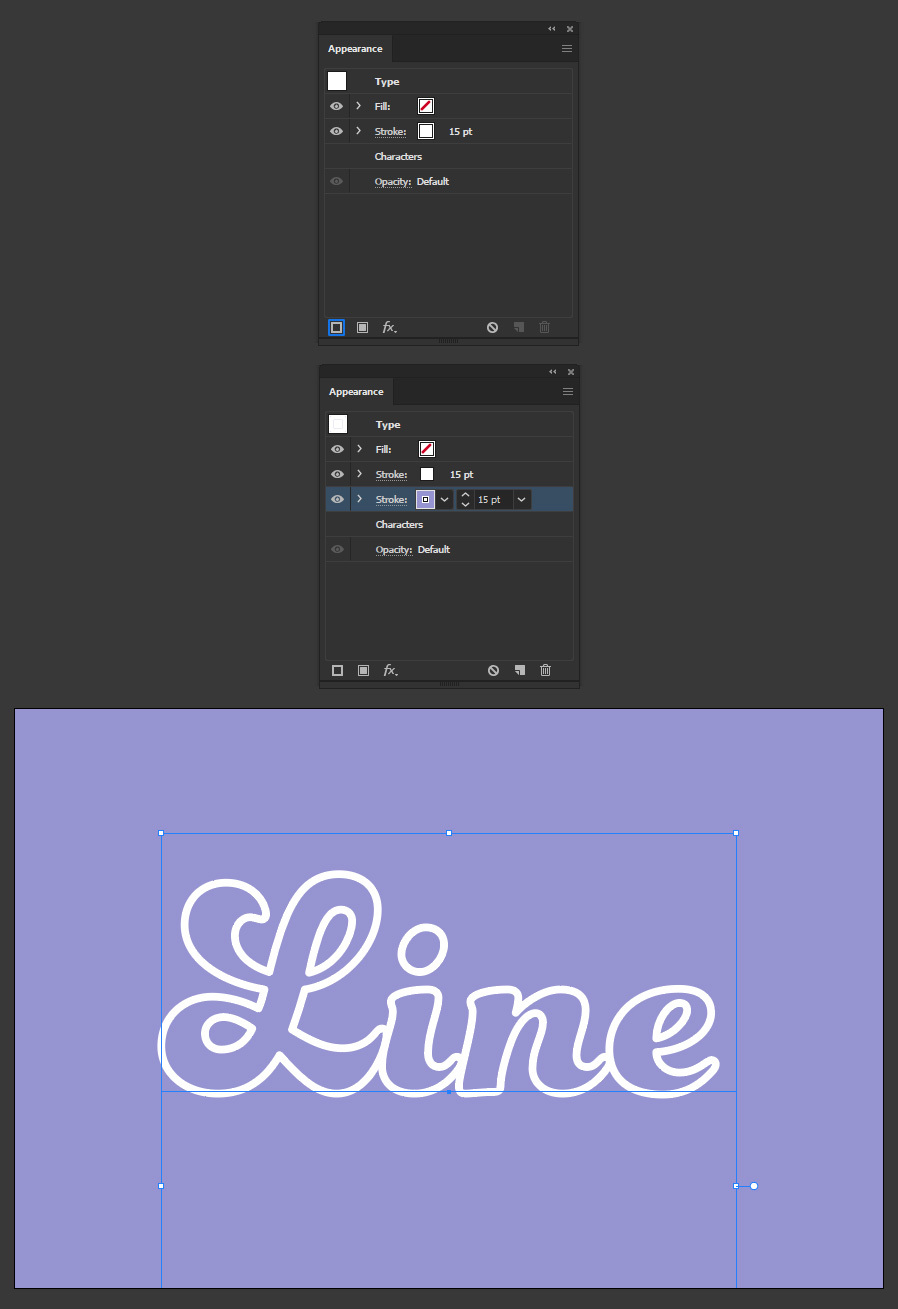
Step 8
Click on the "fx" icon and go to Distort & Transform > Transform. Apply the following settings and click OK.
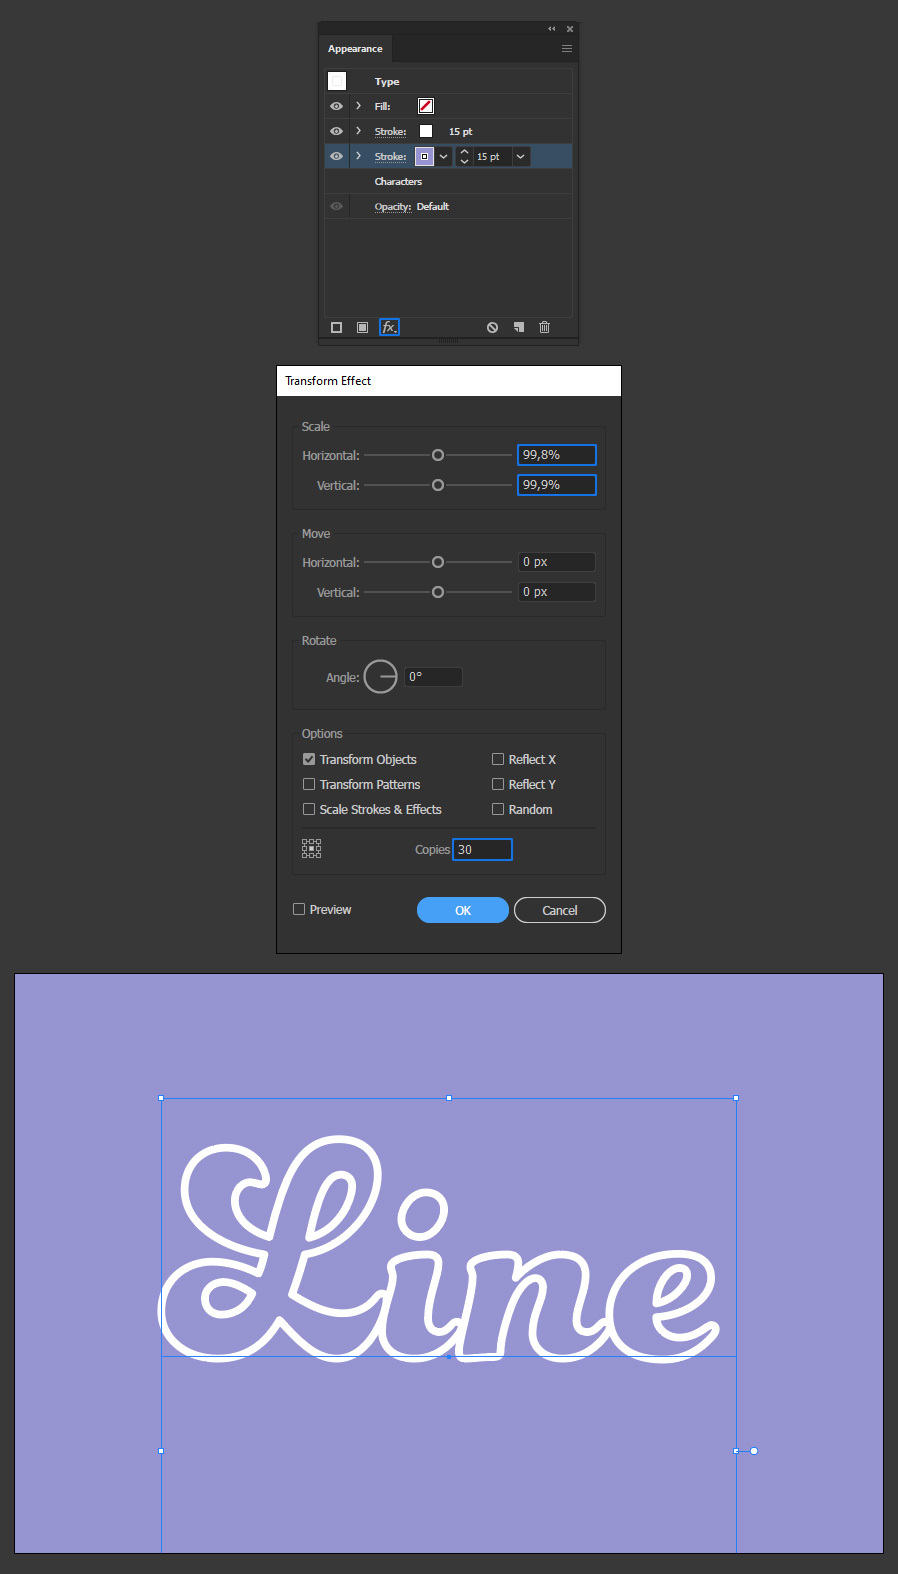
Step 9
Click on the "fx" icon again and go to Stylize > Inner Glow. Apply the following settings and click OK.
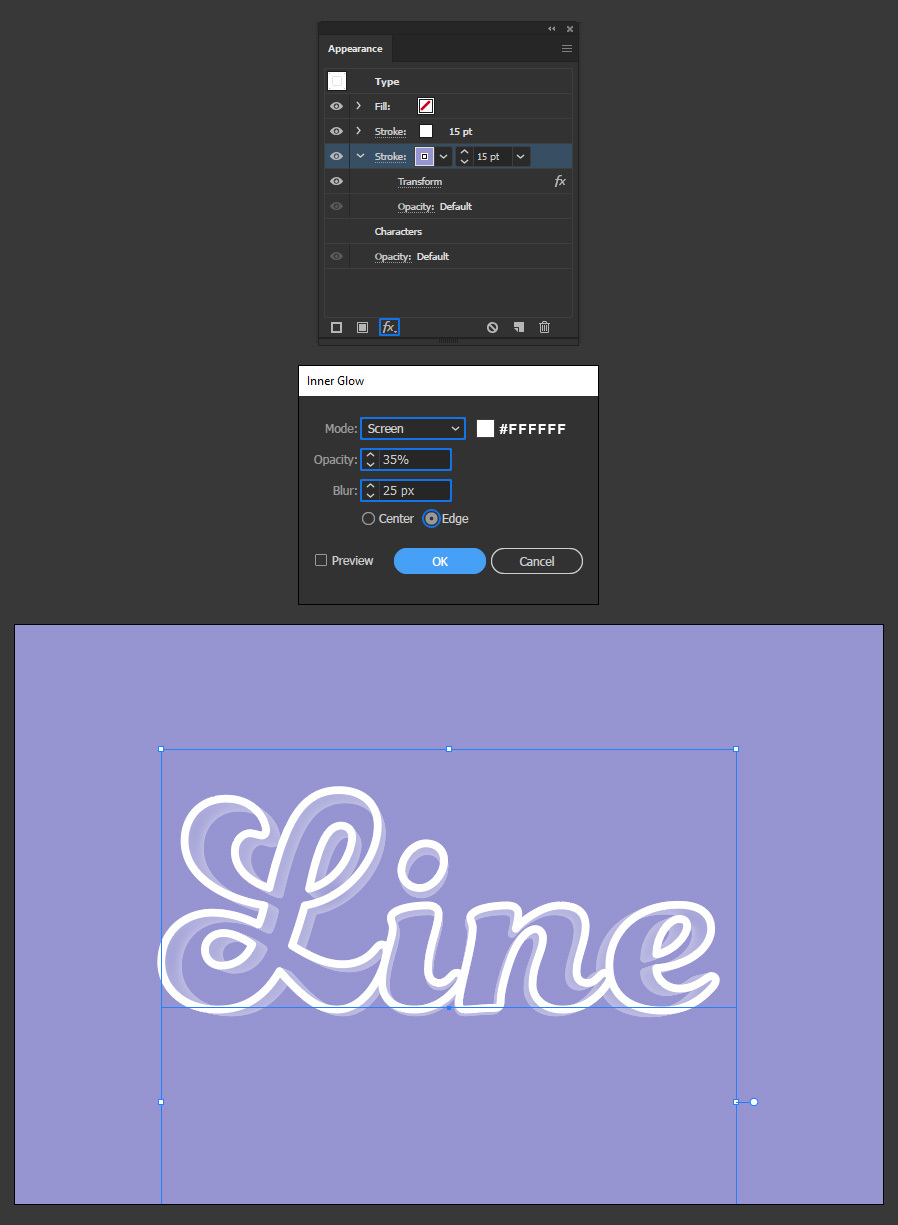
Step 10
Again, click on the "Add New Stroke" icon. Set the stroke to 15 pt using a black color.
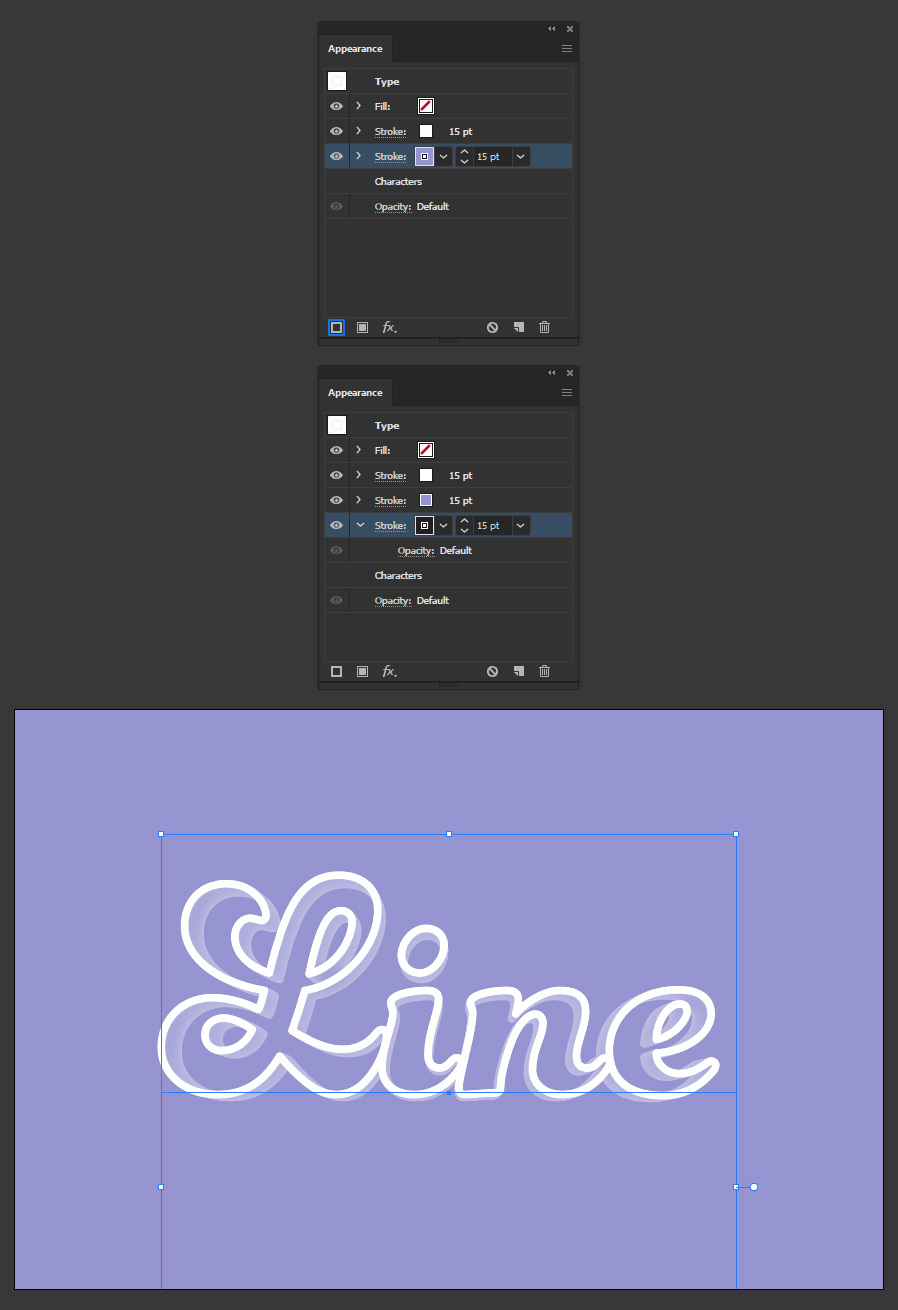
Step 11
Click on the "fx" icon and go to Distort & Transform > Transform. Apply the following settings and click OK.
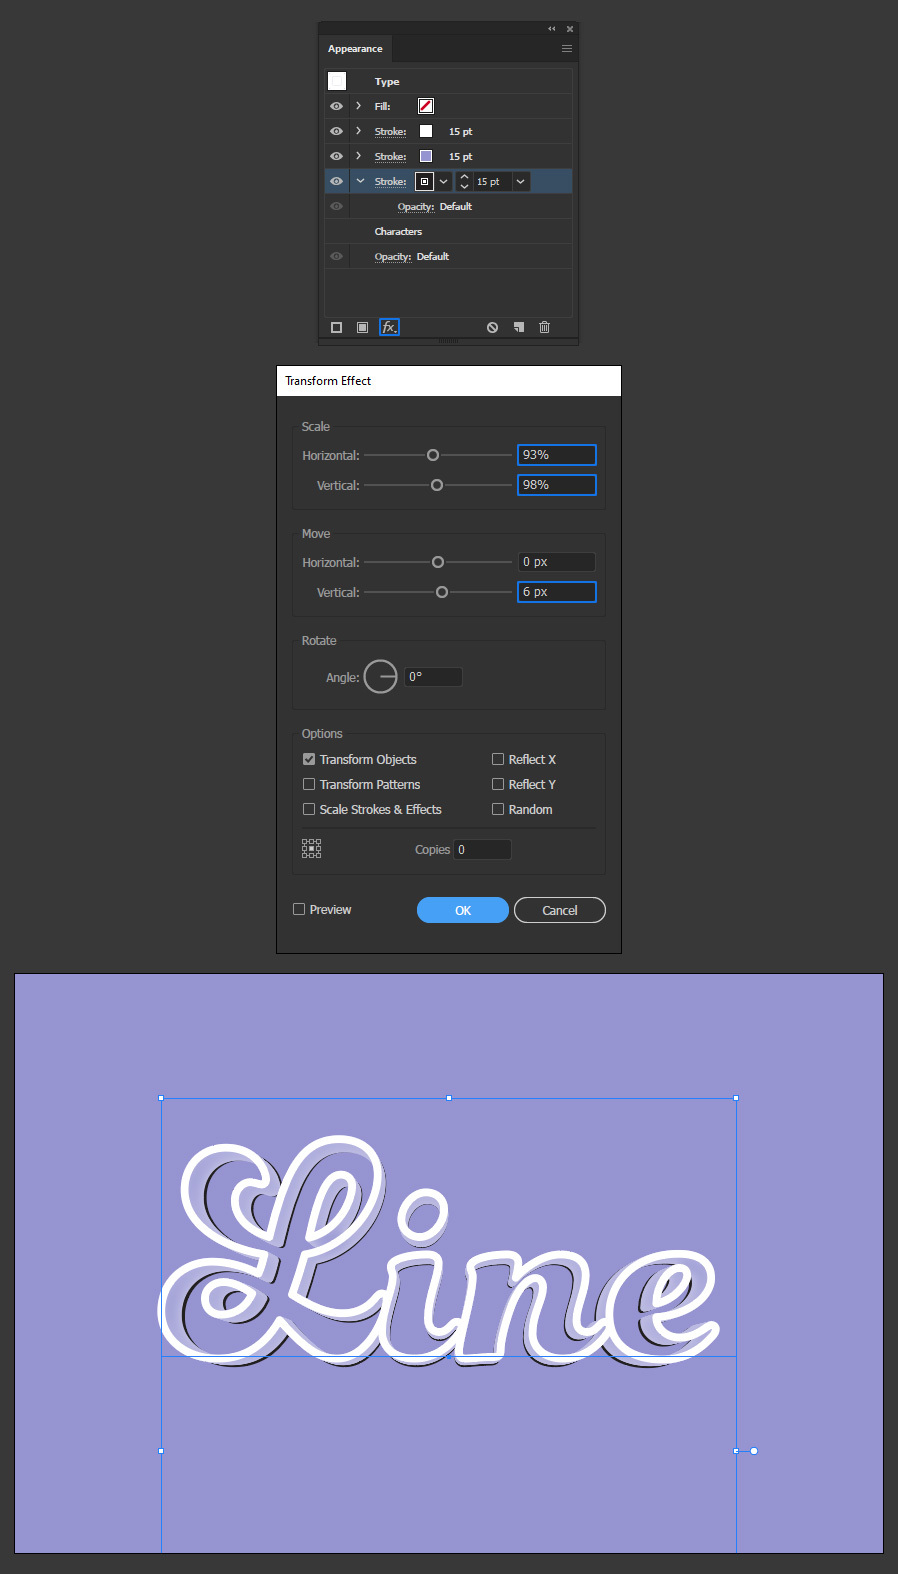
Step 12
Click on the "fx" icon again and go to Blur > Gaussian Blur. Apply the following settings and click OK.
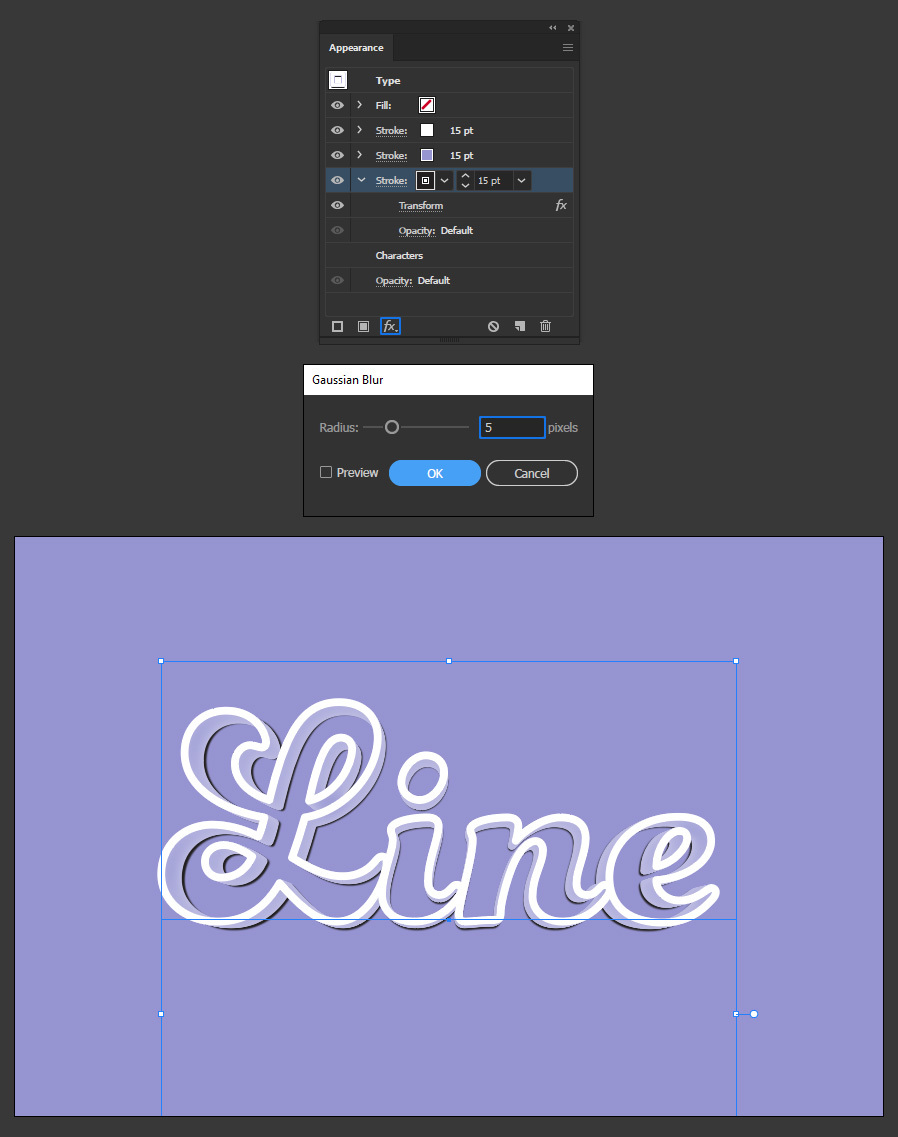
Step 13
Click on "Opacity" set the blending mode to "Multiply" and bring down the Opacity to 30%.
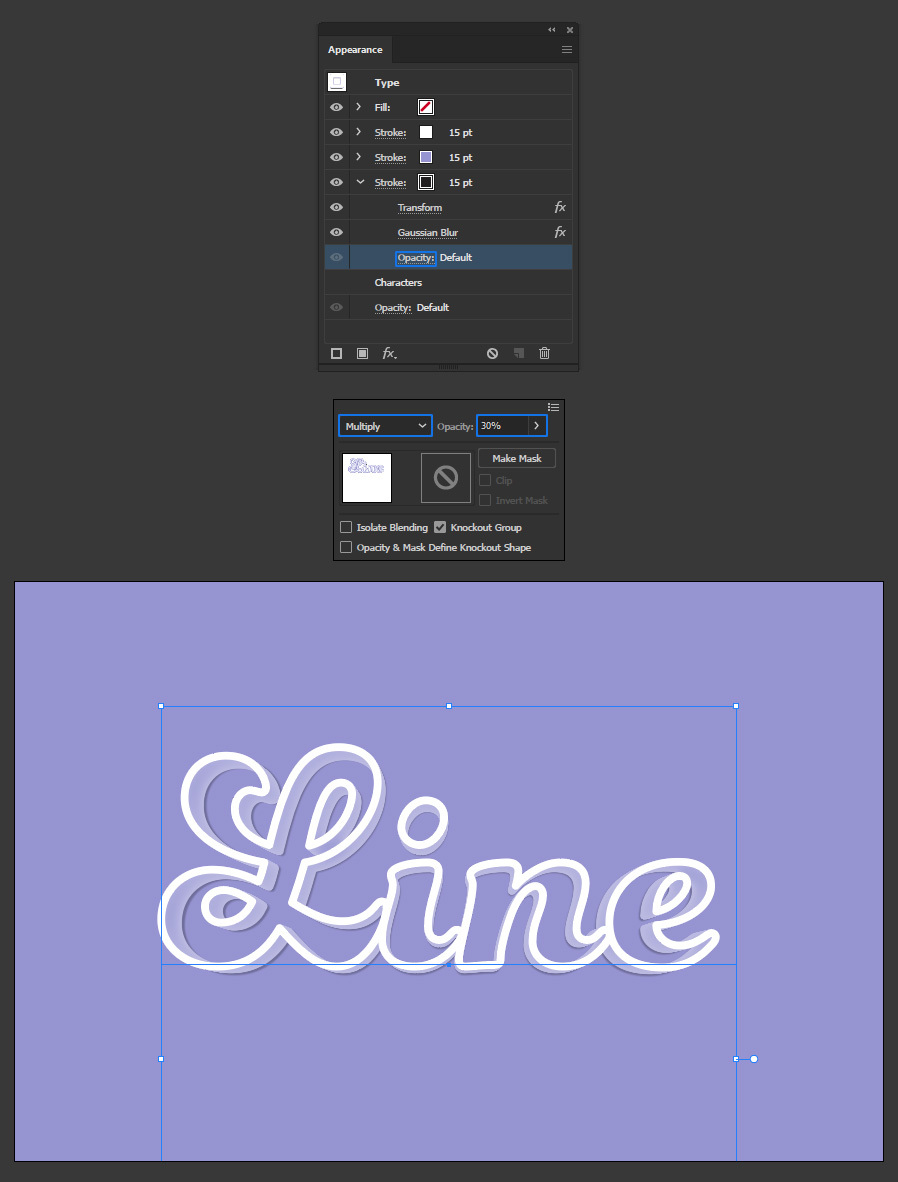
Step 14
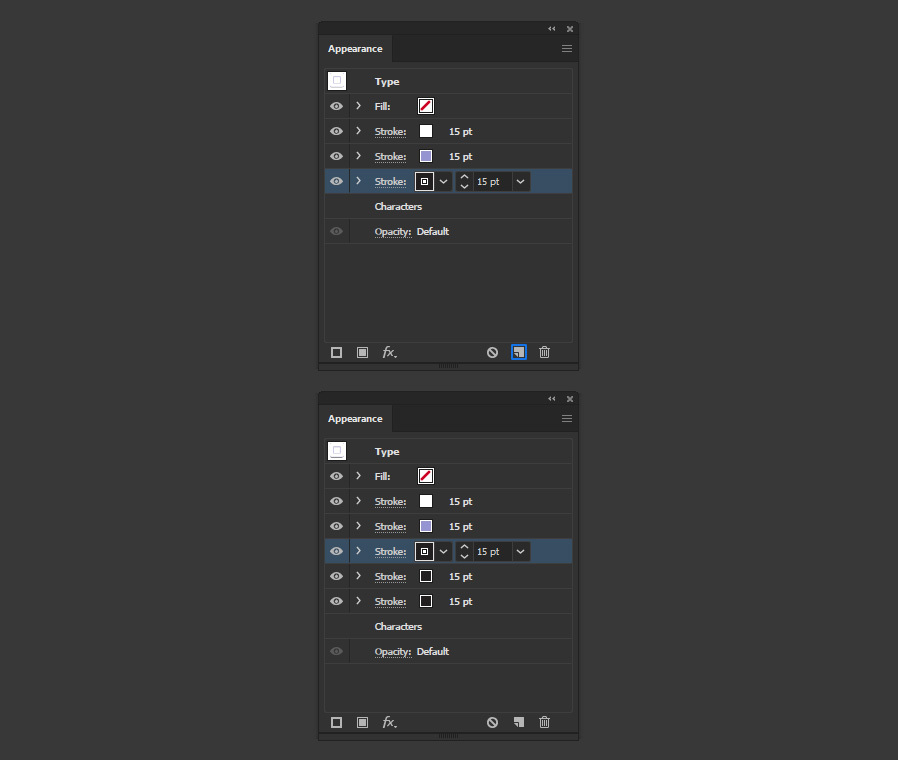
Click on the "Duplicate Selected Item" icon twice to make 2 copies of the black colored stroke.
Step 15
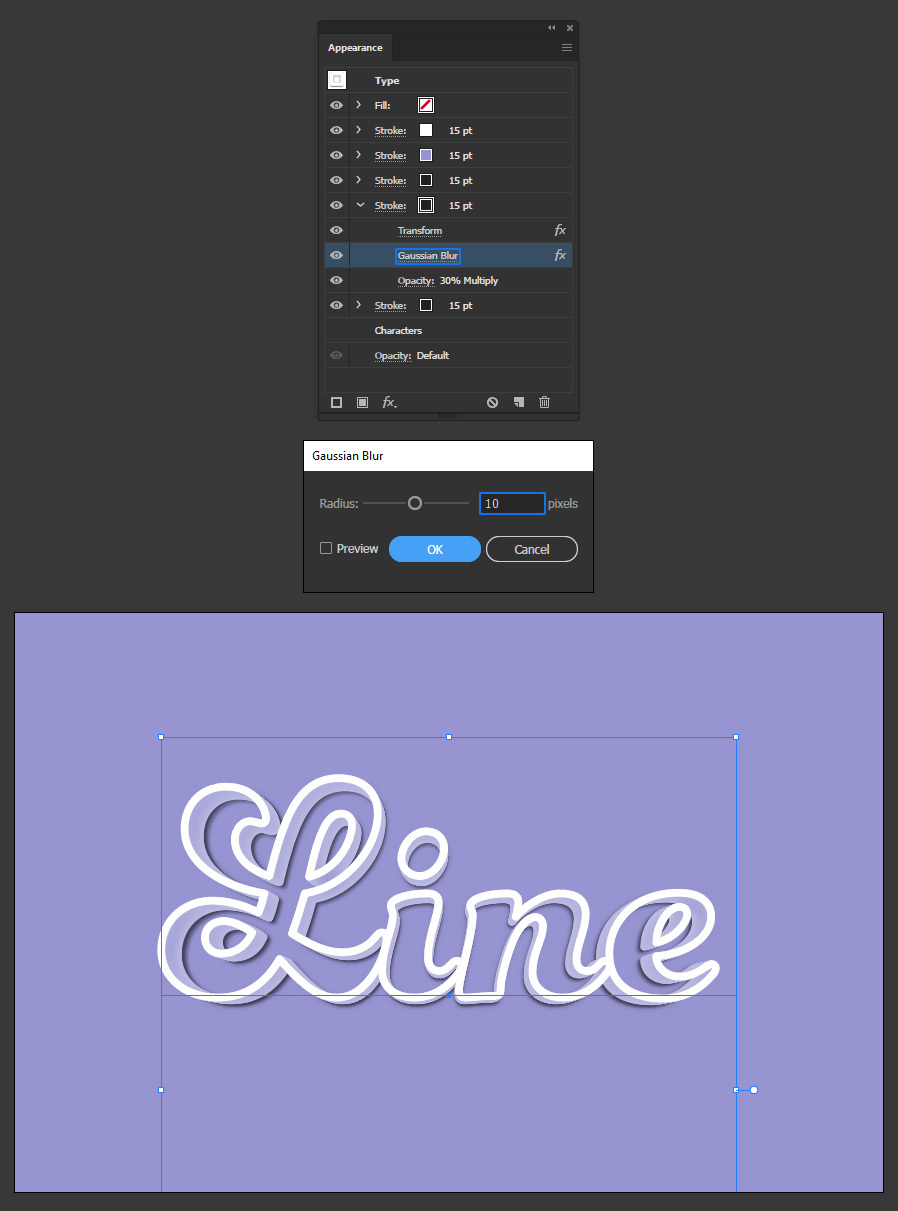
Select the first copy and click on "Transform". Apply these new settings and click OK.

Step 16
Click on "Gaussian Blur", apply the following new settings and click OK.
Step 17
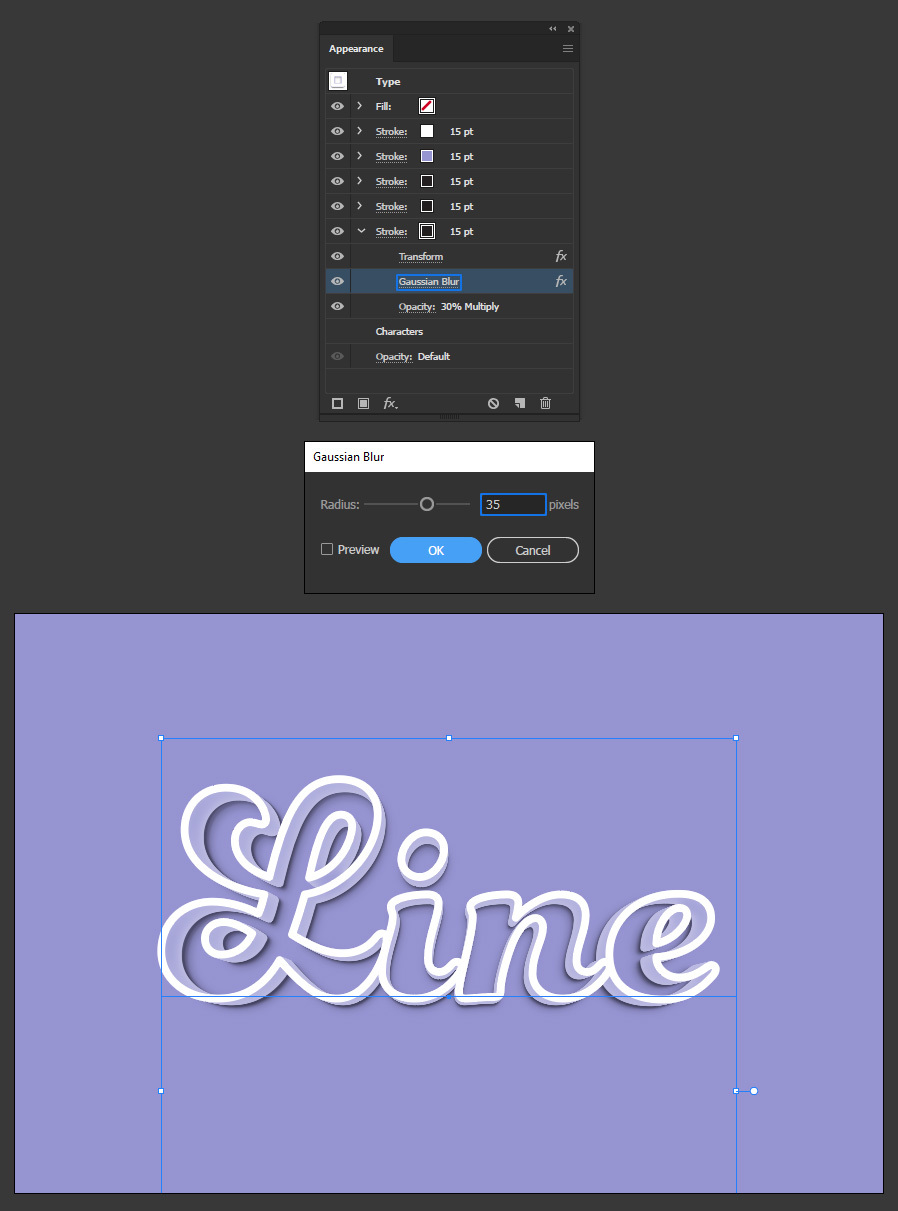
Select the second copy of the black colored stroke and click on "Transform". Apply these new settings and click OK.

Step 18
Lastly, click on "Gaussian Blur", apply the following new settings and click OK.
A final note:
If you want to change the text or the font later, simply select the Type Tool (T) and change it as you normally do it in Illustrator. All the effects will remain intact. And if you want to change the colors, simply select any of the Strokes in the Appearance Panel and set any color that you want.
