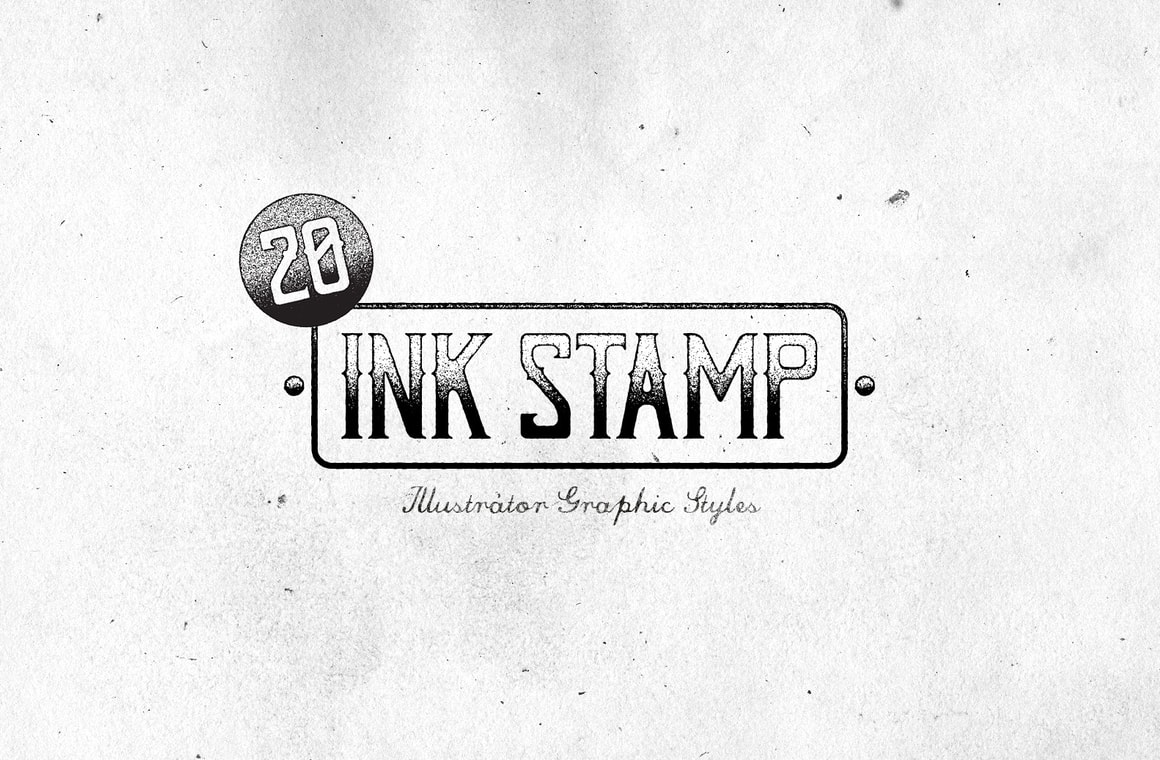

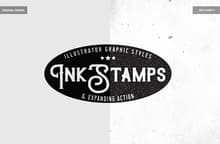
In this pack you will find 20 different Illustrator Ink Stamp effects (graphic styles) as well a basic tracing action for you to expand the end results. As these graphic styles makes use of some raster effects already available in your Illustrator instalation, a basic tracing action is provided so you can easily make a vector graphic with these amazing ink stamp styles.
Perfect to give a rough effect, you can easily apply these styles on logos, badges, headlines and all kind of graphics you can think of. The styles are only provided as Black & White due the effect nature, but with the provided tracing action you can use any color you wish once you expand your artwork.
How to install (graphic styles)
- Open Illustrator and create a new file.
- Go to Window > Graphic Styles. In the Graphic Styles Panel click on the top right icon and from the dropdown menu select: Open Graphic Style Library > Other Library.
- Locate the "Ink Stamp Graphic Styles Library.ai" file inside the Graphic Styles Library folder included in your download and click on Load.
How to install (action)
- Open Illustrator and create a new file.
- Go to Window > Actions. In the Actions Panel click on the top right icon and from the dropdown menu select: Load Actions.
- Locate the "Expand Ink Stamp.aia" file inside the Action folder included in your download and click on Load.
How to use (graphic styles)
- Select your type or vector artwork.
- Click on any of the 20 Ink Stamp Graphic Styles located in the Ink Stamp Graphic Styles Panel.
How to use (action)
- Select the element you want to trace.
- In the Actions Panel click on the 'Expand Ink Stamp' action folder.
- Hit the PLAY button located in the Actions Panel and wait for the action to finish.
How to manually trace your artwork
- Select the element you want to trace.
- Go to Object > Rasterize.
- In the Rasterize window set the color mode to CMYK at 300 dpi, choose the anti-aliasing method your prefer (type or graphic) and click OK.
- Trace your graphic image using your own options in the Image Trace Panel.
Note: The provided action is only intended to be used as a quick expansion method of your artwork. If you want a more precise path trace it is better to proceed as you usually do with your graphics. Also, you can check the expansion method described in the 'How to Vectorize a Vintage Illustration' post (steps 9 to 16).


