Illustrator Quick Tip: Working With Grunge Splatters as Symbols
If you're used to creating grungy splatters in Photoshop because you're not familiar with the flexibility of vector symbols in Illustrator, this article may change your workflow dramatically. Not only are symbols incredibly flexible they can also reduce the file size dramatically over using standard vector graphics repeated over a design. Lets take a closer look.
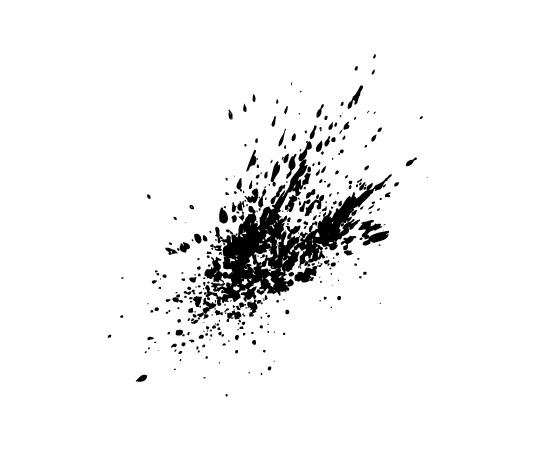
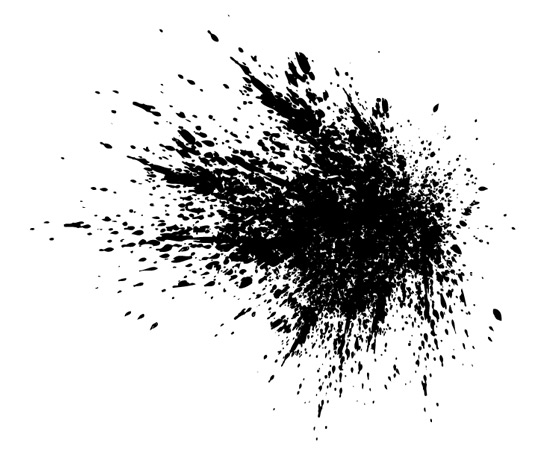
First I have an Illustrator document open with an ink splatter that I scanned and vectorized.
 To create a symbol from this art, simply open the symbols panel (Window | Symbols) then drag and drop the artwork onto the panel.
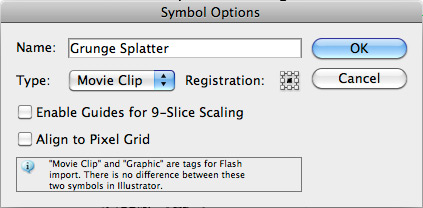 The Symbols Options Window appears where you can name the new symbol you are creating. You can ignore the rest of the options as those pertain to exporting for Flash.
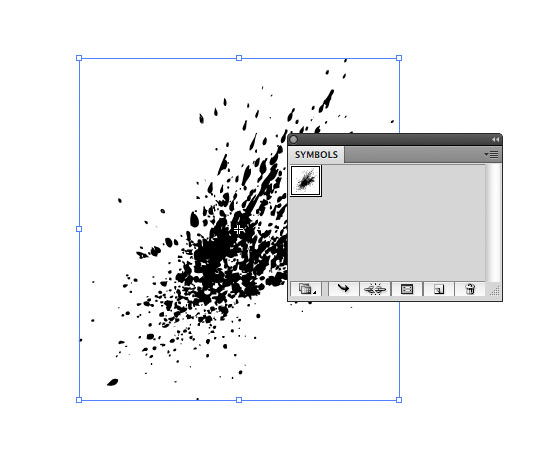 Now with our new symbol created you can delete the original art.
To begin using the symbol, you can grab the Symbol Sprayer Tool (Shift + S) and click on the canvas.
 Each click with the sprayer tool creates a new instance of the symbol, or you can click and hold the mouse button to "spray" several symbols at once.
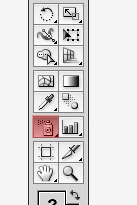
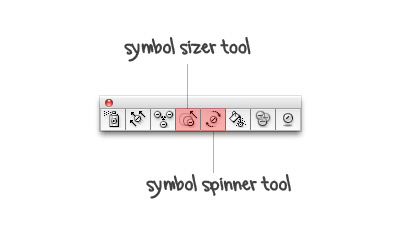
 What's really great about working with symbols are the additional tools that are available for editing them. Click the Symbol Sprayer Tool icon on the tool palette and hold it down to see the additional tools. The ones highlighted below are the most useful when working with grunge splatters.
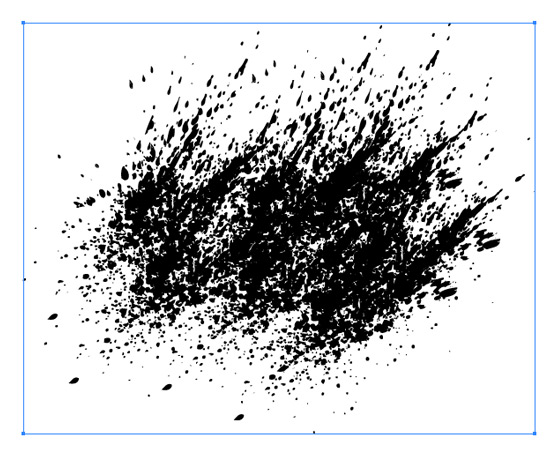
 I created this splatter pattern using a single symbol and only the sizer and spinner tools. My final vector file size will be reduced because I'm simply repeating the same symbol versus copying and pasting multiple copies of my original vector trace.
 Experiment with splatter symbols in Illustrator and see what you can come up with!
 To create a symbol from this art, simply open the symbols panel (Window | Symbols) then drag and drop the artwork onto the panel.
 The Symbols Options Window appears where you can name the new symbol you are creating. You can ignore the rest of the options as those pertain to exporting for Flash.
 Now with our new symbol created you can delete the original art.
To begin using the symbol, you can grab the Symbol Sprayer Tool (Shift + S) and click on the canvas.
 Each click with the sprayer tool creates a new instance of the symbol, or you can click and hold the mouse button to "spray" several symbols at once.
 What's really great about working with symbols are the additional tools that are available for editing them. Click the Symbol Sprayer Tool icon on the tool palette and hold it down to see the additional tools. The ones highlighted below are the most useful when working with grunge splatters.
 I created this splatter pattern using a single symbol and only the sizer and spinner tools. My final vector file size will be reduced because I'm simply repeating the same symbol versus copying and pasting multiple copies of my original vector trace.
 Experiment with splatter symbols in Illustrator and see what you can come up with!
