The Most Effective Way to Create a Vector Texture with Photoshop and Illustrator
Converting a bitmap image into a fully scalable vector texture
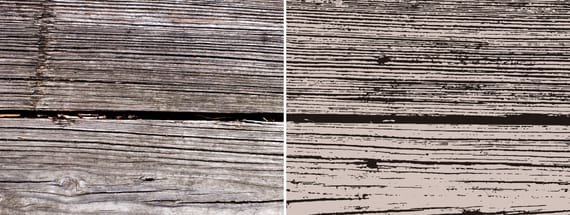
This tutorial will share with you what I believe to be the most effective technique for tracing vector textures from bitmap images. The benefit of vector textures is that they are infinitely scalable, and can be colorised easily. This technique uses both Photoshop and Illustrator but it is fairly simple and easy to remember, so should come in handy the next time you need to create a vector texture.
Step 1
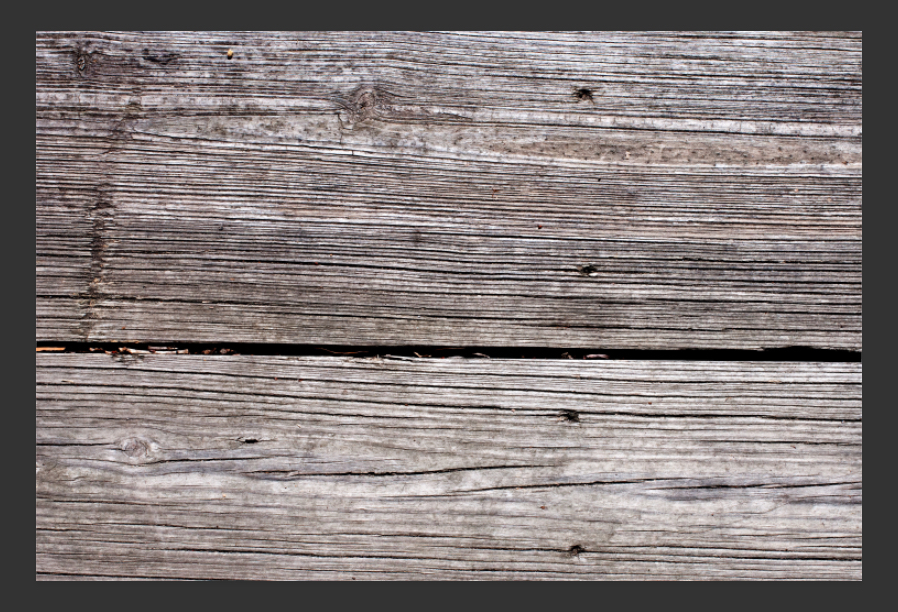
The first step is to open your original bitmap texture in Photoshop. For this tutorial I am using a texture from the Old Wood Plank Textures. If you are not a member, here is a free sample you can download for this tutorial.
Step 2
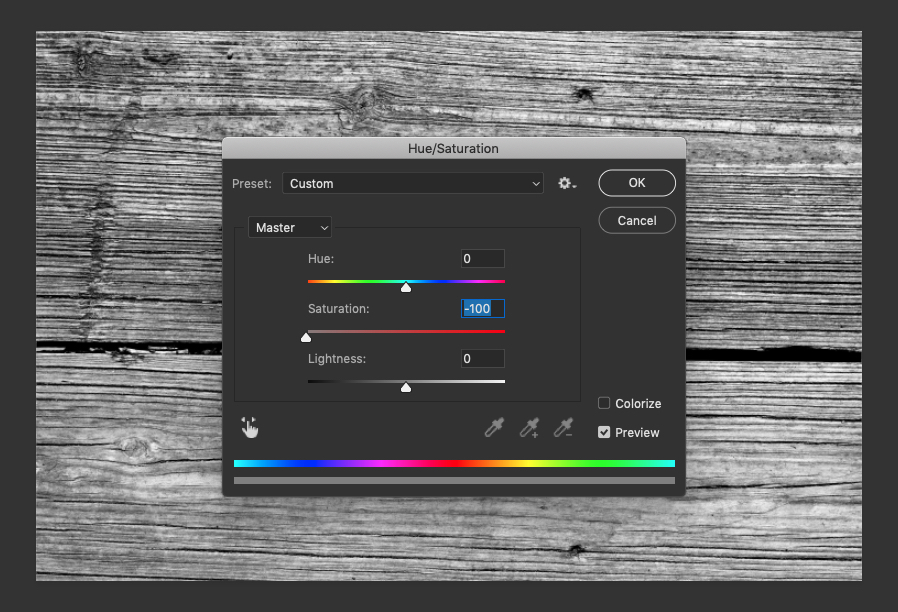
Go to Image > Adjustments > Hue/Saturation and reduce the Saturation to 0. Or use the shortcut CMD+SHIFT+U on Mac or CTRL+SHIFT+U on Windows.
Step 3
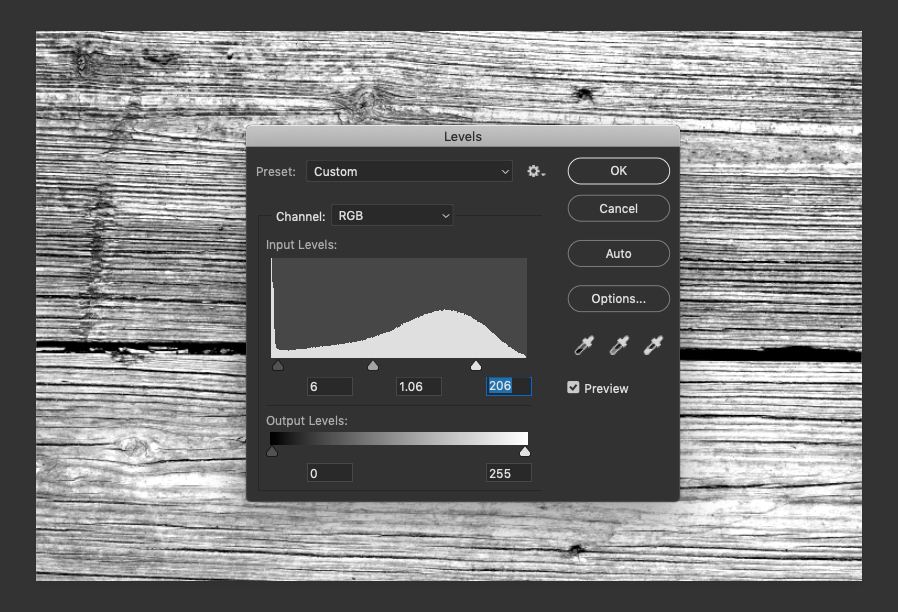
Go Image > Adjustments > Levels... (CMD+L or CTRL+L) and adjust the levels so that there is more contrast.
- Highlight input level: 206
- Midtone input level: 1.06
- Shadow input level: 6
Depending on the image, these values will different but the overall goal is to bring out more contrast between the dark and light sections of the image without losing detail.
Step 4
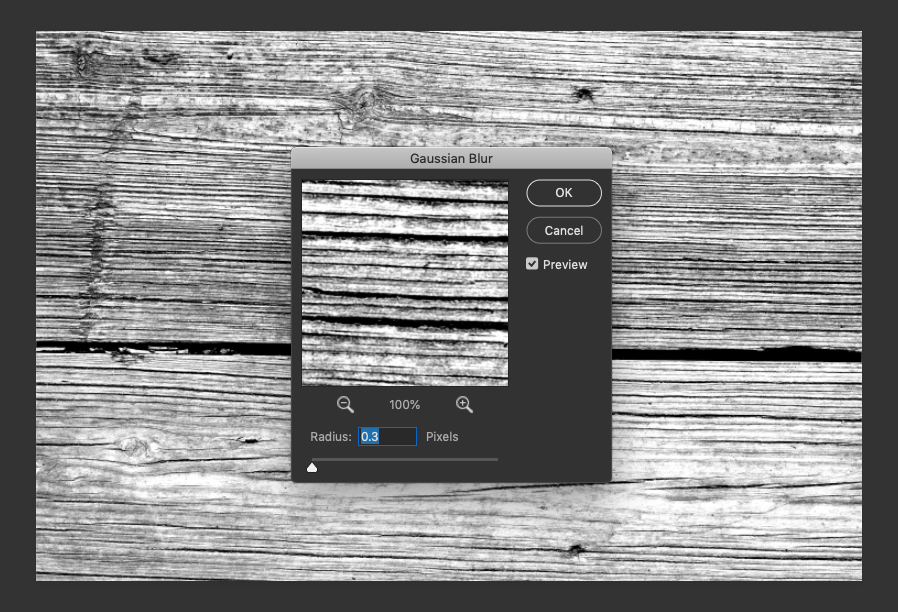
Apply a very subtle Gaussian Blur, typically between 0.2 and 0.5 pixels. This is to soften the image slightly and make tracing easier later on.
Step 5
Now for some manual adjustments. Take a look at the image and determine which areas are darker or lighter than average. Then select either the Dodge or Burn tool, set the Range to Midtones and Exposure to 20% and with a soft round brush dodge the dark areas and burn the light areas.
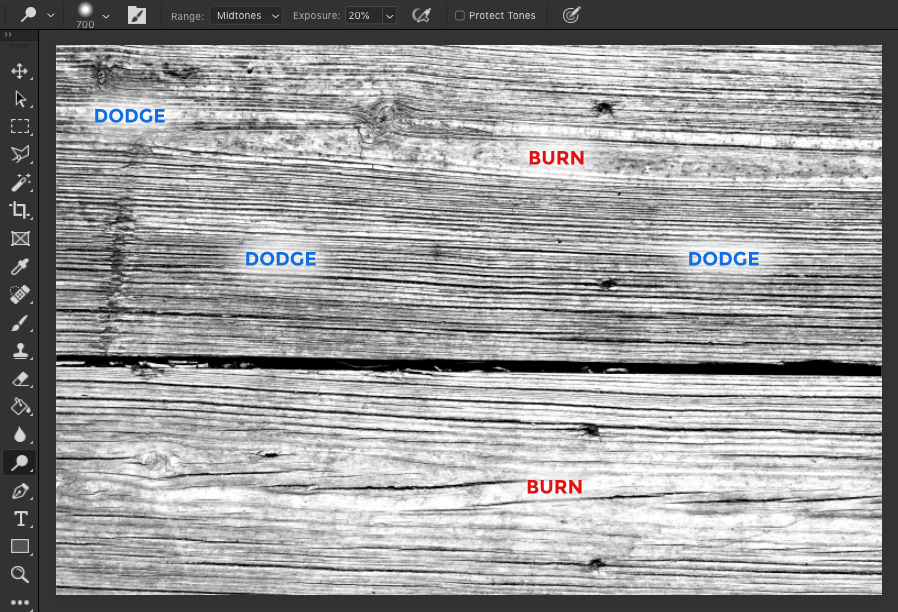
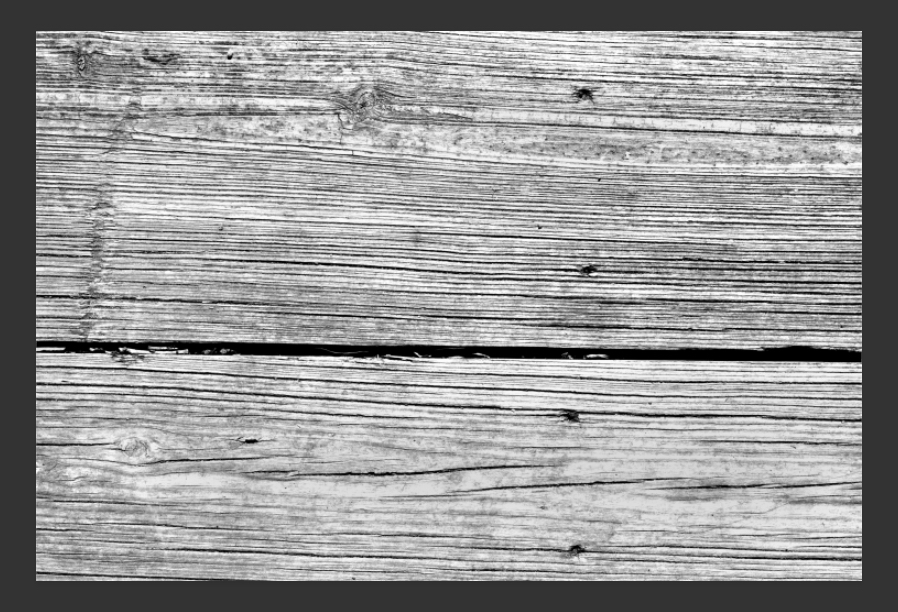
The result should be a much flatter, more even image. This will help significantly with tracing later on.
Step 6
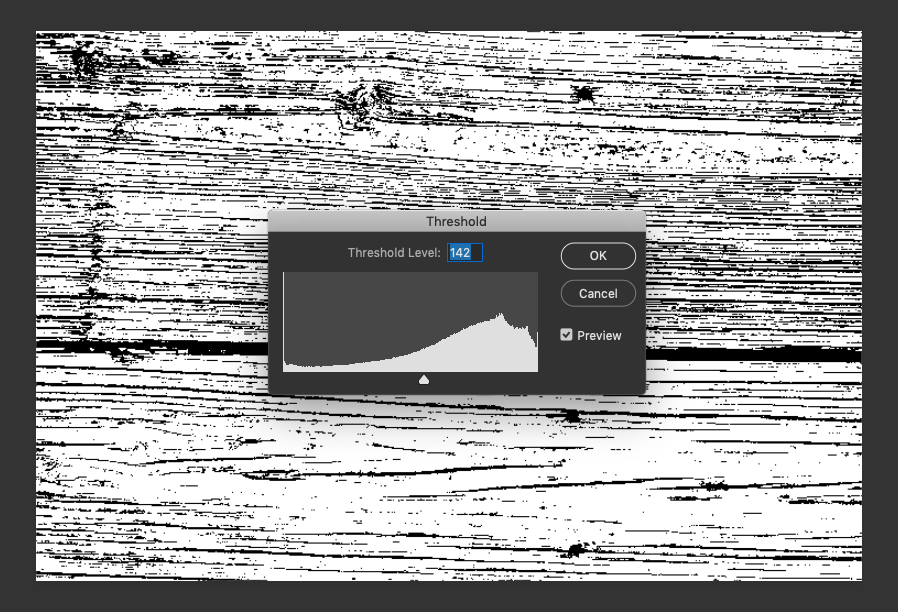
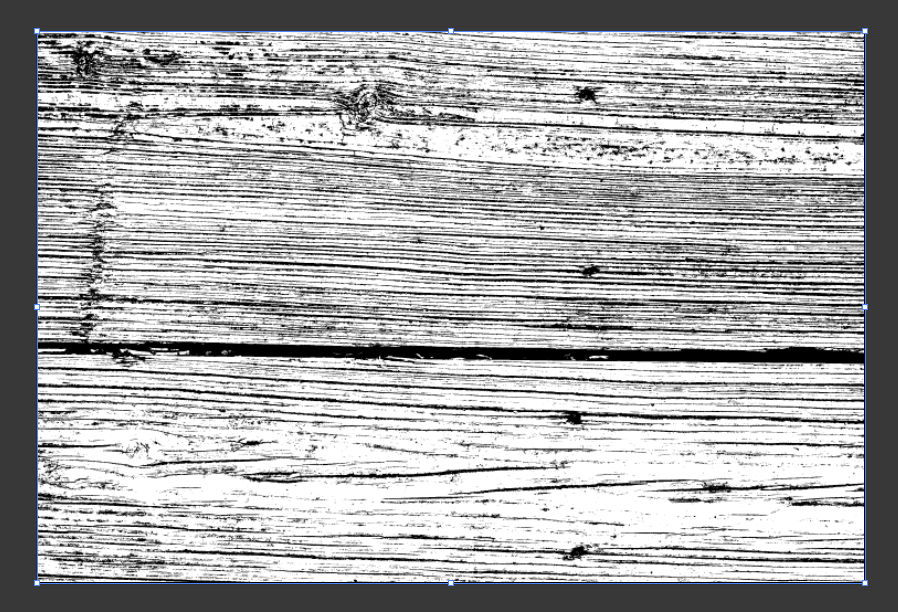
The final step in Photoshop is to go to Image > Adjustments and choose Threshold... Enter 142 for the Threshold Level and click OK.
Again, depending on the image this value may be different. You can even increase or decrease the value if you prefer more or less detail respectively.
Step 7
Copy the image from Photoshop and paste it into Illustrator.
Step 8
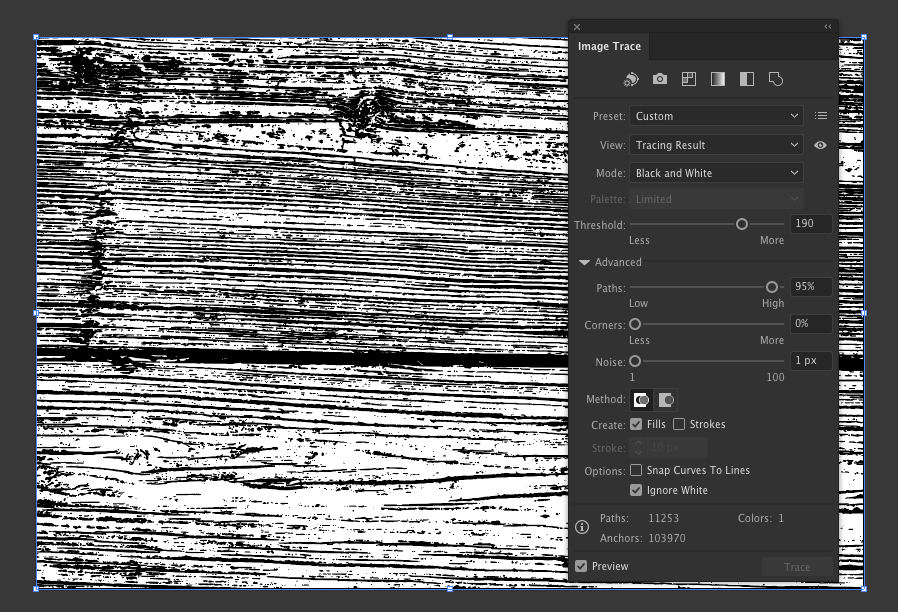
In Illustrator select the image and click Image Trace in the top bar. In the Image Trace settings window enter the following values:
- Mode: Black and White
- Threshold: 190
- Paths: 95%
- Corners: 0%
- Noise: 1 px
- Method: Abutting
- Create: Fills only
- Do not Snap Curves To Lines
- Ignore White
Step 9
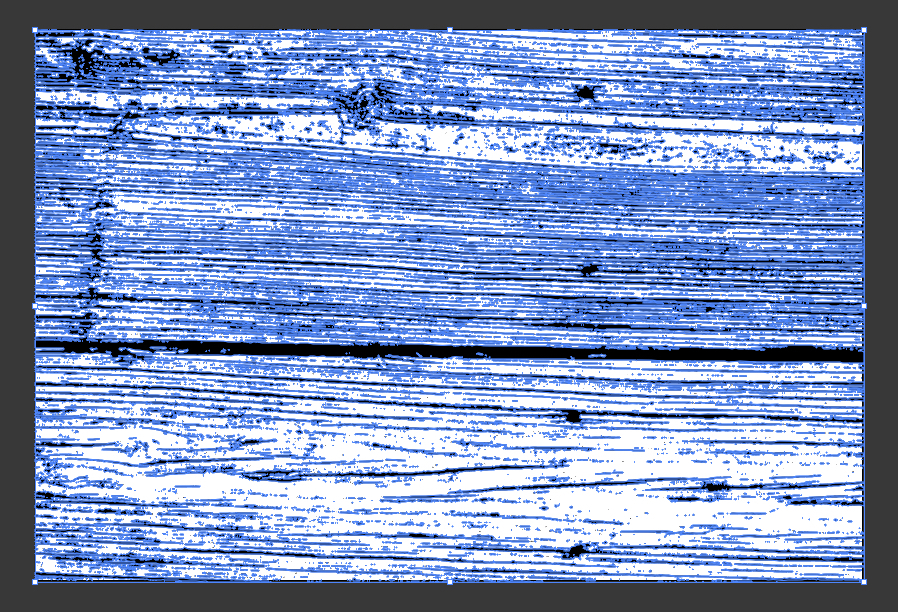
When you have entered the correct settings click Expand to confirm your trace. When using this method on different images I recommend only adjusting the Threshold value and leaving everything else as it is.
Step 10
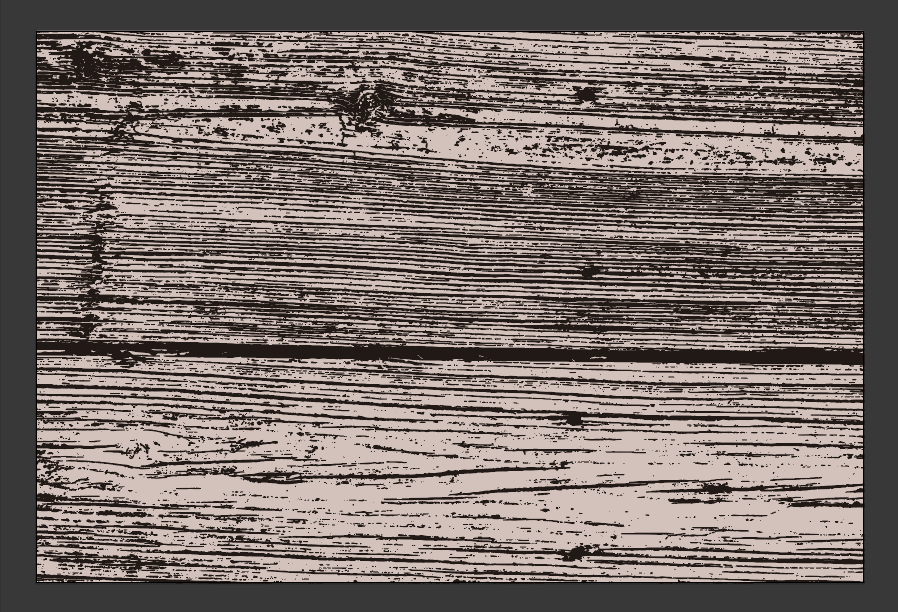
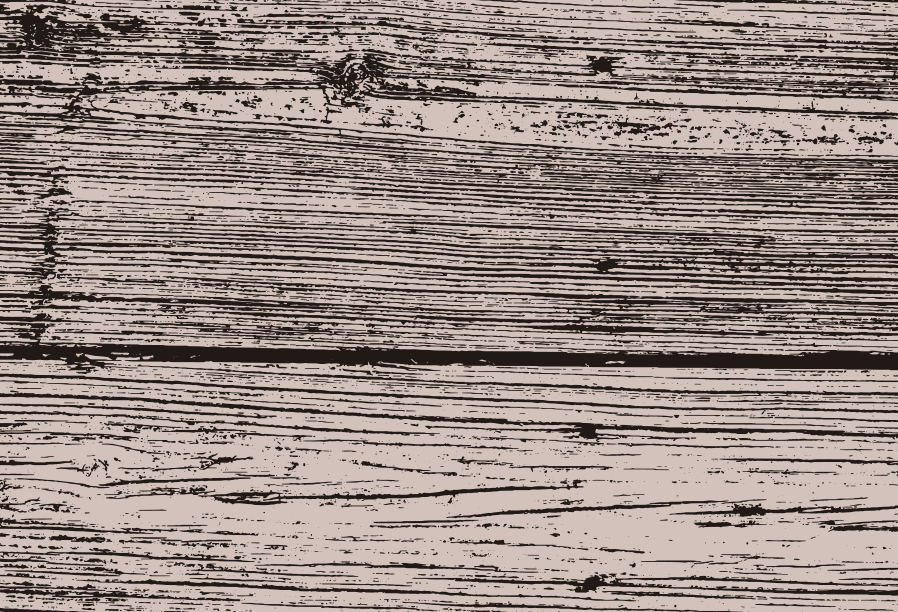
Finally (and optionally), we can add a bit of color. Draw a rectangle behind the traced vectors as a background layer and set the fill color to #d3c2bc then set the vector texture fill color to #211915.
Result & Conclusion
Here is the final result. A very nice and clean vector texture created by tracing a bitmap image. After much experimenting, I can confidently say this is the most effective technique I have found for creating vector textures. I also need to give credit to Diego Sanchez who gave me some tips from his own experience and experimentation with tracing vector textures.
I hope you enjoyed following along with this tutorial and learned something new. Thanks for reading!
