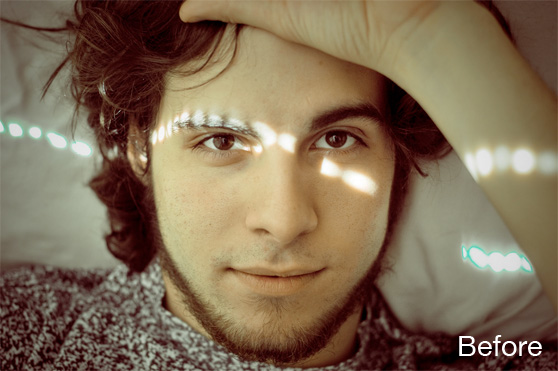
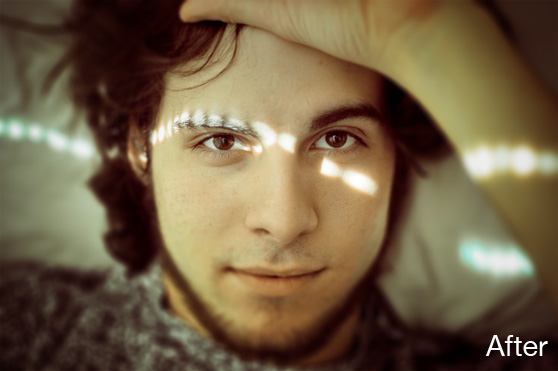
Photoshop Quick Tip: How to Use a Tilt / Shift Effect on Portraits
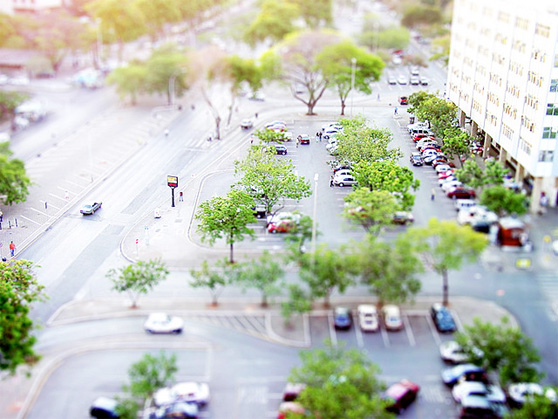
I'm sure you've seen a tilt shift effect before, and how it makes images appear as though the subjects are miniature sized. Usually these are photos taken from an upward angle as though you are viewing a model set. In this quick tip we're going to take a look at how the same blur effect can be applied to a portrait to give the subject an appearance as if they are closer than they appear.
First lets take a look at a typical tilt shift photo. The blur effect helps to trick your eye into thinking your looking at something close up versus far away. So you naturally think the items in the photo are very small.
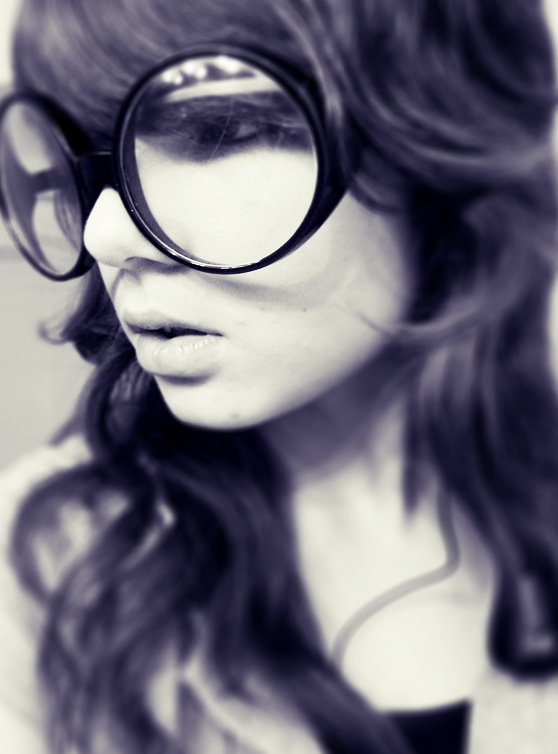
 The same effect can be applied to a portrait. It makes the subject appear a little closer to the lens than they actually are, and it helps create a focal point. The result is a softer and more intimate style portrait. Lets take a look.
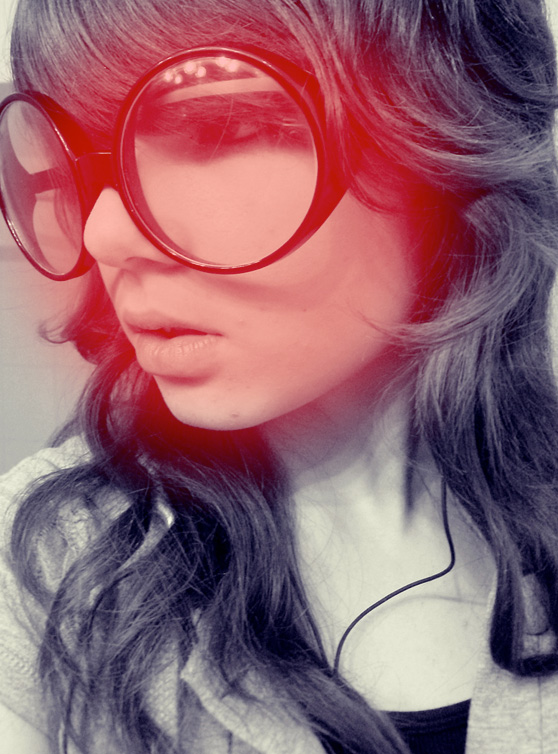
Here is a photo I found on flickr. You can grab it here if you want to follow along.
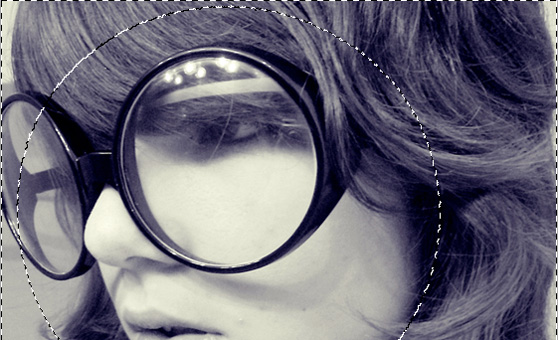
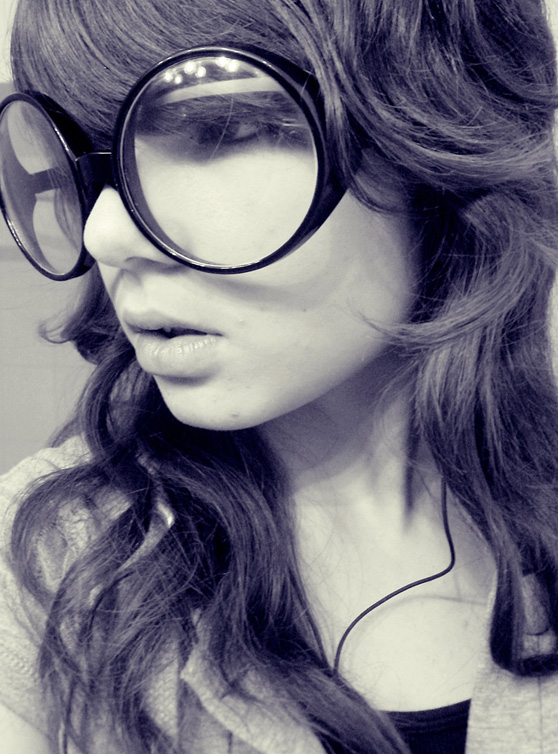 To start lets jump over to Quick Mask Mode (Q). Using a large soft brush paint the area of the photo that you would like to be the focal point. In this instance I painted an area over the girl's face.
 When you leave Quick Mask Mode, you'll see that the entire photo is selected minus the area that you painted.
 Next, open (Filter | Blur | Lens Blur). There are no specific settings for this filter, just adjust the controls until you have a blur that suits your photo.
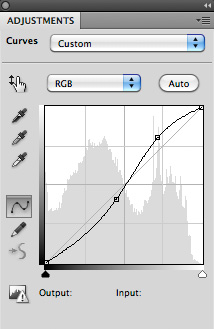
 For a final touch I added an adjustment layer to add some contrast.
 My final result is below.
 Below is another example, using the same effect.


 The same effect can be applied to a portrait. It makes the subject appear a little closer to the lens than they actually are, and it helps create a focal point. The result is a softer and more intimate style portrait. Lets take a look.
Here is a photo I found on flickr. You can grab it here if you want to follow along.
 To start lets jump over to Quick Mask Mode (Q). Using a large soft brush paint the area of the photo that you would like to be the focal point. In this instance I painted an area over the girl's face.
 When you leave Quick Mask Mode, you'll see that the entire photo is selected minus the area that you painted.
 Next, open (Filter | Blur | Lens Blur). There are no specific settings for this filter, just adjust the controls until you have a blur that suits your photo.
 For a final touch I added an adjustment layer to add some contrast.
 My final result is below.
 Below is another example, using the same effect.
