Photoshop Quick Tip: Creating Film Edge Burns
In this quick tip we're going to take a look at using the Quick Mask Mode to define areas of a photo to apply a film edge burn. The technique is very easy to follow and can be applied quickly to any photo.First off we need to open our photo and switch to Quick Mask Mode (Q) in Photoshop.
 While in Quick Mask Mode, choose a large soft round brush and begin to paint areas of the image where you want the burn to occur. It doesn't have to be perfect because you'll be able to edit the burn areas in the final piece.
 Now exit Quick Mask Mode, and invert the selection (Cmd+Shift+i).
 With our new selection, lets create a Curves adjustment layer. Use the following settings for your curves.
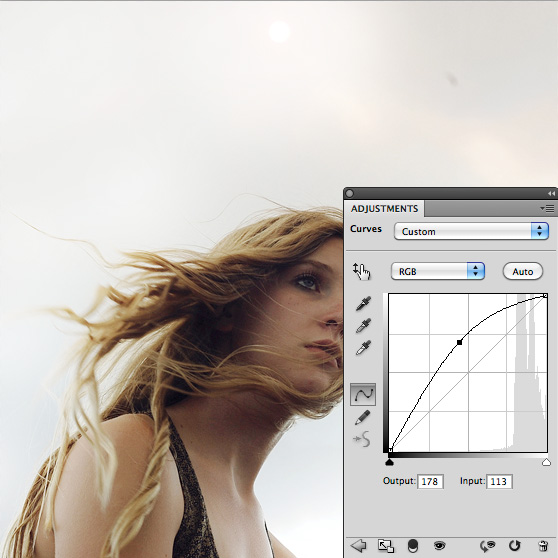 Now adjust each channel separately.
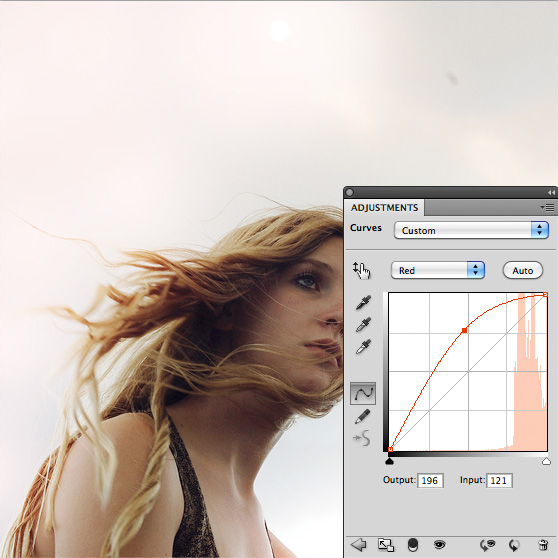
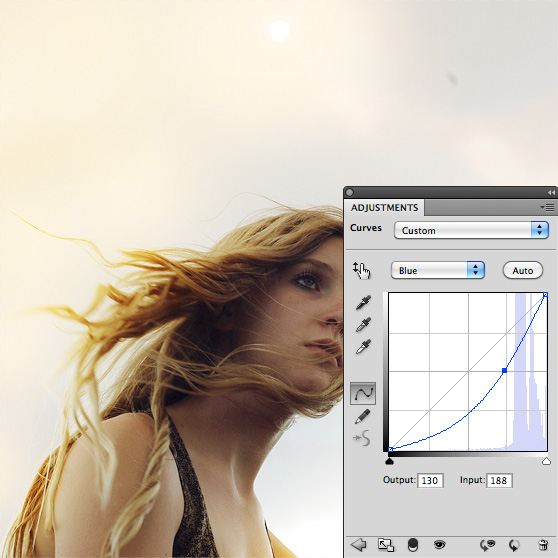
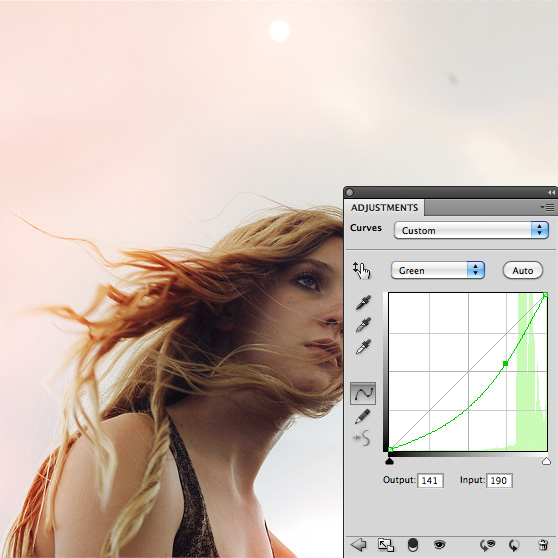 To punch up the contrast a bit, lets add a Levels adjustment layer.
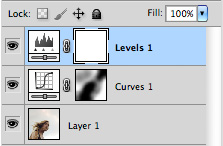
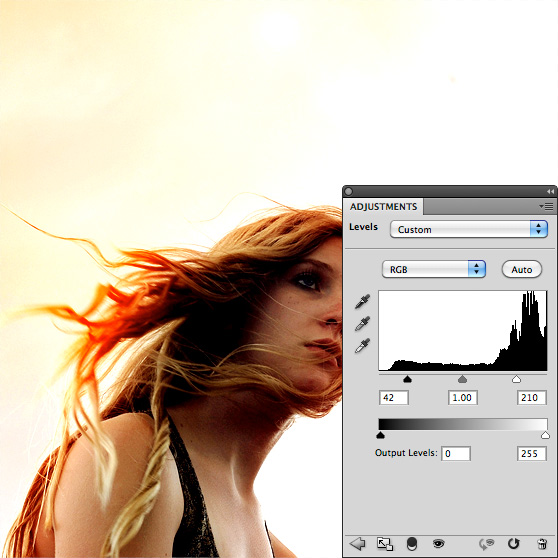 Part of the beauty of adjustment layers is that everything remains editable, including our original curves mask. To finish the piece, I went back and colored my mask a little bit to include a portion of the girls hair.
 Experiment with this technique and see what you can create!
 While in Quick Mask Mode, choose a large soft round brush and begin to paint areas of the image where you want the burn to occur. It doesn't have to be perfect because you'll be able to edit the burn areas in the final piece.
 Now exit Quick Mask Mode, and invert the selection (Cmd+Shift+i).
 With our new selection, lets create a Curves adjustment layer. Use the following settings for your curves.
 Now adjust each channel separately.


 To punch up the contrast a bit, lets add a Levels adjustment layer.
 Part of the beauty of adjustment layers is that everything remains editable, including our original curves mask. To finish the piece, I went back and colored my mask a little bit to include a portion of the girls hair.

 Experiment with this technique and see what you can create!


