Painting with Fire Using Photoshop's Liquify Filter
Recently I was searching for a way to shape flames and change the direction of fire in a Photoshop composition. After a little experimentation, I discovered that Photoshop's Liquify Filter handles the task brilliantly. Below is the method I used to essentially paint with fire and change the direction of flames.
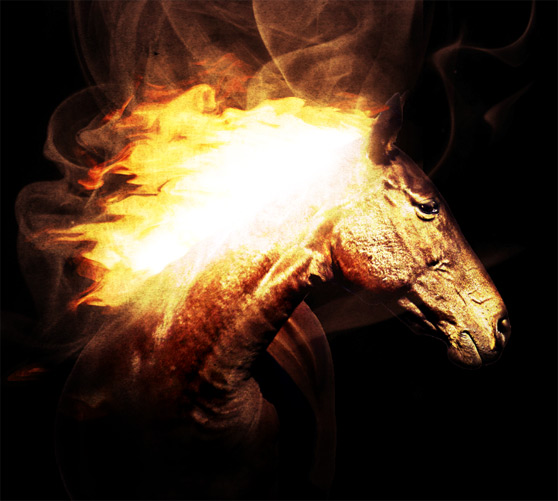
Below is a preview of what we'll be creating.
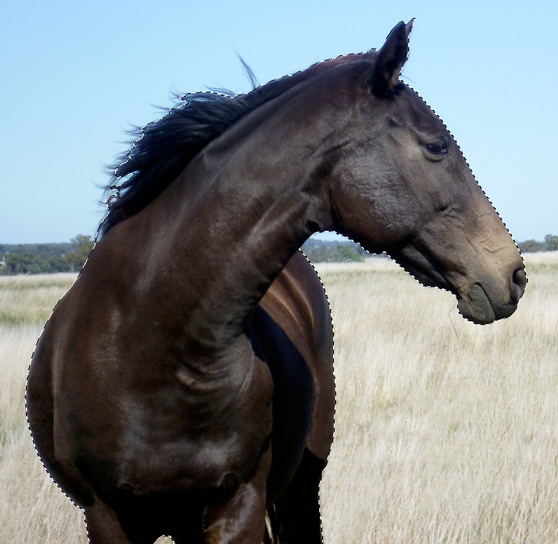 You'll have to clean the edges up a bit with the eraser tool. Here's mine after a few touch ups on the edges.
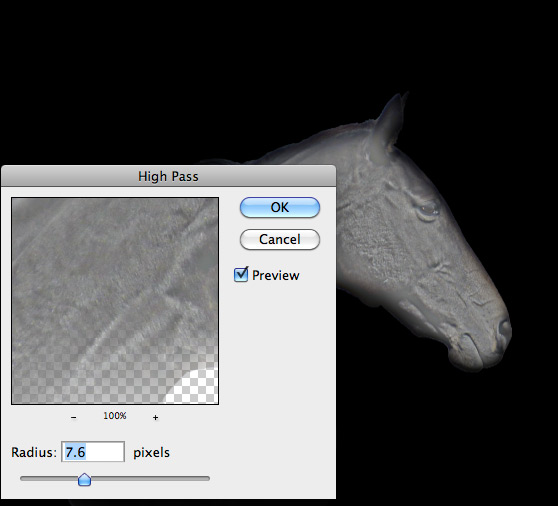
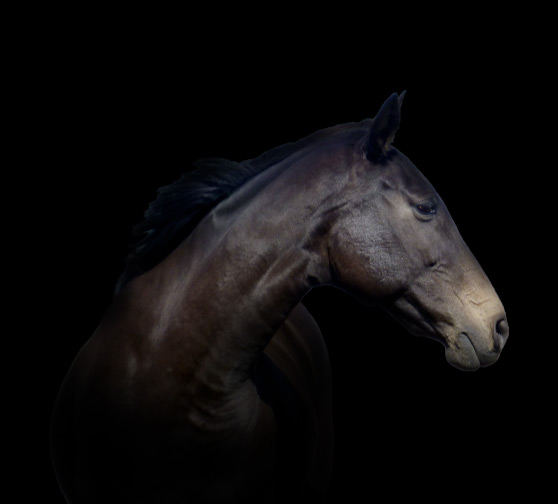 Next we need to sharpen the details of the horse a bit. Create a duplicate layer of the horse and select (Filter | Other | High Pass). Choose a Radius value around 6 or 7 and click Okay. Set this layers Blending Mode to Overlay.
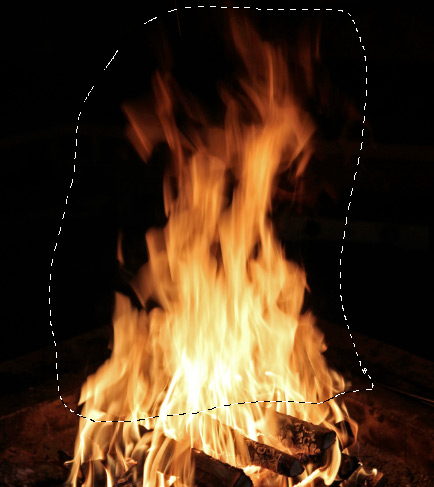 Once you've copied and pasted the fire over to our working document, you'll need to scale and rotate (Cmd + T) the flames to fit along the back of the horse's neck.
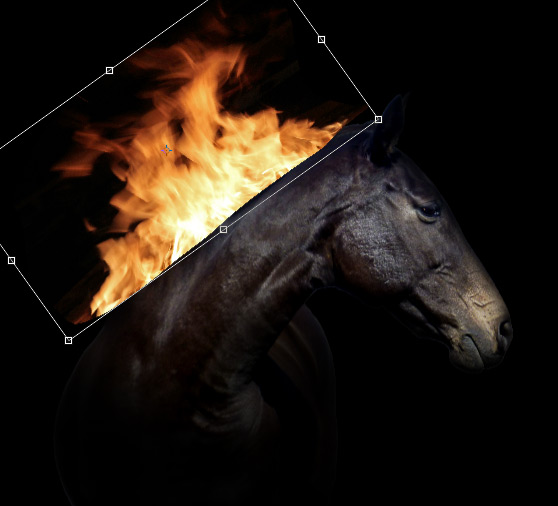 Don't worry about the scale being out of proportion, we're going to change that within the Liquify Filter.
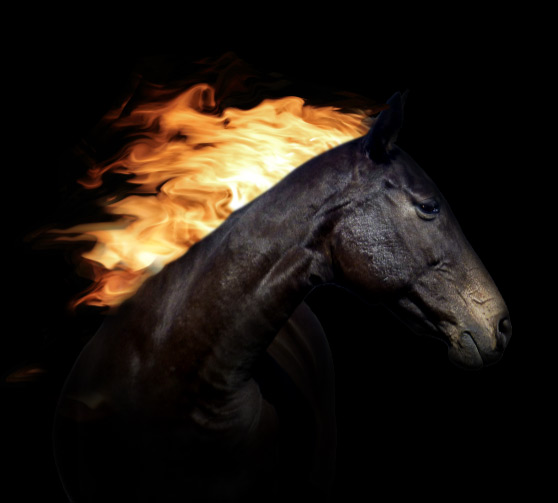
Once you've finished scaling the flames to the right size and angle. Choose (Filter | Liquify) to open the Liquify Filter. In the new window I used the Forward Warp Tool and Twirl Tool to move and shape the flames in the direction I wanted.
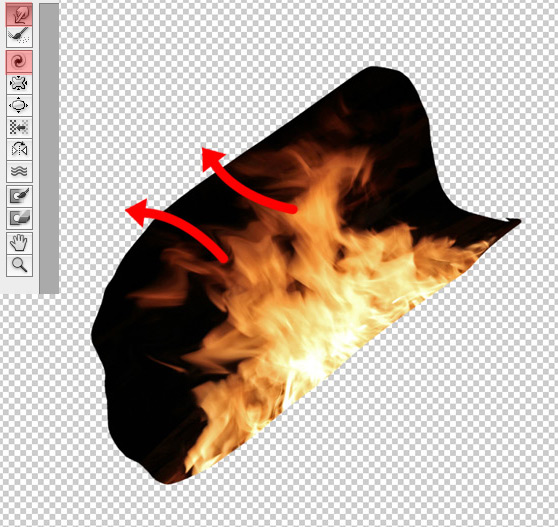 Below are my final results with the Liquify Filter. I was aiming for a little bit of a wind blown look. Your results will vary, of course.
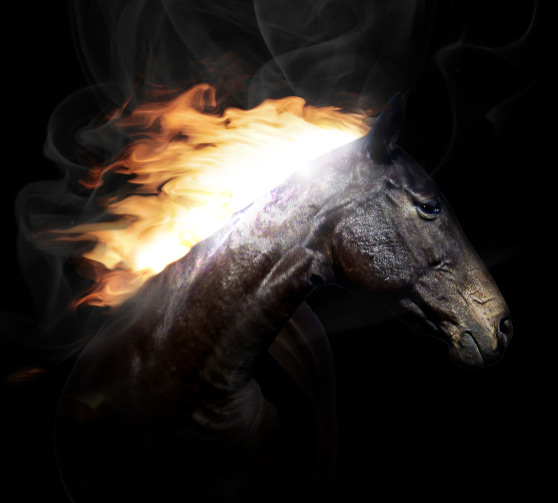
 Next I want to add some highlights around the fire to help blend it with the horse's neck. I did this by creating a new layer with a blending mode set to Overlay, and painting with a soft white brush where I felt like the highlights should appear around where the fire is most intense.
 To add the final touches I want to adjust the color a bit. I added two more elements to accomplish this. The first is a new layer above all others with a single soft brush set to #fabe6b for the color. I set this layers Blending Mode to Overlay.
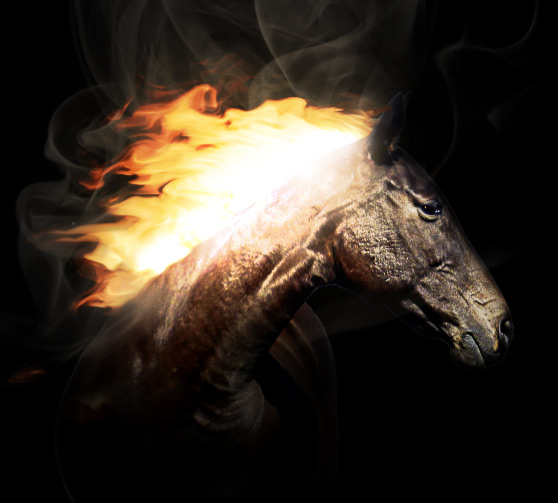 Next, I created a new Gradient Map Adjustment Layer using the settings below.
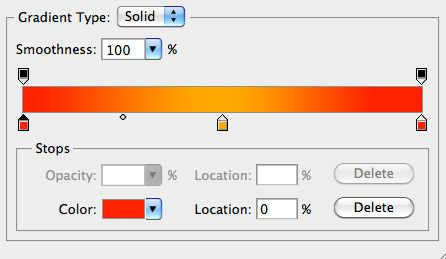 The red is: #ff1e00 and the orange is: #ffa800.
For the final step, I added a gradient from the Subtle Grunge Vol 2 texture pack, and placed it above all layers with the Blending Mode set to Overlay.
Below is the finished piece.

Below is a preview of what we'll be creating.

Step 1
We need to grab a couple of images. I used this horse image and a photo of a camp fire. In Photoshop let's create a new document 1000 x 1000 pixels with a black background. I used the Quick Selection Tool (W) to make a rough selection of the horse to extract and paste onto the black background in our new document. You'll have to clean the edges up a bit with the eraser tool. Here's mine after a few touch ups on the edges.
 Next we need to sharpen the details of the horse a bit. Create a duplicate layer of the horse and select (Filter | Other | High Pass). Choose a Radius value around 6 or 7 and click Okay. Set this layers Blending Mode to Overlay.

Step 2
Now let's grab some fire from the campfire photo. I made a rough selection around the upper portion of the flames so that no logs are selected. Once you've copied and pasted the fire over to our working document, you'll need to scale and rotate (Cmd + T) the flames to fit along the back of the horse's neck.
 Don't worry about the scale being out of proportion, we're going to change that within the Liquify Filter.
Once you've finished scaling the flames to the right size and angle. Choose (Filter | Liquify) to open the Liquify Filter. In the new window I used the Forward Warp Tool and Twirl Tool to move and shape the flames in the direction I wanted.
 Below are my final results with the Liquify Filter. I was aiming for a little bit of a wind blown look. Your results will vary, of course.

Step 3
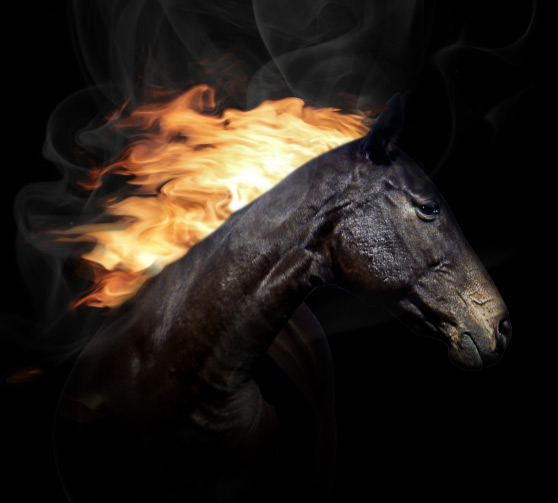
Now let's add a little bit of smoke beyond the flames. I used the Smoke Textures and Brushes Vol1 set here at WeGraphics. I placed a brush from the collection on a layer above the flames. I set the opacity to 20%. Next I want to add some highlights around the fire to help blend it with the horse's neck. I did this by creating a new layer with a blending mode set to Overlay, and painting with a soft white brush where I felt like the highlights should appear around where the fire is most intense.
 To add the final touches I want to adjust the color a bit. I added two more elements to accomplish this. The first is a new layer above all others with a single soft brush set to #fabe6b for the color. I set this layers Blending Mode to Overlay.
 Next, I created a new Gradient Map Adjustment Layer using the settings below.
 The red is: #ff1e00 and the orange is: #ffa800.
For the final step, I added a gradient from the Subtle Grunge Vol 2 texture pack, and placed it above all layers with the Blending Mode set to Overlay.
Below is the finished piece.
