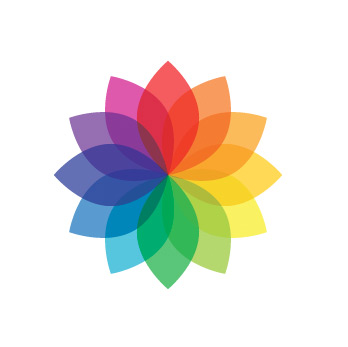
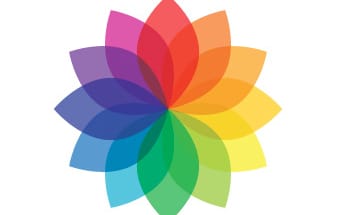
Illustrator Quick Tip: Creating a Color Spirograph
Using the Rotate Tool in Illustrator you can create some awesome radial designs. Today we're going to look at using the tool to create a color spirograph. Spirographs are always elegant and impressive, and creating them is quite simple with just one tool in Illustrator and a little bit of simple math.
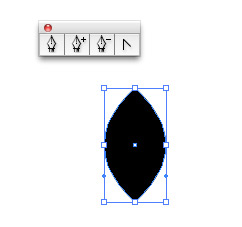
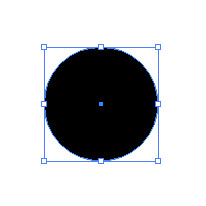 Then lets use the Convert Anchor Point Tool (Shift+C) to remove the round edges from the top and bottom of our circle. Just a single click on the top and bottom points will do this.
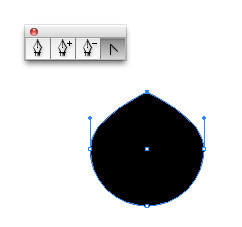 I also scaled the sides in just a bit to make more of a leaf shape.
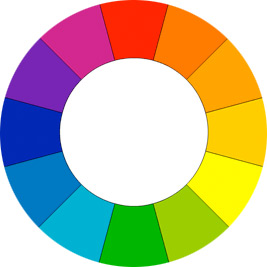 Okay, here's where the math comes into play. Our color wheel has 12 colors in it, and the circle spirograph we're making is 360 degrees. So 360/12 = 30. So each element in our spirograph will need to be rotated 30 degrees. It's much more simple than it sounds. :-)
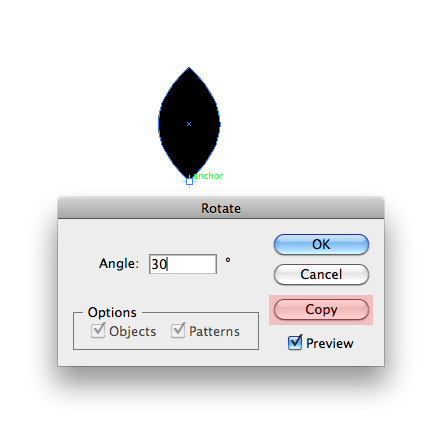
With the Rotate Tool (R) selected, (Alt+ Click) the bottom most point on our shape. A new window appears. Enter 30 for the angle, and be sure to press Copy instead of Okay.
 Now use Transform Again (Cmd+ D) to duplicate the previous edit until you've completed the entire shape.
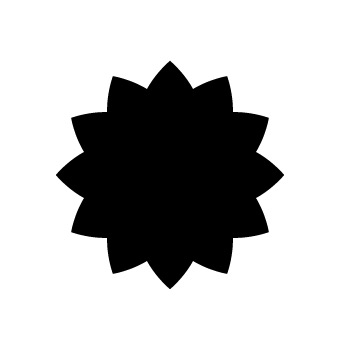
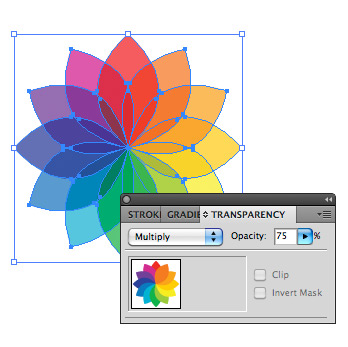
 With all shapes selected, open the Transparency Palette and set the transparency to 75 and the Bending Mode to Multiply.
 That's all there is to it. You can experiment with this method by altering colors, shapes and rotation. Give it a shot and share your creations with us using the comment fields below.

Step 1
Create a circle using the Ellipse Tool (L). Then lets use the Convert Anchor Point Tool (Shift+C) to remove the round edges from the top and bottom of our circle. Just a single click on the top and bottom points will do this.
 I also scaled the sides in just a bit to make more of a leaf shape.

Step 2
Let's grab a color wheel to use as reference. Okay, here's where the math comes into play. Our color wheel has 12 colors in it, and the circle spirograph we're making is 360 degrees. So 360/12 = 30. So each element in our spirograph will need to be rotated 30 degrees. It's much more simple than it sounds. :-)
With the Rotate Tool (R) selected, (Alt+ Click) the bottom most point on our shape. A new window appears. Enter 30 for the angle, and be sure to press Copy instead of Okay.
 Now use Transform Again (Cmd+ D) to duplicate the previous edit until you've completed the entire shape.

Step 3
Now we want to give the spirograph some color. Give each shape a corresponding color in the color wheel. With all shapes selected, open the Transparency Palette and set the transparency to 75 and the Bending Mode to Multiply.
 That's all there is to it. You can experiment with this method by altering colors, shapes and rotation. Give it a shot and share your creations with us using the comment fields below.
