How to Use Texture Overlays on Photos
Create a re-usable texture overlay in just a few steps with Photoshop
Using a texture overlay is an excellent way to add a vintage, aged effect to photo. This tutorial will show you how to take some of the color from the texture overlay and add it to the photo, then in the details of the texture too.
What You'll Need
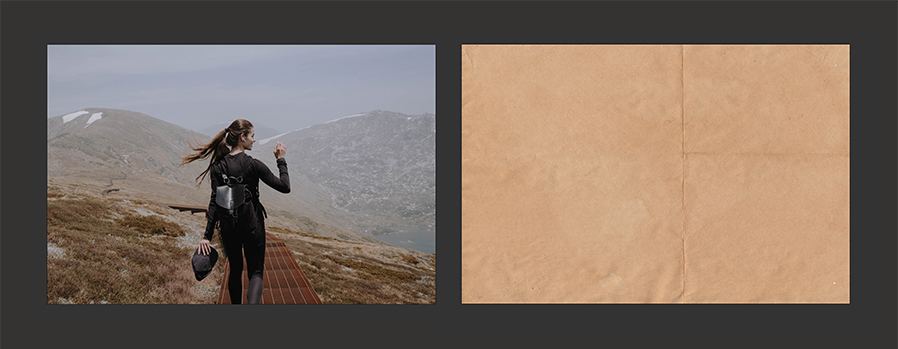
Before we get started you'll need two images, the photo that you want to add a texture overlay too and a texture overlay. You can download both of the images used for this tutorial from Unsplash:
Step 1
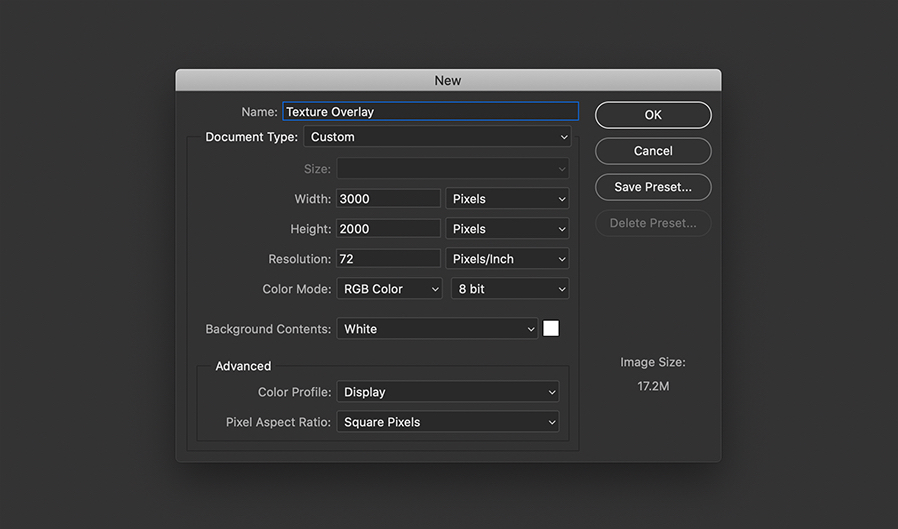
Create a new document in Photoshop
- Width: 3000 Pixels
- Height: 2000 Pixels
- Resolution: 72 PPI
- Color Mode: RGB
Step 2
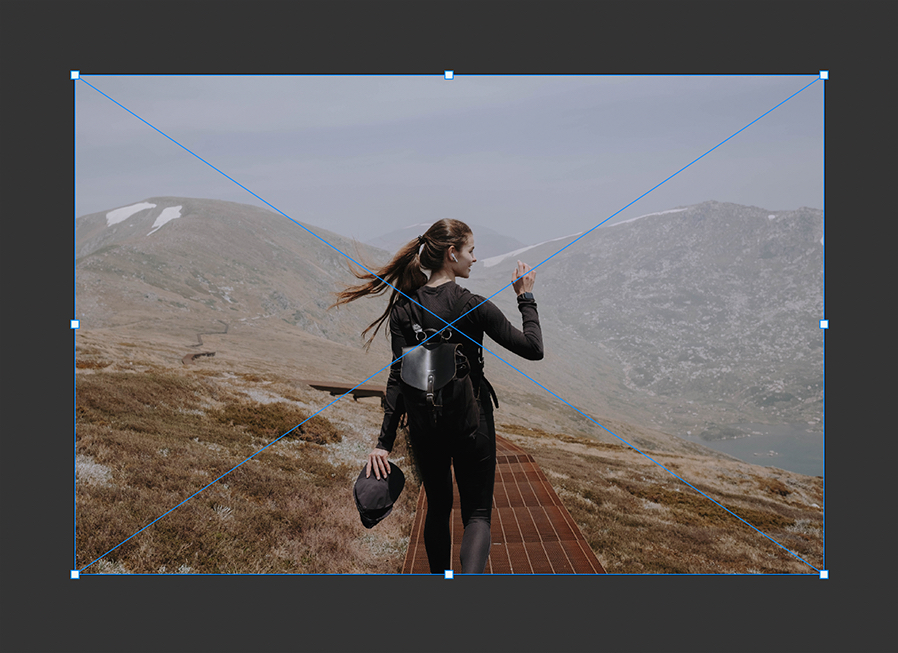
First place your photo into the new document using either drag and drop or File > Place Embedded...
Resize the photo if needed to 3000 x 2000 pixels
Step 3
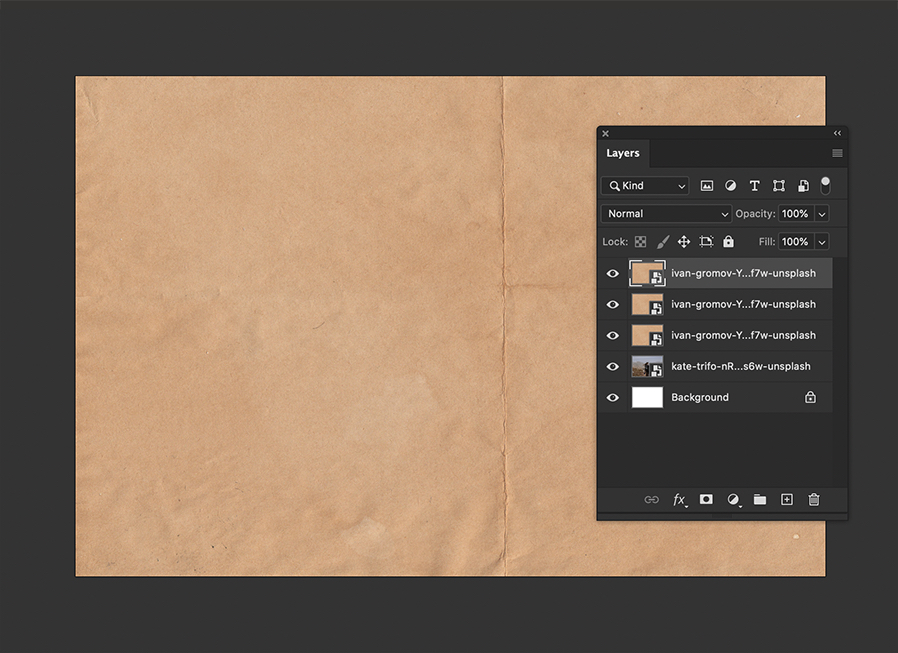
Next add your texture overlay using the same method as step 2.
Press CMD+D or CTRL+D twice to duplicate the image, you should have three copies in total.
Step 4
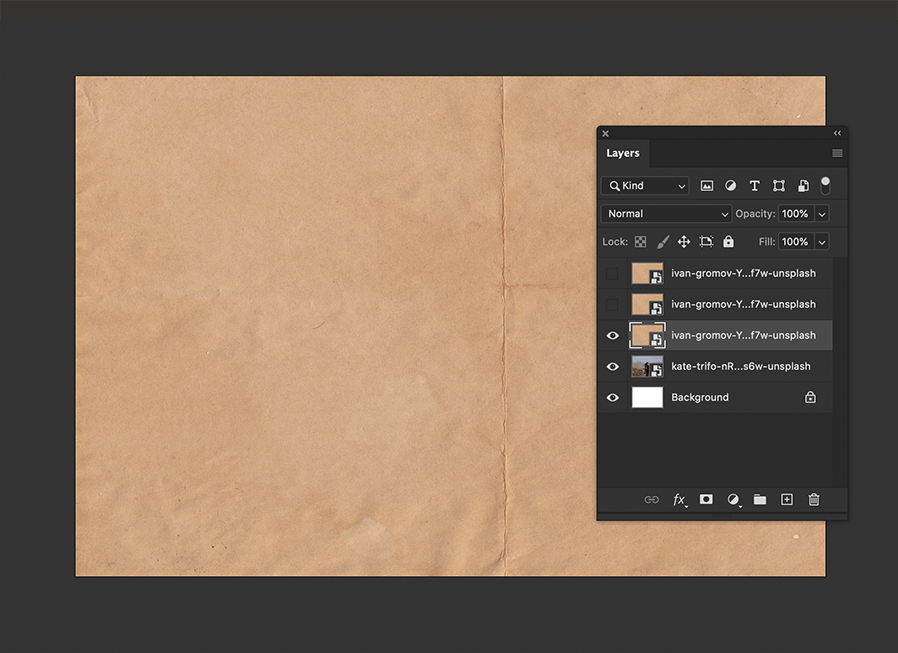
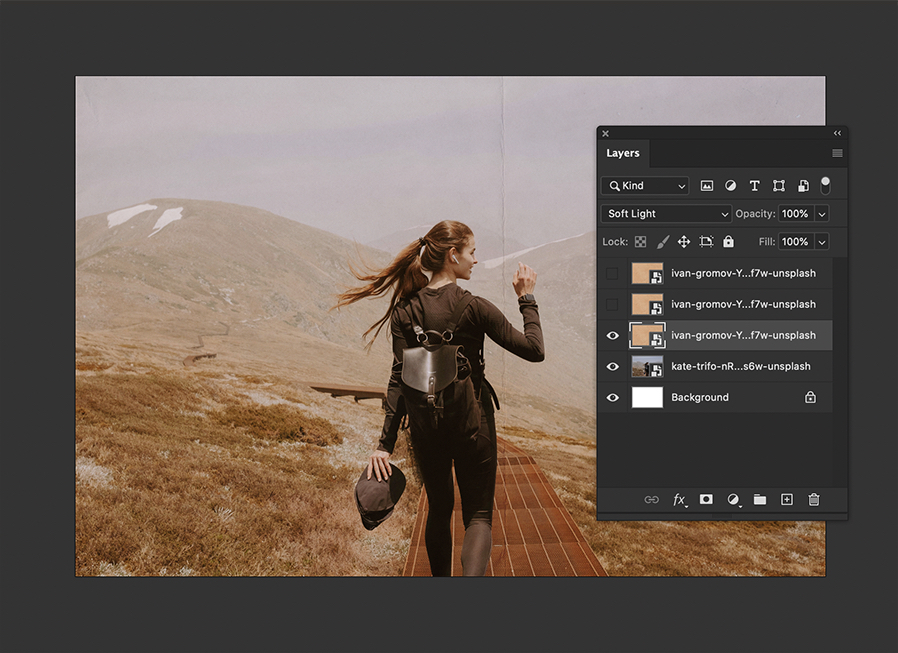
Click the eye icon next to the top two layers to hide them and select the third layer down.
Step 5
In the Layers panel set the Blend Mode to Soft Light.
Tips: This step is to get the color from the texture overlay. If your texture is particularly bright or colorful you may need to reduce the Opacity of this layer. If you texture overlay lacks contrast, you may have more luck using Overlay blend mode instead or duplicating the layer to double the effect.
Step 6
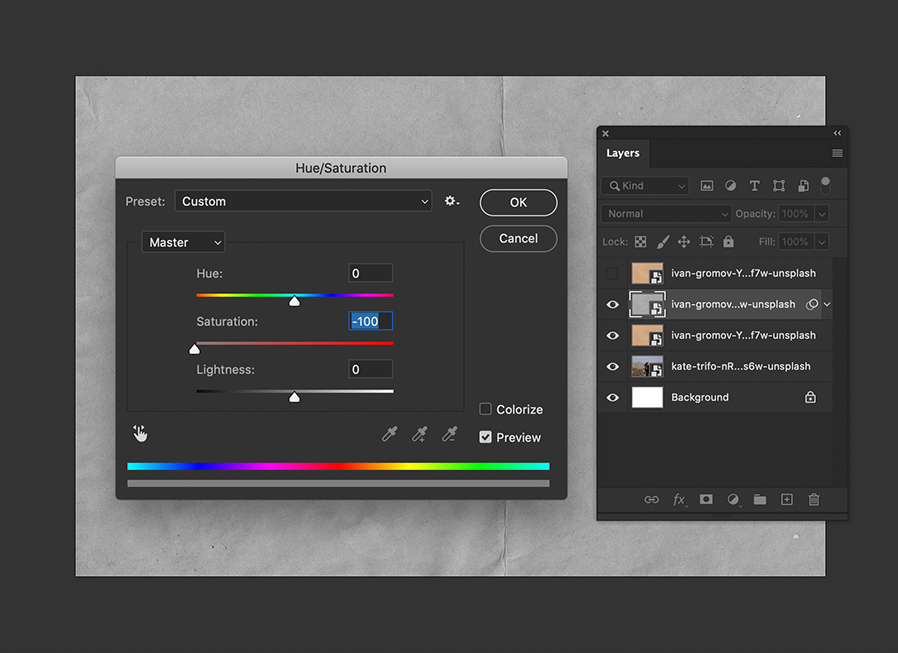
Click the eye icon next to the second texture overlay layer to make it visible.
Press CMD+U or CTRL+U to bring up the Hue/Saturation window.
Reduce the Saturation to -100.
Click OK.
Step 7
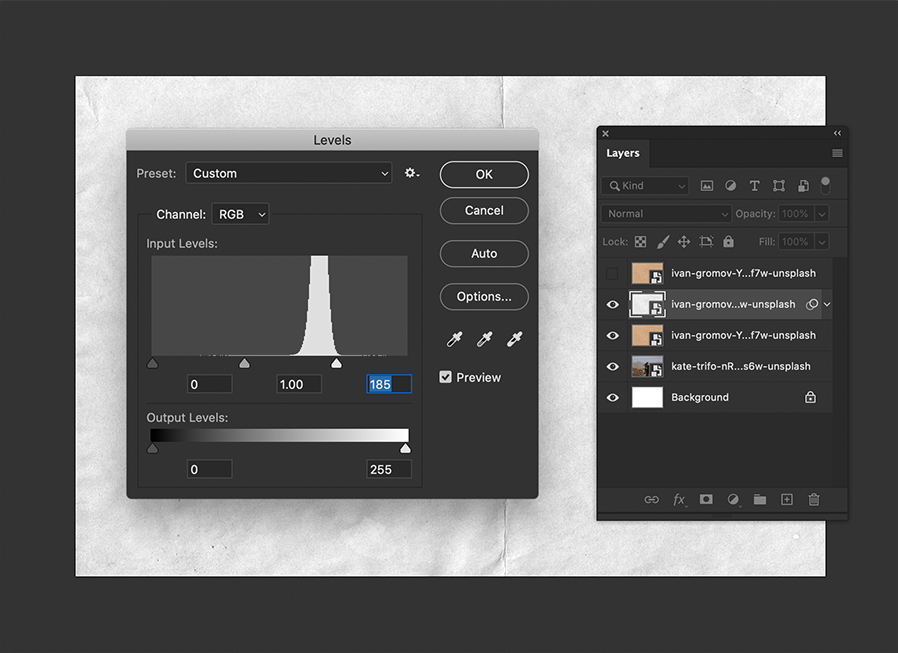
Press CMD+L or CTRL+L to bring up the Levels window.
Click and drag the white arrow underneath the Input Levels graph and drag it to the base of the peak on the right hand side.
The input levels peak will be different with every image, but almost any texture file you find online will have a noticeable peak of some shape or kind on the chart.
Click OK.
Step 8
In the Layers panel set the blend mode to Multiply and Opacity to 80%.
A lower opacity will reduce the amount of shadows from the texture and vice versa.

Step 9
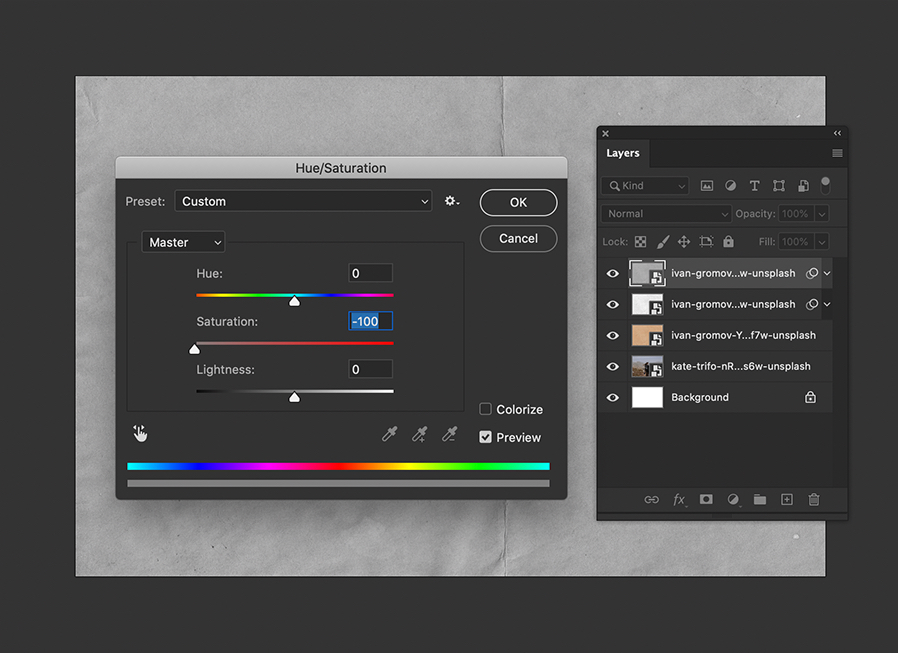
Click the eye icon next to the last texture overlay layer to make it visible.
Press CMD+U or CTRL+U to bring up the Hue/Saturation window.
Reduce the Saturation to -100.
Click OK.
Step 10
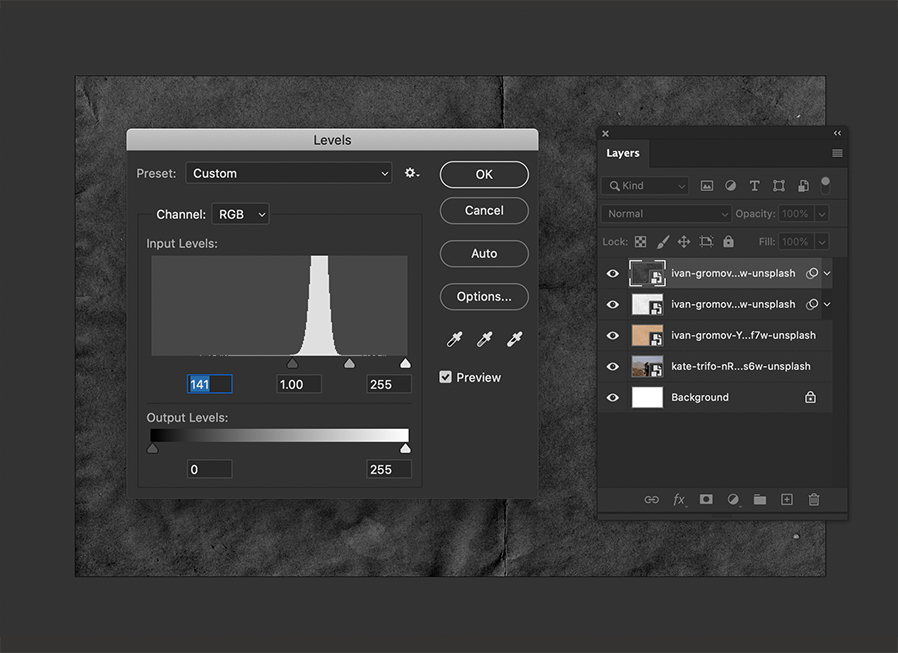
Press CMD+L or CTRL+L to bring up the Levels window.
Click and drag the darkest arrow underneath the Input Levels graph and drag it to the base of the peak on the left hand side.
The input levels peak will be different with every image, but almost any texture file you find online will have a noticeable peak of some shape or kind on the chart.
Click OK.
Step 11
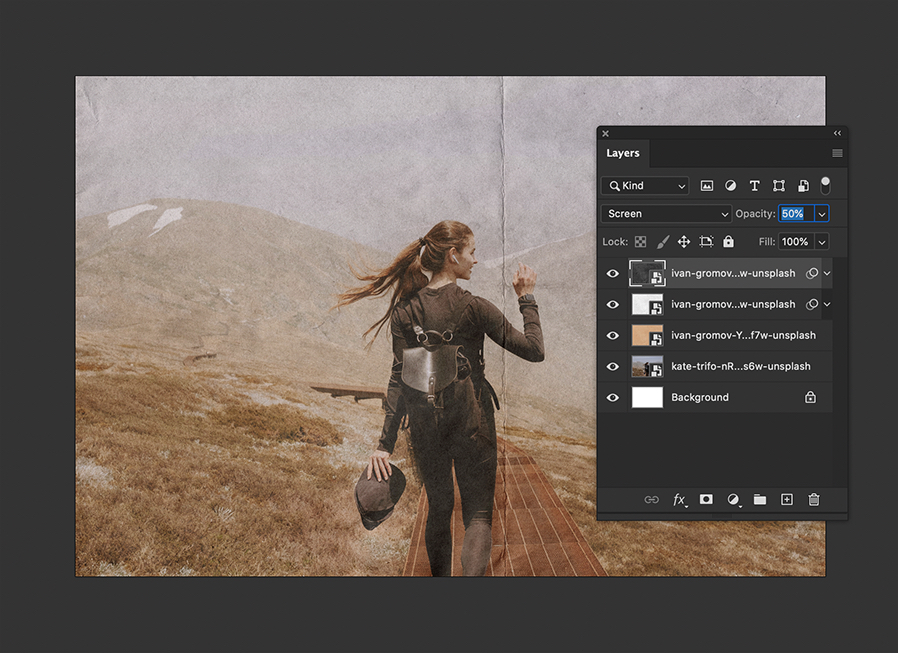
In the Layers panel set the blend mode to Screen and Opacity to 50%.
A lower opacity will reduce the amount of highlights from the texture and vice versa.
Result & Conclusion
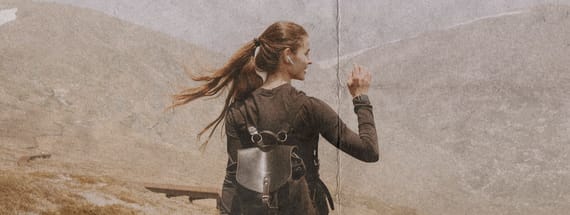
The final result should look like the image below, this an excellent way to add a vintage, aged effect to photo. By using the first Soft Light layer we take some of the color from the texture overlay and add it to the photo, then with the shadow and highlight layers we add in the details of the texture too.
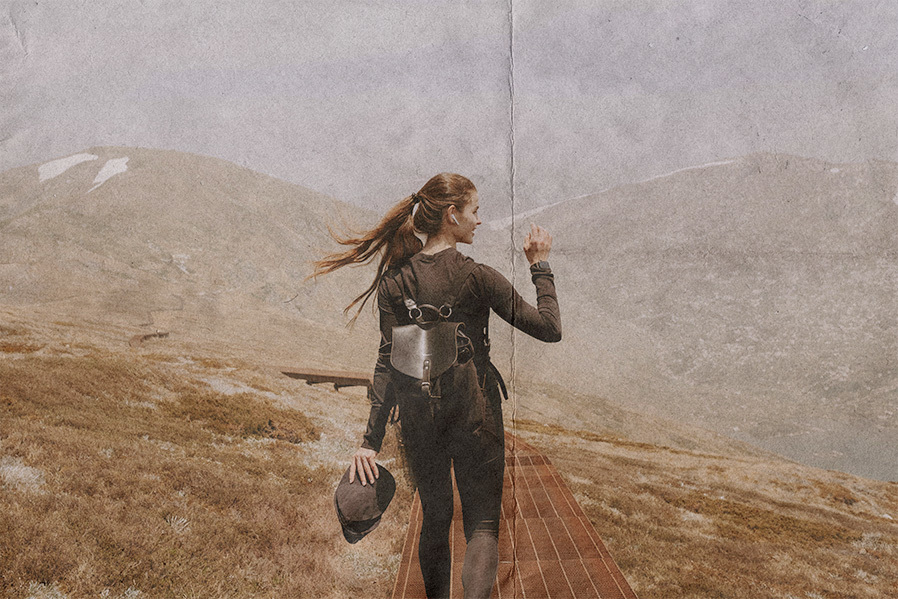
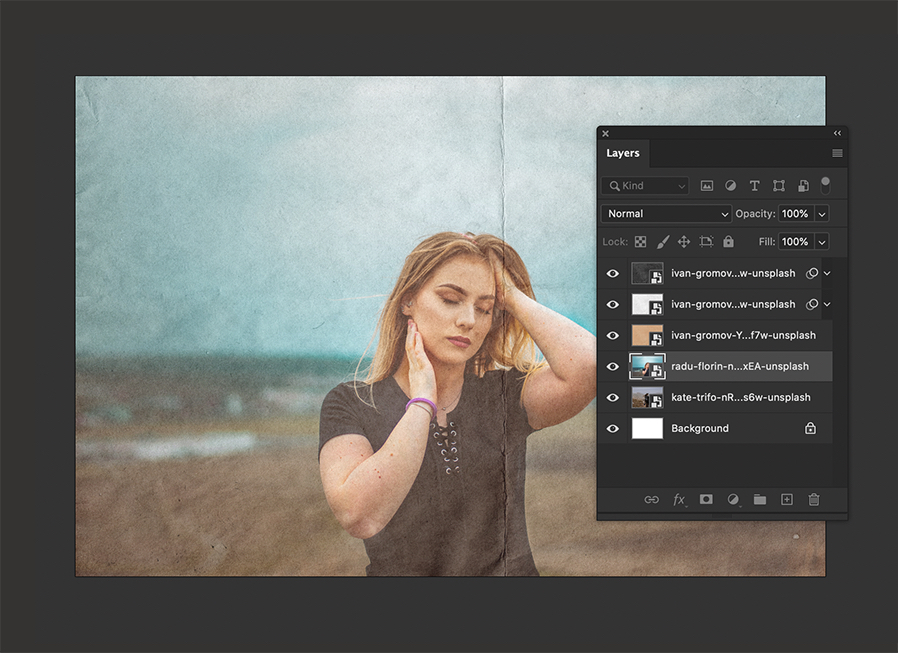
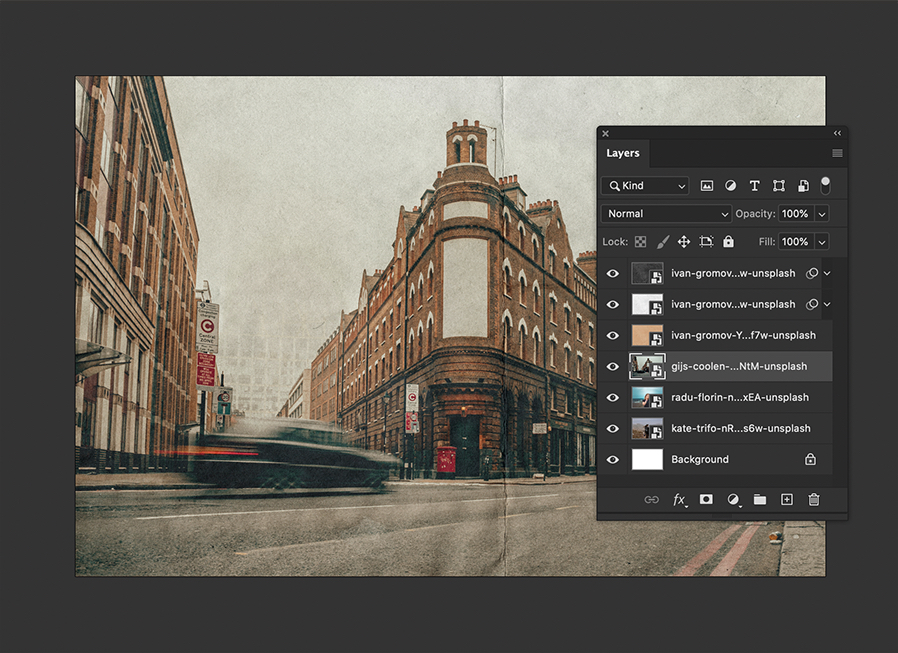
Tip: If you save this PSD file you can use it again to add this texture overlay to any photo with a 3:2 aspect ration. Here are some examples:
