How to Make Your Own Grain Brush in Illustrator
Illustrator Brushes
If you often use grainy textures on your works, you may know that finding the right one could be a time consuming task and typically you just can't find the one that fits perfect on your design. But instead of spending hours searching for that perfect grain texture, you can make your own in Illustrator by setting a simple Scatter Brush that you can use to paint just on those areas of your interest. Today, you will learn how easy is to make your own Grain brush in Illustrator in less than 5 minutes and using just the default tools.
Step 1
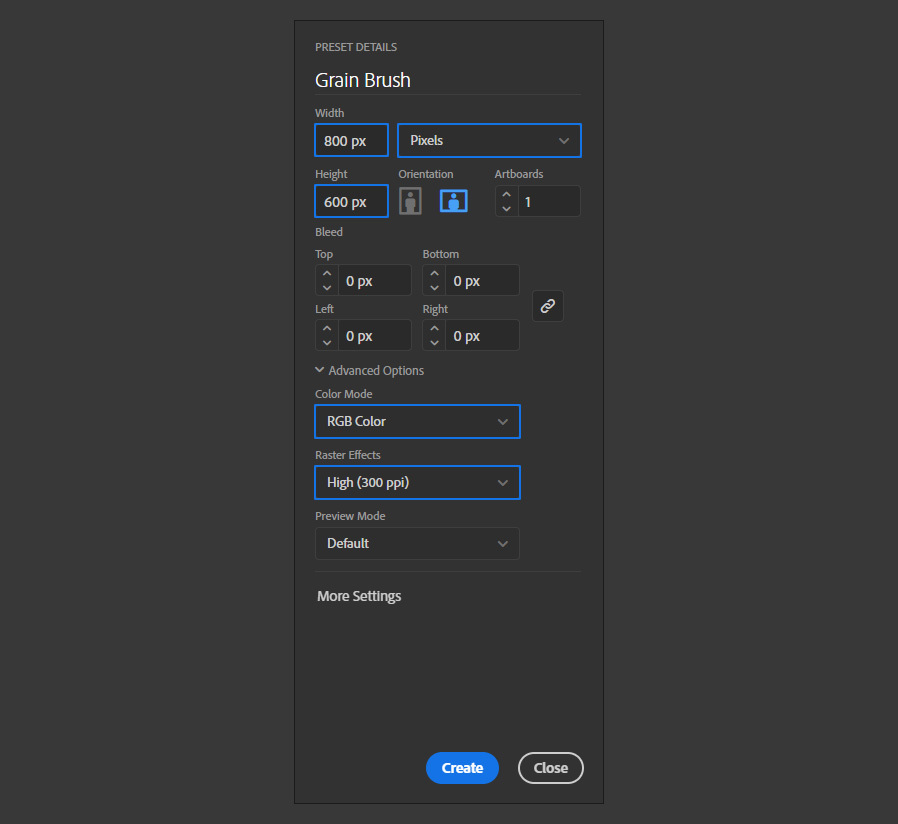
Open Illustrator and make a new file at any size you want. In this case i will make mine at 800 x 600 px.
Step 2
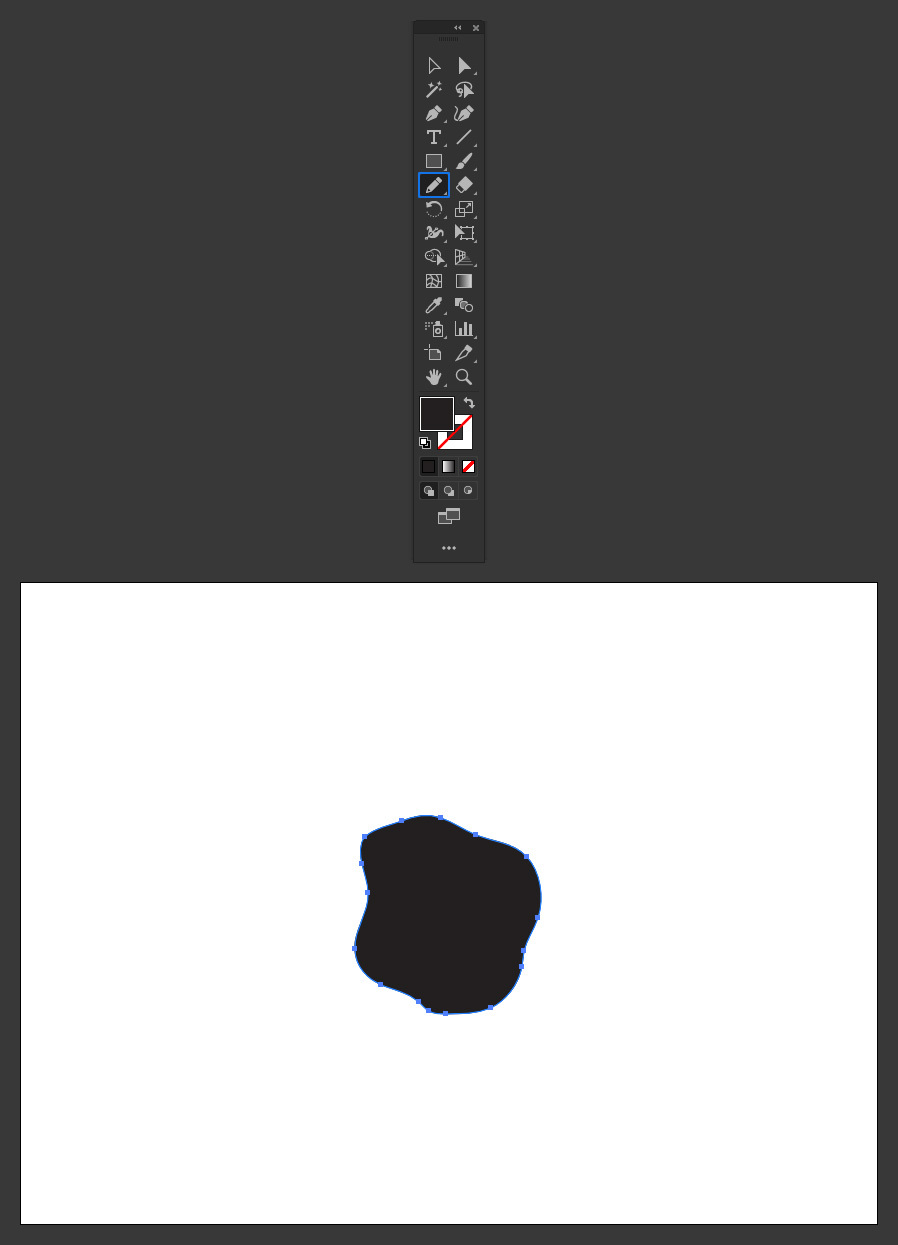
In the Tools Panel, select the Pencil Tool (N) and draw a random shape.
Step 3
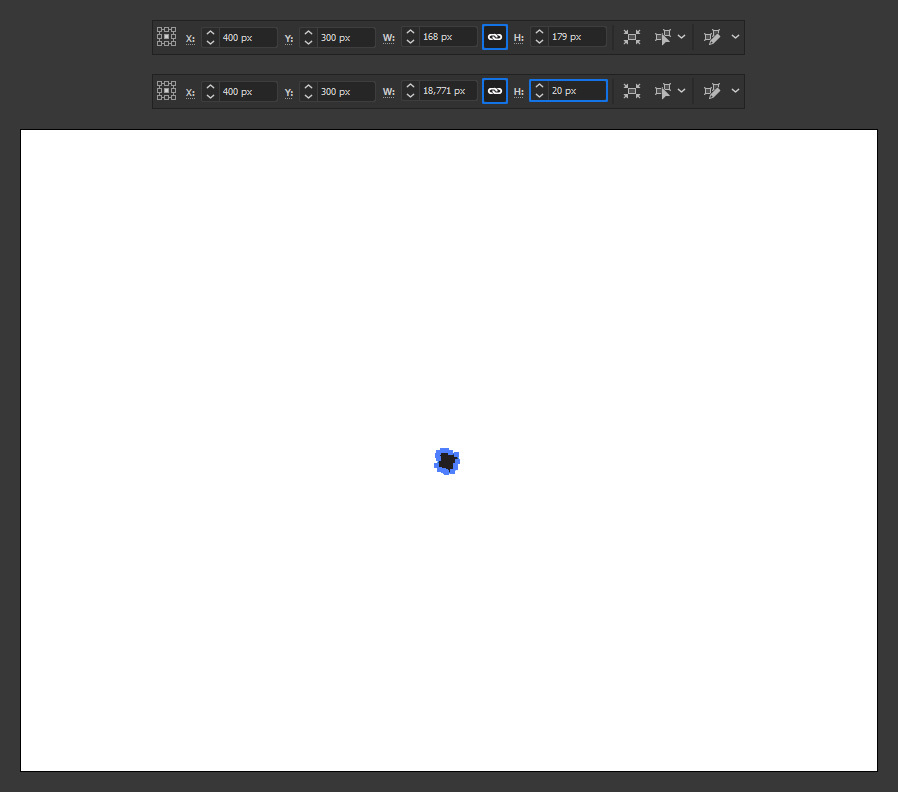
In the top toolbar, be sure to have the "constrain" option active and set the larger size of the shape to about 20 px. In this case, as the Height is the bigger value, i will set it to 20 px.
Step 4
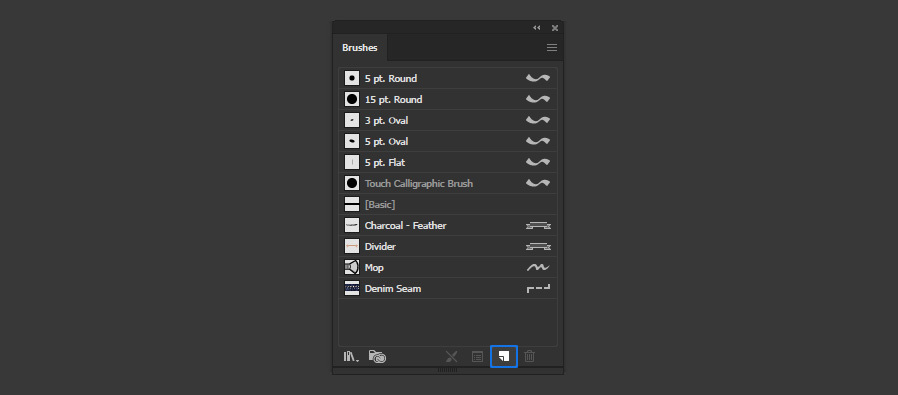
With the shape selected go to Window > Brushes and click on the "New Brush" icon in the bottom right corner.
Step 5
Select "Scatter Brush" and click OK.

Step 6
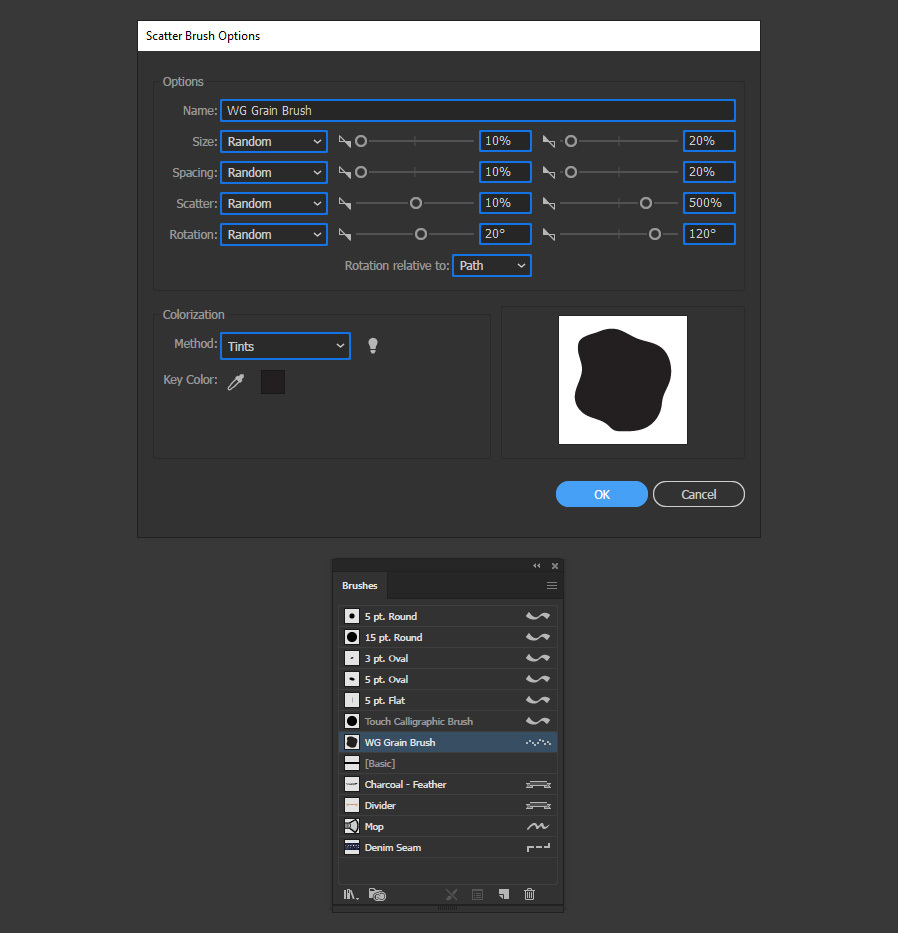
Give the new brush a name, apply the following settings and click OK.
Step 7
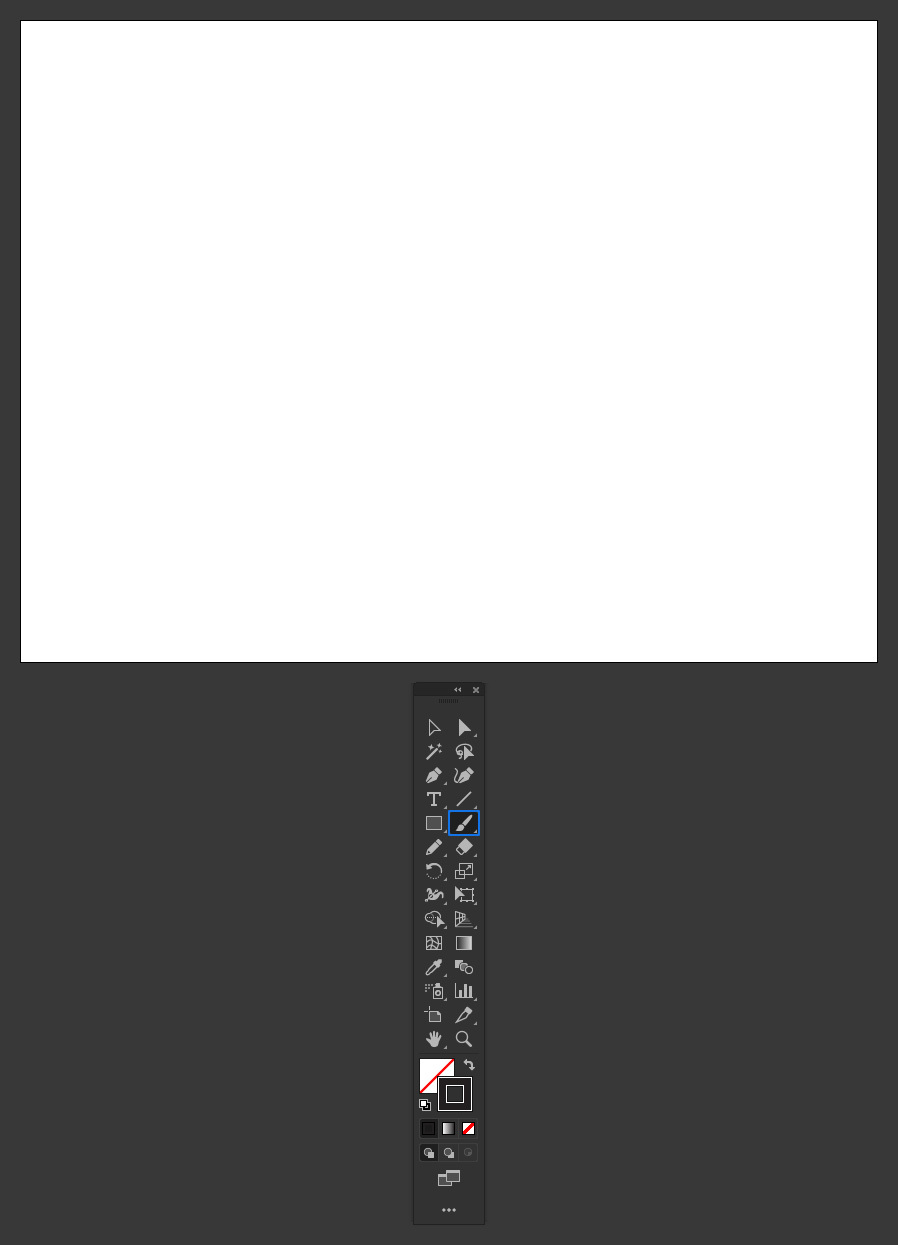
Delete the shape we used for our brush and in the Tools Panel select the Brush Tool.
Step 8
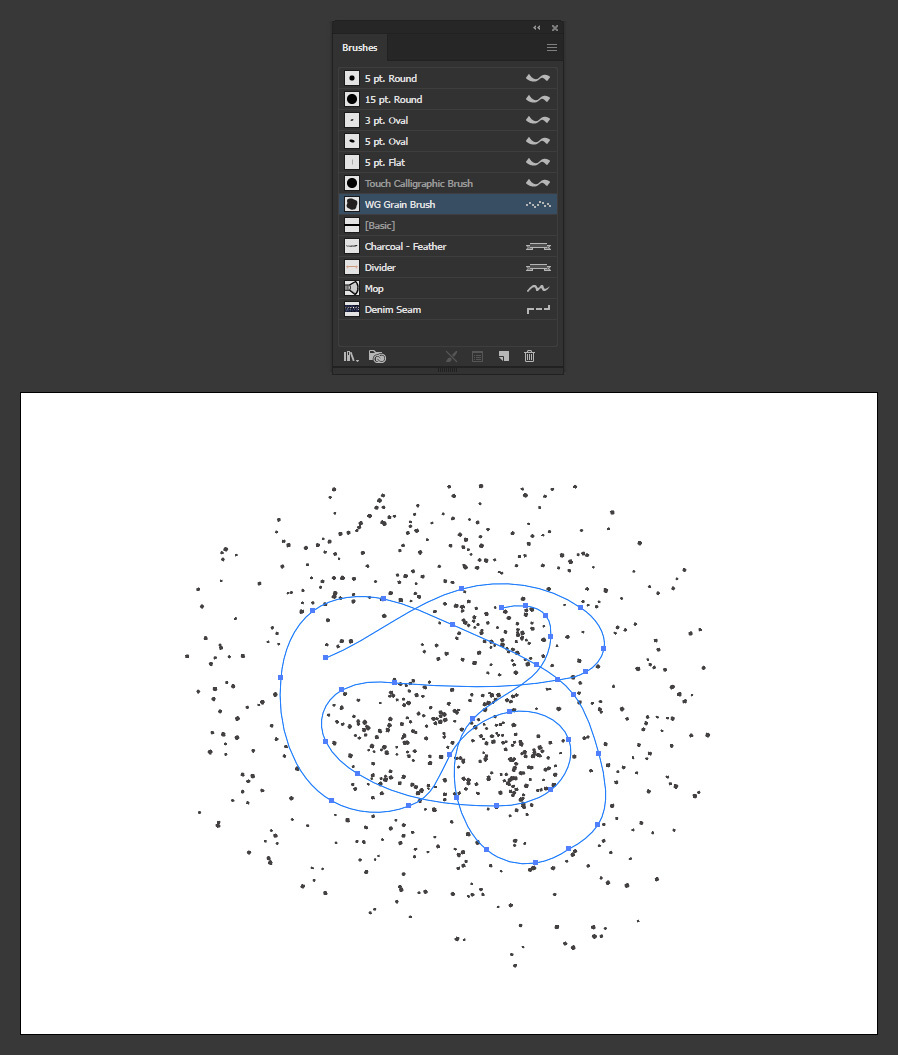
Be sure to have the new brush selected in the Brushes window and paint over the artboard.
Step 9
If you want to make your brush larger or smaller, simply increase or decrease the stroke size in the Stroke window.


