How to Make a Wavy Reflection Effect in Illustrator
Illustrator Vector Effects
If you want to make reflections of trees, mountains, animals or people over the water in a landscape, you immediately think of Photoshop to carry out this task. But if the design you have is in vector format and you want to keep it 100% editable, then how do you do? Fortunately, there are many ways to imitate wavy reflections in Illustrator and today you will learn the easiest way to do it without sacrificing the benefits of having your design in vector a format.
Step 1
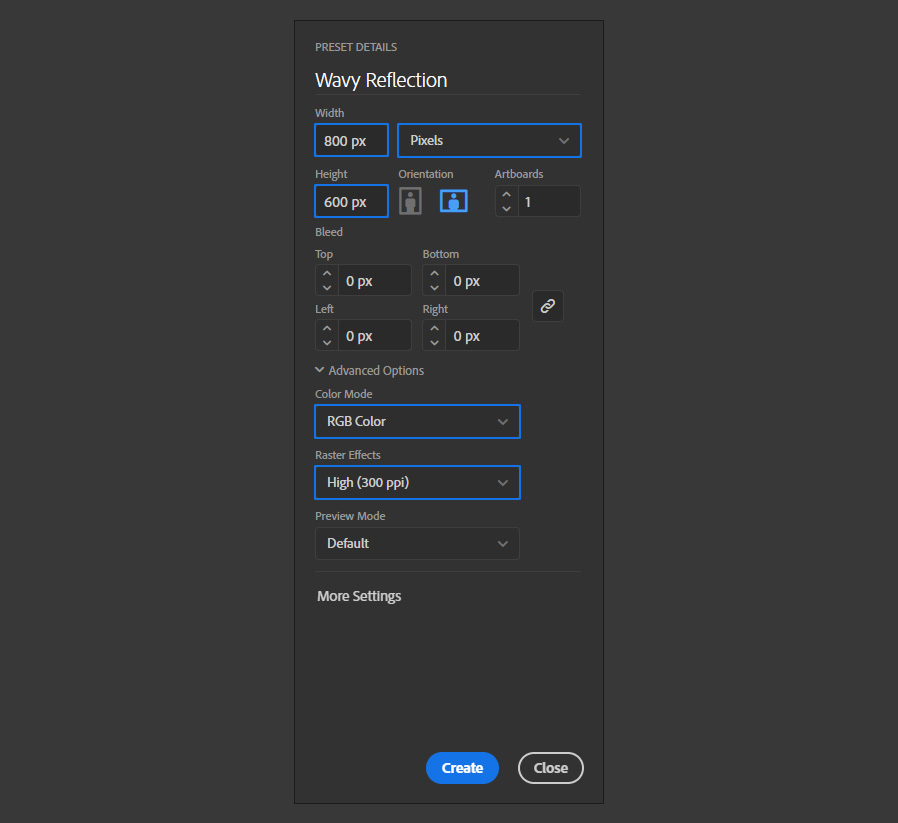
Open Illustrator an make a new file at any size you want. In this case i will make mine at 800 x 600 px.
Step 2
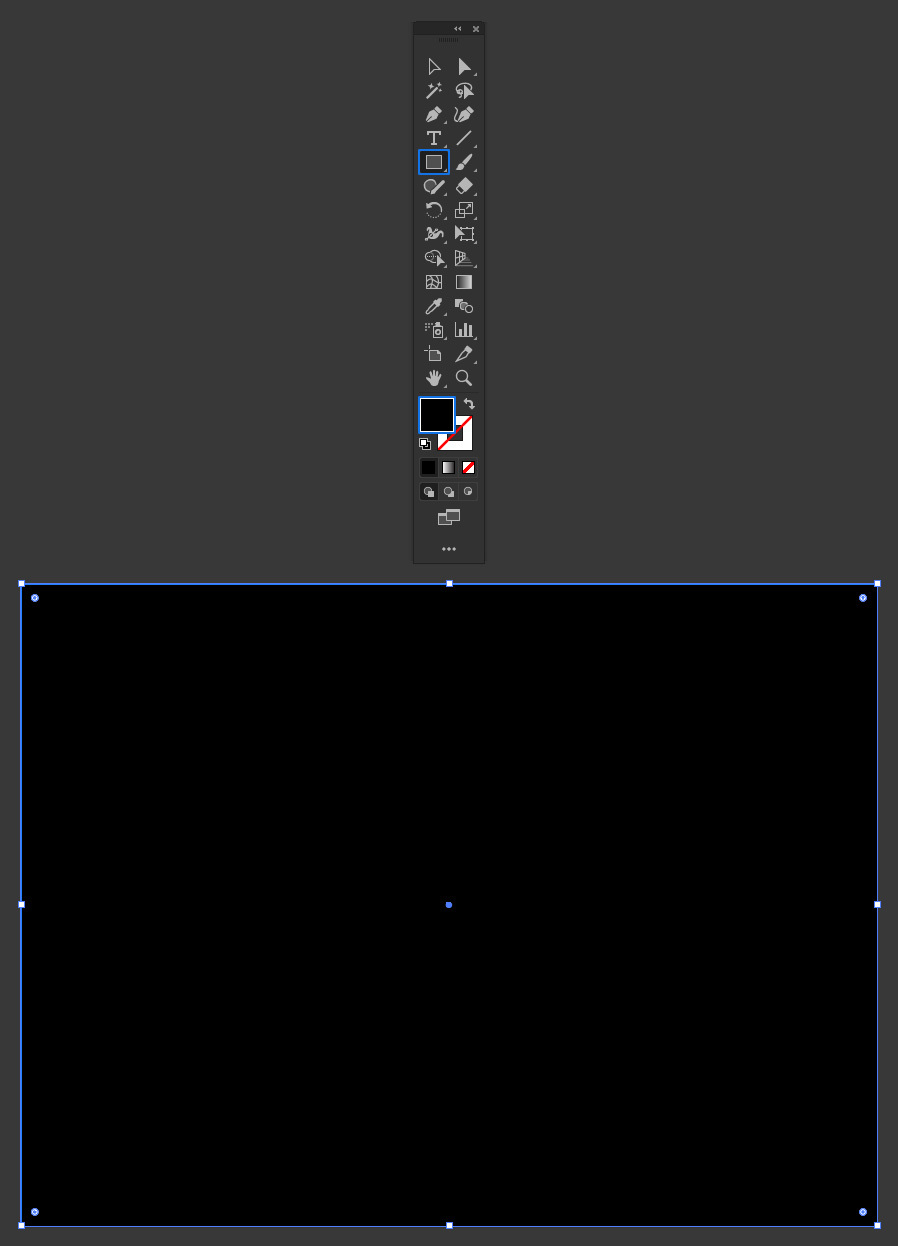
Select the Rectangle Tool (M) and draw a rectangle covering the whole artboard using a black color.
Step 3
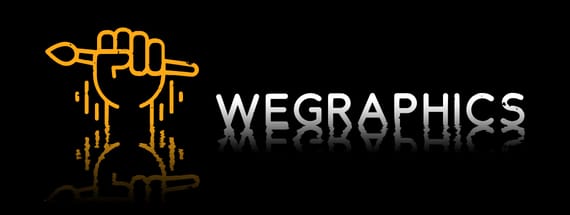
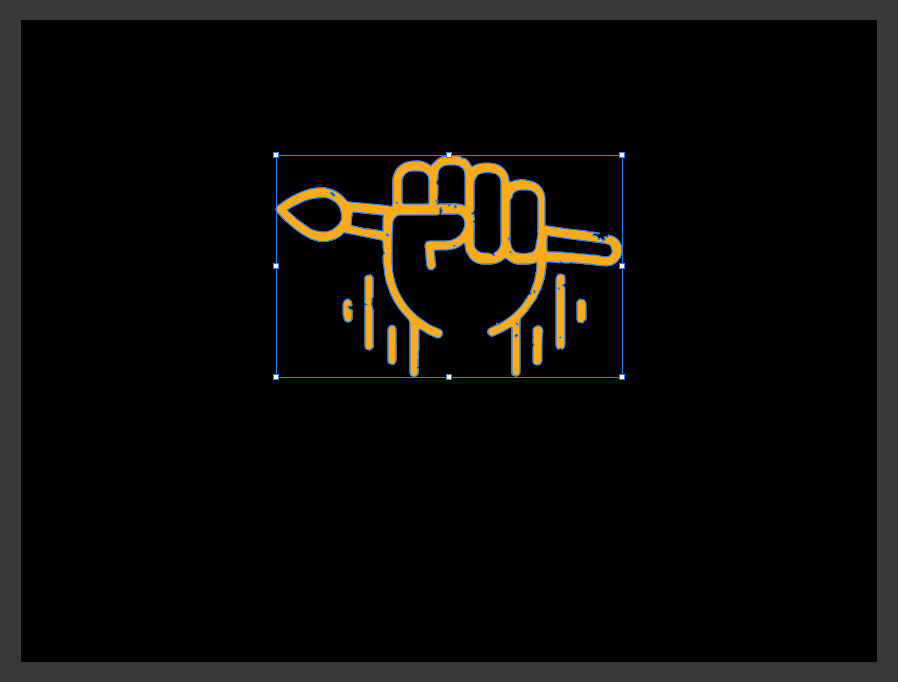
Draw or place the graphic that you want to give the wavy reflection effect on the Artboard. In this case, I will use the WeGraphics logo.
Step 4
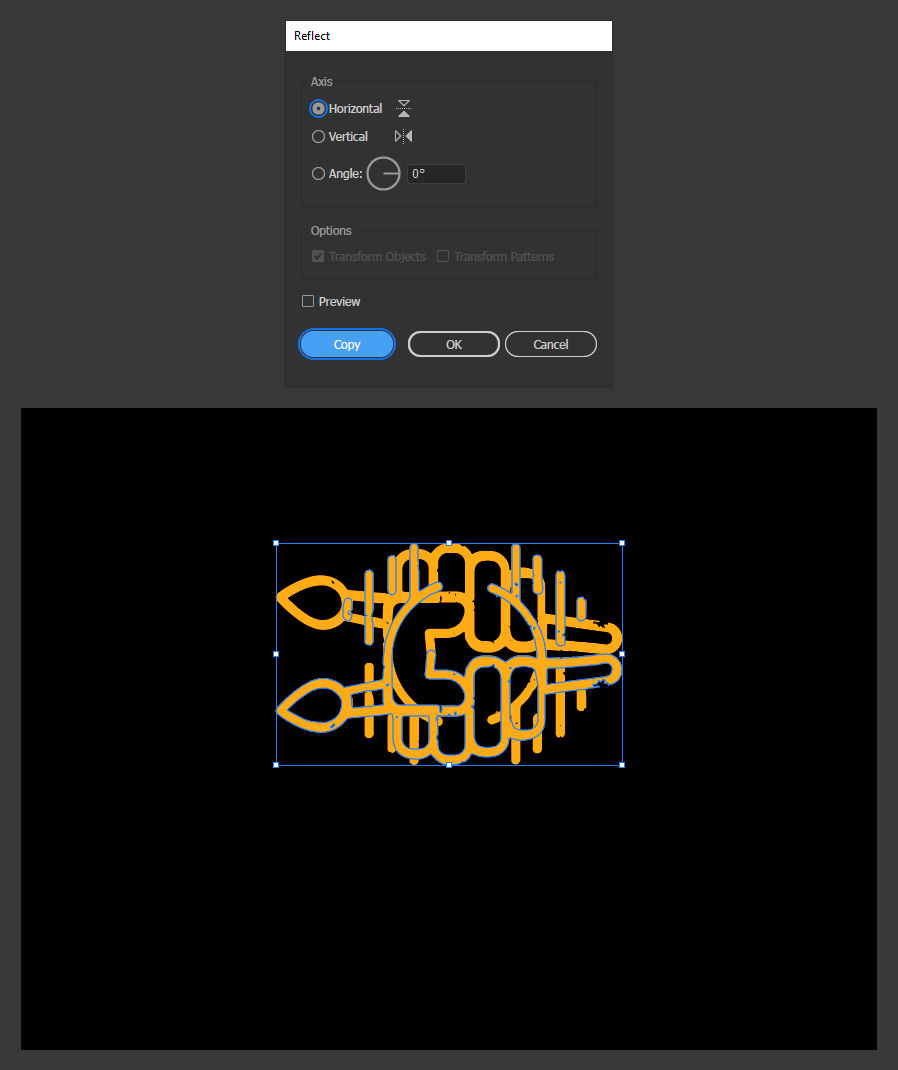
With the logo selected, go to Object > Transform > Reflect. Set the Axis to Horizontal and click on COPY.
Step 5
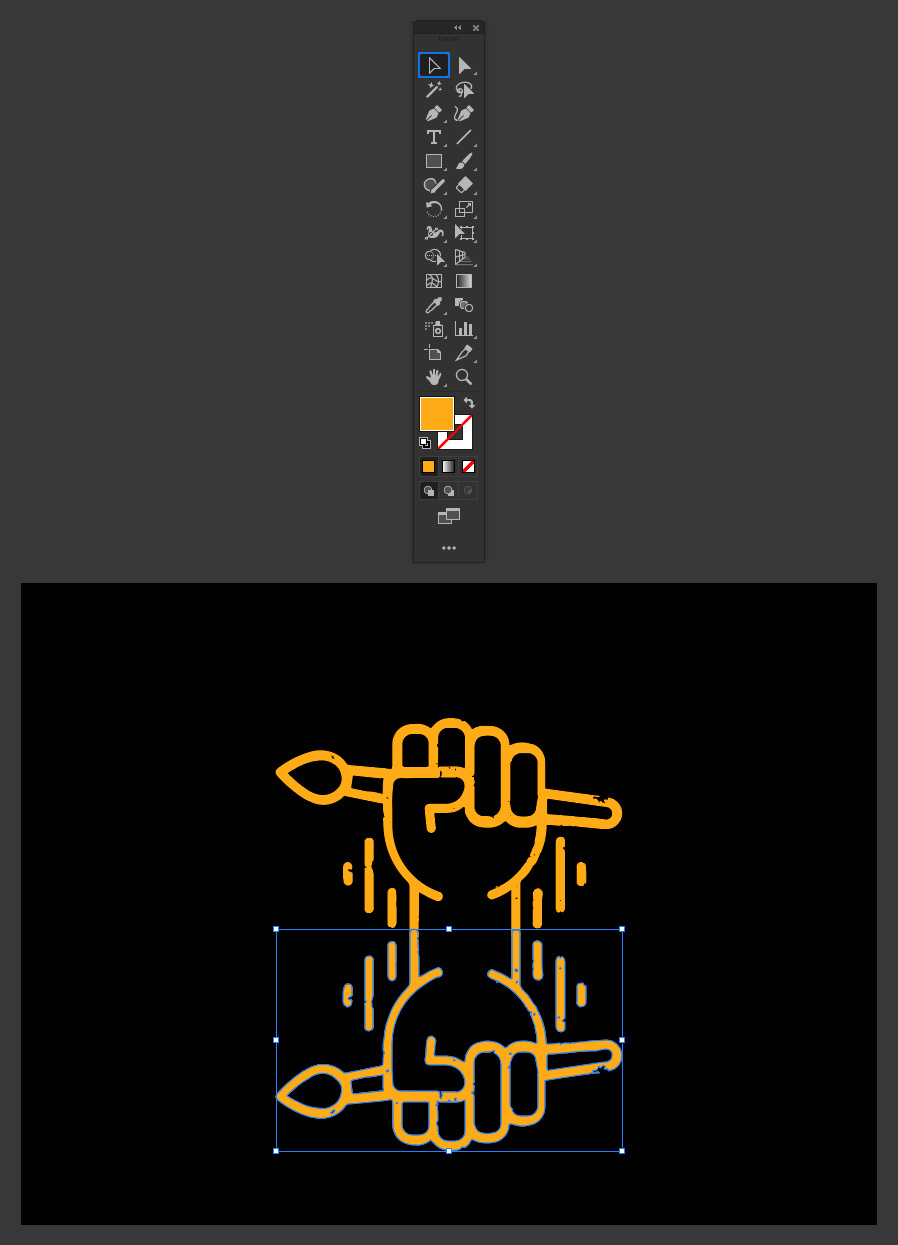
Select the Selection Tool (V) and while holding the Shift key on your keyboard, move the copied logo down as shown.
Step 6
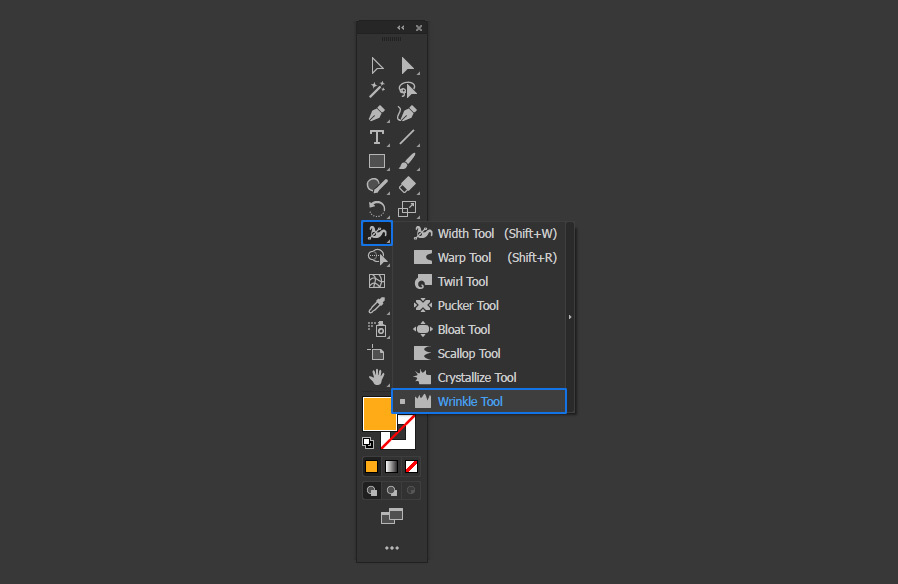
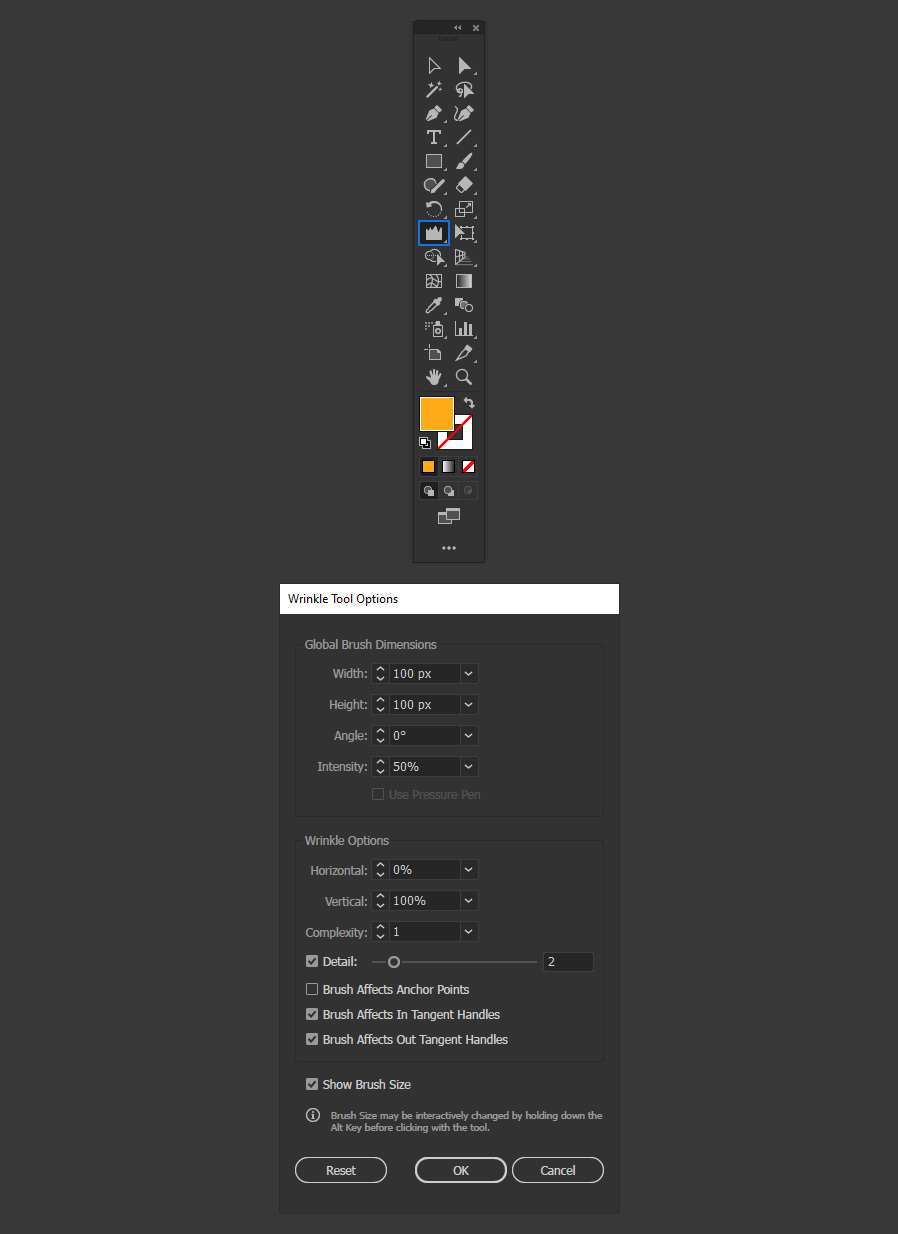
In the toolbar, select the Wrinkle Tool.
Step 7
Double click on the Wrinkle Tool to open the tool option window.
Step 8
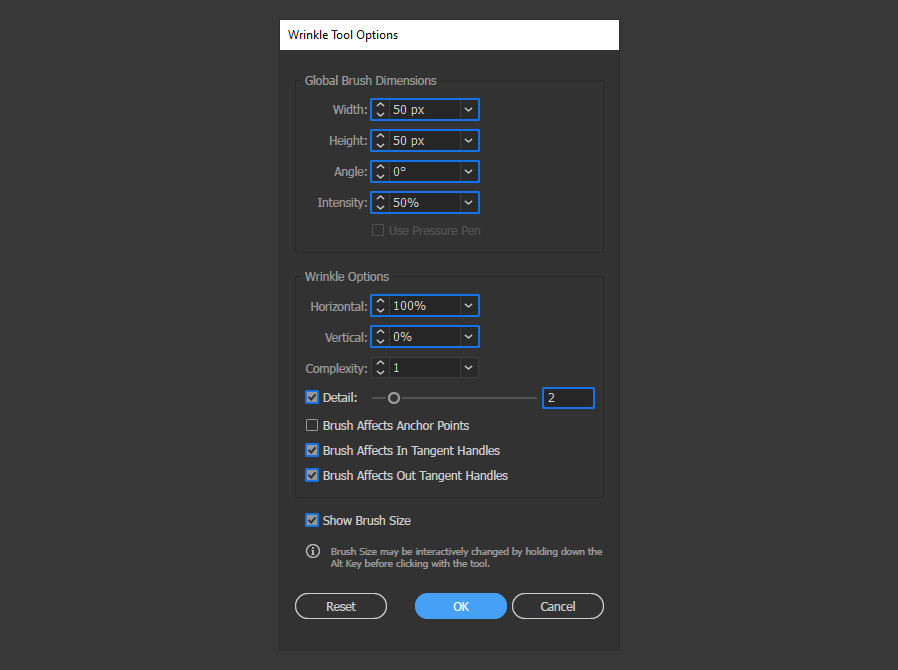
In the Wrinkle Tool Option, apply the following settings and click OK.
Note: depending on the size of your graphic and how much distortion you want on it you may need to change these values a bit.
Step 9
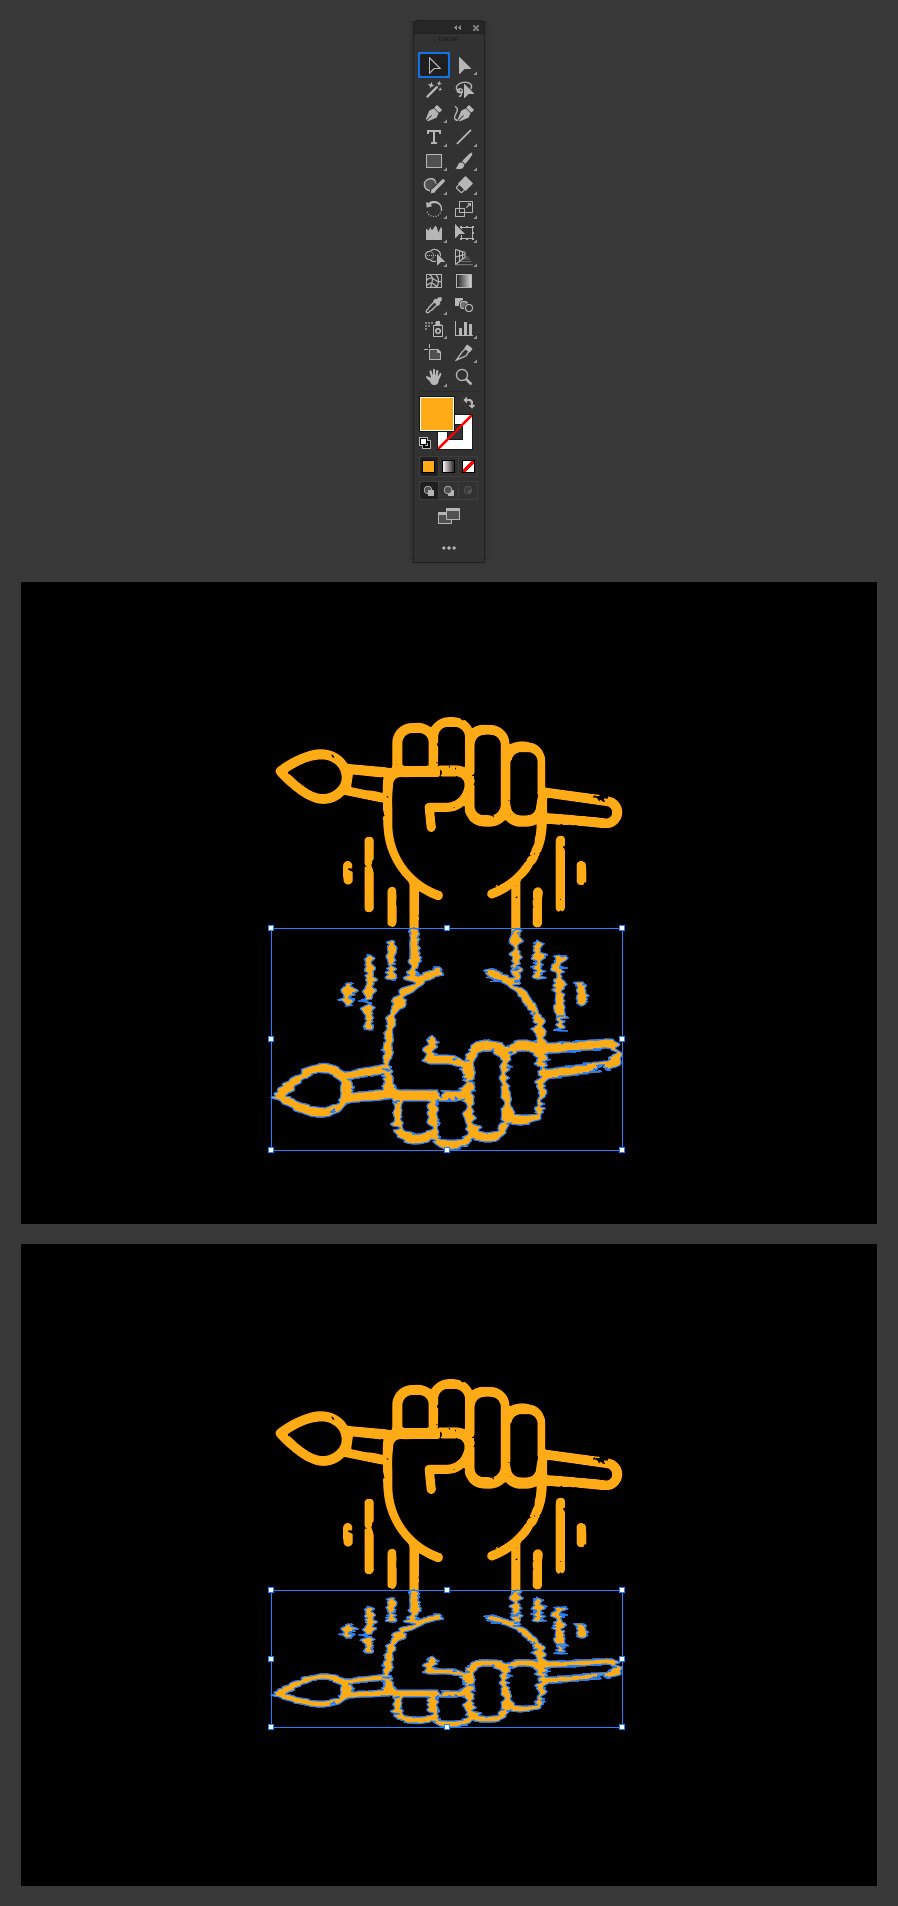
Now, simple click and drag over the copied graphic to apply the effect. Try to drag slowly over your graphic in the horizontal axis (from left to right and right to left) to get a better effect.

Step 10
Once you are happy with the result, select the Selection Tool (V) and drag the middle bottom anchor point up to decrease the vertical scale of the reflection to get a more realistic result.
Step 11
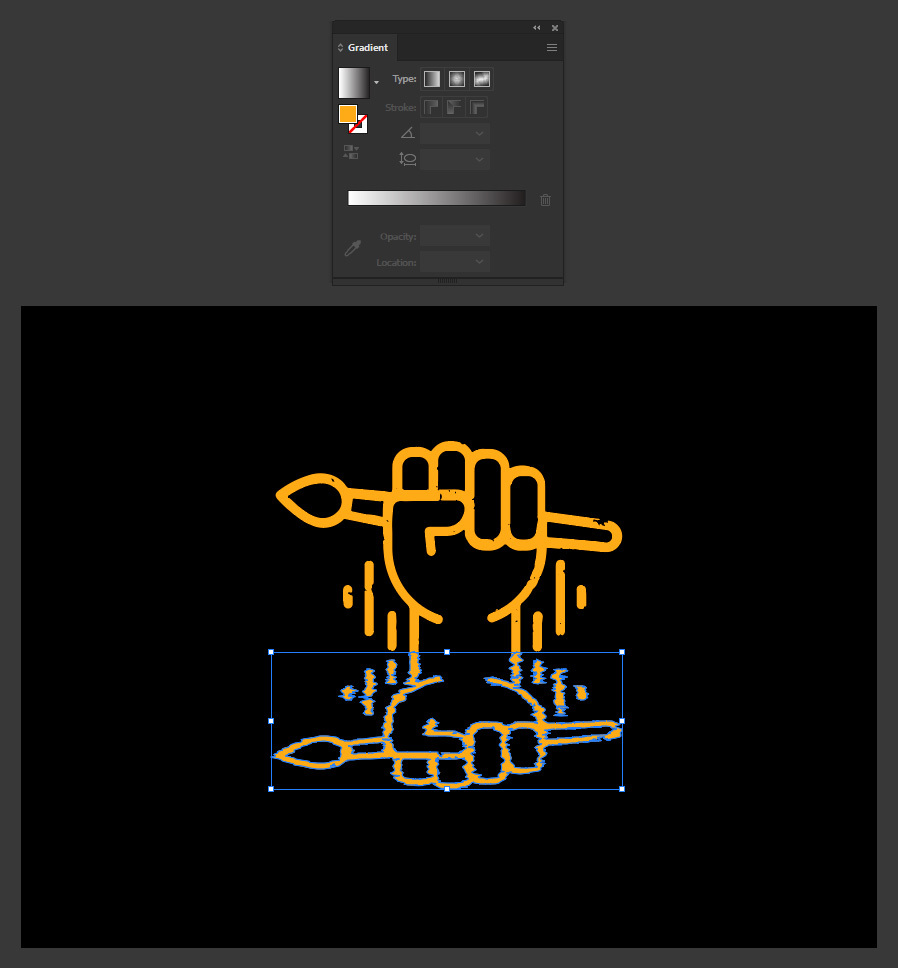
Now that you finished the wavy reflection effect, you can add a gradient to the reflection. To do that, go to Window > Gradient.
Step 12
In the Gradient window, set the Type to Linear and change the angle to -90º.
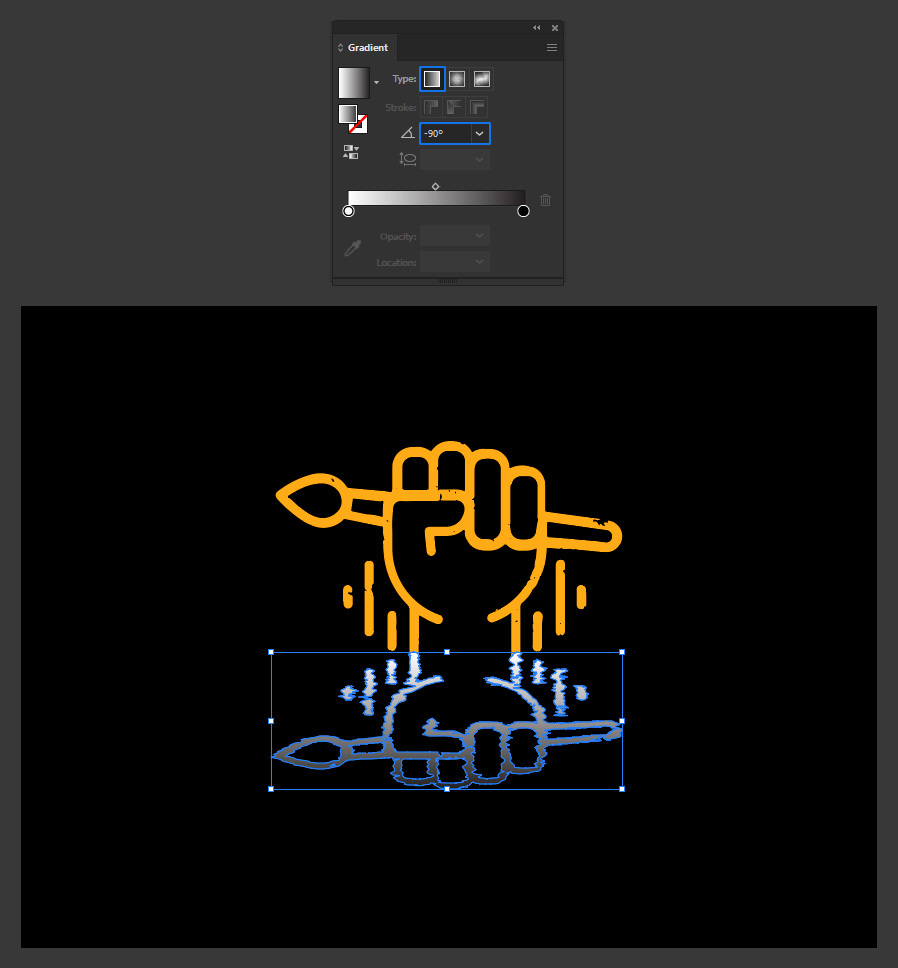
Step 13
Double click on the white stop color, and set the color to #F6A92F (which is the logo color).
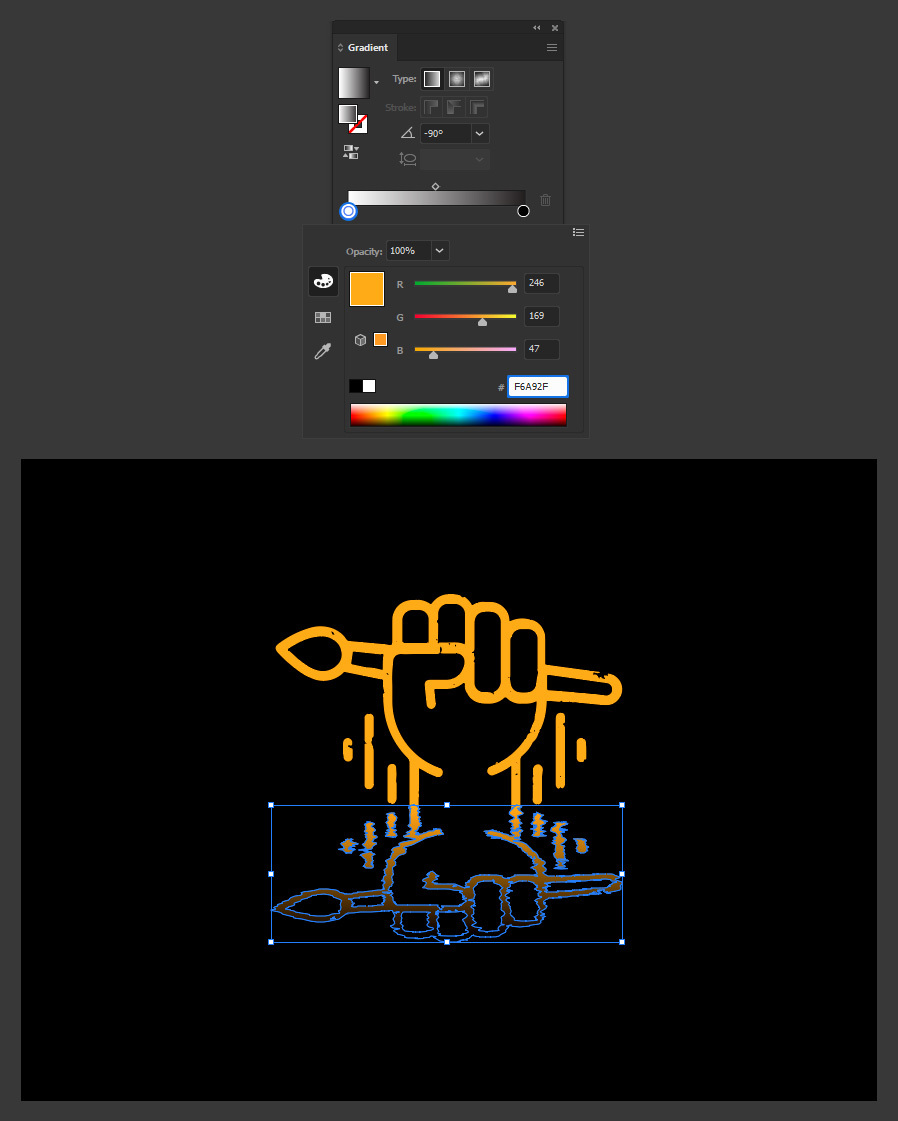
Step 14
Lastly, and with the reflection still selected, go to Window > Transparency and bring down the Opacity to 85%.
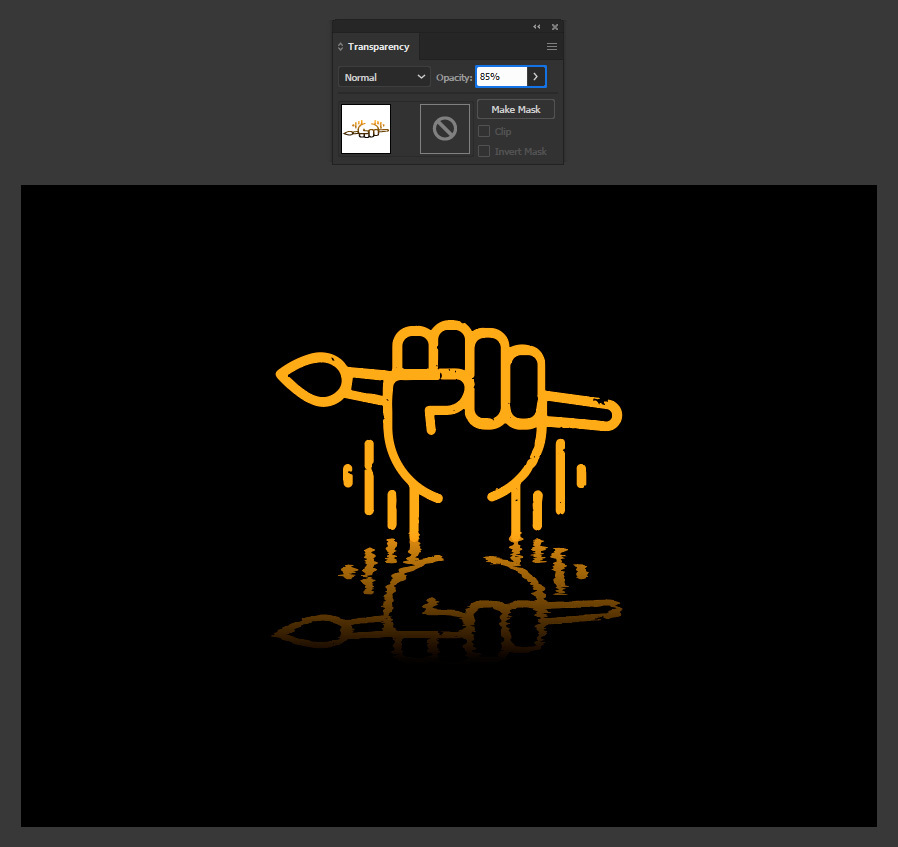
Some Final Notes
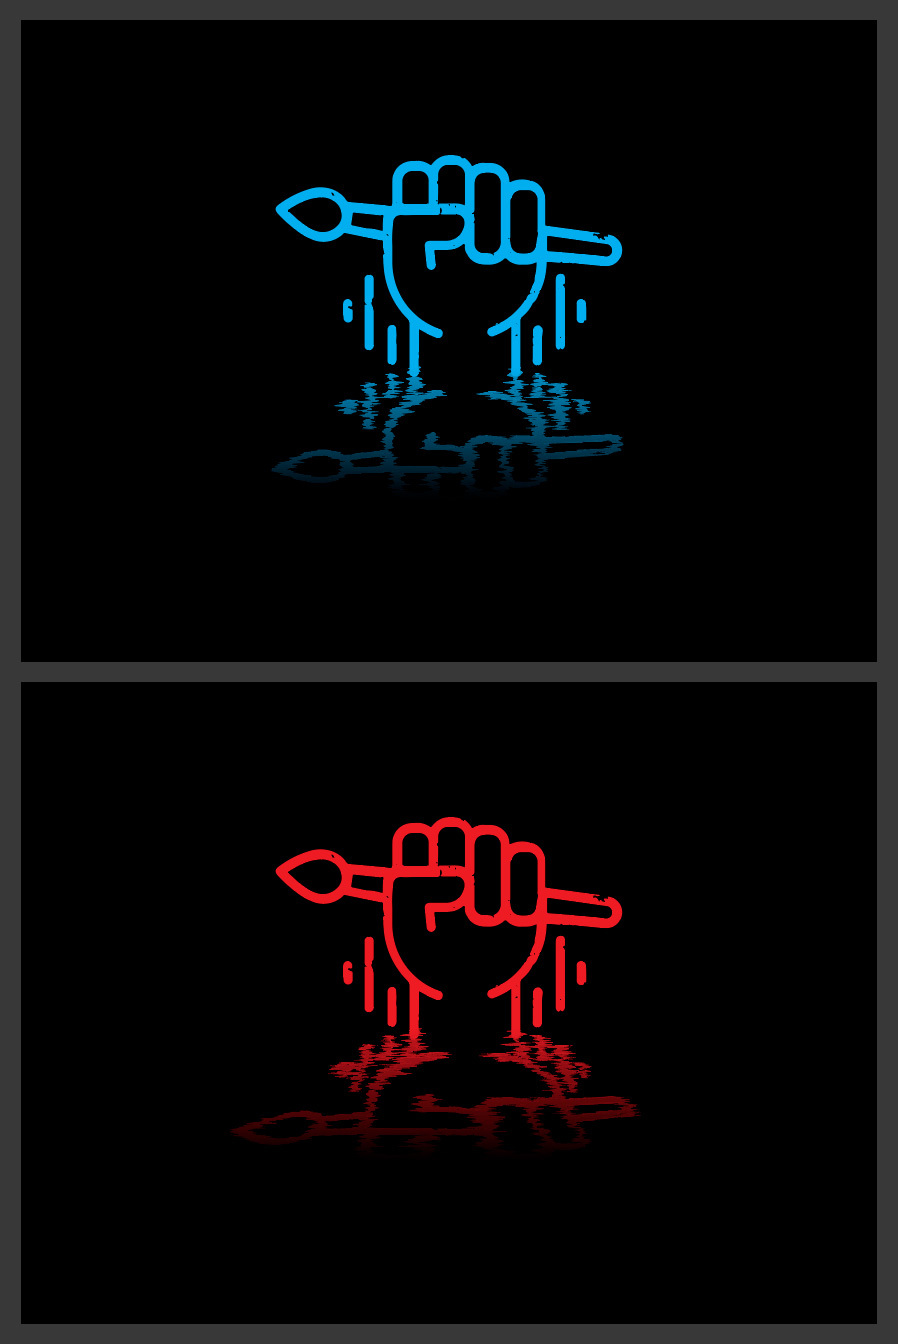
Now that you know how easily you can make a wavy reflection effect in Illustrator, you can try with different graphics and Wrinkle Tool settings to make many different wavy reflections like in the examples below.
