How to Make a Vector Halftone in Illustrator
Illustrator Effects
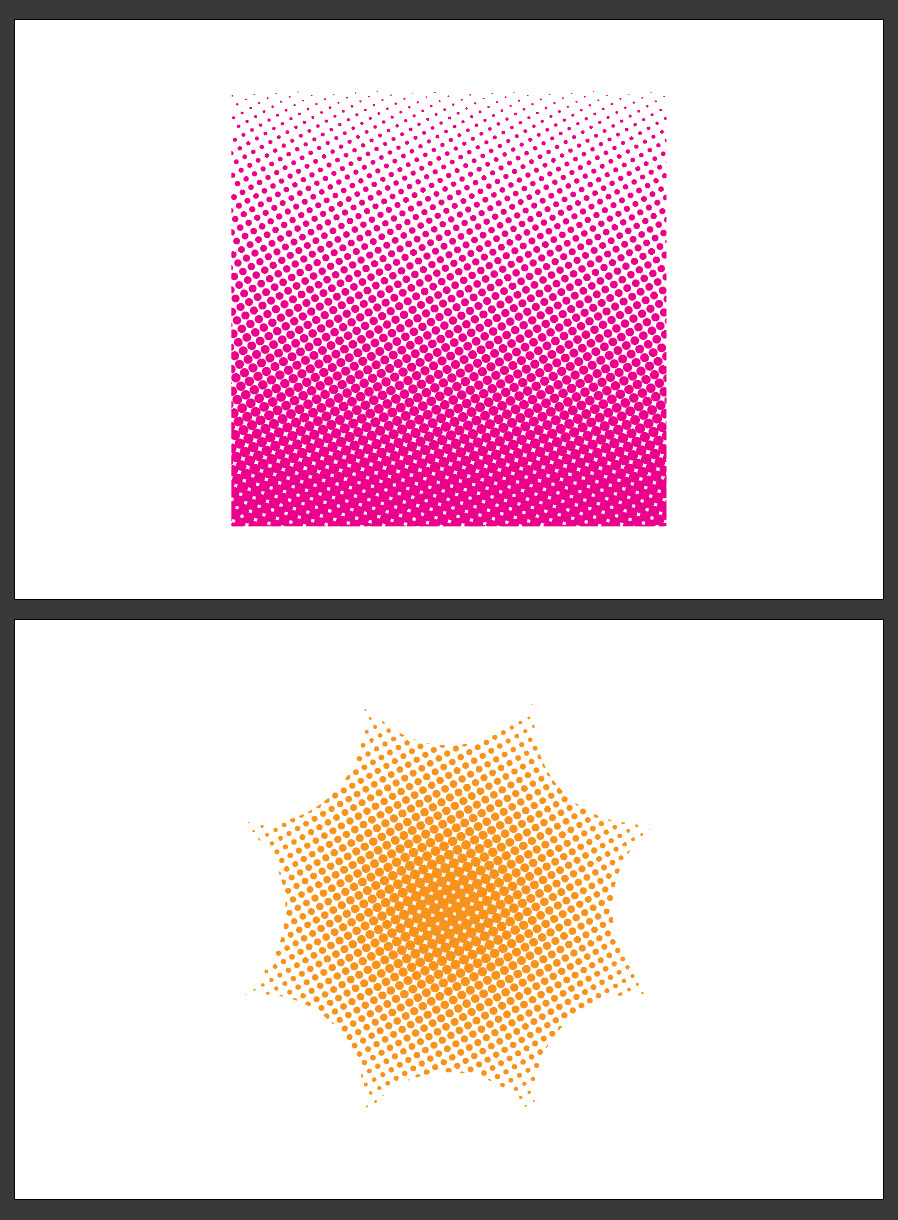
Halftone is an effect you may have seen used to mimic newspaper or old magazines prints. Often made in Photoshop, this effect can be also made in Illustrator and having it as a vector element will allow you to scale it to any size without losing quality. So today, I will show you how easily you can make a vector halftone in Illustrator you can replicate using any shape, color, or dots size you want to perfectly match your project.
Step 1
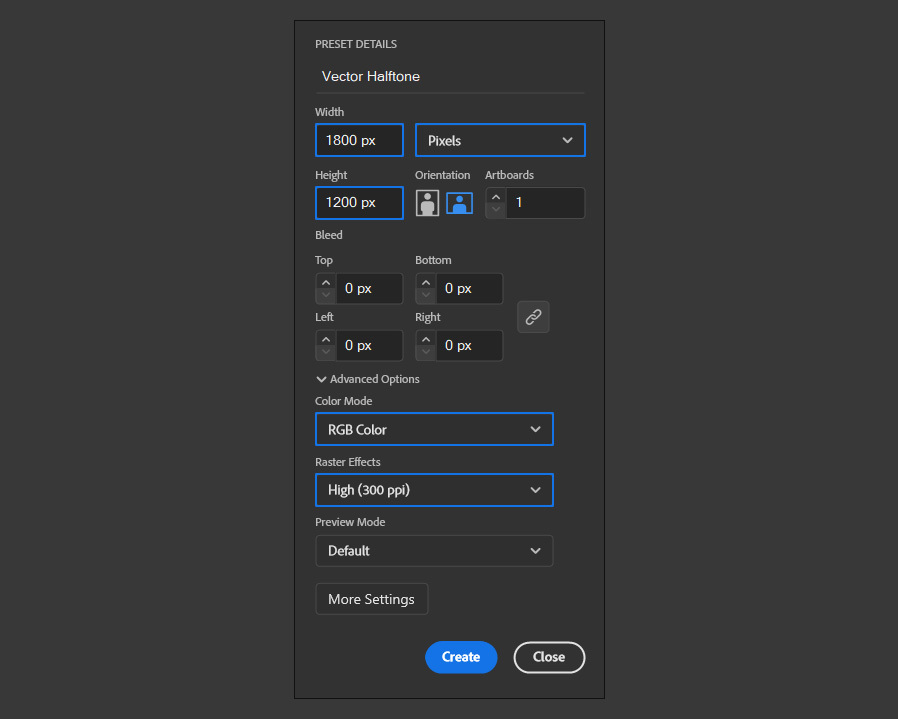
Open Illustrator and make a new file at any size you want. In this case, I will make mine at 1800 x 1200 px.
Step 2
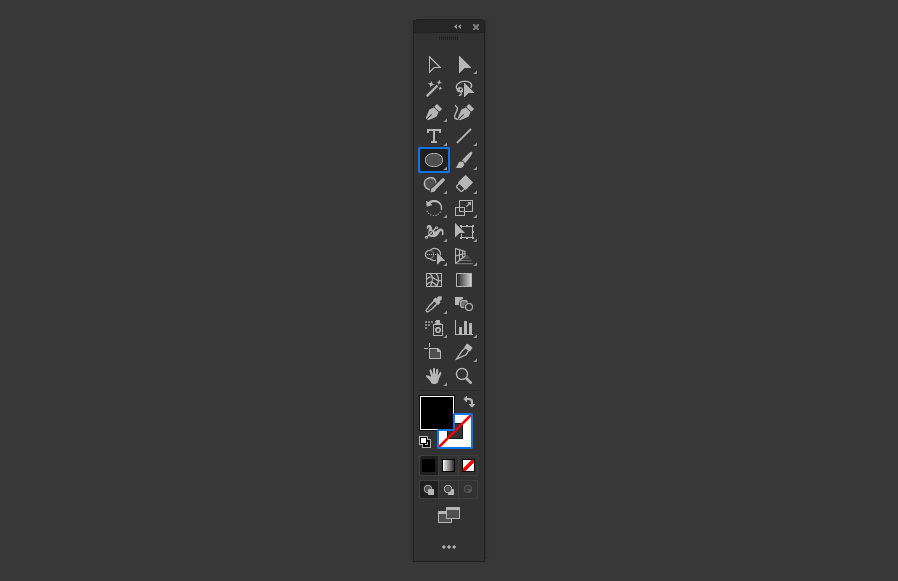
Select the Ellipse Tool (L) and be sure to have the stroke set to "none" in the toolbar.
Step 3
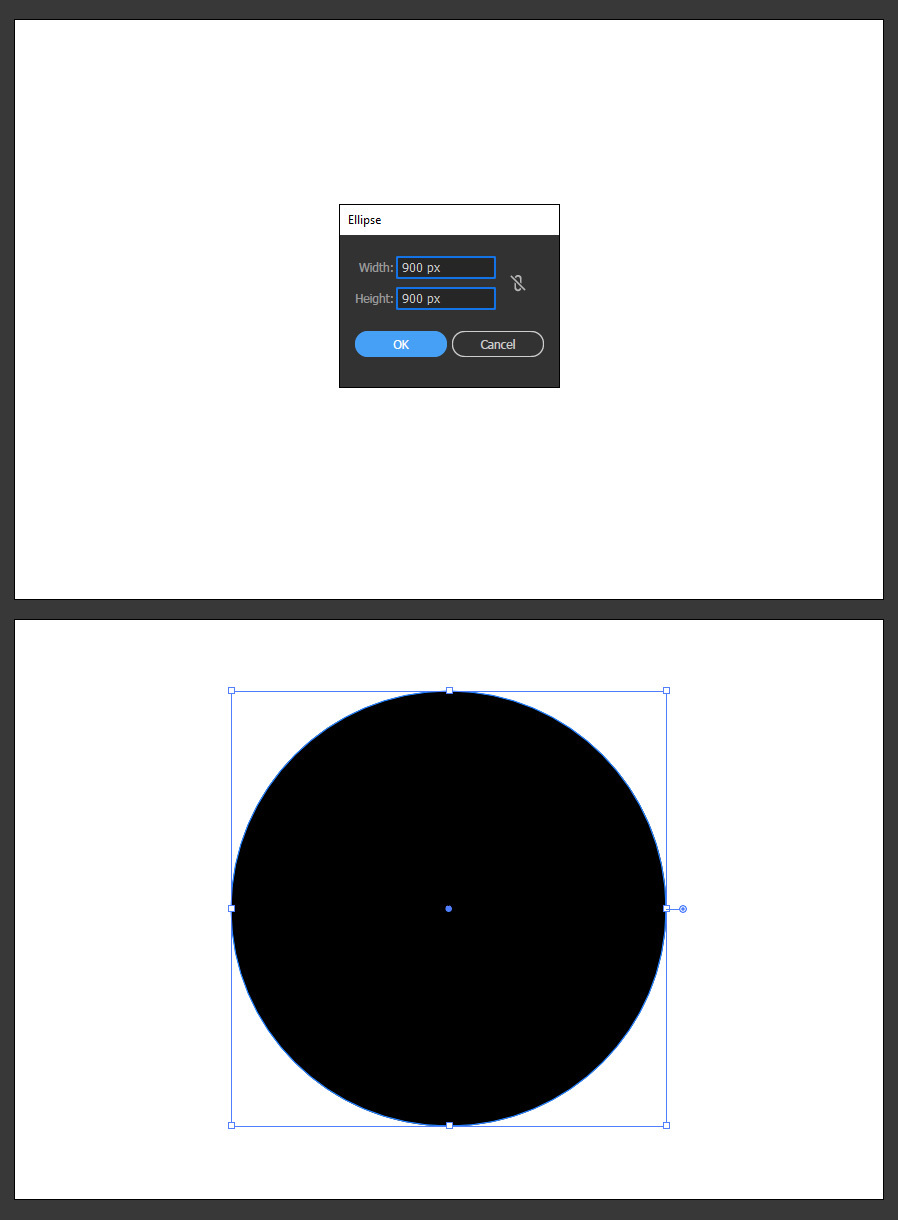
Click once over the artboard. Set the Width and Height to 900 px and click OK.
Step 4
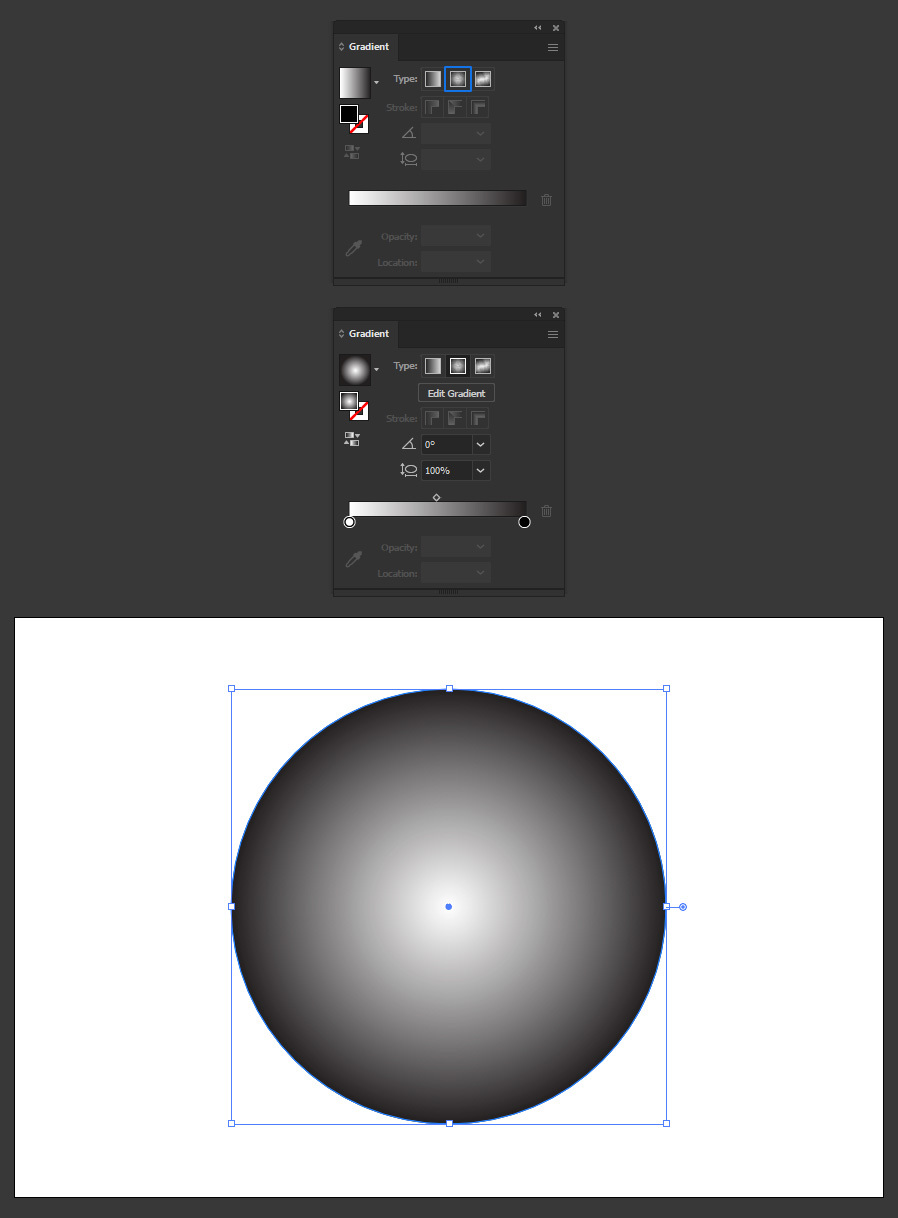
Go to Window > Gradient and under "Type" select the "Radial" gradient.
Step 5
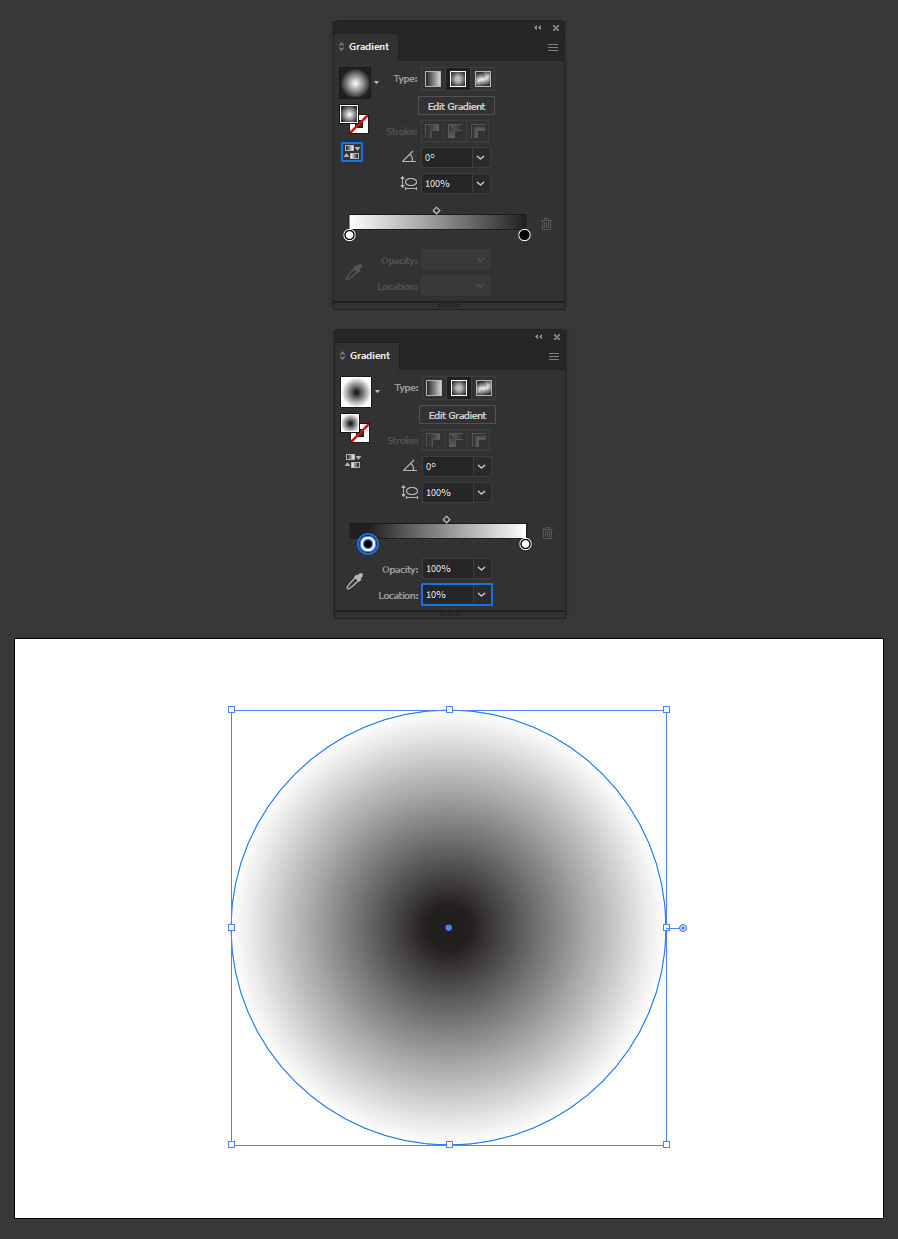
Click on the "Reverse Gradient" icon and move the black gradient slider a bit to the right as shown.
Step 6
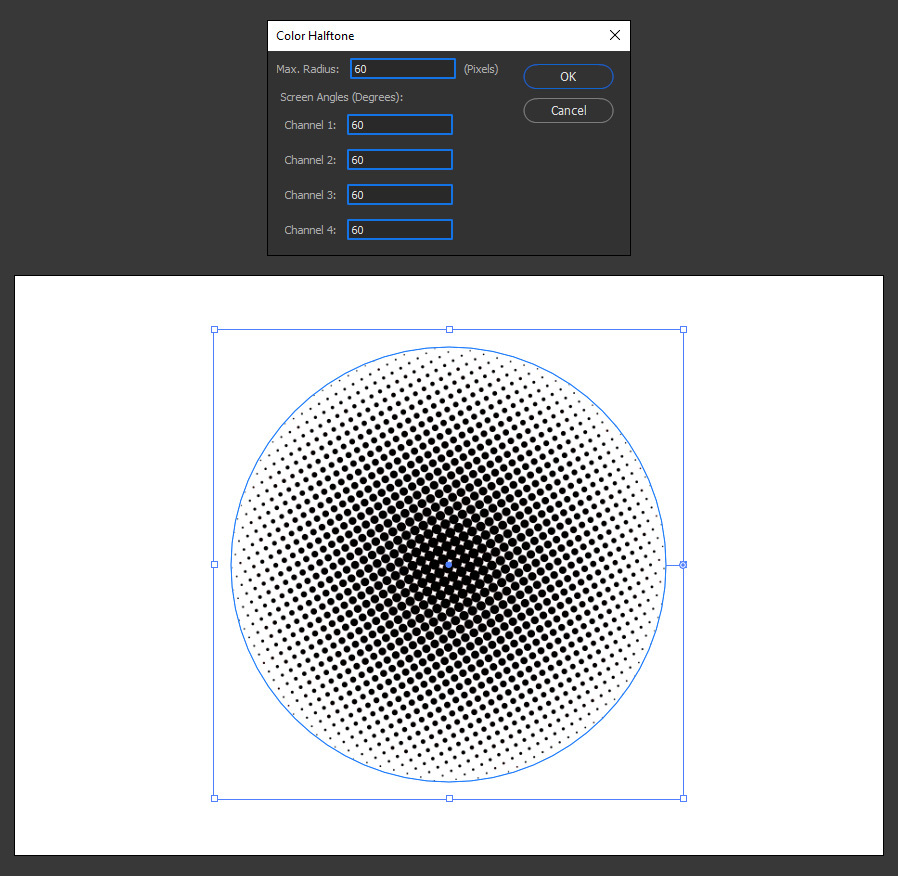
Go to Effect > Pixelate > Color Halftone. Set all values to 60 and click OK.
Note: You may pick any value you want, but always set the same value for the radius and channels for a better effect.
Step 7
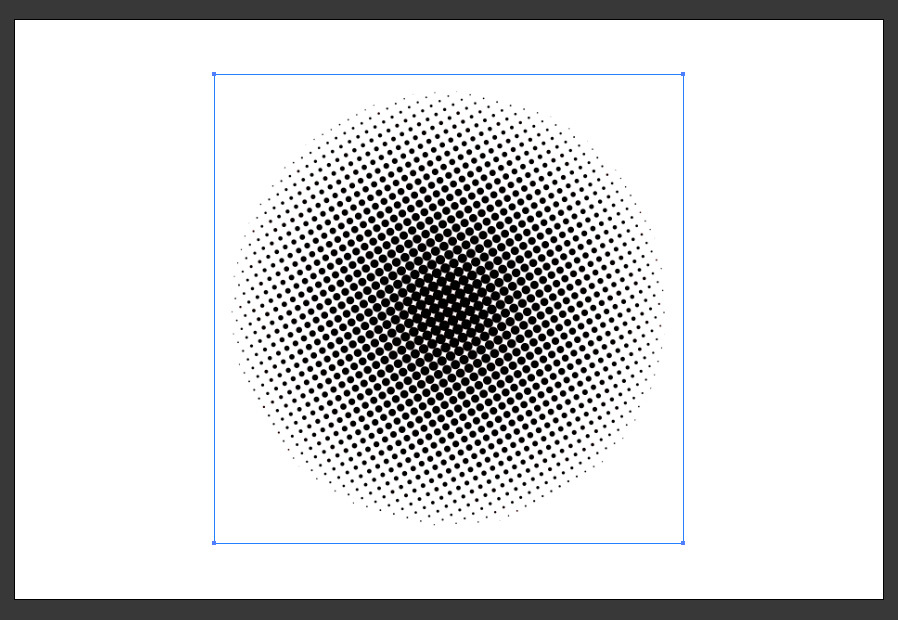
Go to Object > Expand Appearance.
Step 8
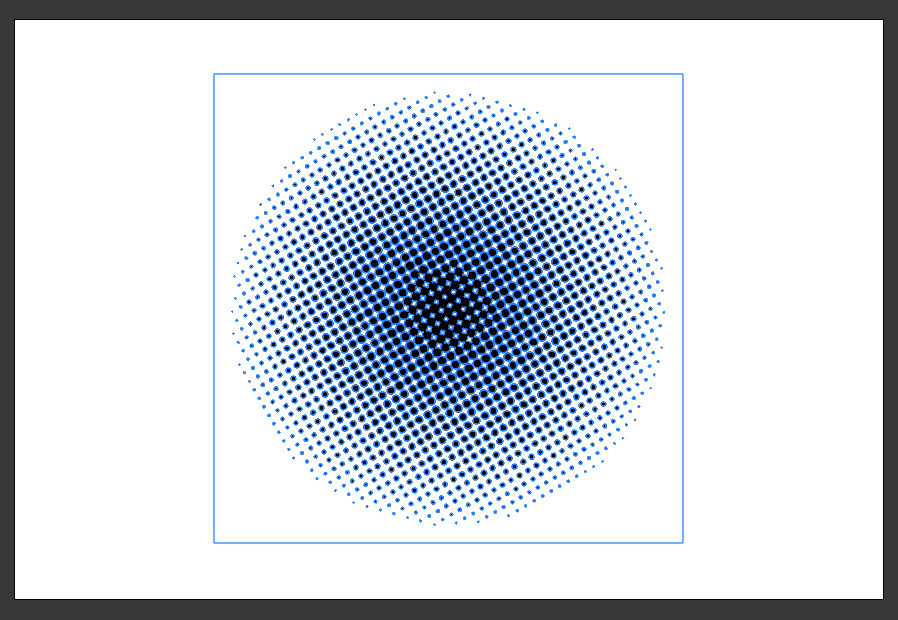
Go to Object > Image Trace > Make and Expand.
Step 9
Go to Object > Ungroup.

Step 10
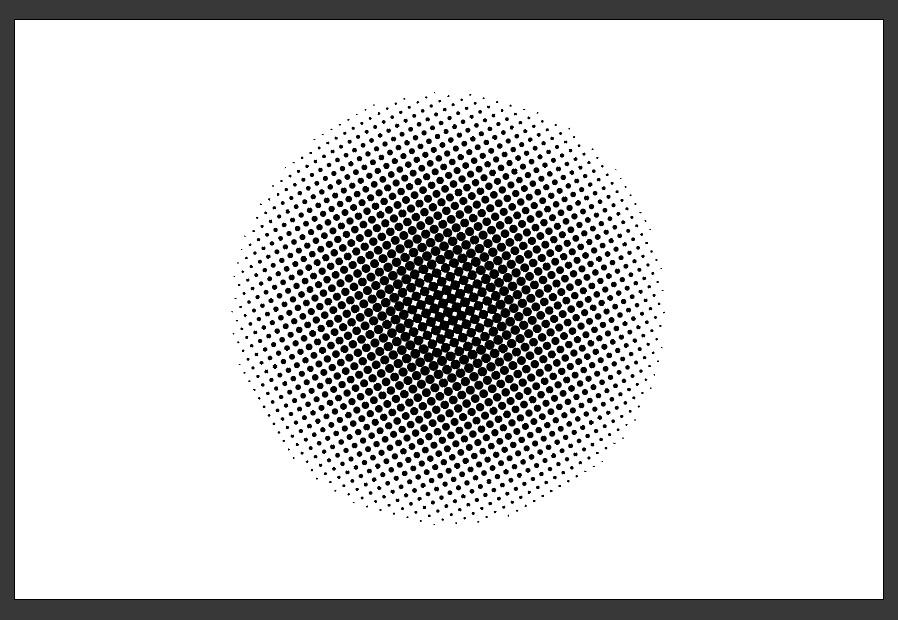
Go to Select > Deselect.
Step 11
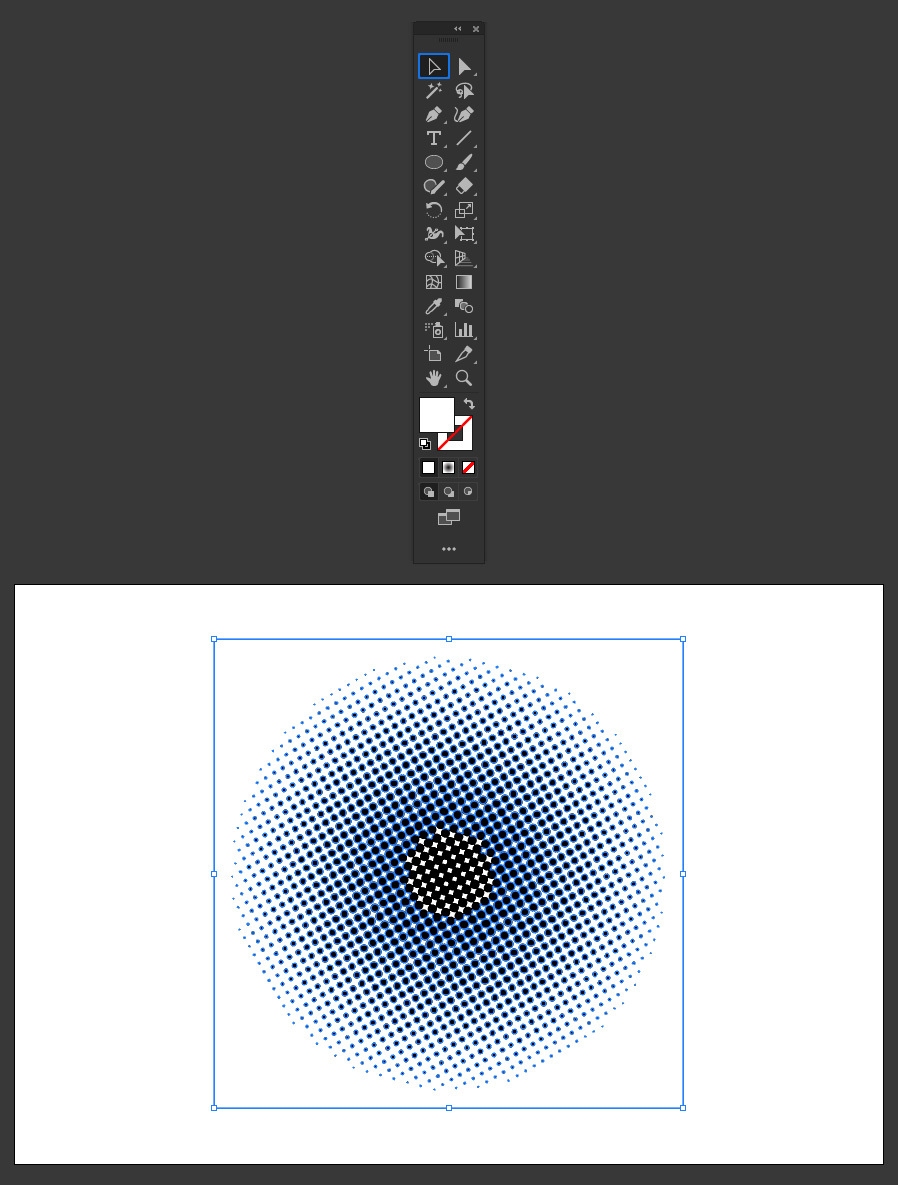
Pick the Selection Tool (V) and click once on the white area around the halftone to select it.
Step 12
Go to Select > Same > Fill Color and hit the delete key on your keyboard to delete the selection.
Step 13
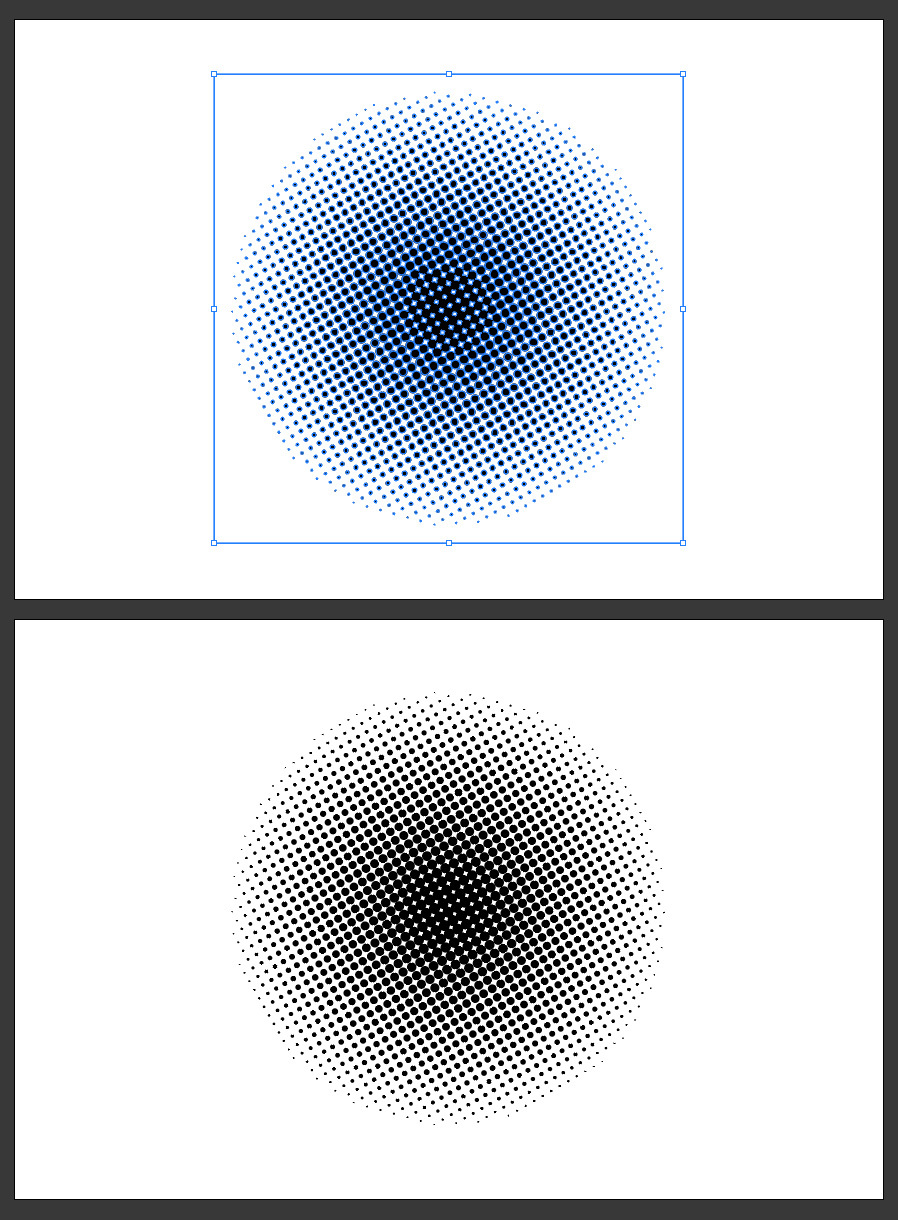
Lastly, go to Select > All and then to Object > Compound Path > Make.
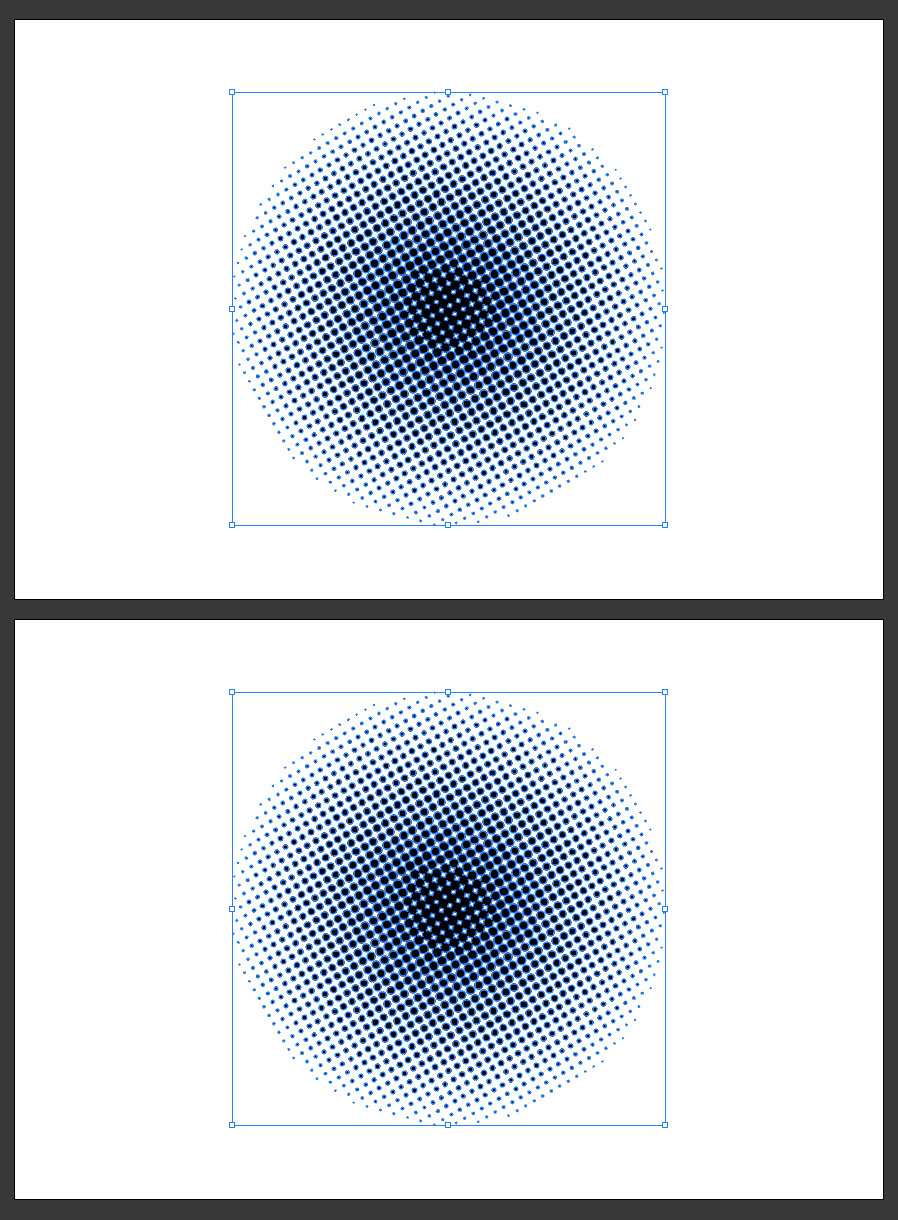
Conclusion
Now that you know how to make a vector halftone in Illustrator, you can follow the same steps using different shapes, gradient types, and Color Halftone values to create your own halftones for your projects. If you later want to change the halftone color, simply select the artboard elements and pick any color from the Swatches panel.
