How To Make A Texture Seamless in Photoshop
For this tutorial I wanted to share my own personal techniques for taking (almost) any detailed texture and creating a seamless tiling pattern with it. This is something I learned how to do so that I could put together packs of beautiful seamless textures for other designers to download and hopefully save them time. But what I’ve found is that since I’ve learned how to do this it also comes in very handy for various other purposes.
For example imagine you’re designing or coding a website, and you or your designer found a gorgeous high resolution wood texture that would look great for the background. But now you’re faced with the dilemma of using the texture in it’s full glory and drastically slowing down load times on the site. Or optimising the image, reducing its resolution, and then also having to decide whether to stretch the image out or allow users with larger displays to see the background image abruptly stop.
Wouldn’t it be great if you could just take a small section of that texture and set it to repeat seamlessly? Well, with a little know-how and a few minutes in Photoshop that’s exactly what you can do!
 For the best results I suggest using a square shaped sample with a 1:1 ratio, and try to make your selection larger than the size you eventually want it to be. For example if you want a 512 x 512 pixel seamless pattern, try to select somewhere in the region of 1000 x 1000 of the original pixels, because you can always resize the image later.
 Luckily for us this sample tiles really quite well already, in fact it’s difficult to make out the seams at all on first glance. So we will just use the Clone tool or Healing Brush tool to disguise the seams. With either tool selected in Photoshop, use a soft round brush and start sampling over the creases which should form a cross shape intersecting in the centre of the document.
If you aren’t too familiar with the Clone and Healing tools, it’s simply a case of holding down the alt key and left clicking the mouse to sample an area, then releasing the alt key and using the mouse again to paint that sample somewhere else.
The main difference between the tools is that with the Healing tool Photoshop will try to assist you in blending the two areas together, which can be good or bad in different situations.
Select An Appropriate Area
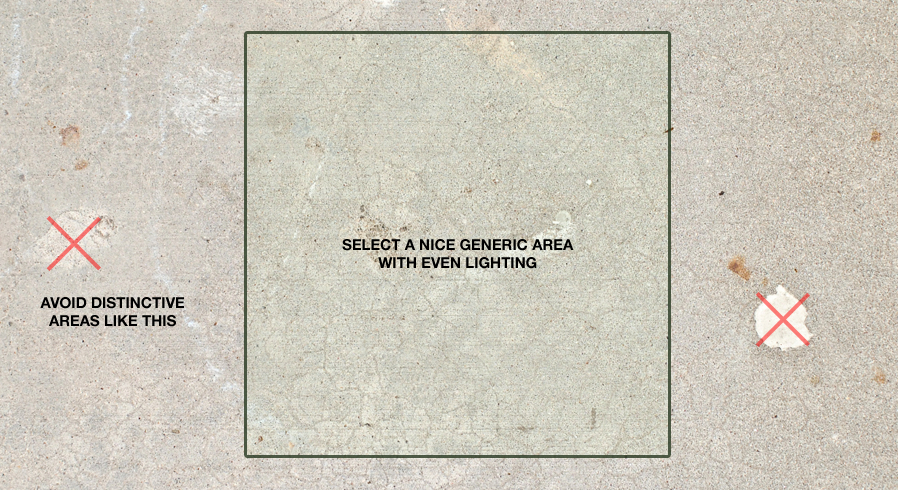
For this example I’ll be using concrete-texture-9.jpg (free download) from the 30 High-Res Concrete Textures set on Medialoot. The first step is to select an area of the texture that you want to work with, you should give this some thought and careful consideration. Any areas that are too distinctive may be difficult to work with, so try to select a generic area of the texture, and avoid drastic changes in overall light levels, really obvious patterns or cutting elements in half.
Crop Your Image
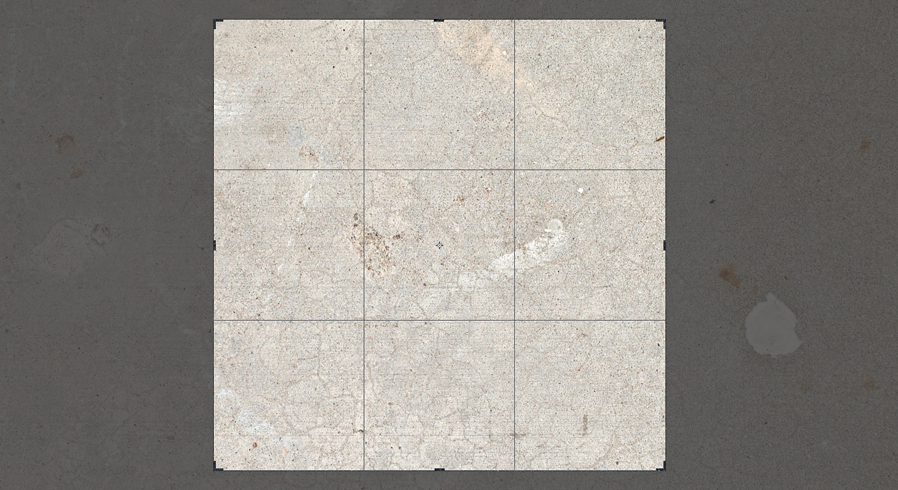
 For the best results I suggest using a square shaped sample with a 1:1 ratio, and try to make your selection larger than the size you eventually want it to be. For example if you want a 512 x 512 pixel seamless pattern, try to select somewhere in the region of 1000 x 1000 of the original pixels, because you can always resize the image later.
Test How Well Your Sample Tiles
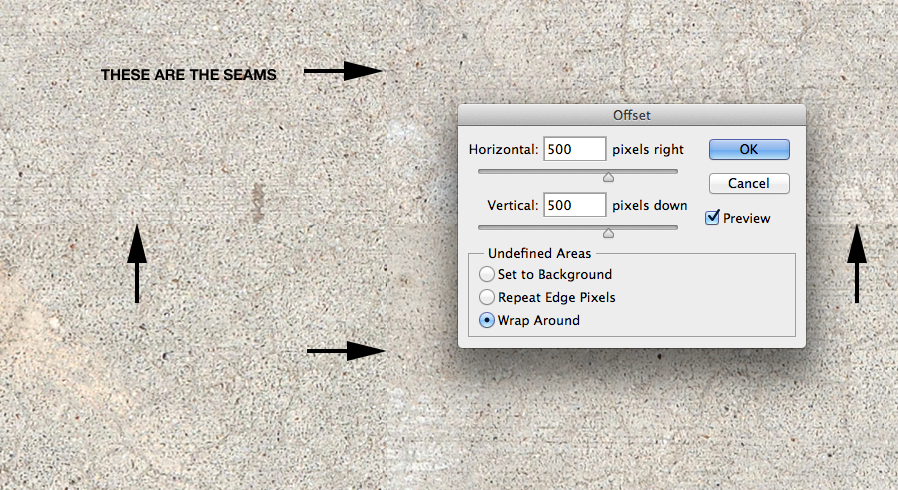
This is the stage which defines the rest of the process, and how much work you’ll need to do. It also emphasises the importance of selecting an appropriate area in the previous steps. To test how well your selection loops, we use the ‘Filter > Other > Offset’ function in Photoshop. Enter exactly 50% of the width and height values of your image into both the Horizontal and Vertical fields. So if your image is 1000 x 1000 pixels enter 500 for both values as show in this image:
Iron Out The Creases
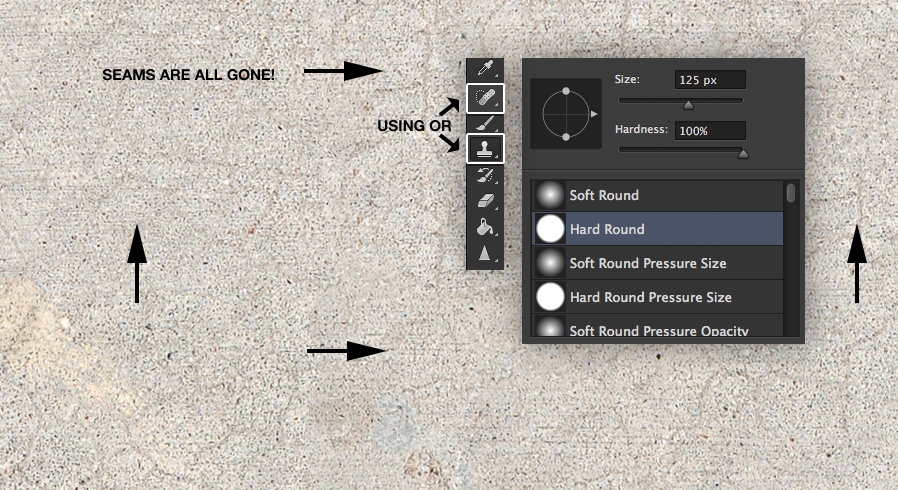
 Luckily for us this sample tiles really quite well already, in fact it’s difficult to make out the seams at all on first glance. So we will just use the Clone tool or Healing Brush tool to disguise the seams. With either tool selected in Photoshop, use a soft round brush and start sampling over the creases which should form a cross shape intersecting in the centre of the document.
If you aren’t too familiar with the Clone and Healing tools, it’s simply a case of holding down the alt key and left clicking the mouse to sample an area, then releasing the alt key and using the mouse again to paint that sample somewhere else.
The main difference between the tools is that with the Healing tool Photoshop will try to assist you in blending the two areas together, which can be good or bad in different situations.
Finish It Up
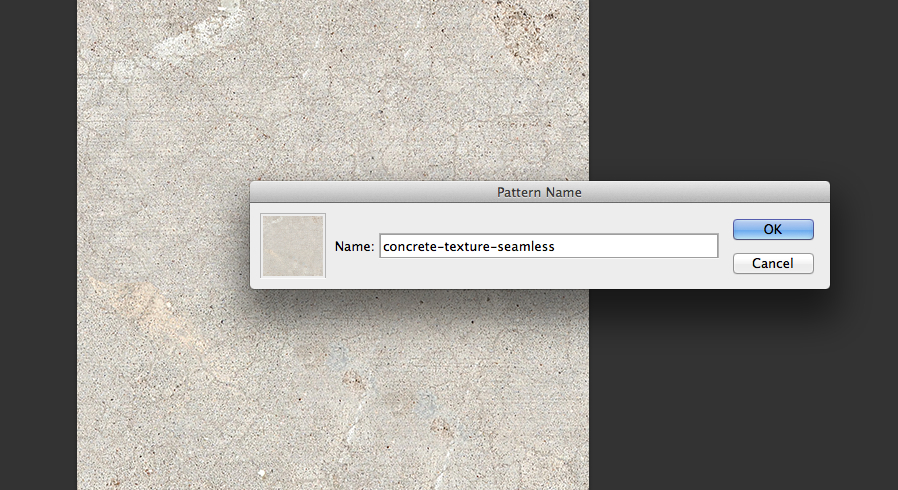
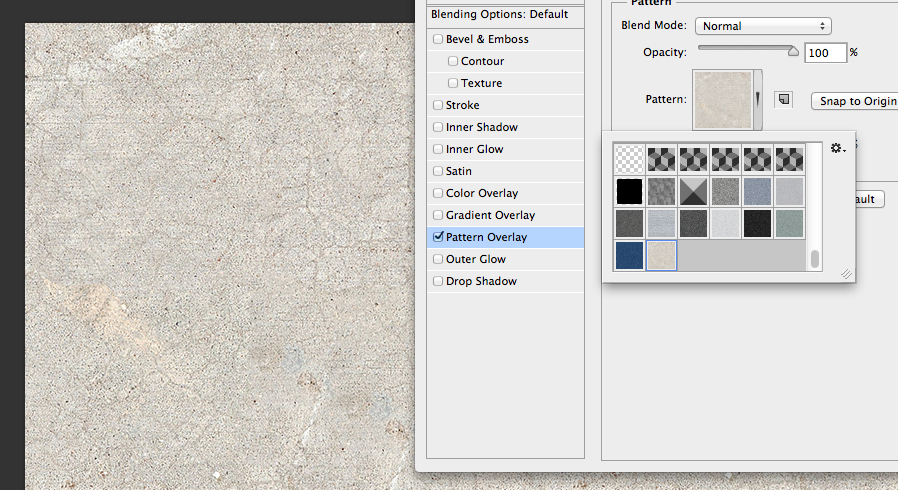
Once you’ve covered up the creases hit CMD/CTRL + F to repeat the Offset filter, and if you notice any new anomalies then cover those up with the Clone tool and repeat the Offset again until you have a smooth, seamless result no matter how many times you repeat the Offset. When you achieve this, that means you have a perfectly seamless pattern and are free to scale it down to 512 x 512 pixels using the ‘Image > Image Size..’ function and go to ‘Edit > Define Pattern..’

Tips & Tricks
Although this was a relatively easy texture to sample and make seamless, the same basic principles apply to other more complex textures too. Here are some of my top tips and recommendations for creating your own seamless textures:- Always select a generic looking area to crop.
- Use the Dodge and Burn tools to correct uneven lighting.
- Use the Clone tool to cover up areas that are too distinctive.
- Don't reduce the image resolution until you are happy with the results
- Some textures simply won't ever be seamless, don't waste your time on them!


