How to Make a Rope Pattern Brush in Illustrator
Illustrator Brushes
In Illustrator, there are many different ways to make your own scatter, art, or pattern brushes as well many different brushes types. When it comes to making a rope brush, you can also choose how simple or complicated you want this rope to be. It can be a very simple one (with only fill or only stroke) or a more complex one with fill, stroke and different ends for the rope it self. But today, rather than show you how to make a complicated rope pattern brush, I will show you how you can make your own rope pattern brush with a colored fill and a stroke.
Step 1
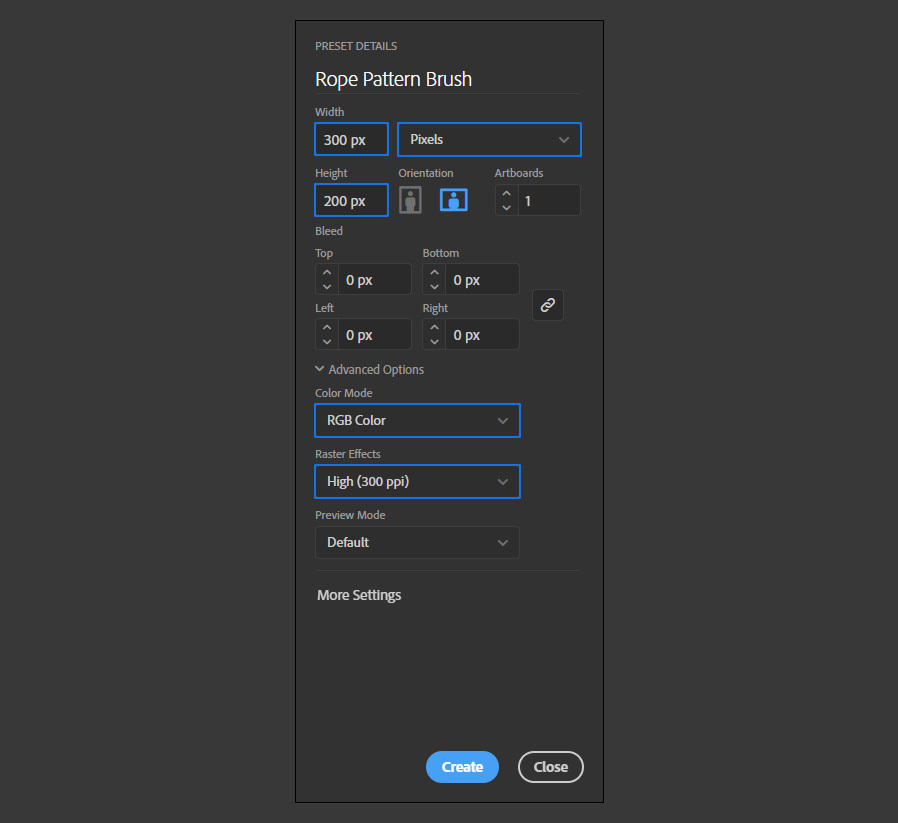
Open Illustraor and make a new file at any size you want. In this case, I will make mine at 300 x 200 px.
Step 2
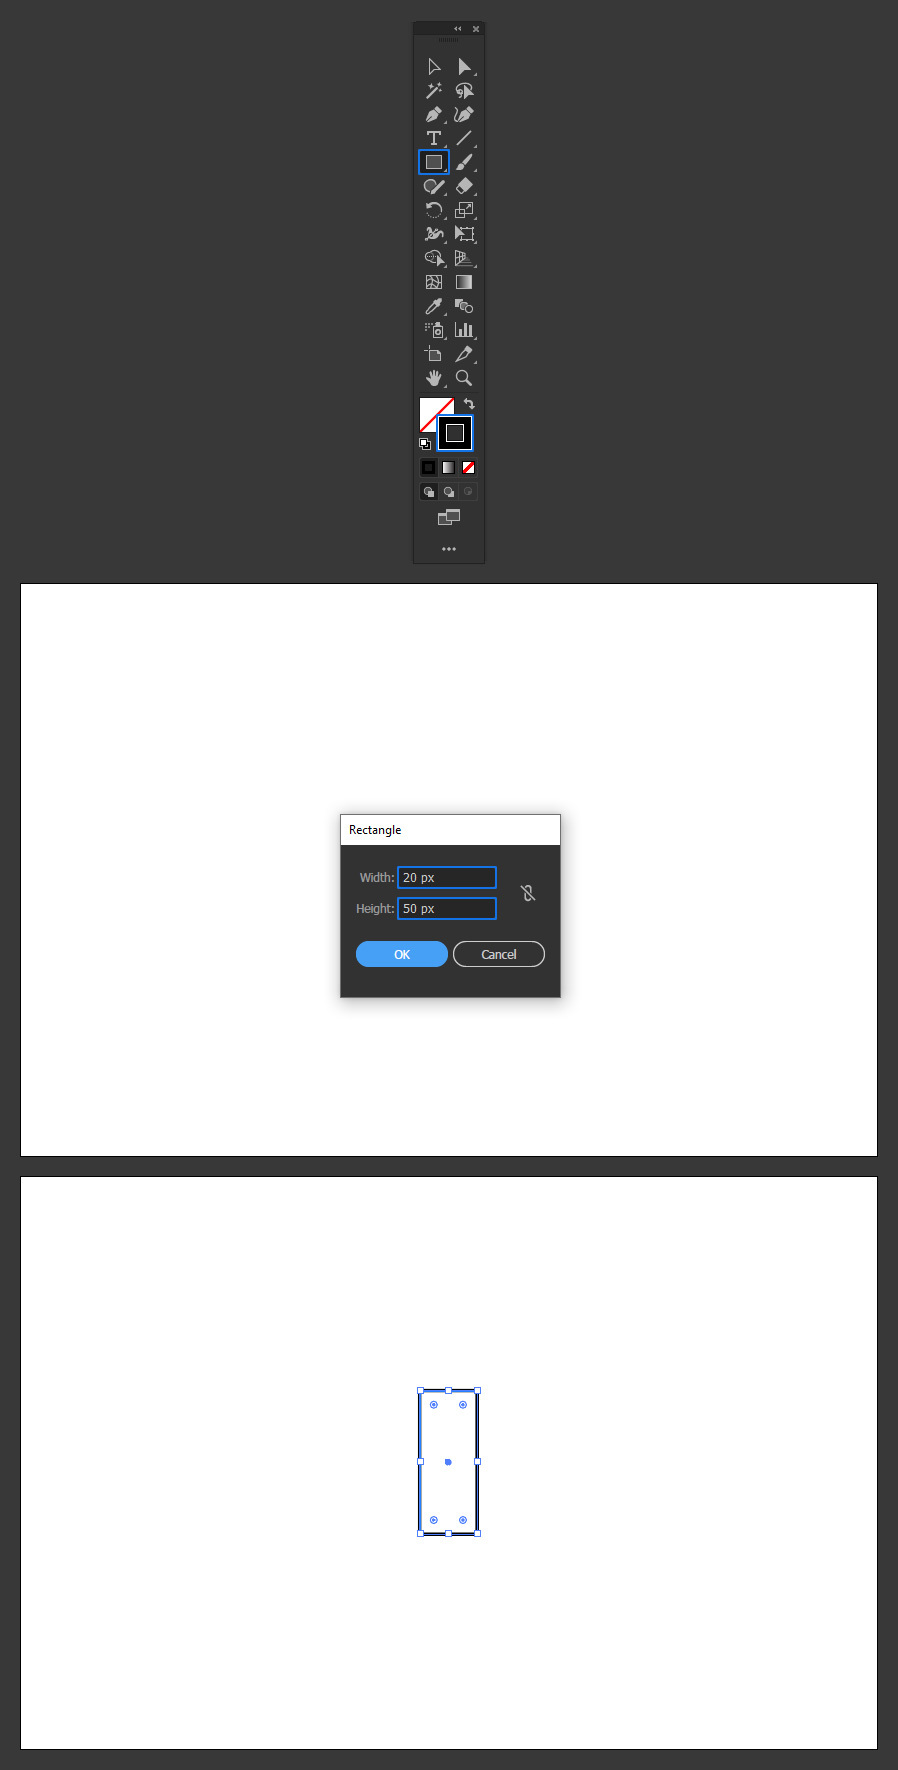
Select the Rectangle Tool (M), be sure to have the fill set to "none", the stroke to black and click once over the artboard. Set the Width to 20 px, the Height to 50 px and click OK.
Step 3
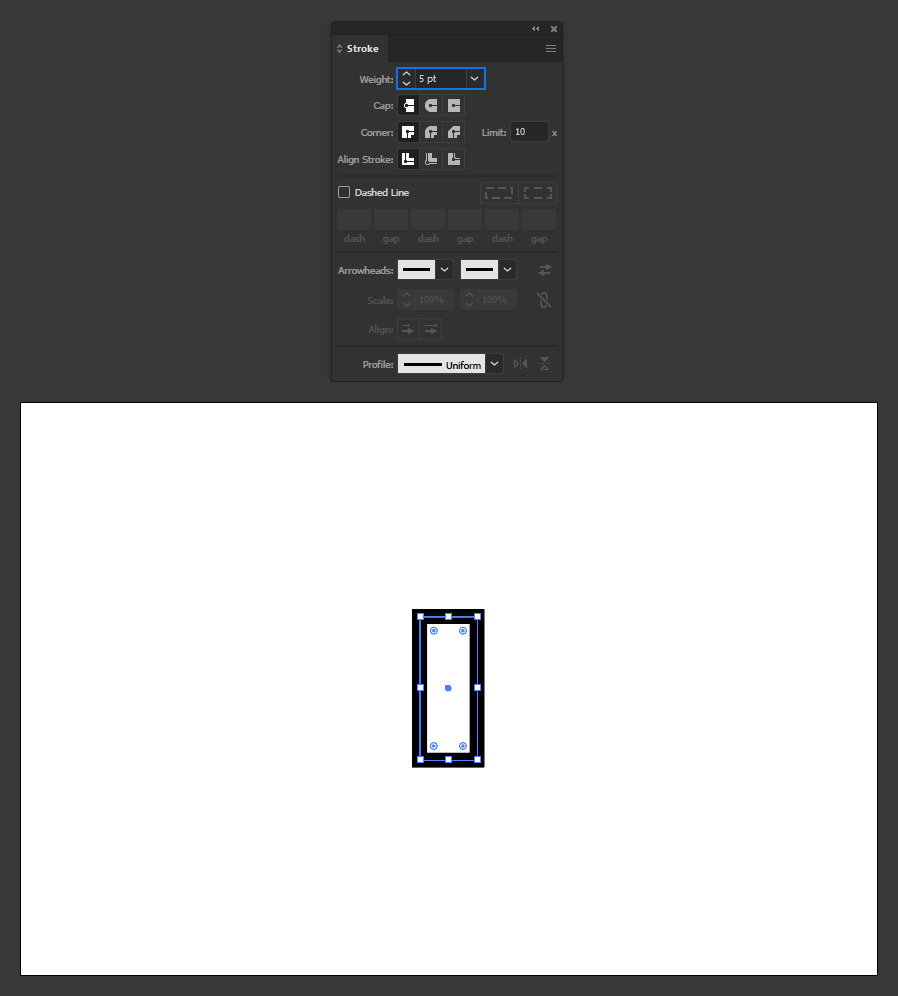
Go to Window > Stroke and set the stroke Weight to 5pt.
Step 4
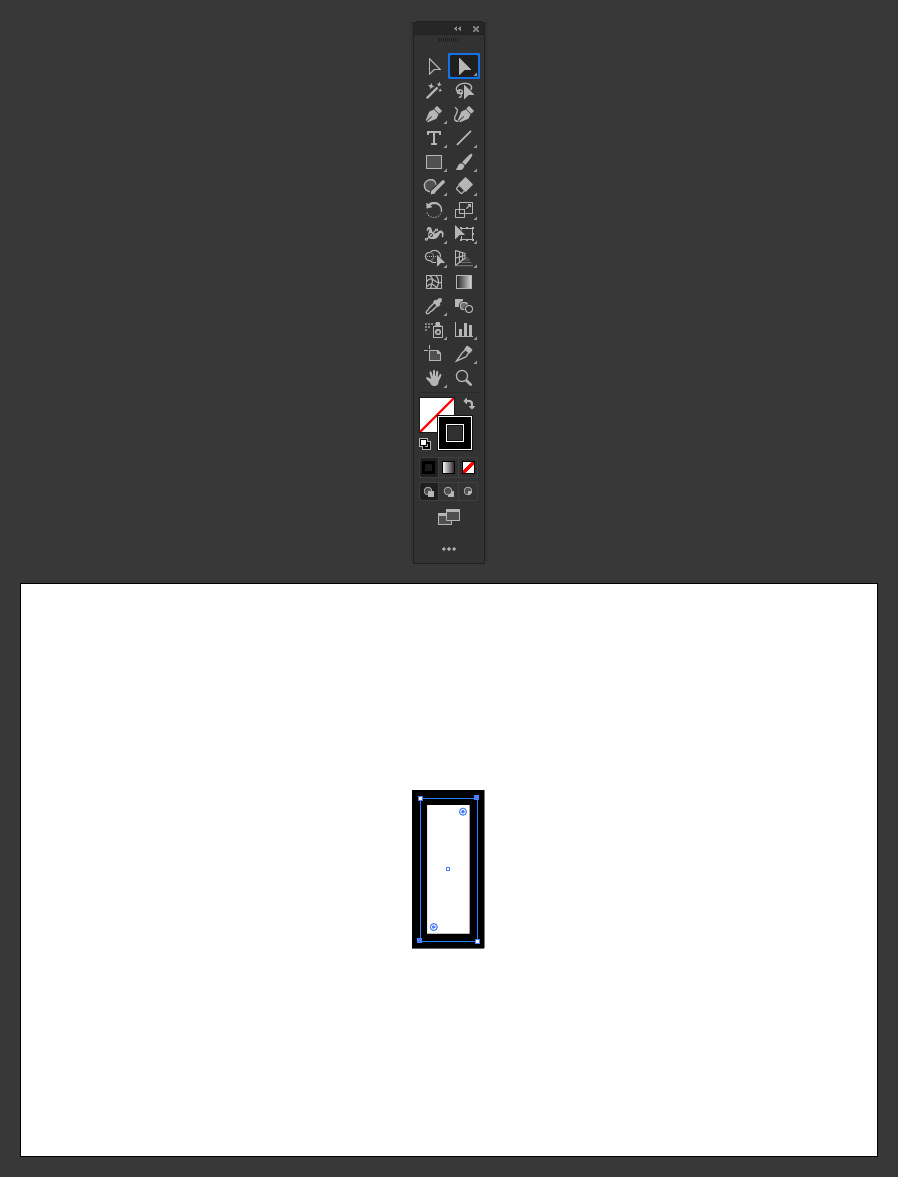
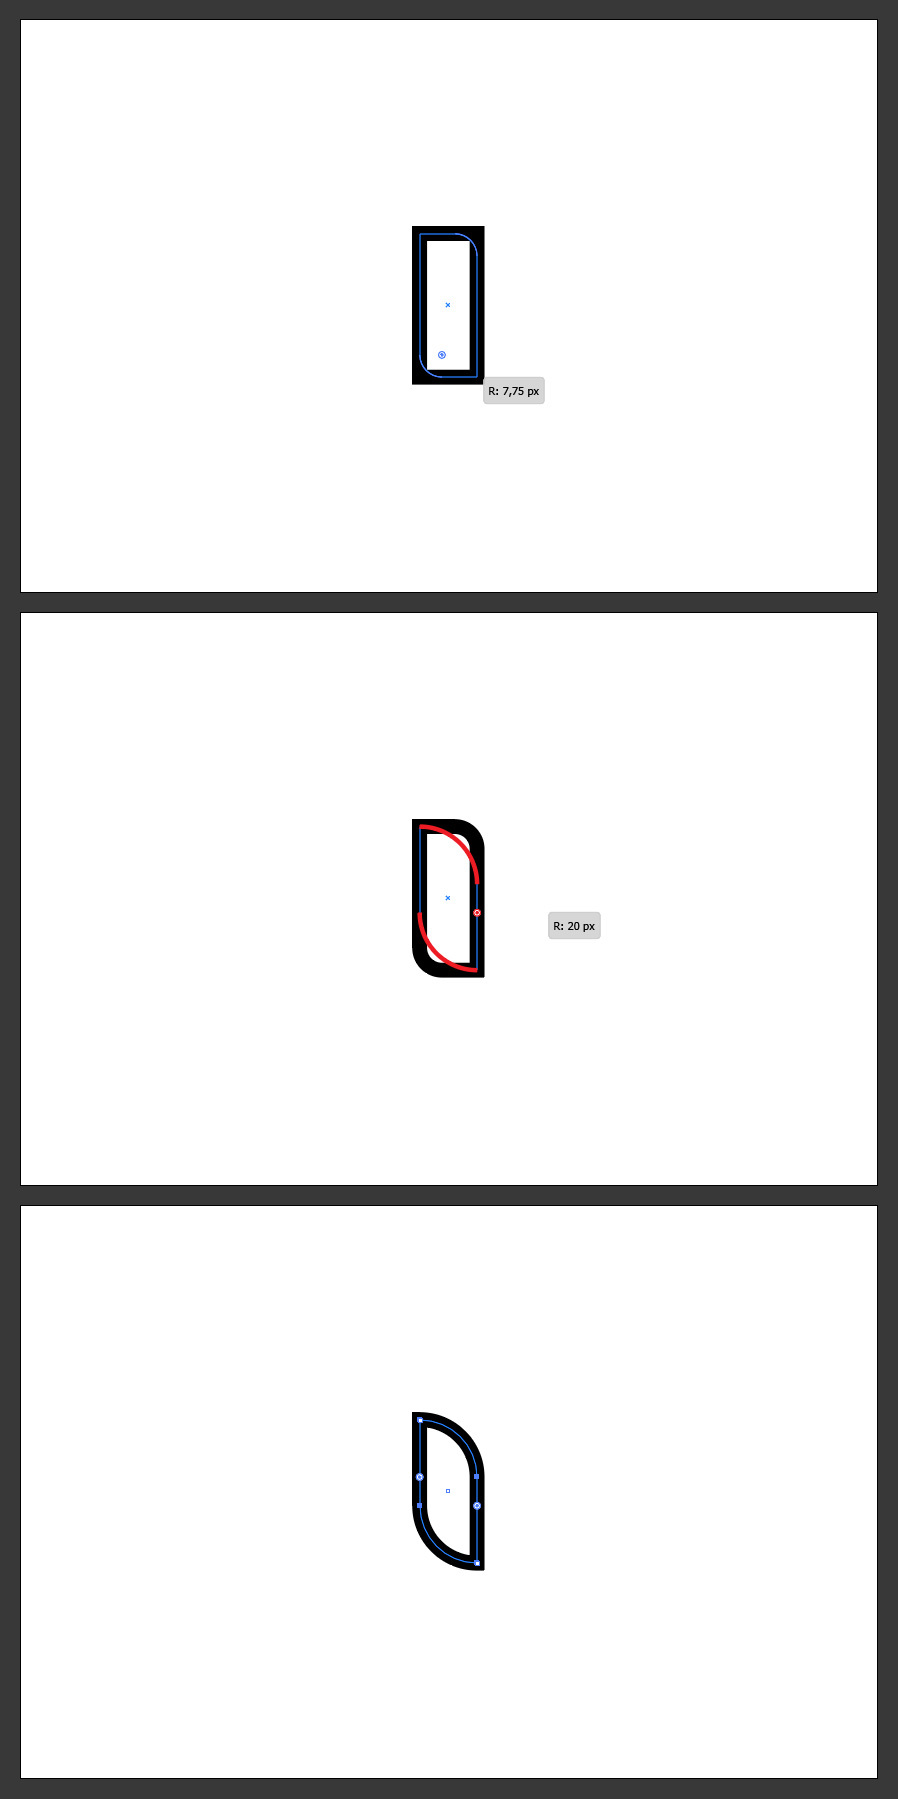
With the Direct Selection Tool (A) select the top right and bottom left corners of the rectangle.
Step 5
Click and drag the circular anchor points until the guideline turns red.
Step 6
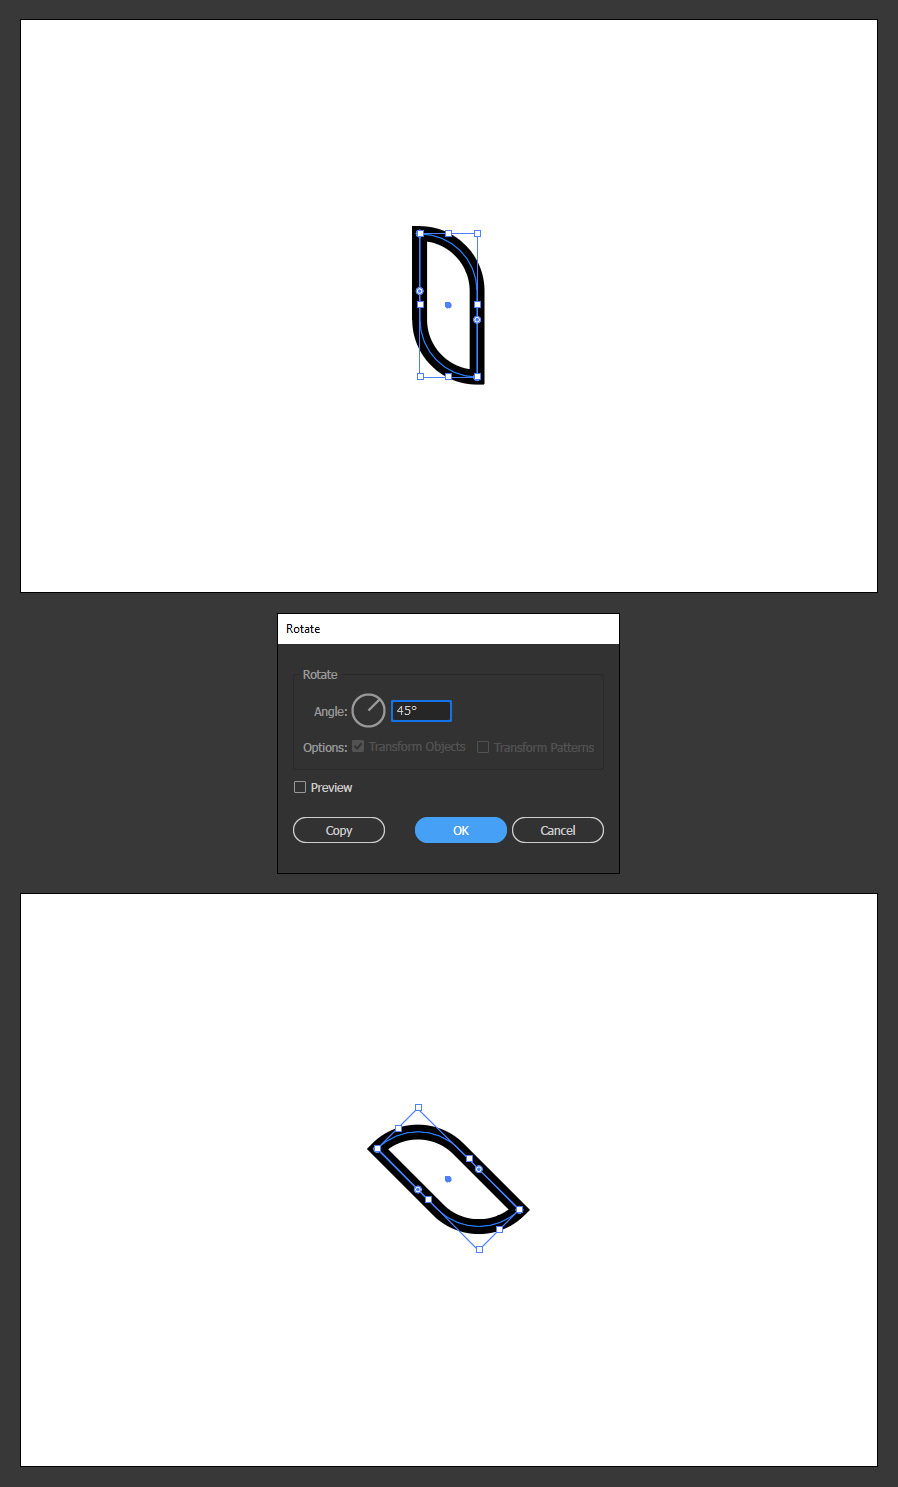
With the object selected go to Object > Transform > Rotate. Set the angle to 45º and click OK.
Step 7
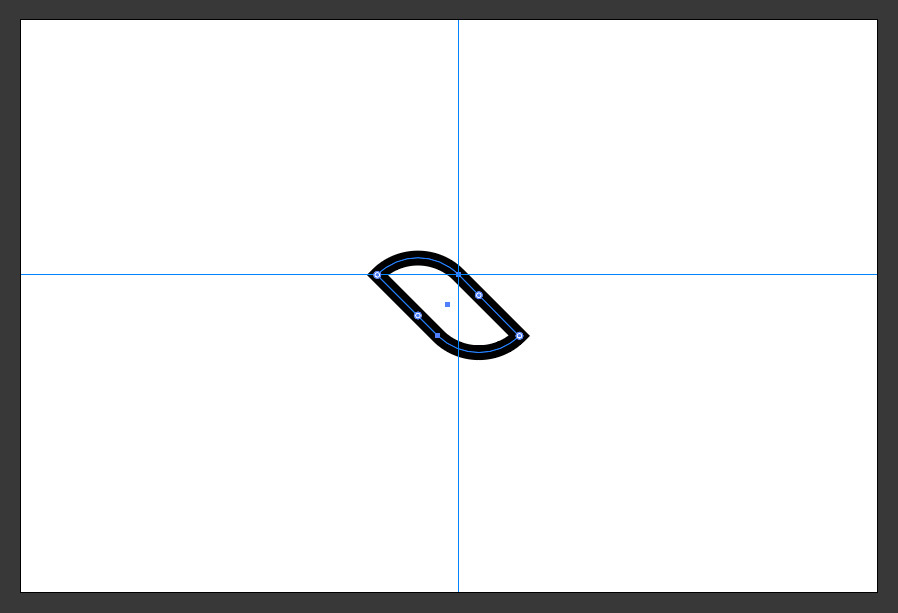
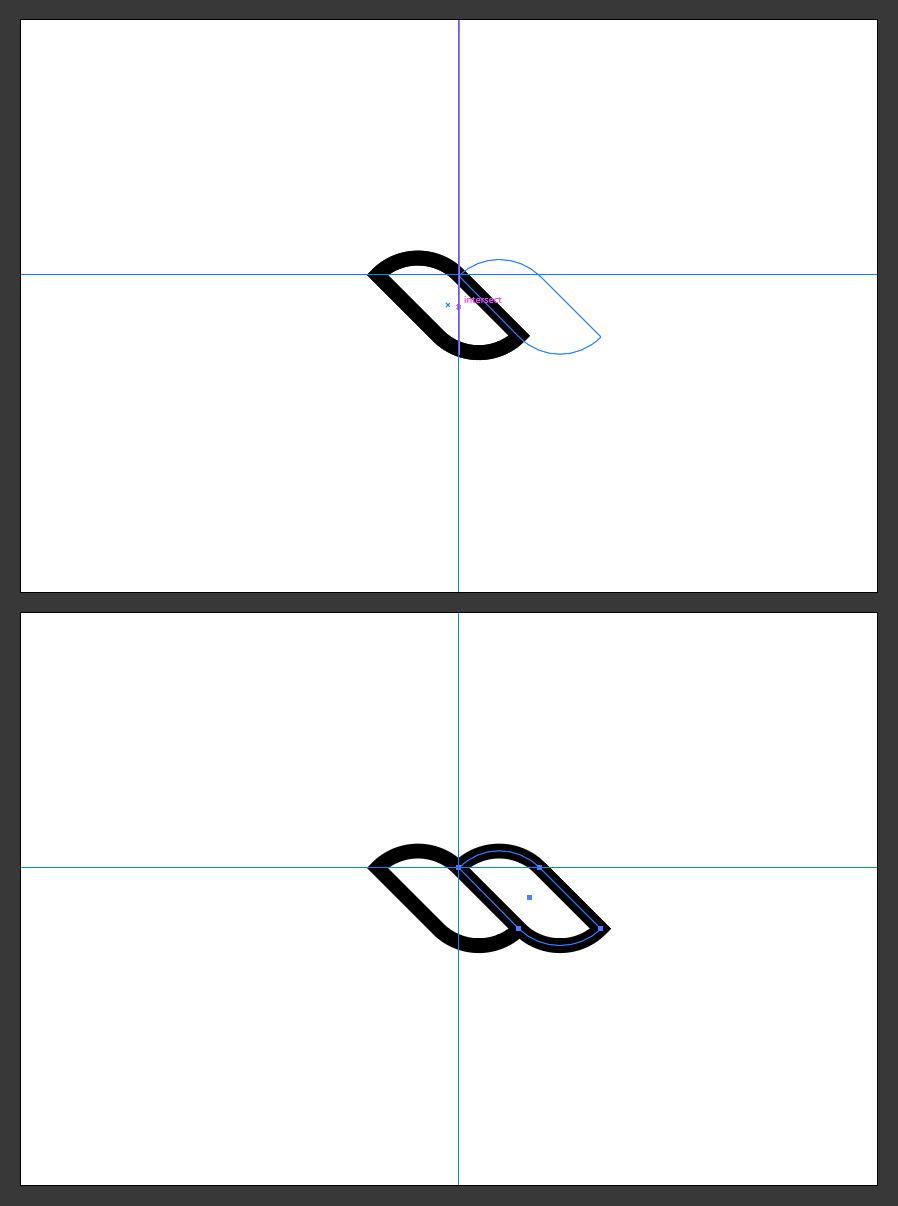
Place a Vetical and a Horizontal guide in the top right anchor point of the object as shown.
Step 8
Go to Edit > Copy and then to Edit > Paste in Place.
Step 9
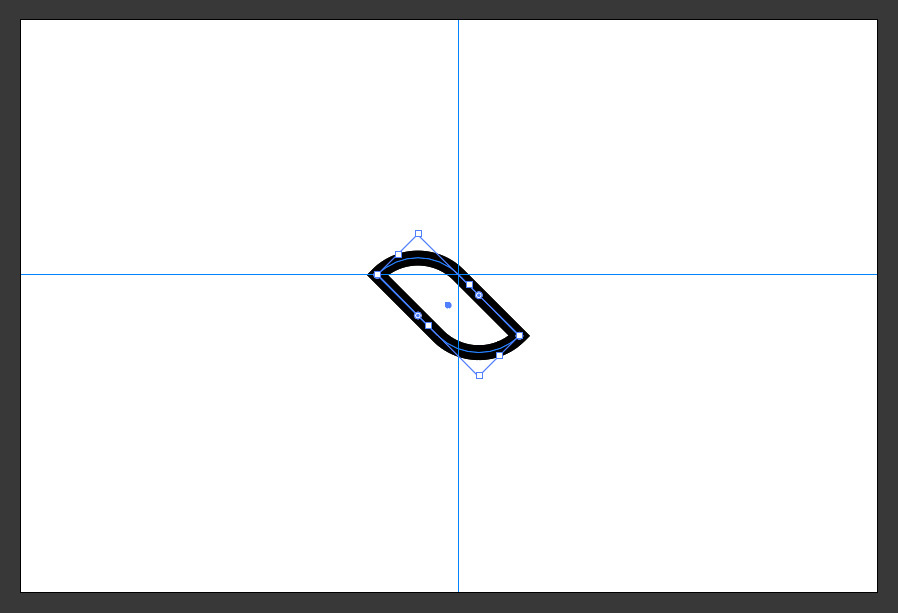
Drag the copied object until the top left corner snap on the center of the guides.
Step 10
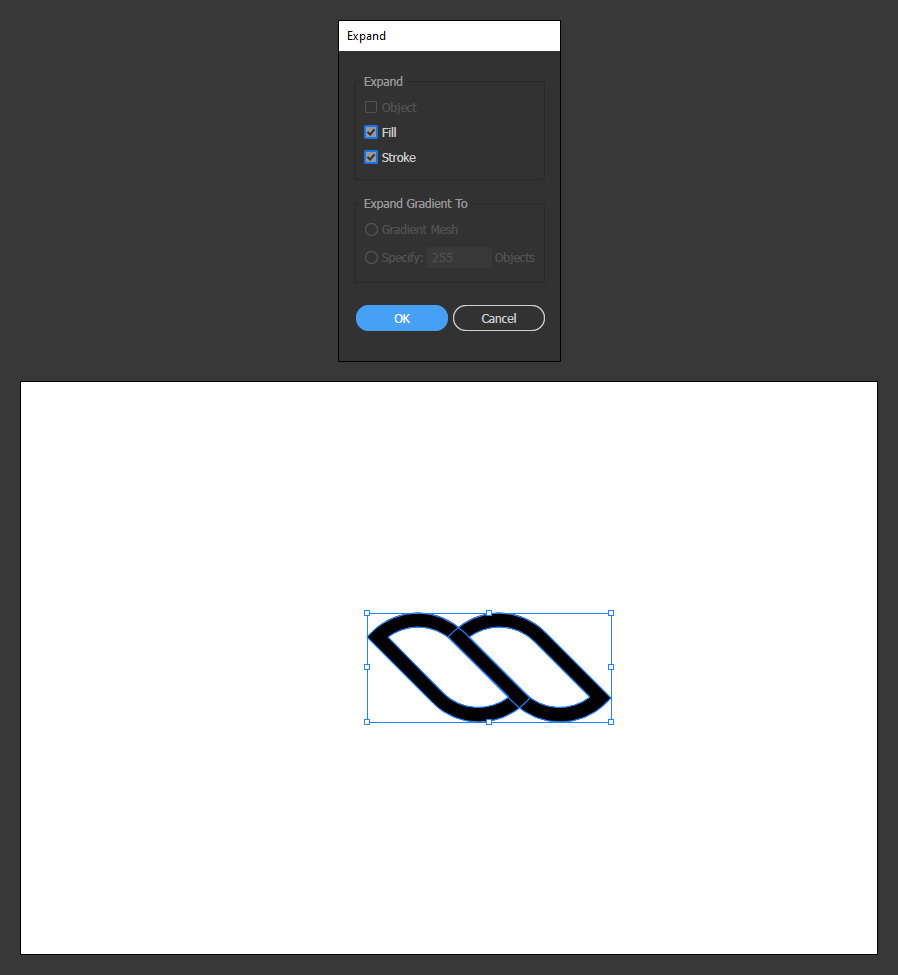
Select both objects and go to Object > Expand. Be sure to have Fill and Stroke checked and click OK.
Step 11
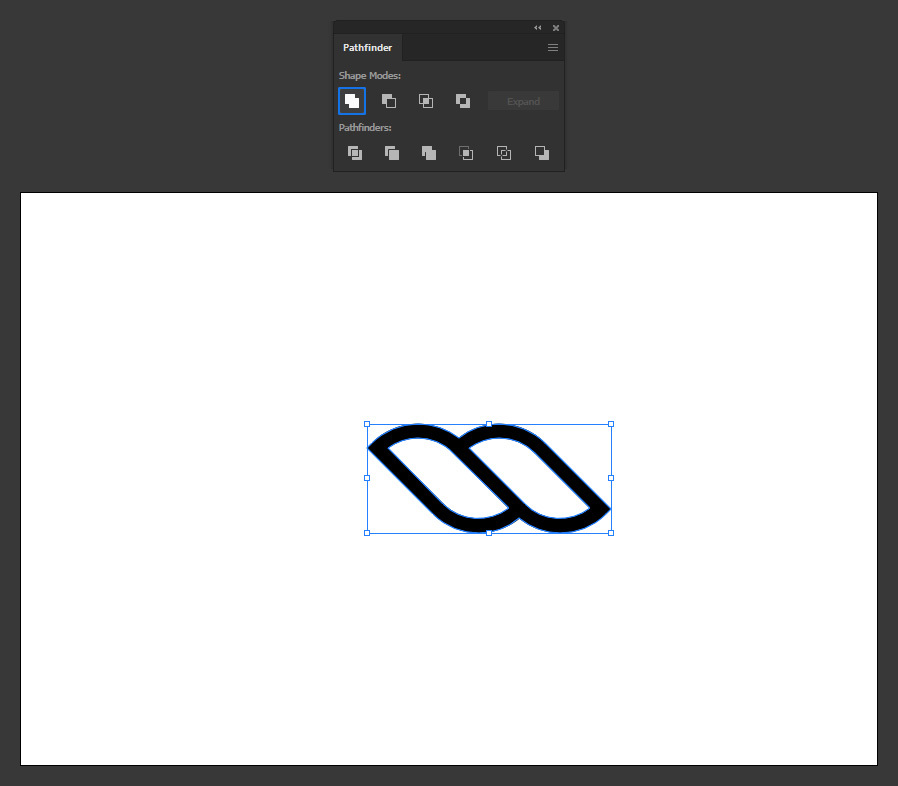
Go to Window > Pathfinder and click on the "Unite" icon.
Step 12
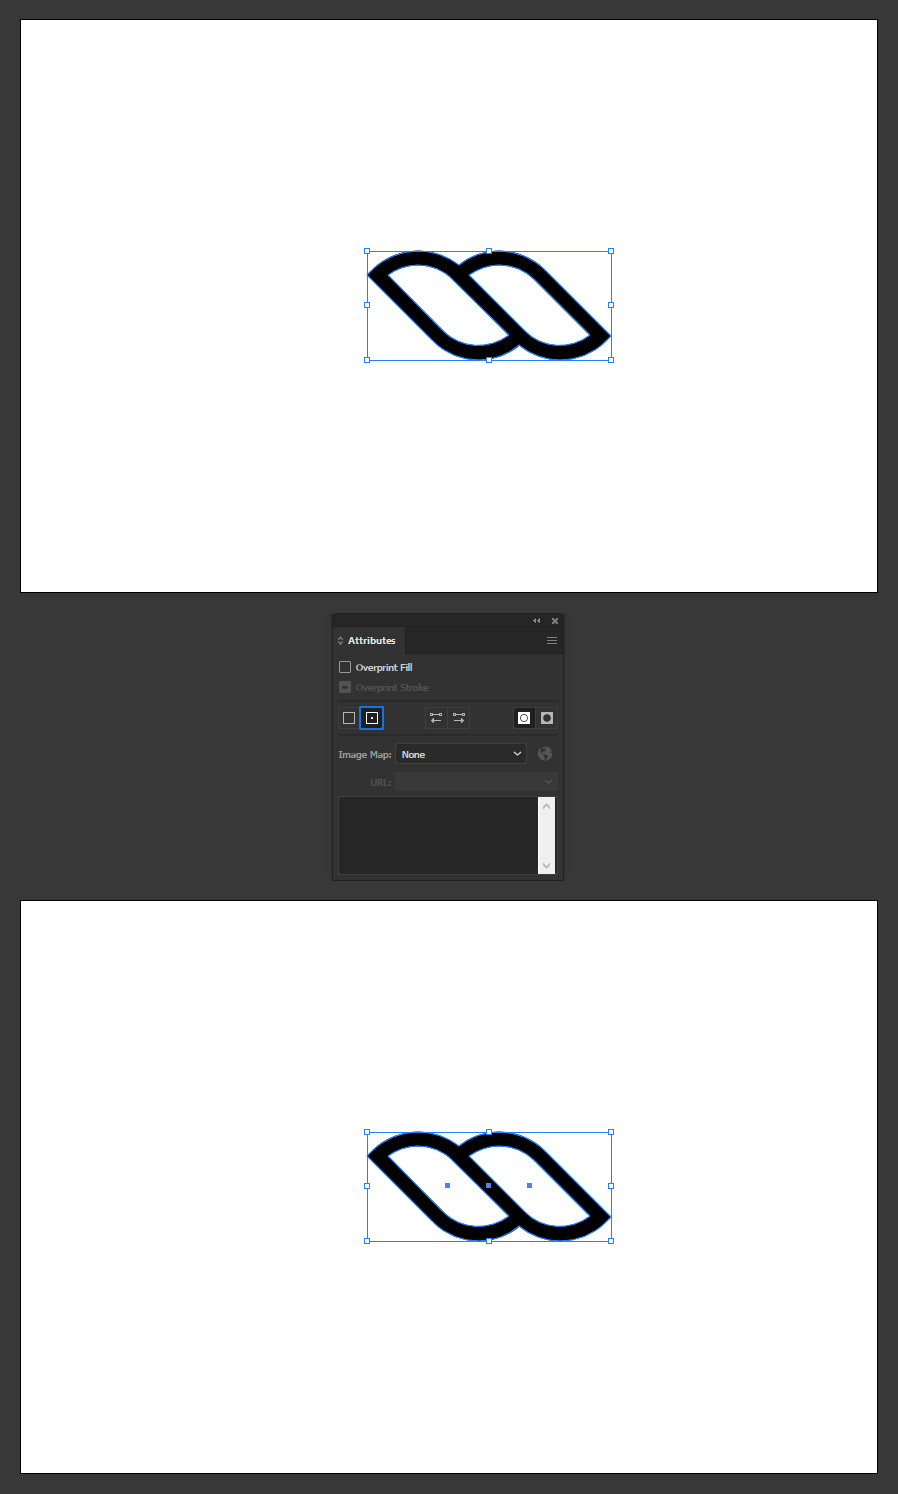
With the object selected go to Window > Attributes and click on the "Show Center" icon.
Step 13
Select the Rectangle Tool (M) and draw a rectangle from center to center and top to bottom as shown.
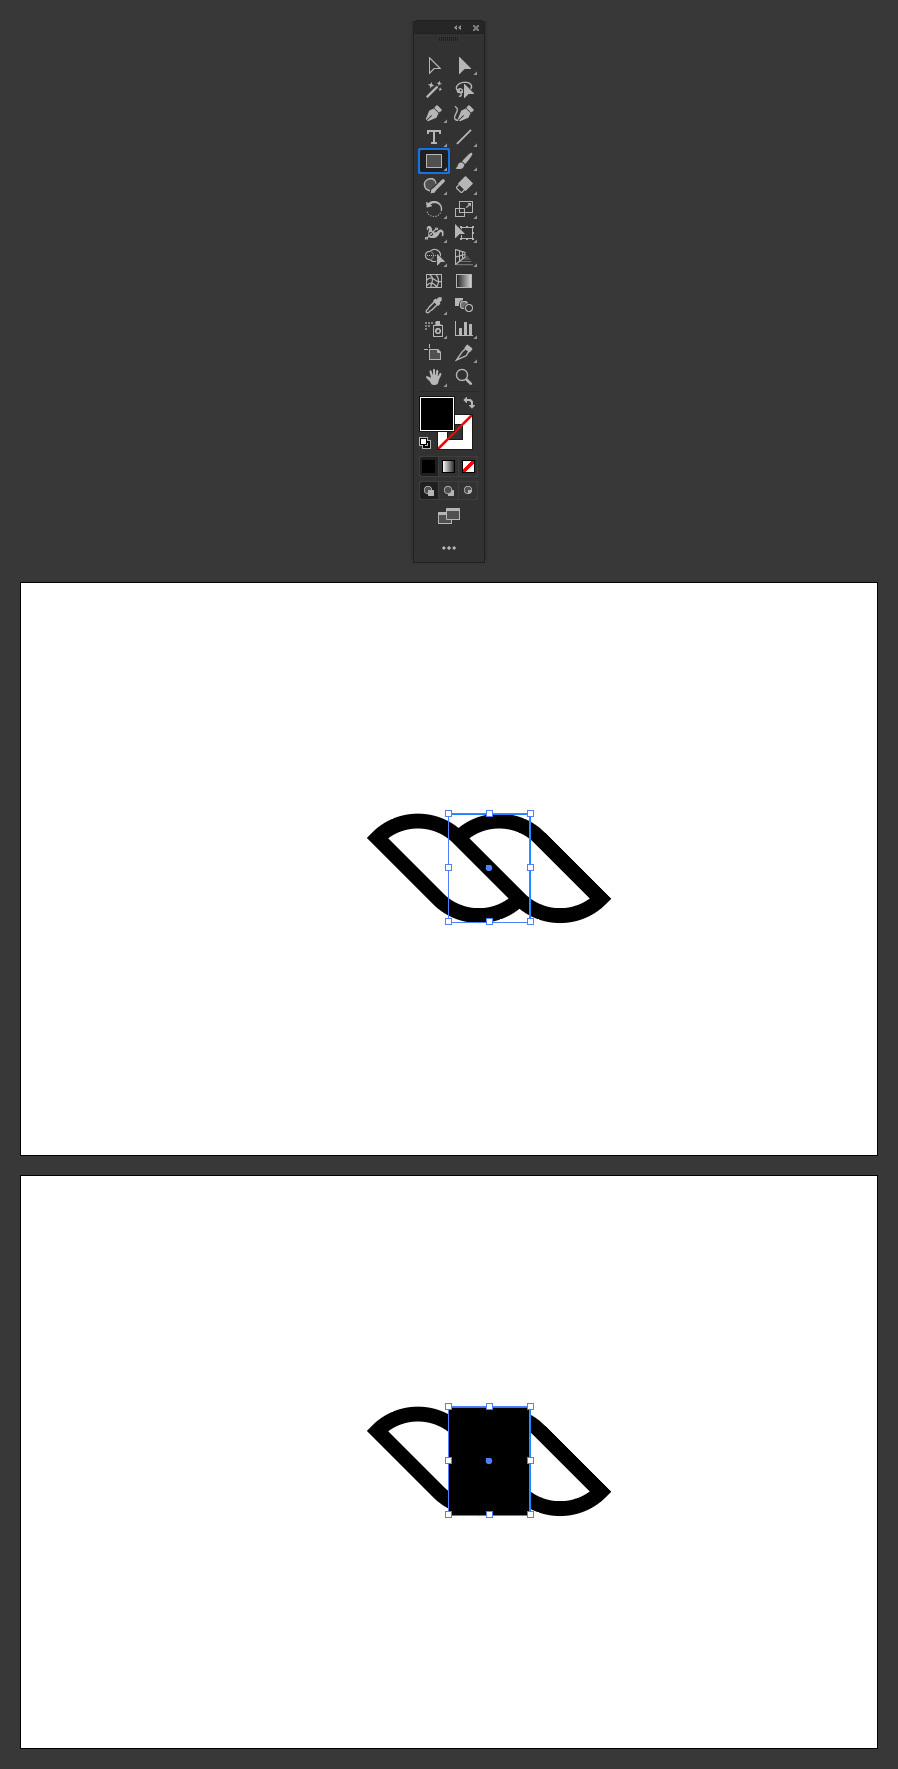
Step 14
Select all the elements in the artboard, go to Window > Pathfinder and click on the "Intersect" icon.
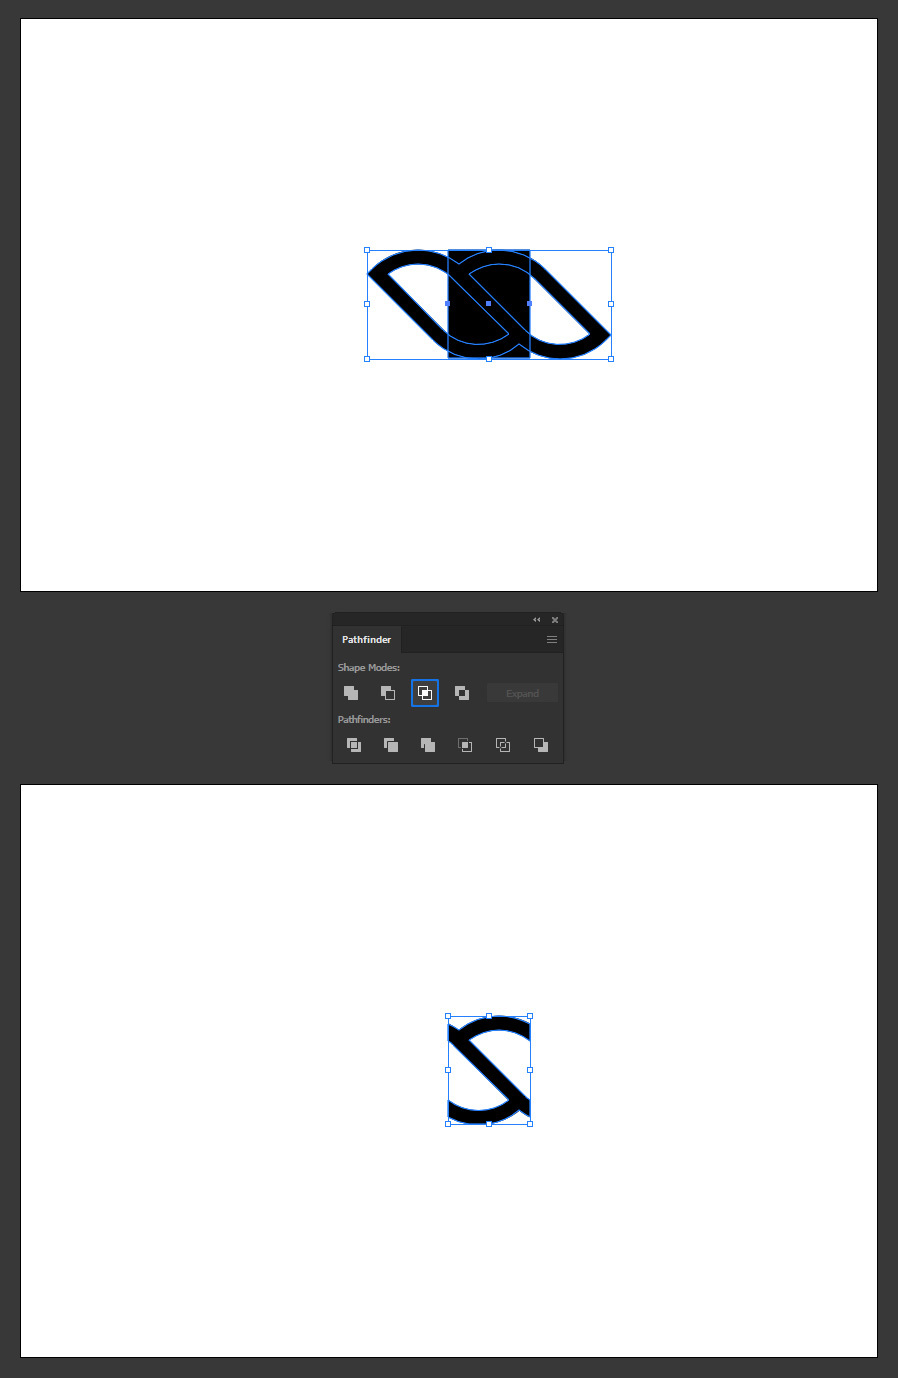
Step 15
Again, select the Rectangle Tool (M) and draw a rectangle covering the inner empty areas using any fill color that you want for your rope, which in this case will be white.
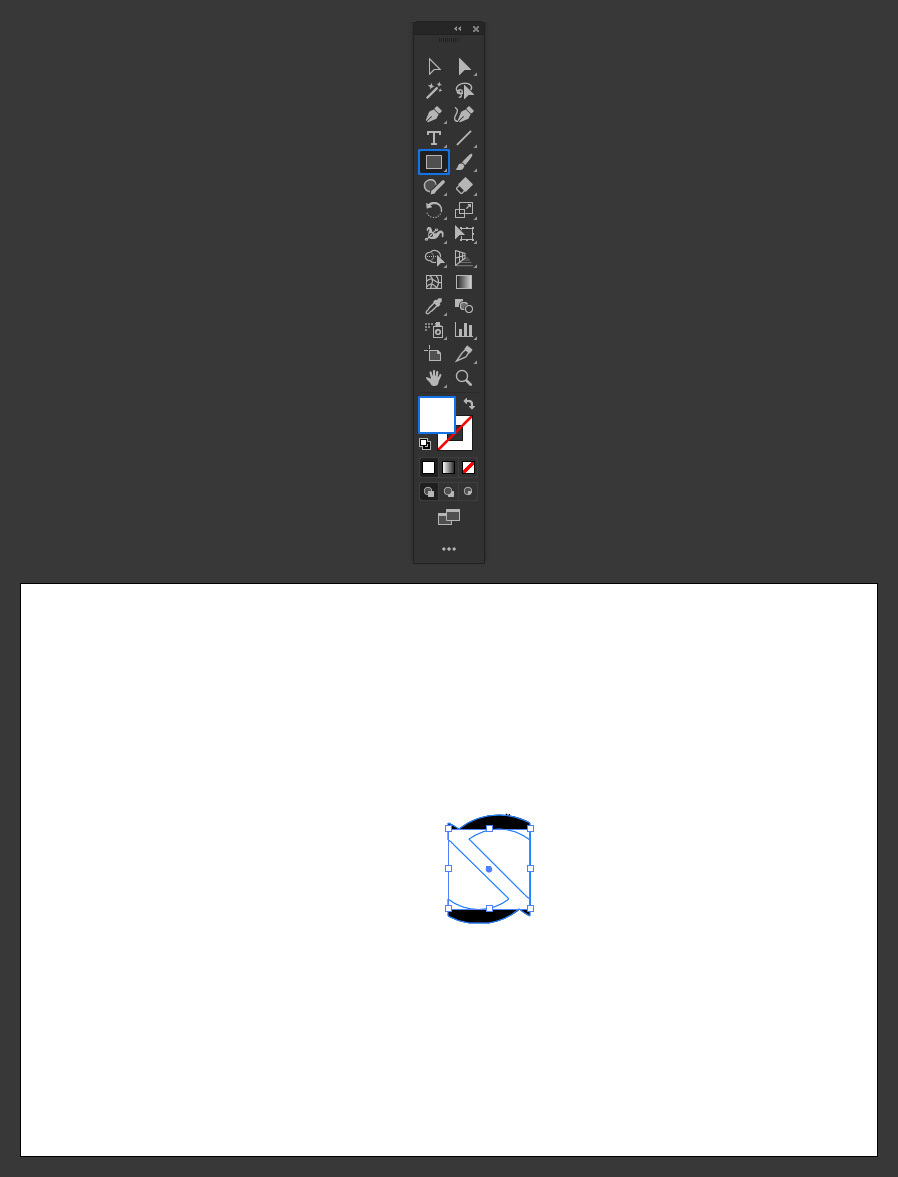
Step 16
Go to Object > Arrange > Send to Back.
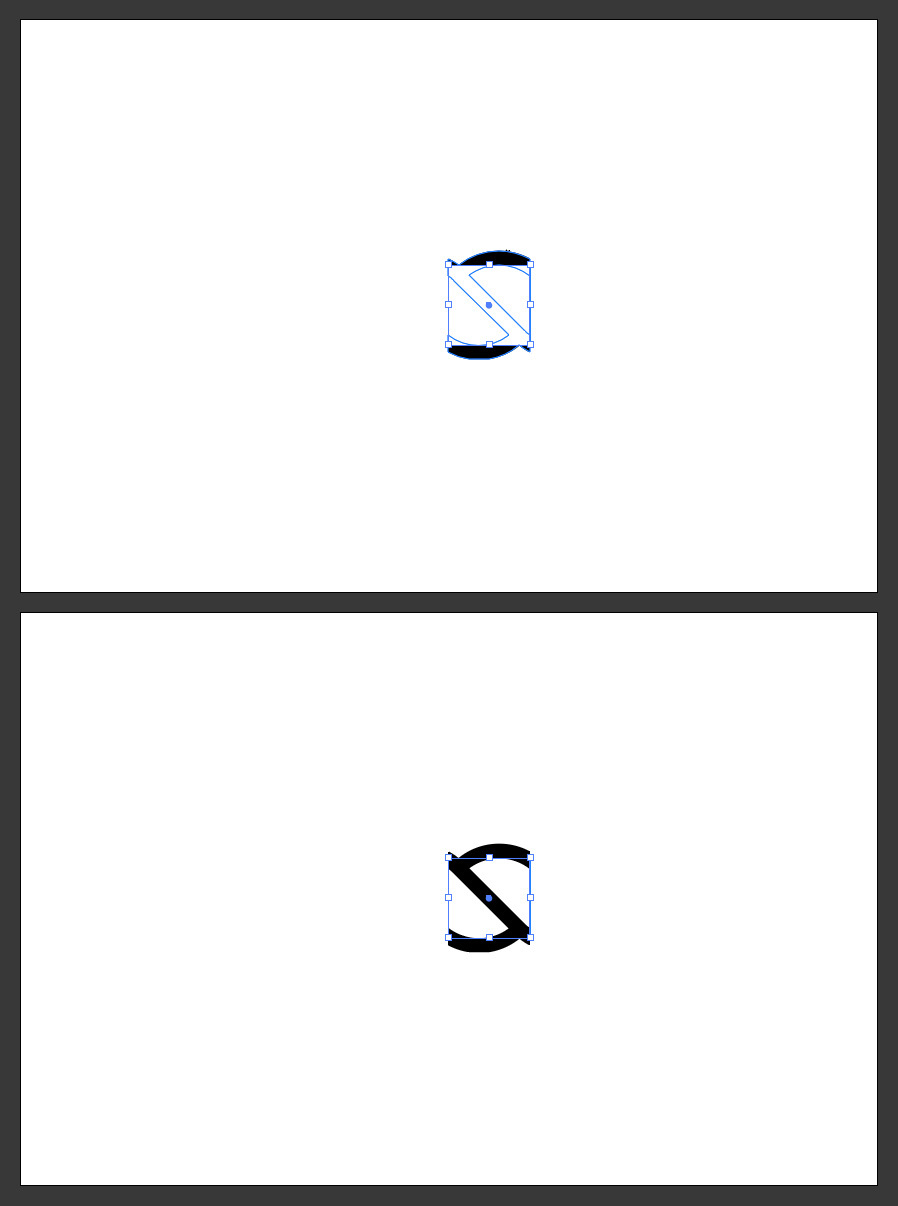
Step 17
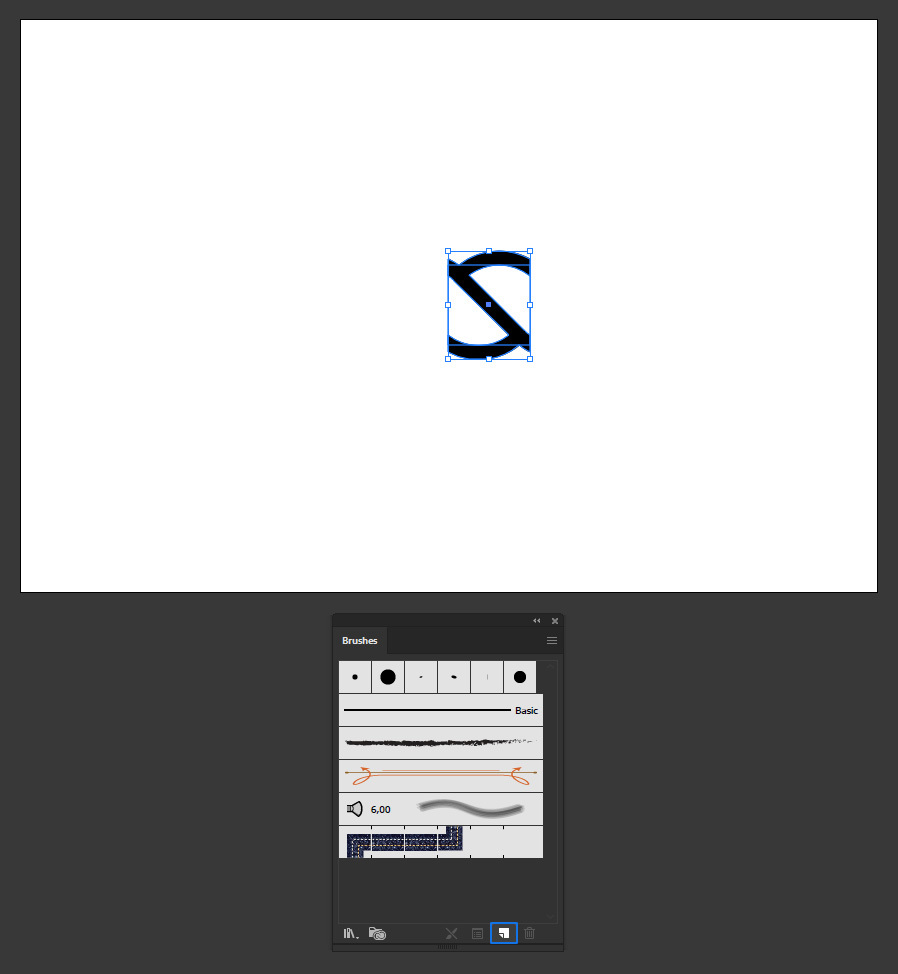
Select all objects in the artboard. Go to Window > Brushes and click on the "New Brush" icon.
Step 18
In the New Brush window select the "Pattern Brush" option and click OK.

Step 19
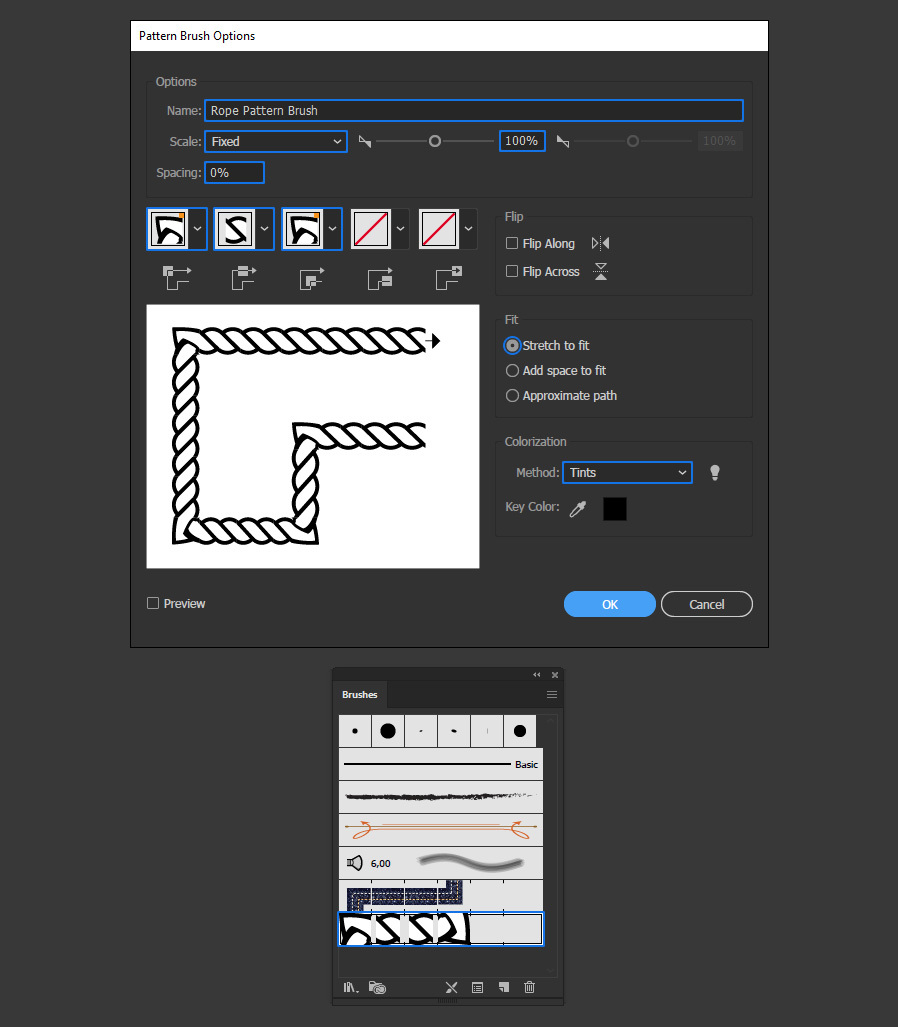
Give your brush a name, apply the following settings and click OK. Be sure to select "Auto-Centered" in the first and third thumnails.
Step 20
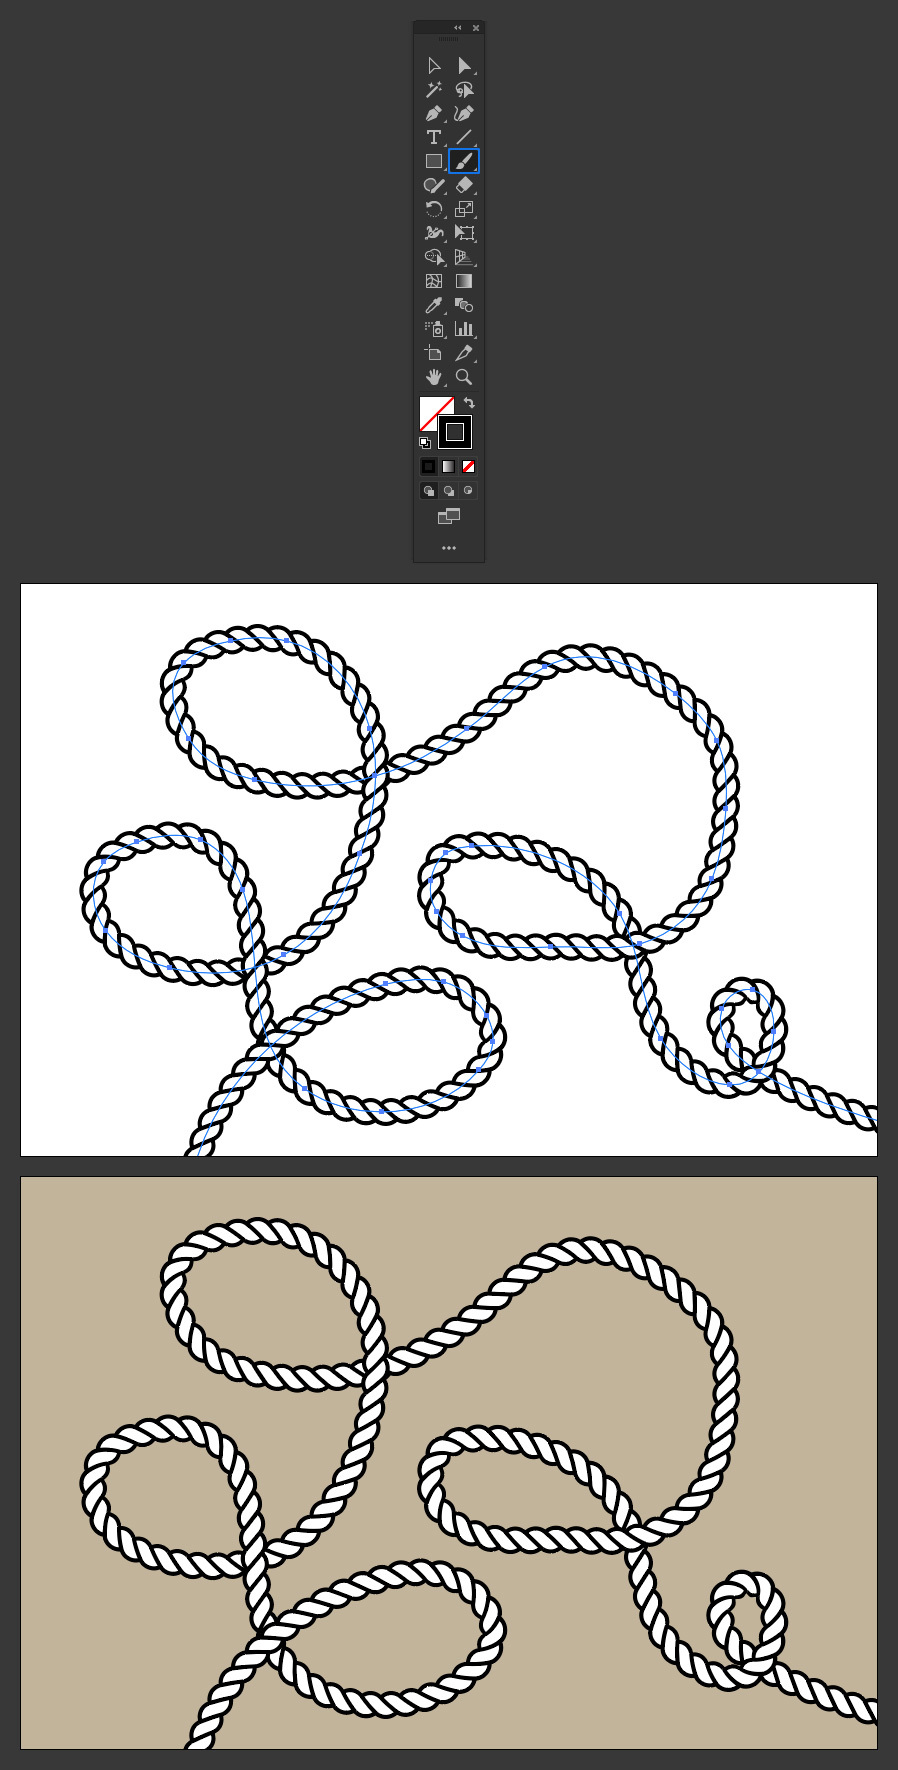
To test the new brush, select the Paintbrush Tool (B) and draw any shape you want. By default, the recently create brush will be applied, if not, with your path selected simply click on the new brush in the Brushes Panel.
Some Final Notes
Now that you have your new rope brush, if you want to change the stroke color, simply select your path and from the Swatches Panel pick any new stroke color you want. And if you want to change the weight of it, simply increase or decrease the Stroke weight from the Stroke Panel.


