How to Make a Ink Stroke Brush in Illustrator
Illustrator Vector Brushes
Illustrator already come with different sets of brushes but there are times when they could not fit your needs and you may need some custom ones to work on your designs as a unique touch or to make an entire drawing. Today, I will show you how easily you can make a Ink Stroke Brush in Illustrator with your own painted ink strokes.
I often reccomend to pick a blue color (not too light or too dark) to paint your strokes if you plan to make digital versions of it because it let you control better the grays and give them more or less contrast depending on the effect you want to give to your brush, but in this case we can work with a black color.
Step 1
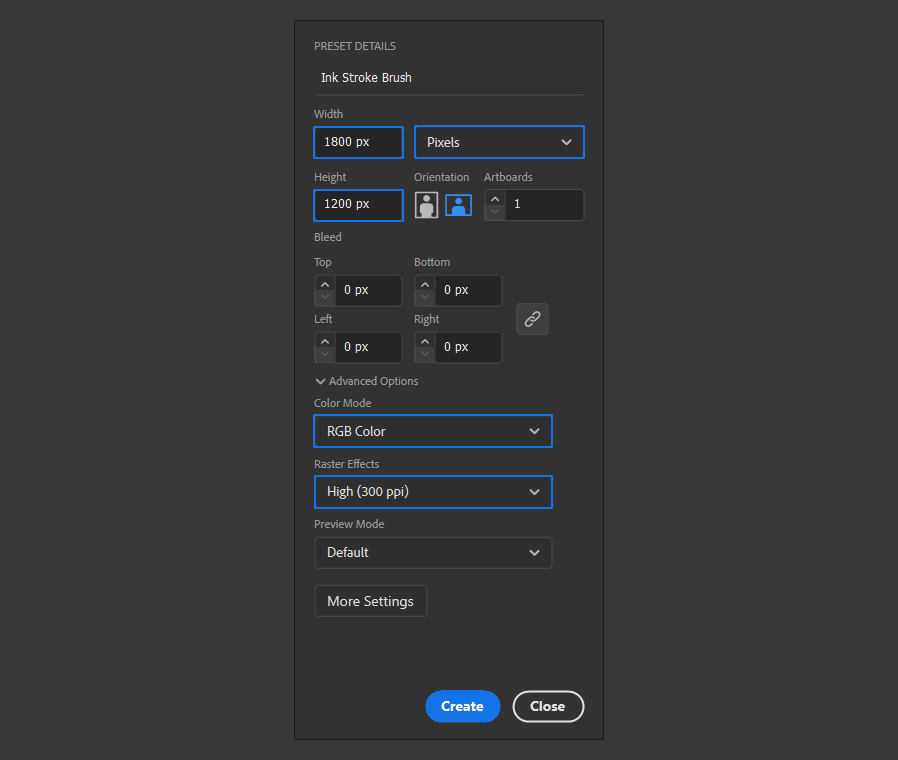
Open Illustrator and make a new file at any size you want. In this case, I will make mine at 1800 x 1200 px.
Step 2
Go to File > Place. Locate your brush scanned image on your computer and click the "Place" button.

Step 3
With the Brush Image selected, go to Window > Image Trace.
Step 4
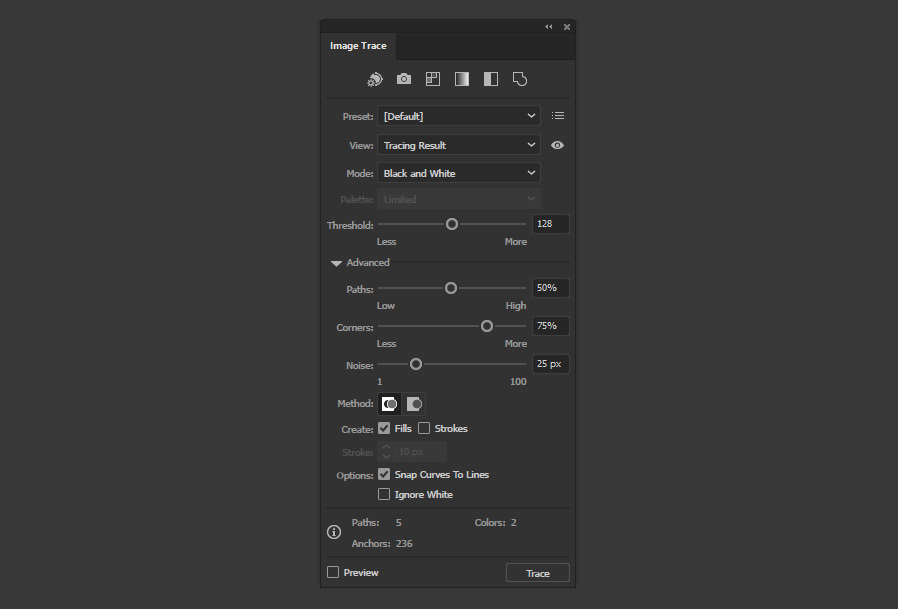
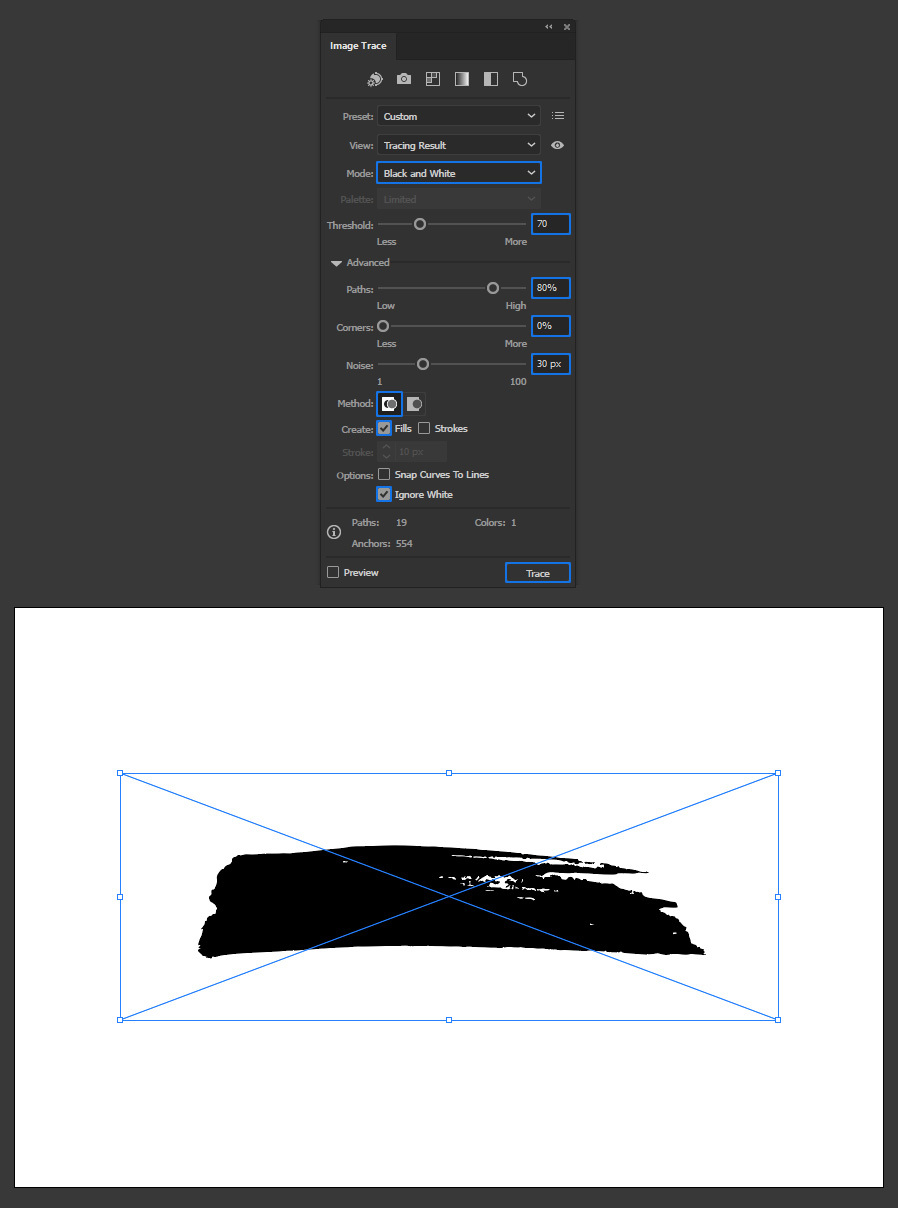
In the Image Trace Panel, apply the following values and click the “Trace” button.
Step 5
In the top toolbar, click the “Expand” button.
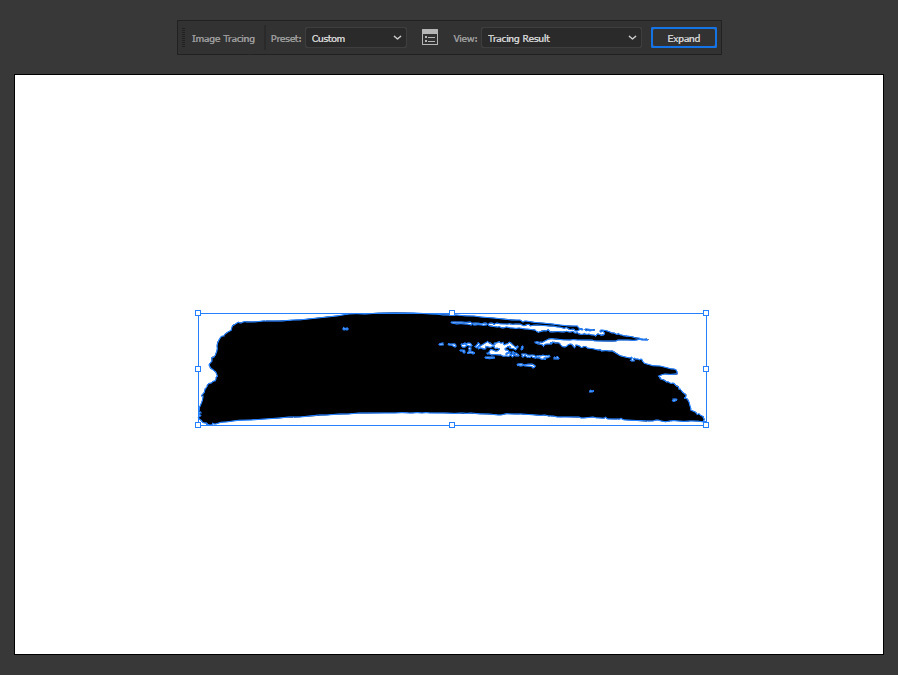
Step 6
With the expanded shape selected, go to Window > Brushes. Click the Menu icon and select “New Brush” from the dropdown menu.
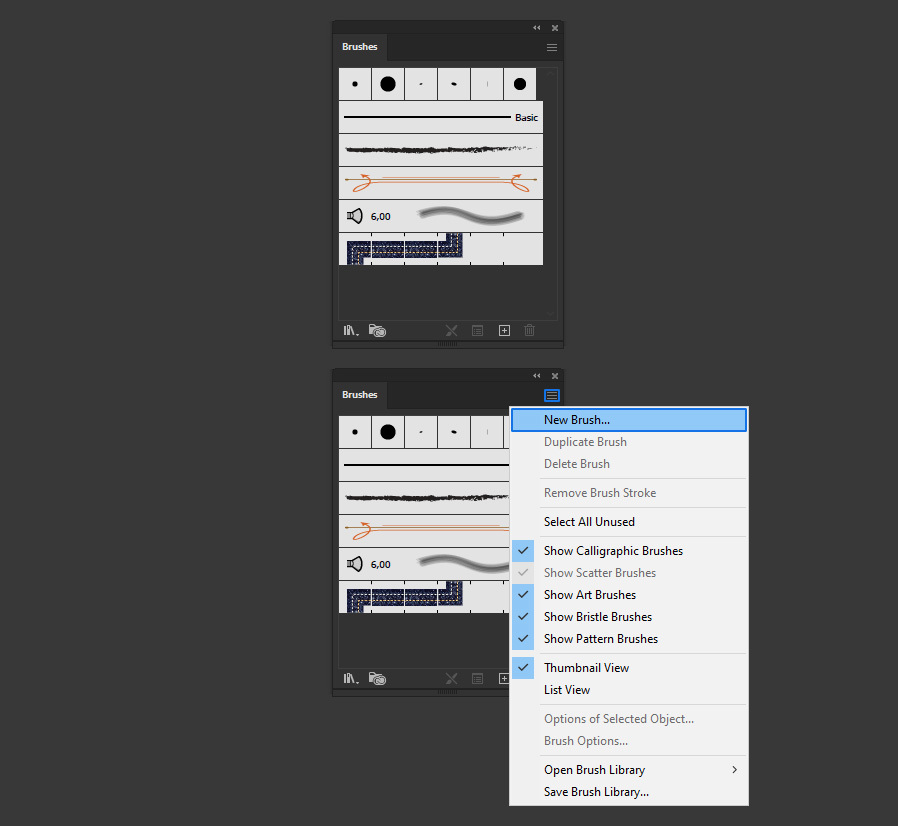
Step 7
In the New Brush window, select “Art Brush” and click OK.

Step 8
In the Art Brush window, give the new brush a name, apply the following settings and click OK.
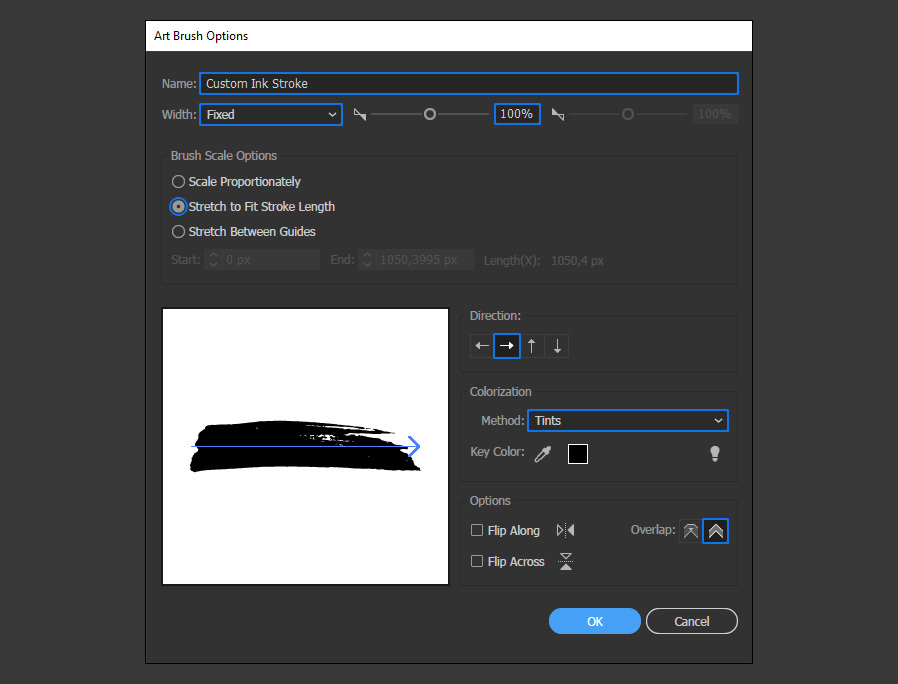
Step 9
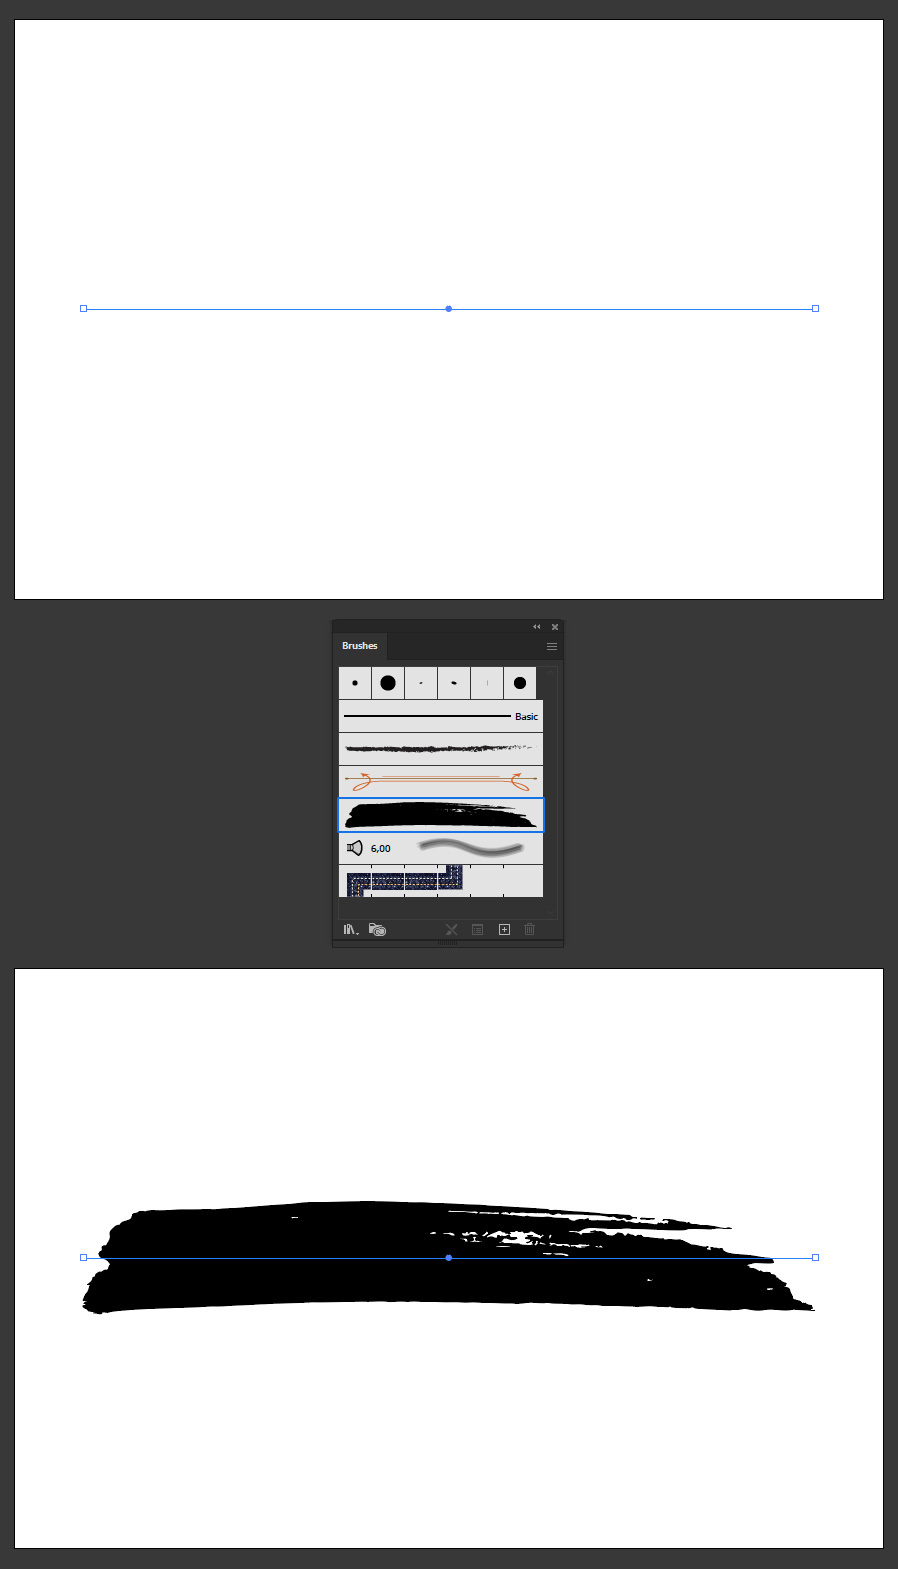
Now you can see your new brush in the Brushes Panel.
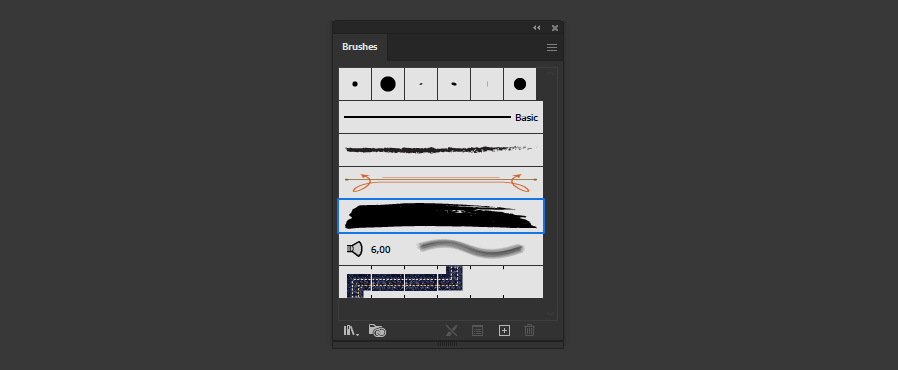
Step 10
To use our recently created brush, simply draw a line (or any other shape) and with the line still selected, click on the "Custom Ink Stroke" Brush to apply it.
Step 11
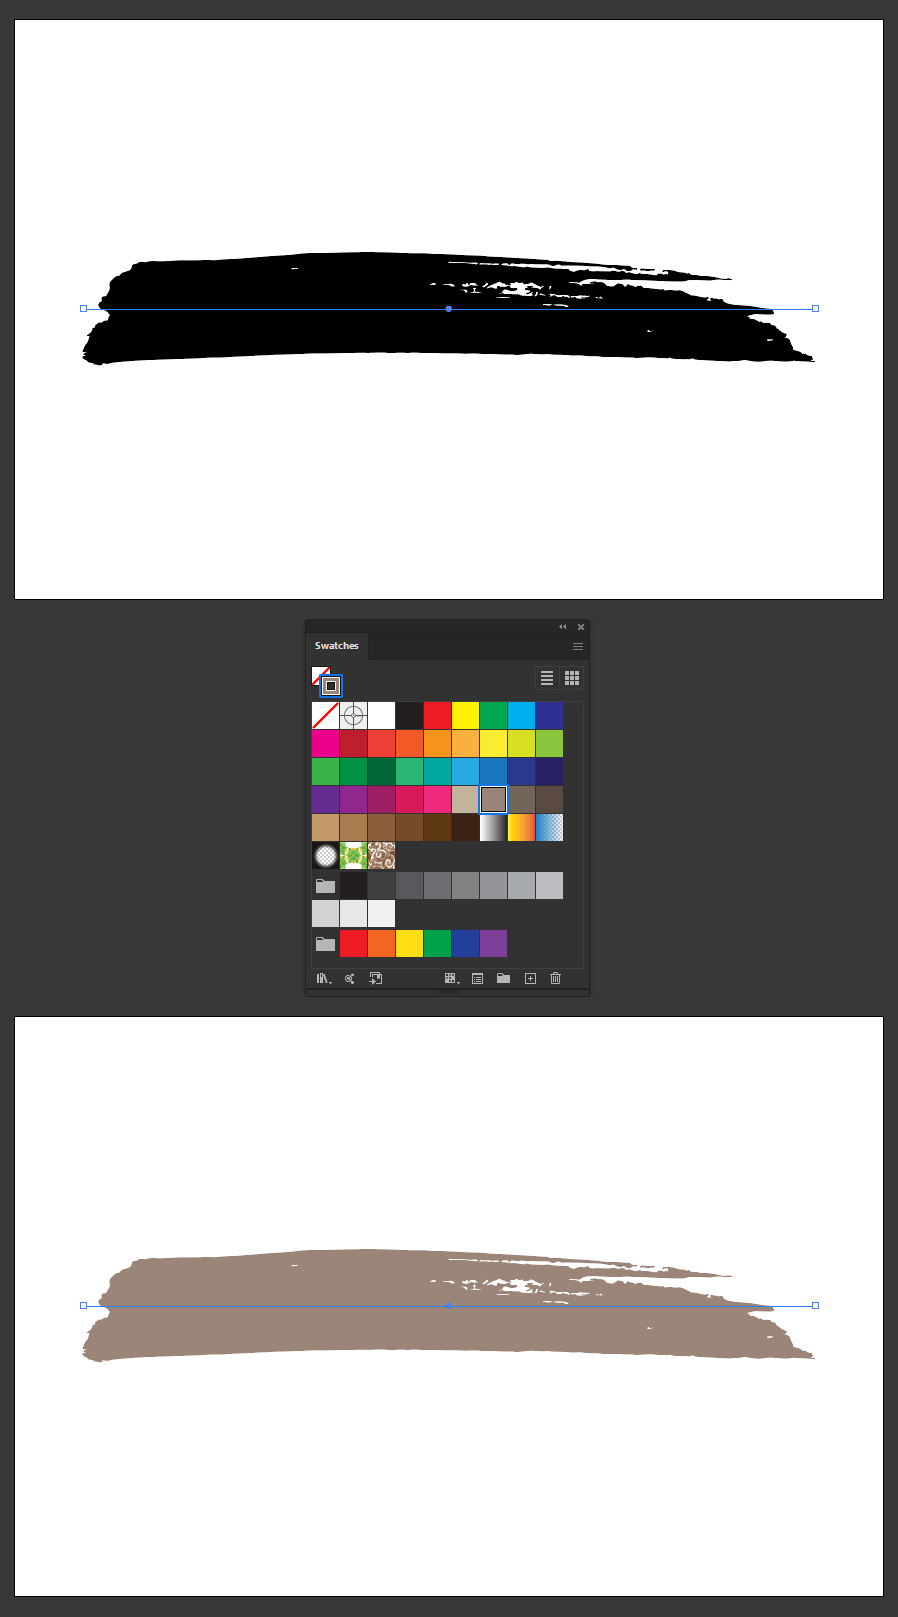
If you want to change the color of the new brush, simply change the Stroke Color in the Swatches Panel.
Step 12
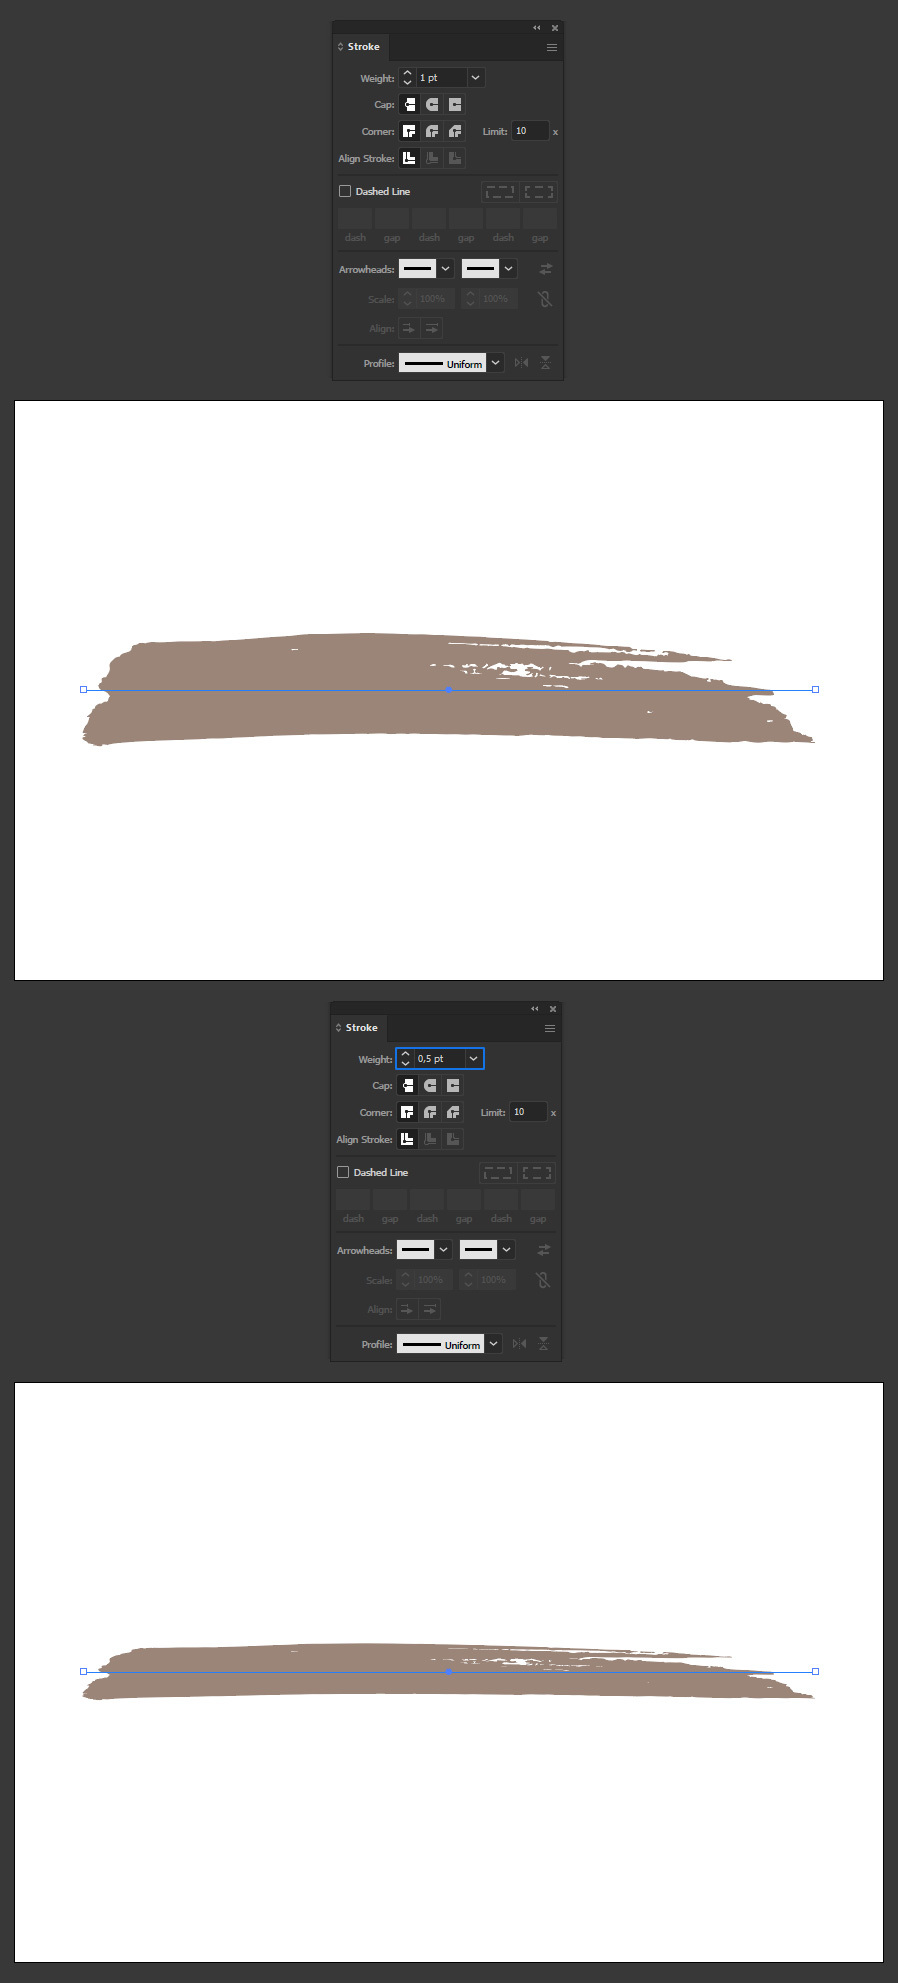
If you wish to change the size, simply increase/decrease the Stroke Weight in the Stroke Panel.
