How to Make a Ink Bleed Paragraph Text Effect in Photoshop
Photoshop Text Effects
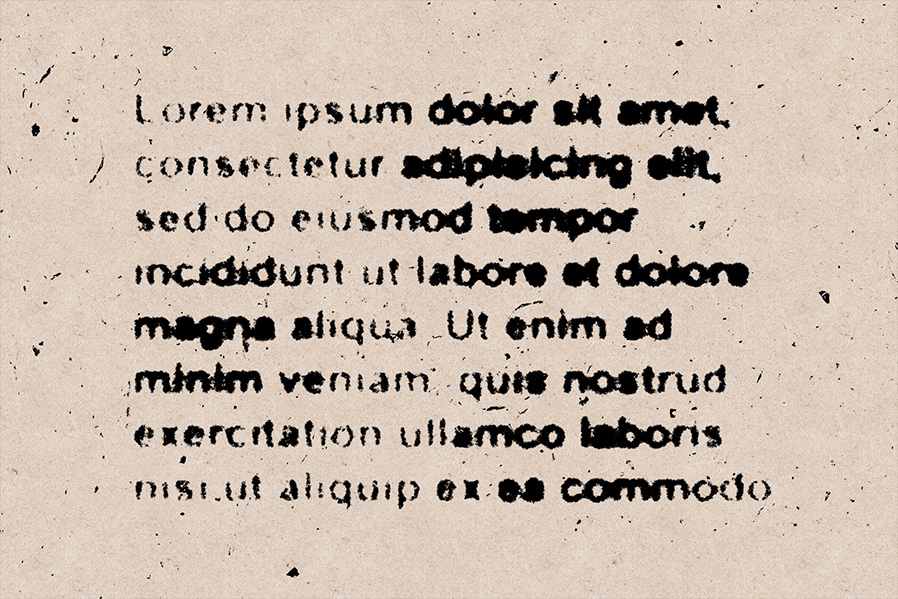
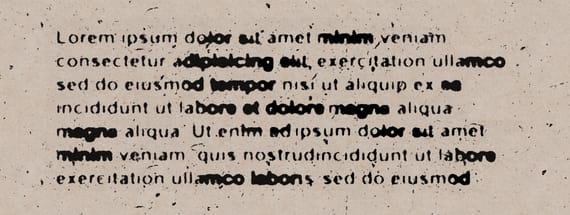
If you are working on a vintage or grungy inspired poster, or even if you are just looking to give some retro style to your projects, applying some effect to your text is a necessary step you must take. You probably saw many different text effects used on a variety of designs, but often those effects are used on headlines or just some random letters. But today, I will show you a simple way to turn a regular paragraph text into a vintage ink bleeding one using only the default Photoshop tools and effects that you can use when making your projects.
Step 1
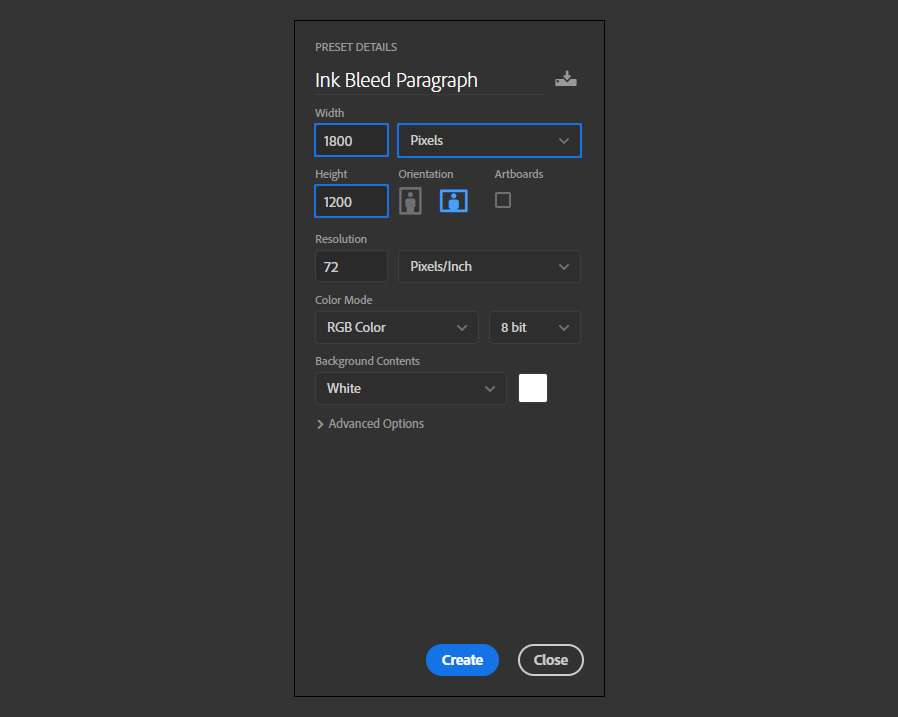
Open Photoshop and make a new file at any size you want. Here I will make mine at 1800 x 1200 px.
Step 2
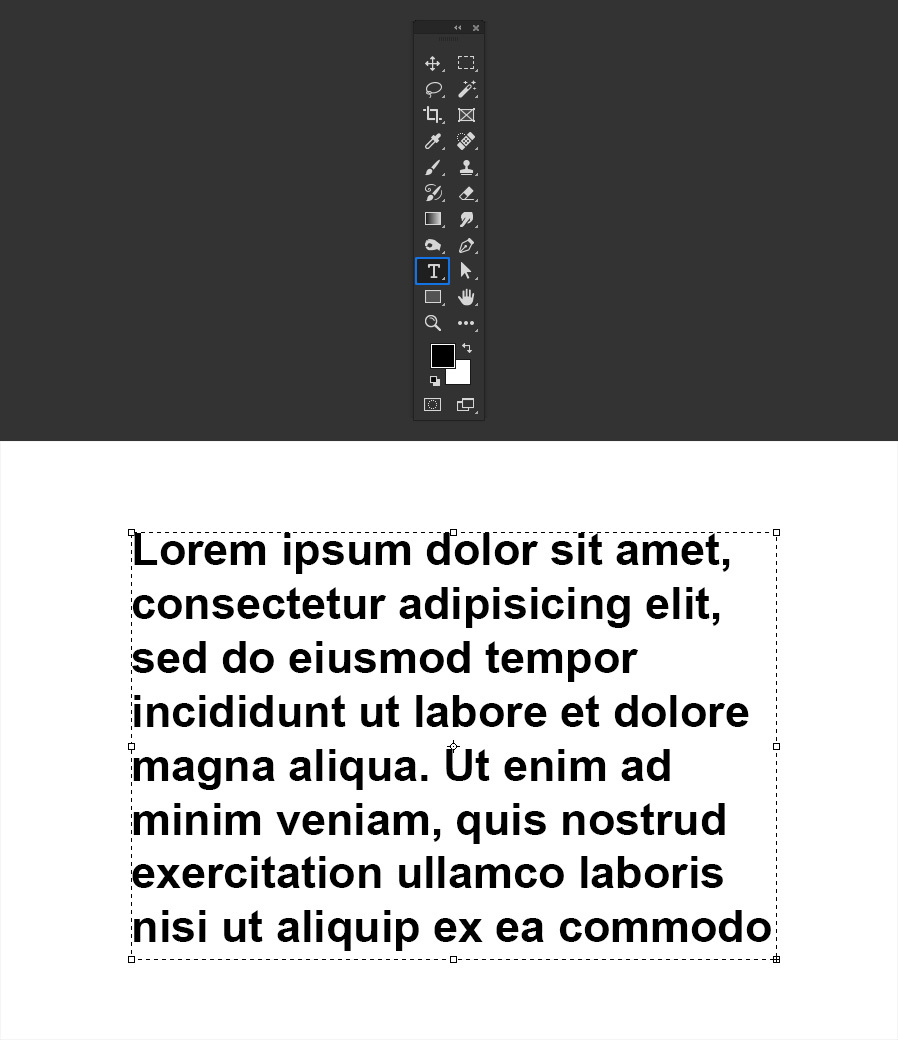
Select the Horizontal Type Tool (T) and type your text using any font and size you wish. In this case, I will use Arial Bold at 90pt.
Step 3
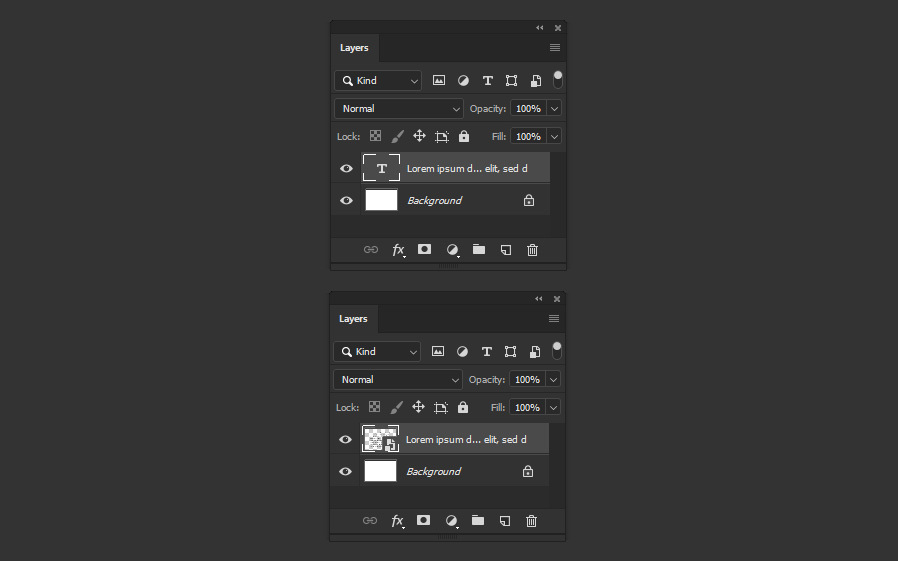
With the text layer selected, go to Layer > Smart Objects > Convert to Smart Object.
Step 4
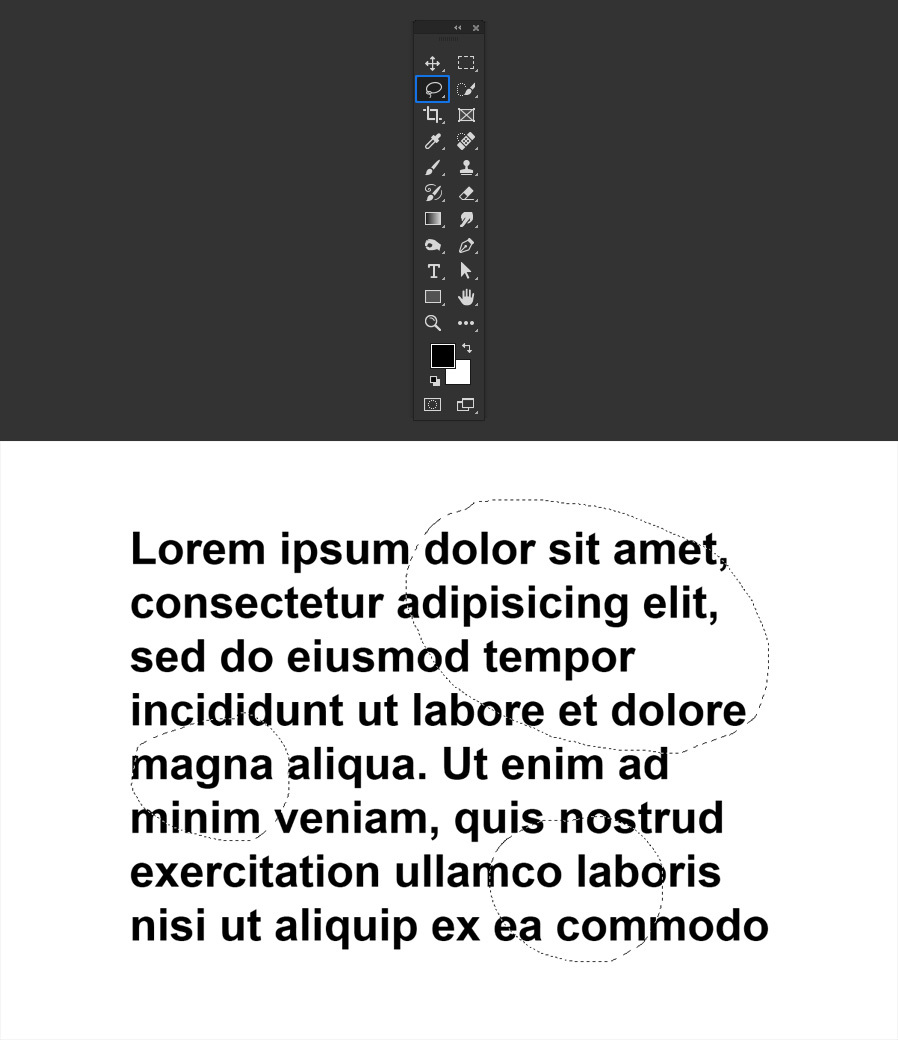
Select the Lasso Tool (L) and make selections on the areas where you want your effect to be more prominent.
Step 5
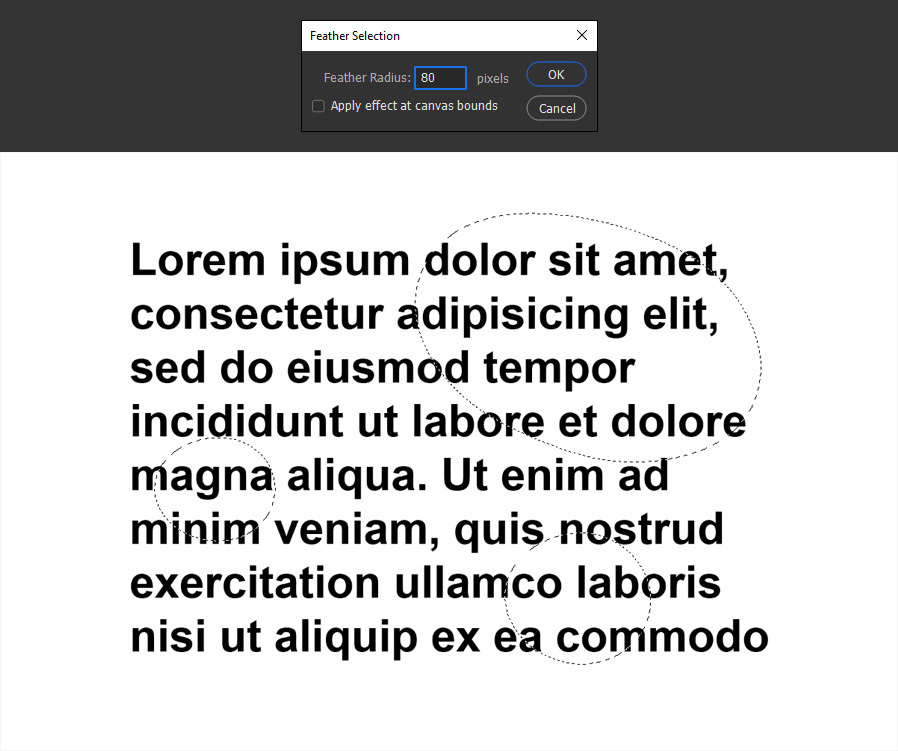
With the selection active, go to Select > Modify > feather. Set any value you want (in this case I will set mine to 80) and click OK.
Step 6
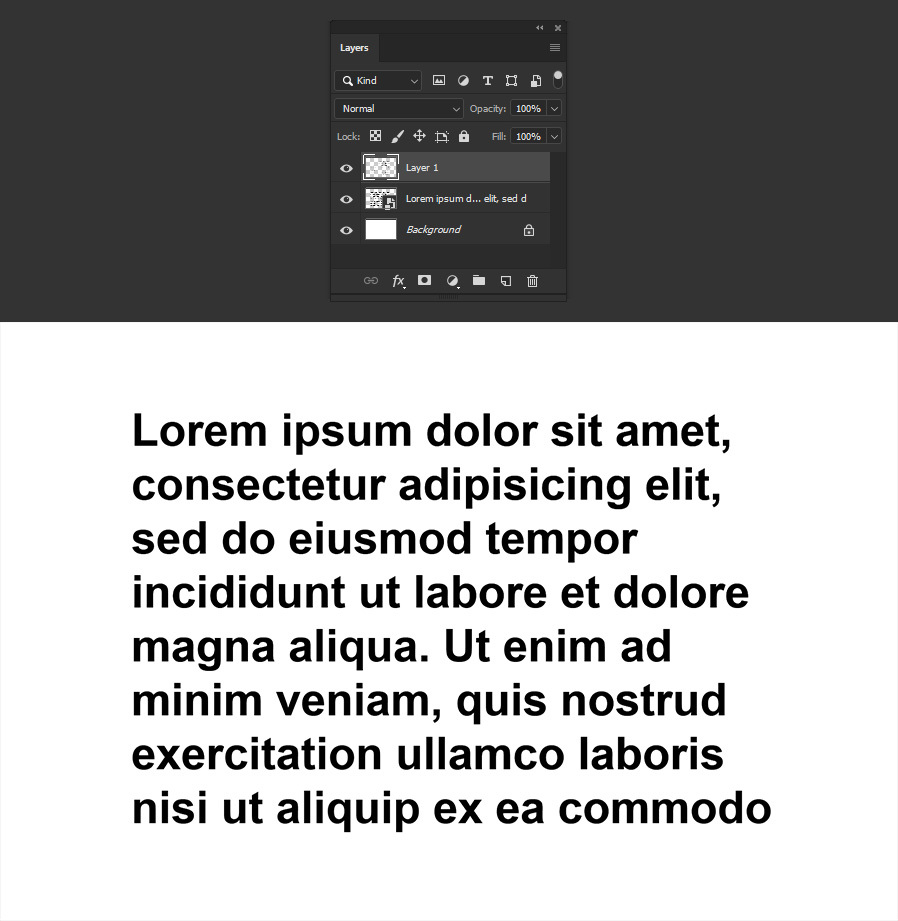
Press Ctrl + J on your keyboard to make a copy of the selection in a new layer.
Step 7
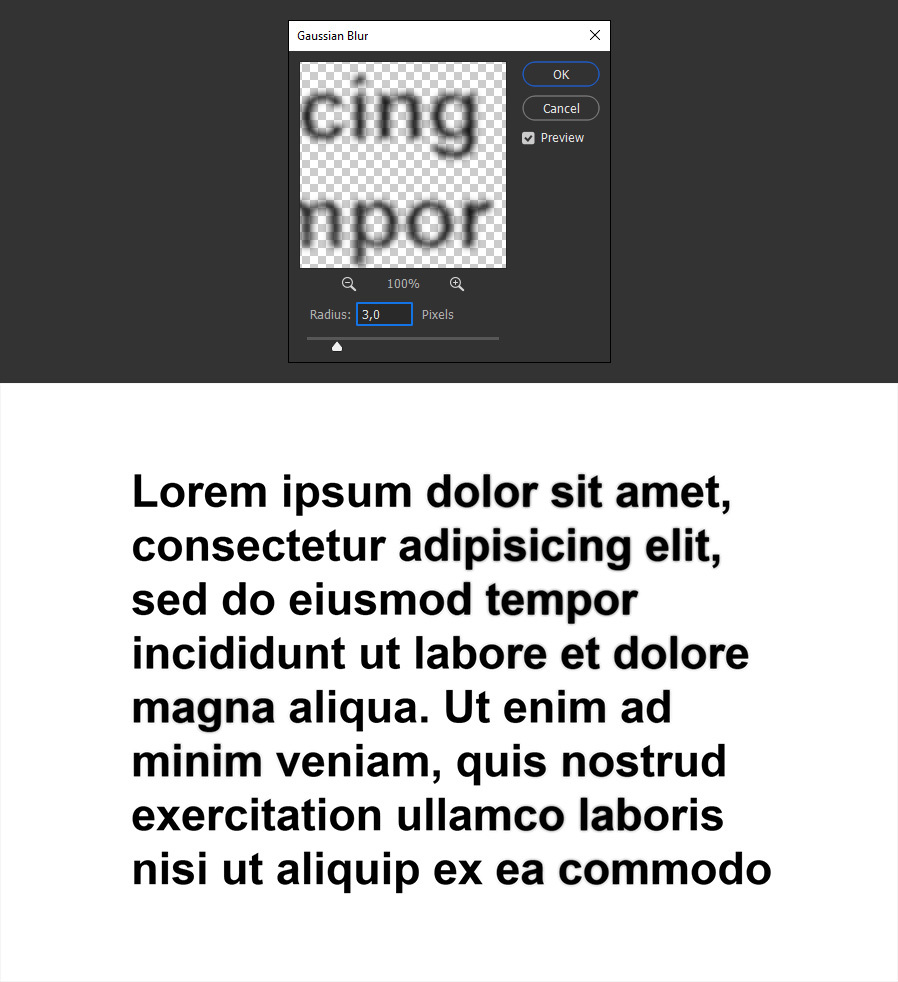
Go to Filter > Blur > Gaussian Blur. Set the Radius value to 3 pixels and click OK.
Step 8
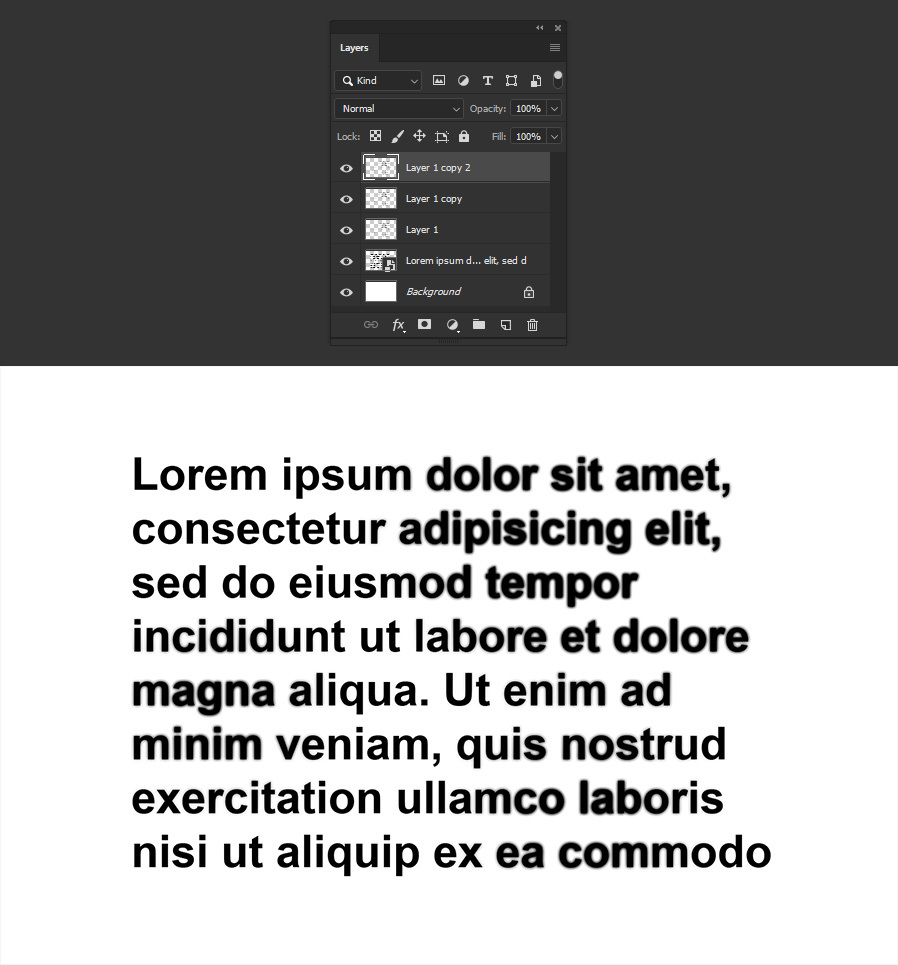
Press Ctrl + J on your keyboard twice to make 2 more copies of the blurred text layer.
Step 9
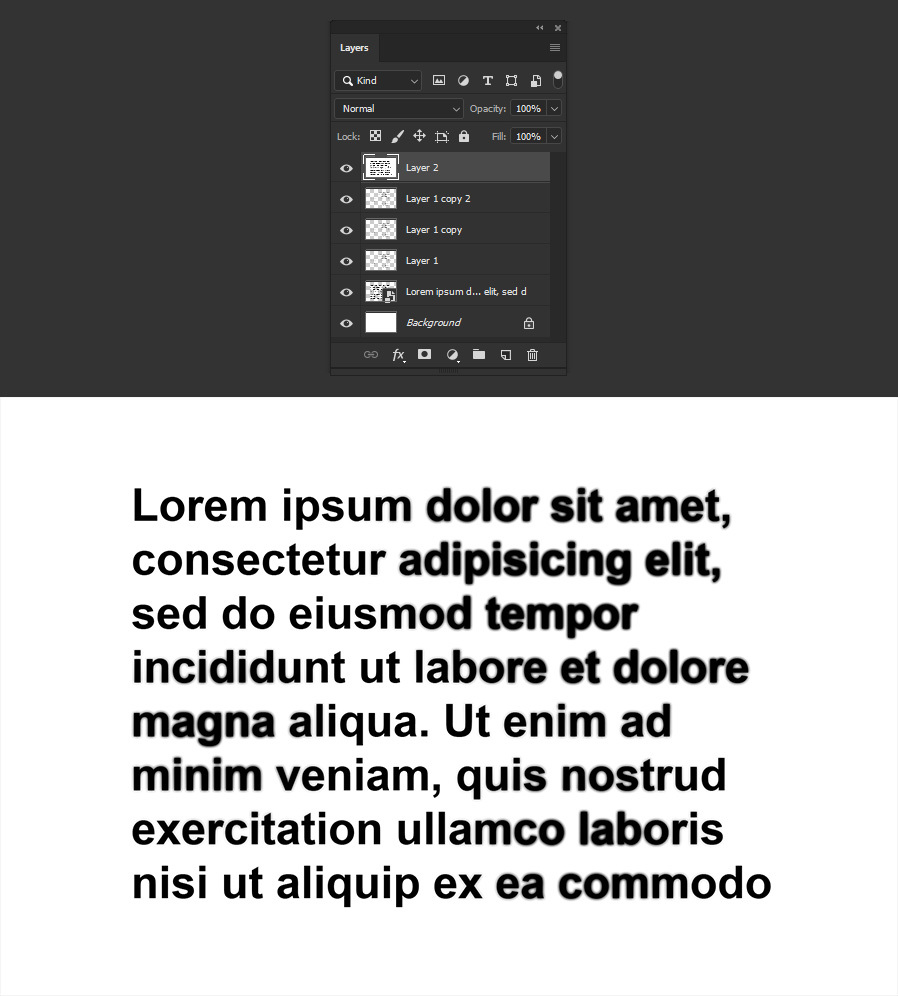
Press Ctrl + Shift + Alt + E on your keyboard to merge all the visible layers in a new one.
Step 10
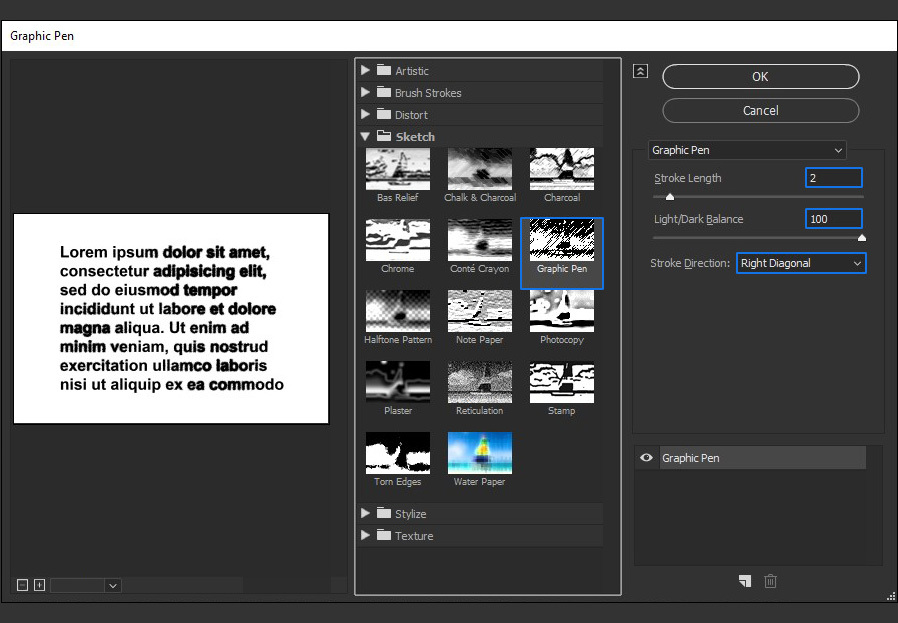
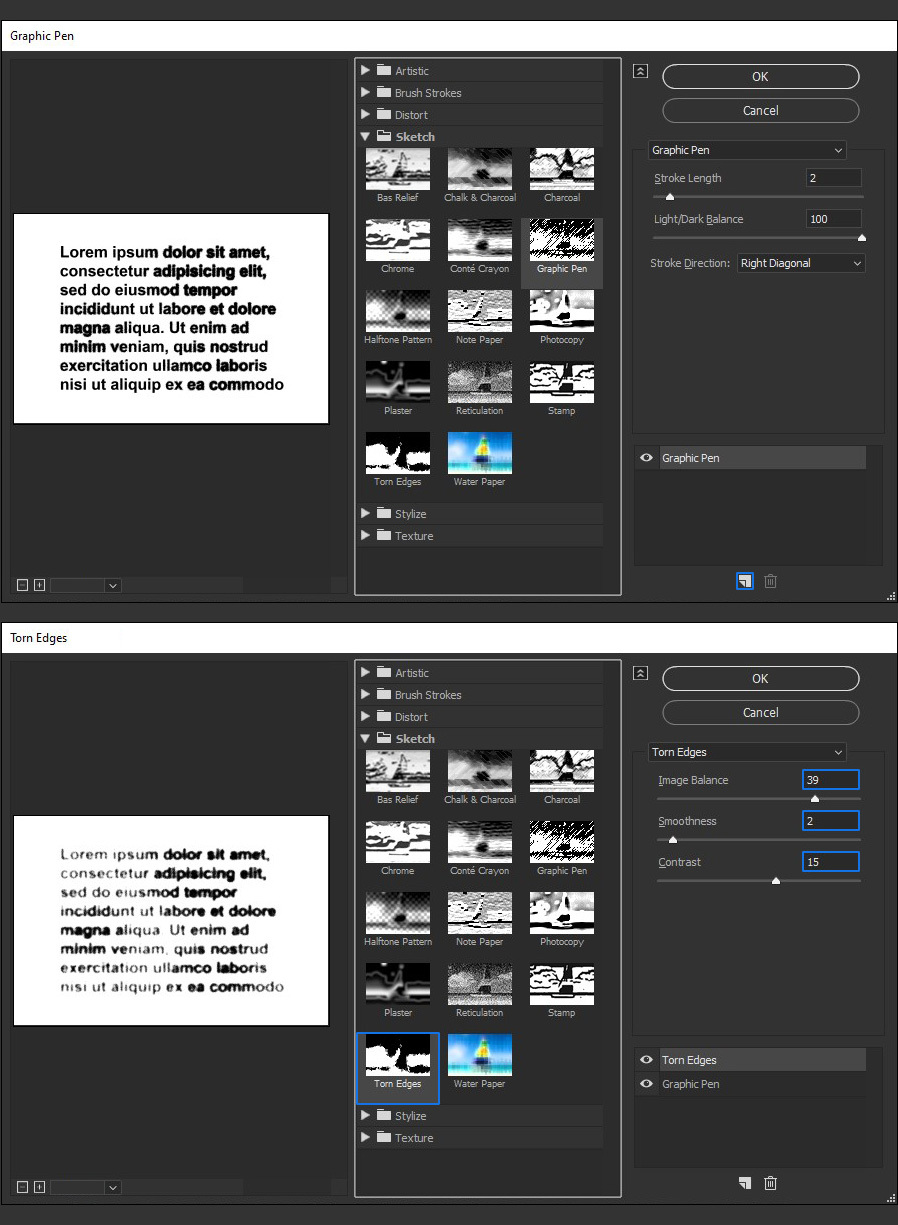
Go to Filter > Filter Gallery. Under Sketch, select the Graphic Pen effect and apply the following values.
Step 11
Click on the "New Effect Layer" icon, and this time select the Torn Edges effect and apply the following values.
Step 12
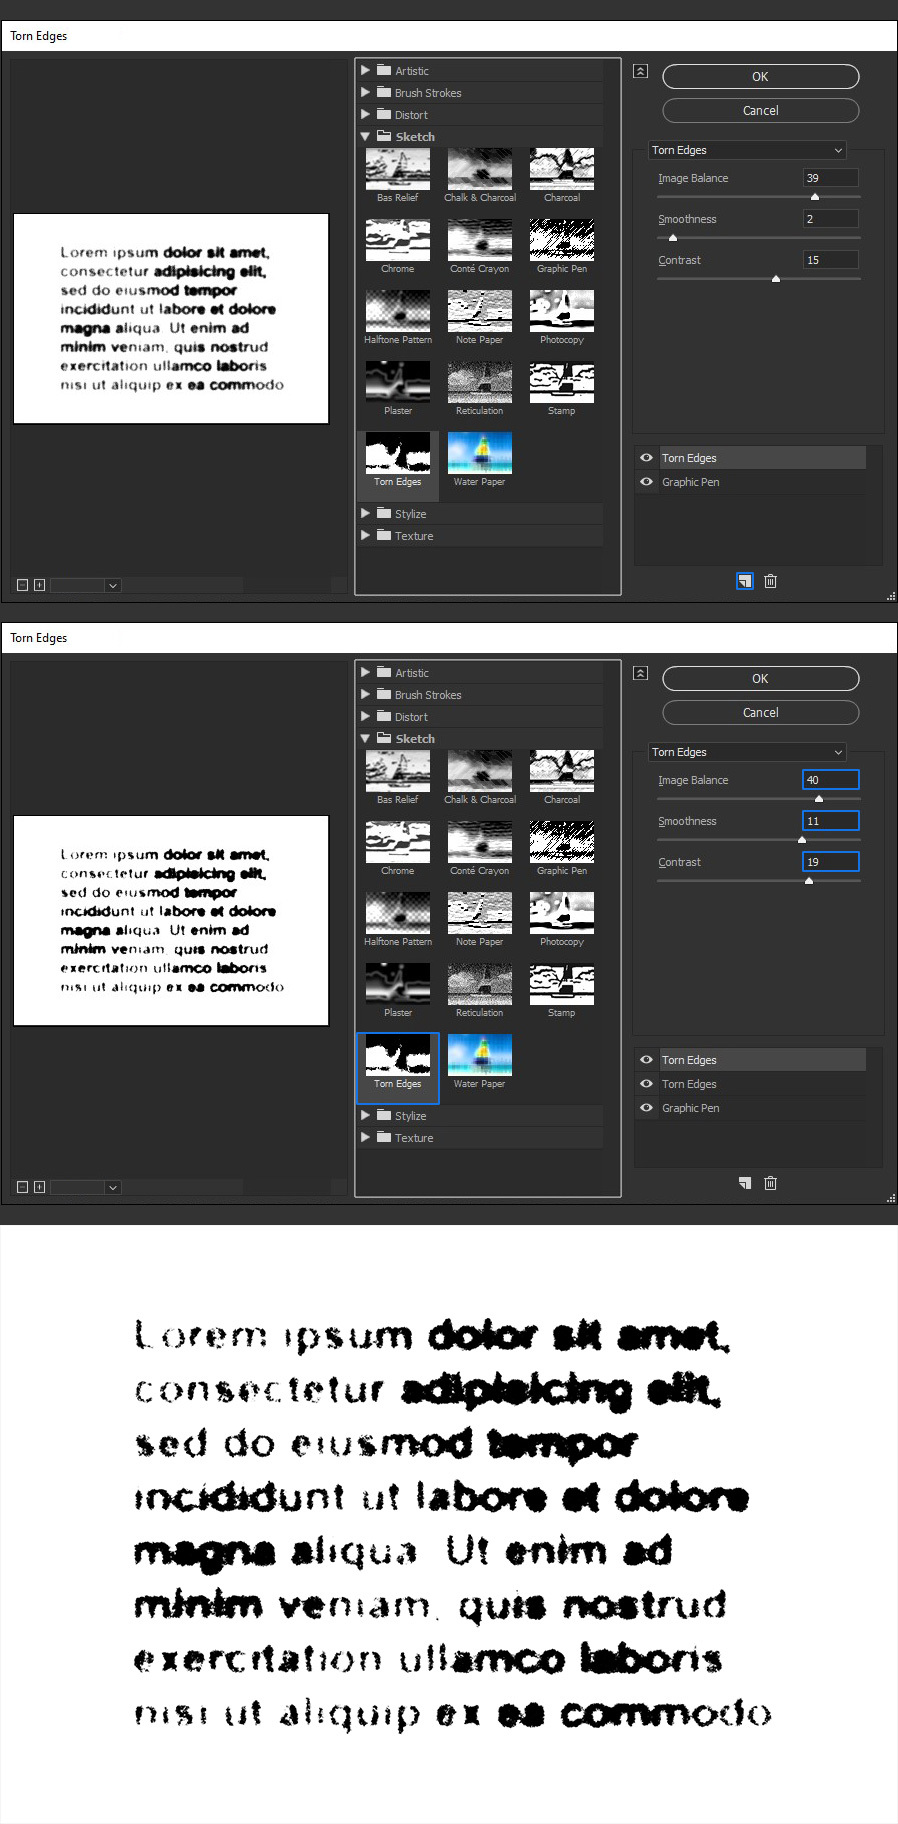
Again, click on the "New Effect Layer" icon (the Torn Edges effect should be added by default). Apply the following values and click OK in the Filter Gallery window.
Step 13
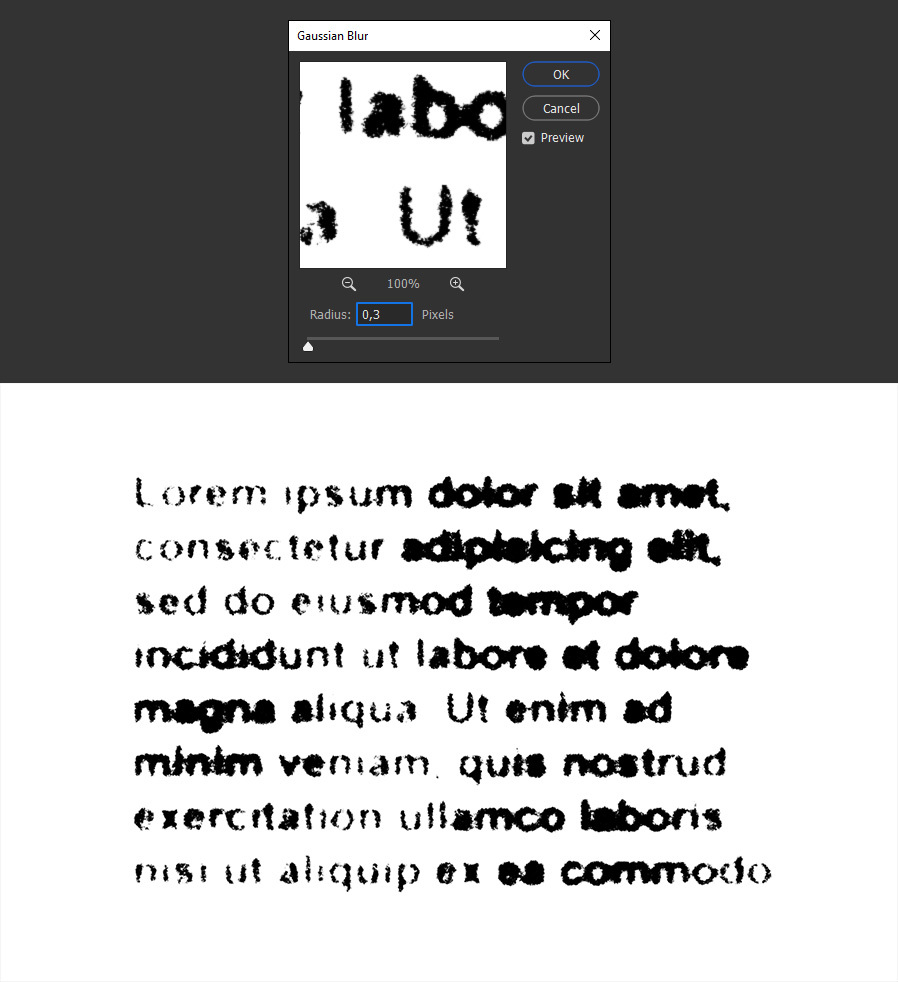
Lastly, go to Filter > Blur > Gaussian Blur. Set the Radius to 0,3 pixels and click OK.
A Final Tip:
Now that you know how easily you can make an Ink Bleed effect on a paragraph, you can play with the different settings for the Torn Edges effects and even change the blur amount you apply to get more or less bleeding on your text. Then, you can set the final layer mode to "Multiply" and place any king of background that you like, like in the following example.
