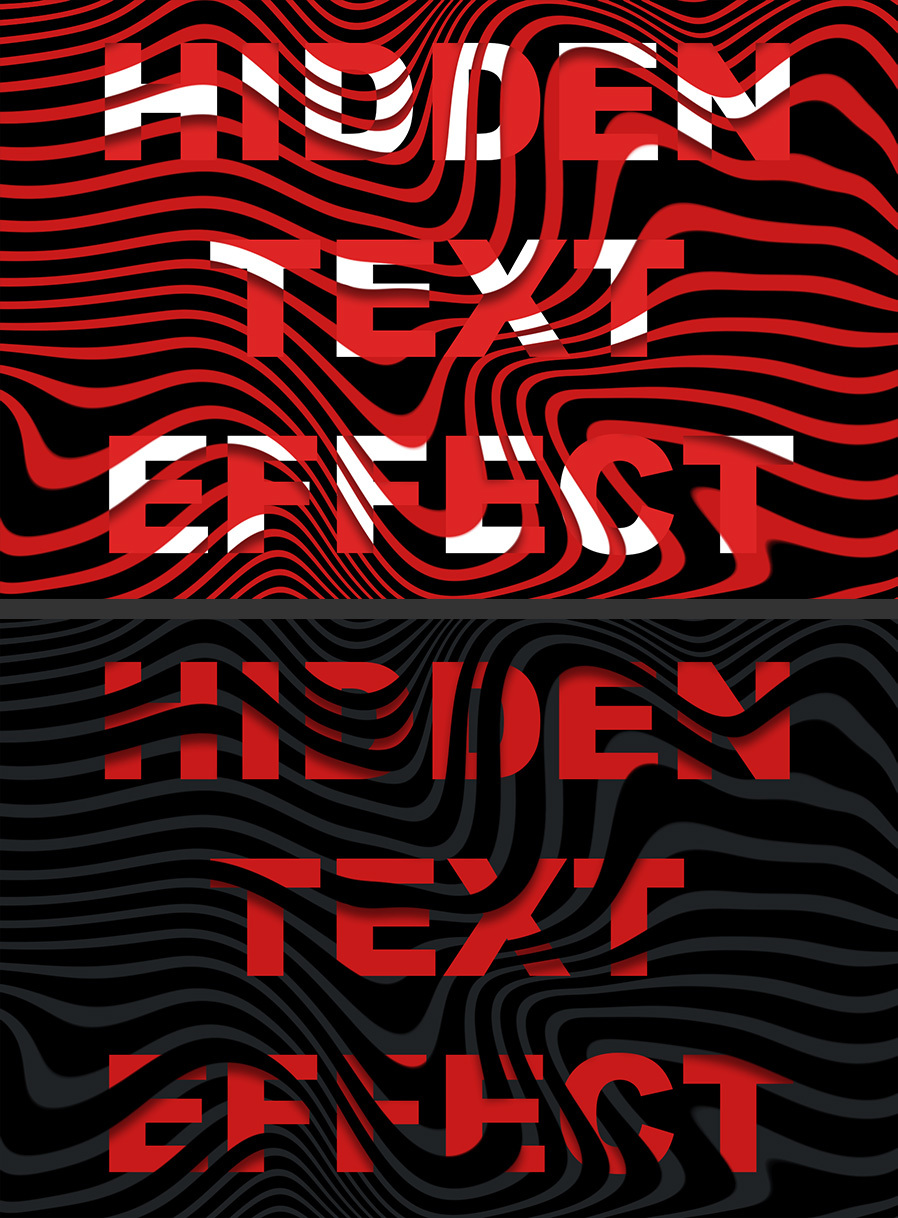
How to Make a Hidden Text Effect in Photoshop
Photoshop Text Effects
Some of the trendy interlaced text effects that we see on social media or as a hero header on some websites seems to be very complex to make, but they are in fact very easy to replicate. Often used to interlace two different words, the text effect that I will show you today can also be used to hide some text areas and make it look like it is hidden from the viewer. It may look a bit complex to make, but it is actually very easy if you follow the simple process I will show you. Then, once we finish, you can easily change all the colors to your liking.
Step 1
Open Photoshop and make a new file at any size you want. In this case, I will setup mine at 1800 x 1200 px.
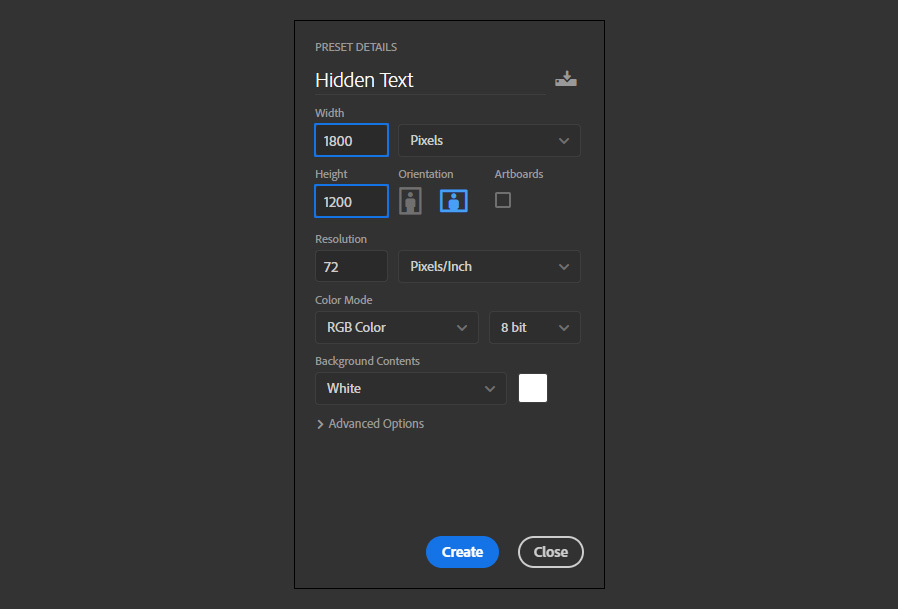
Step 2
Go to Layer > New Fill Layer > Solid Color. Name this layer as "Background Color" and click OK.

Step 3
Pick any color that you for your background in the Color Picker window and click OK. In this case I will setup mine to #c81a1a.
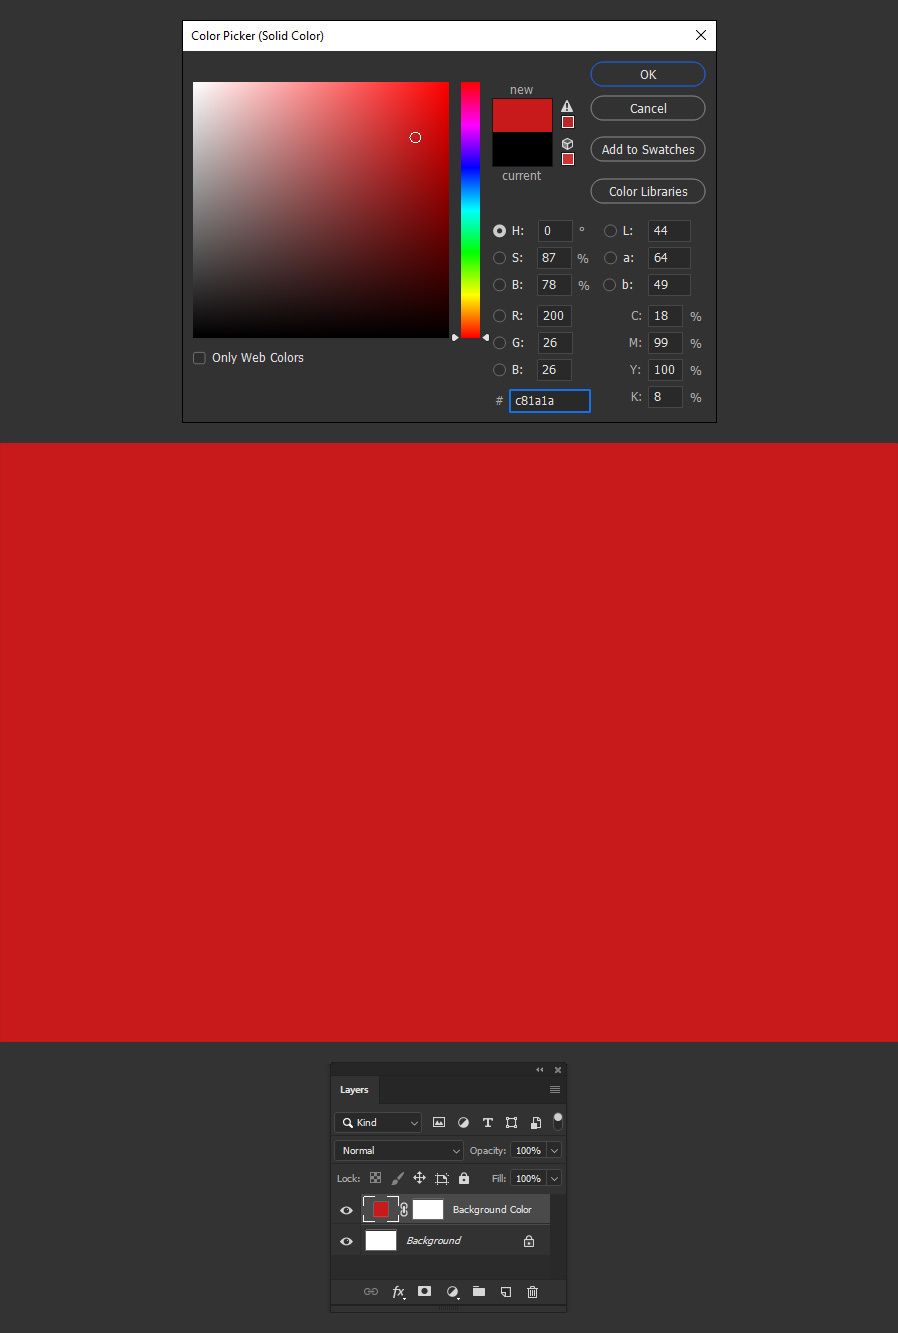
Step 4
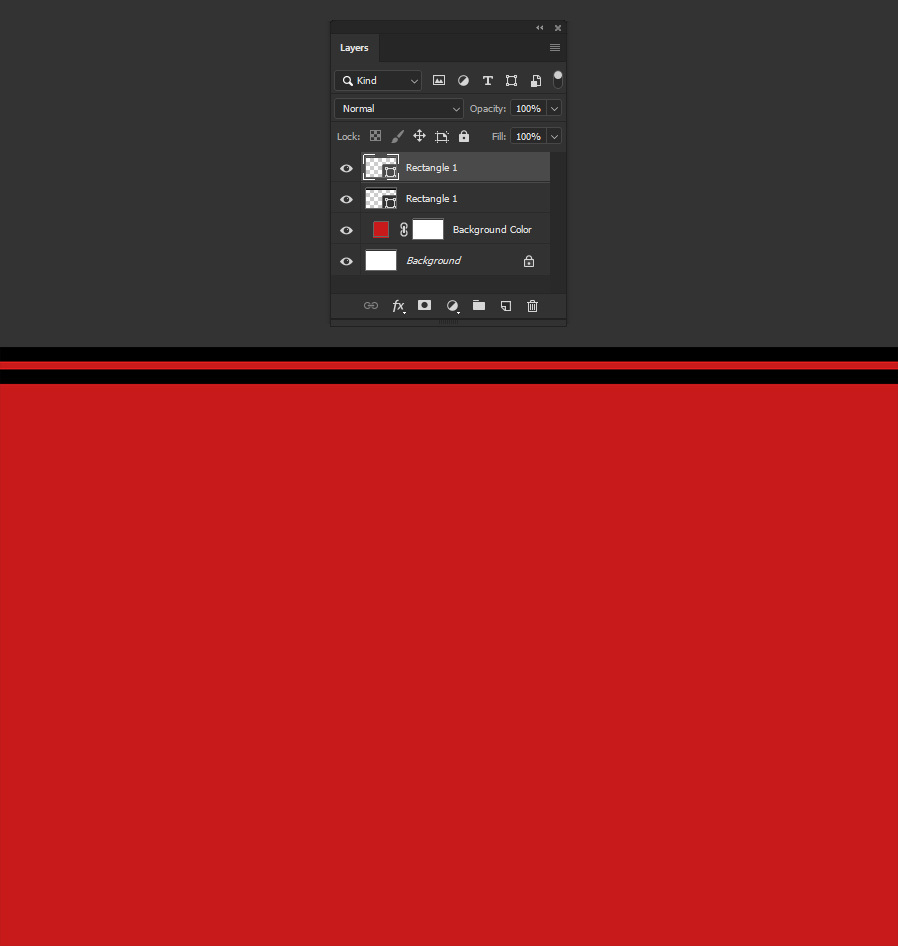
Select the Rectangle Tool (U) and draw a rectangle covering your whole canvas from side to side and with 30 px in height.
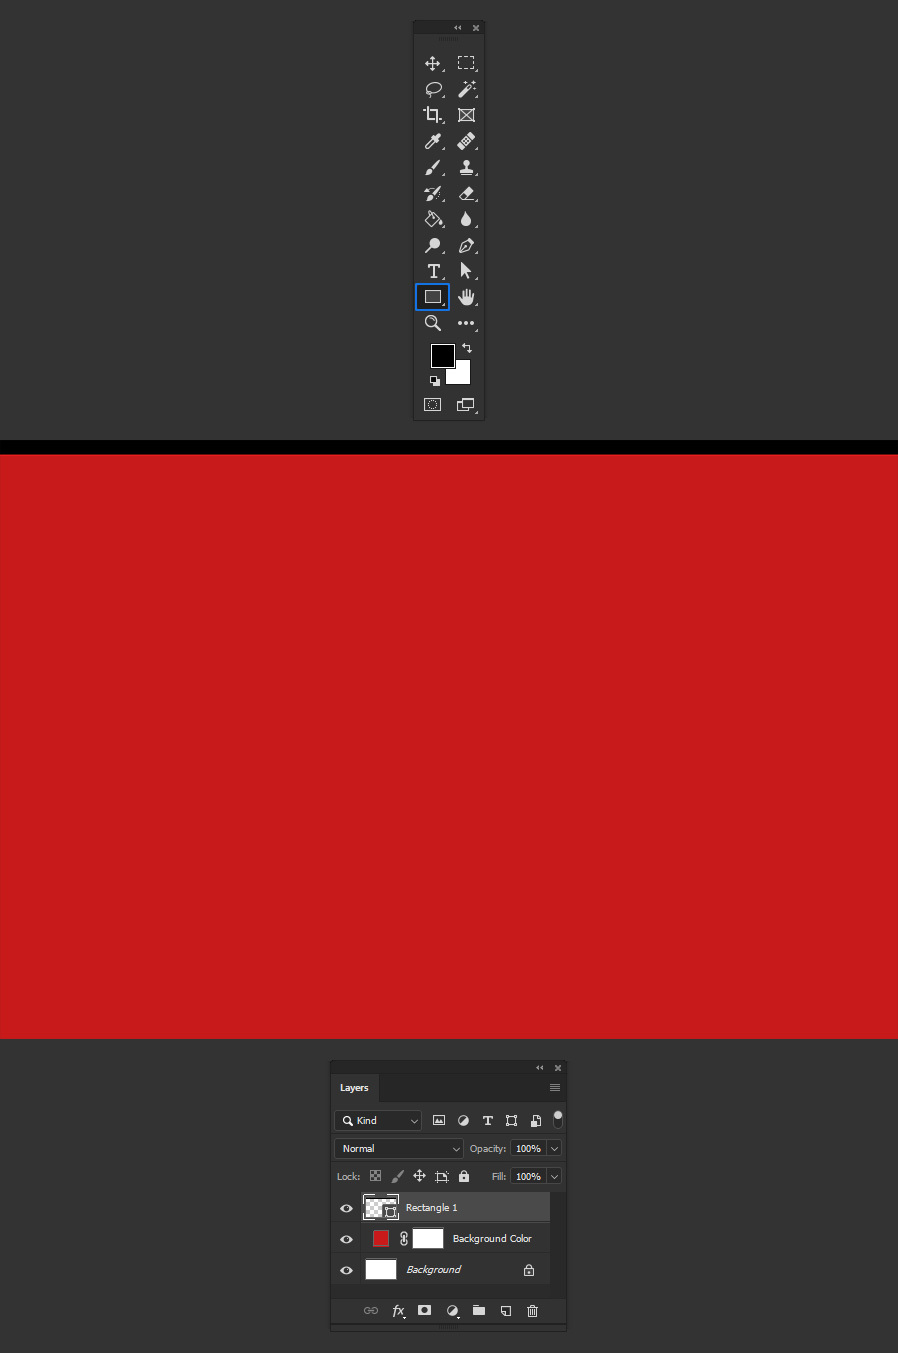
Step 5
Press Ctrl+J on your keyboard to duplicate the rectangle and move it down 50 px by pressing the Shift key and the down arrow key 5 times on you keyoard as shown.
Step 6
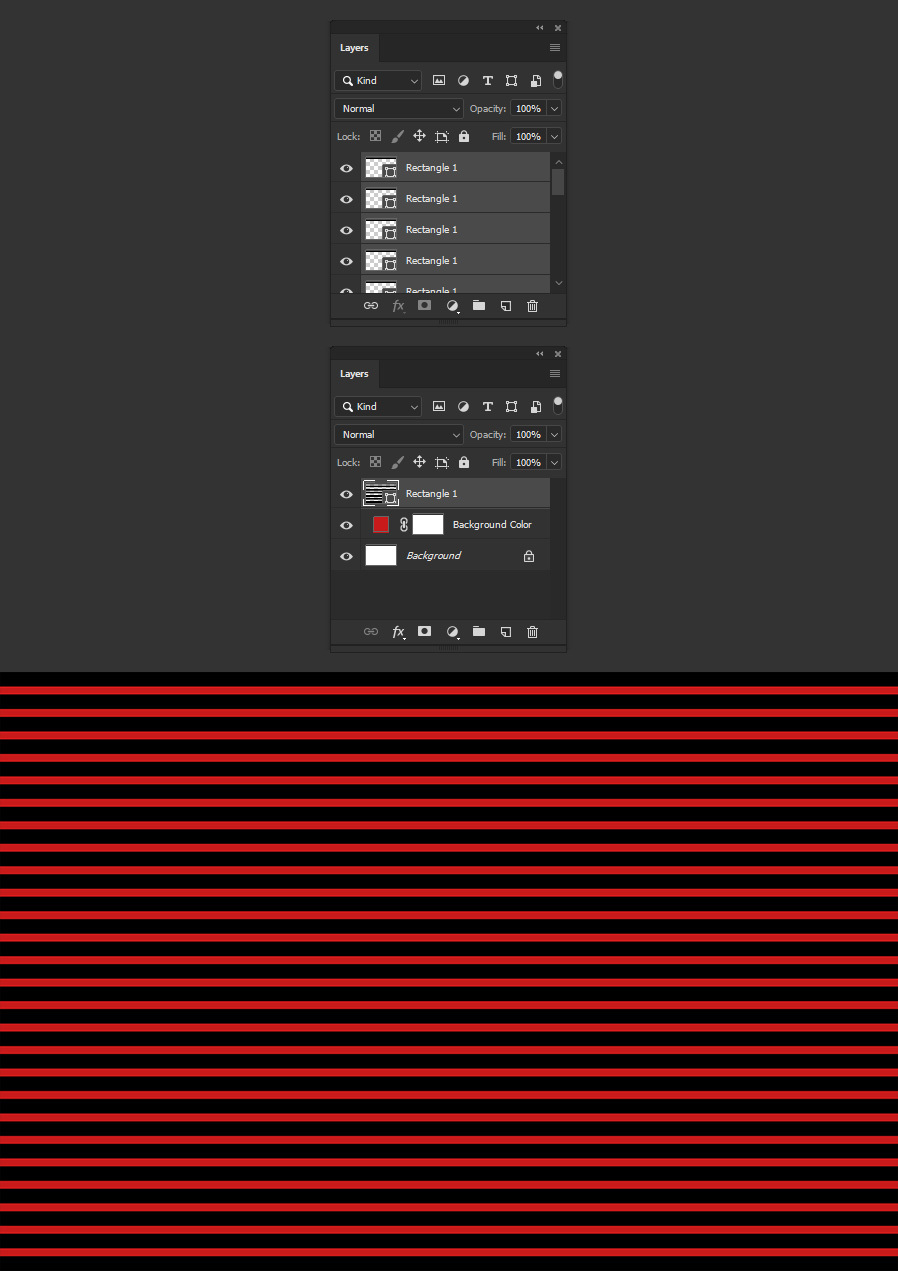
Repeat the last step as may times as needed to cover your whole canvas from top to down.

Step 7
Select all the layers with the rectangles and go to Layer > Combine Shapes > Unite Shapes.
Step 8
With the rectangles layer selected, go to Layer > Smart Objects > Convert to Smart Object.

Step 9
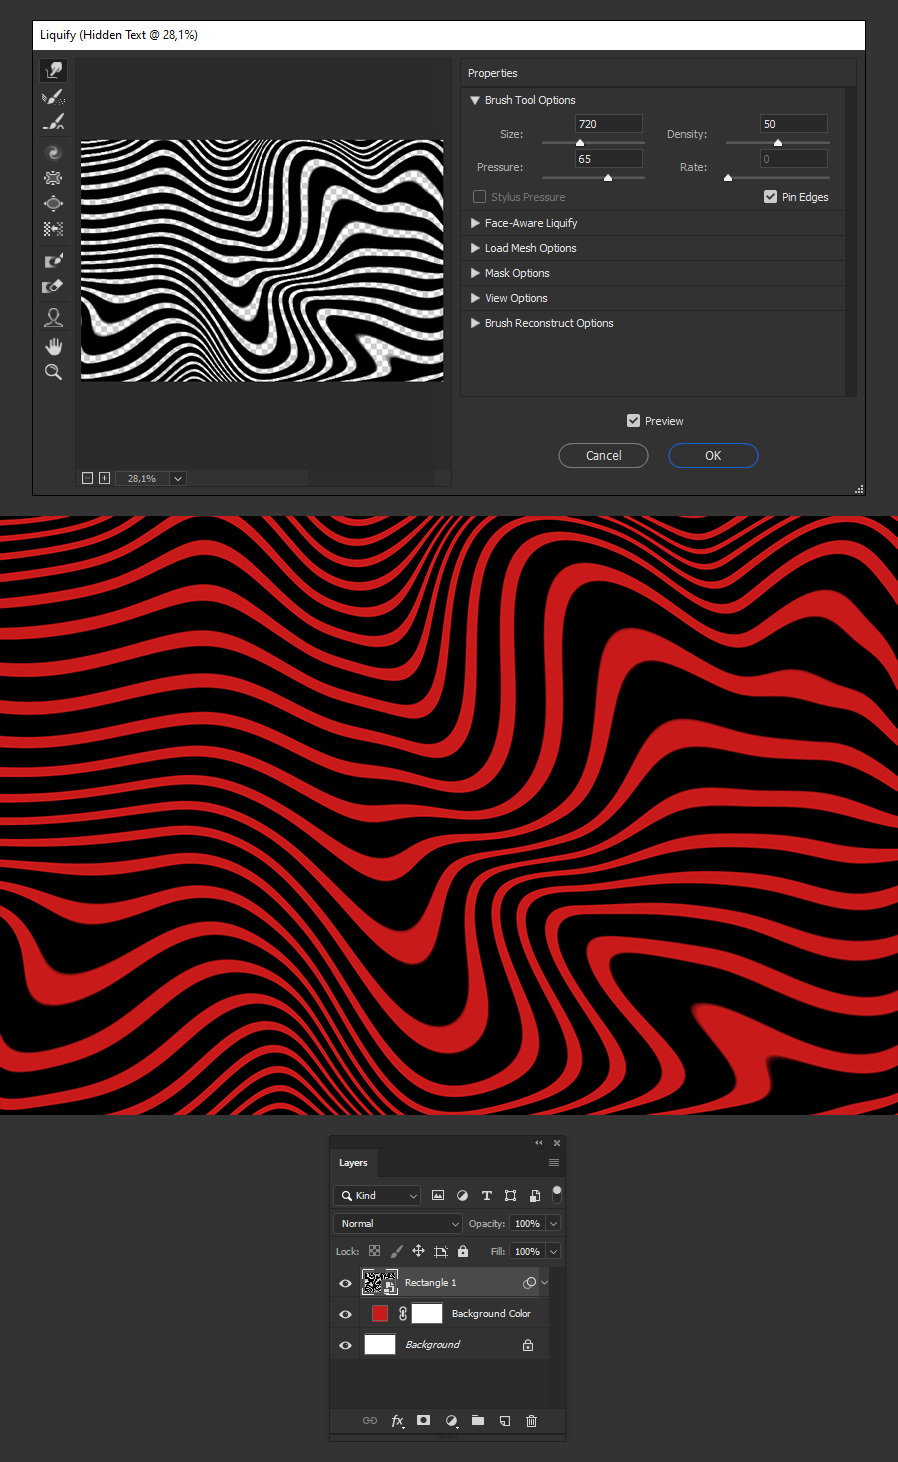
Go to Filter > Liquify. Make any kind of distortion effect that you want and click OK.
Step 10
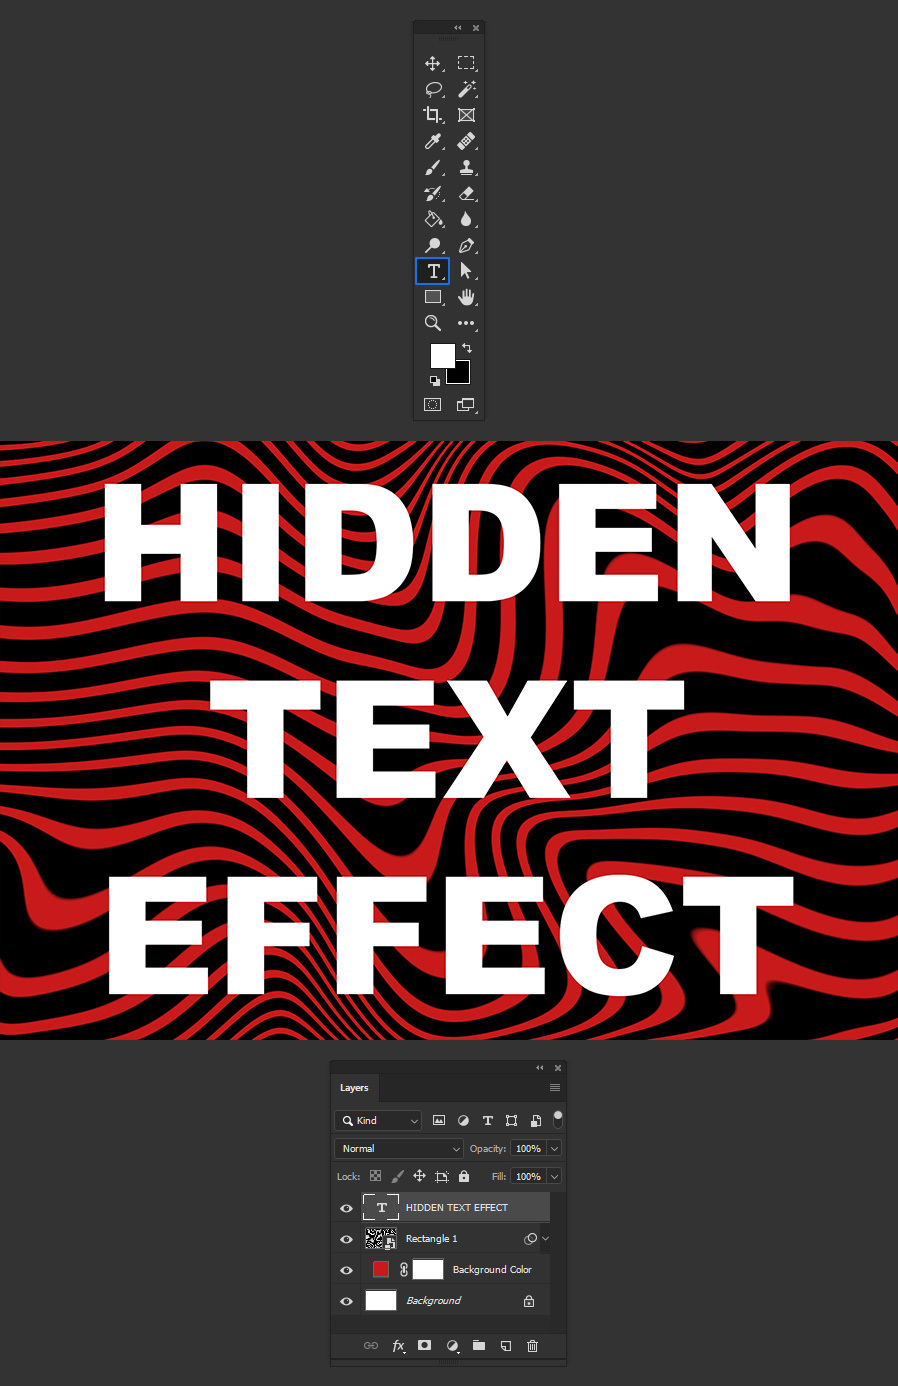
Select the Horizontal Type Tool (T) and type your text using any font at any size and with any color that you want.
Step 11
Duplicate the distorted rectangles layer, place it above the text layer and go to Layer > Create Clipping Mask.
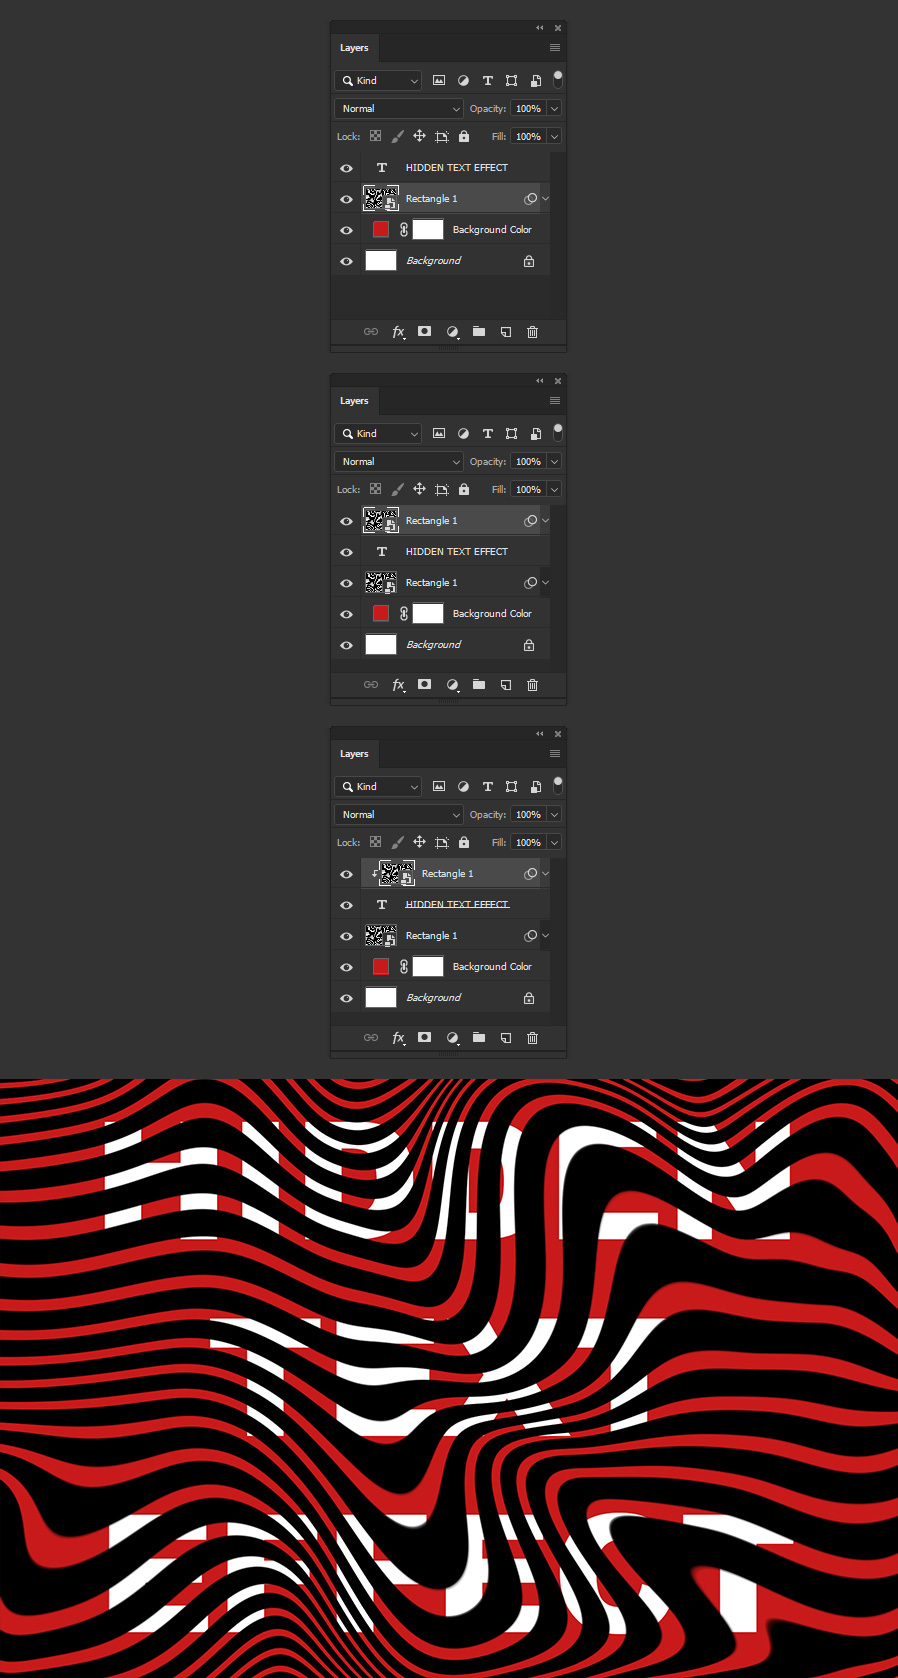
Step 12
In the Layers Panel click on the "Add layer mask" icon.
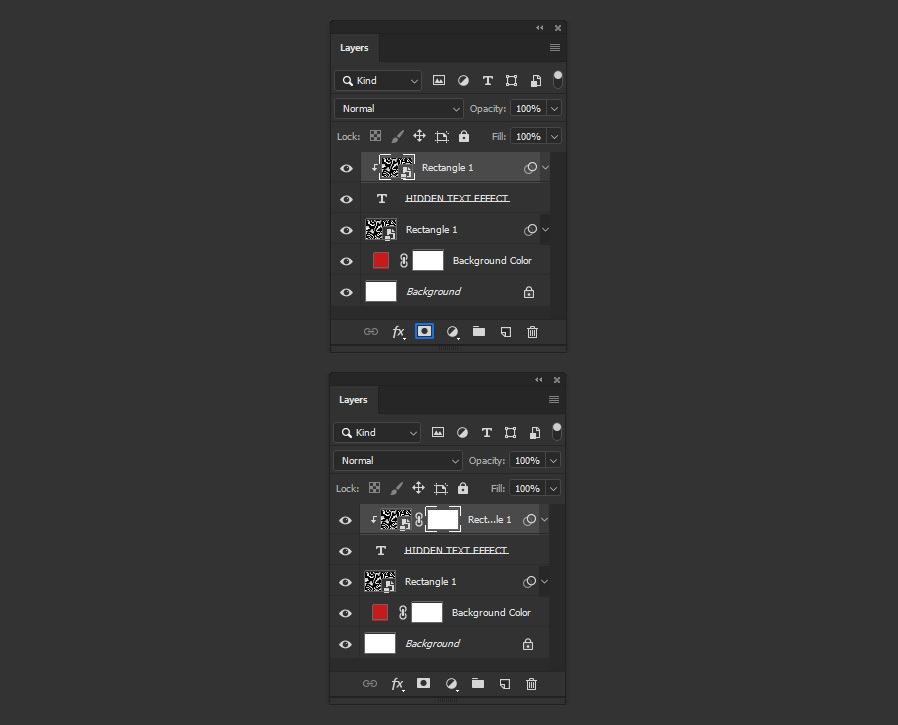
Step 13
Select a soft round brush and paint with black over the layer mask to reveal some areas of the text.

Step 14
Lastly, go to Layer > Layer Style > Drop Shadow. Apply the following settings and click OK.
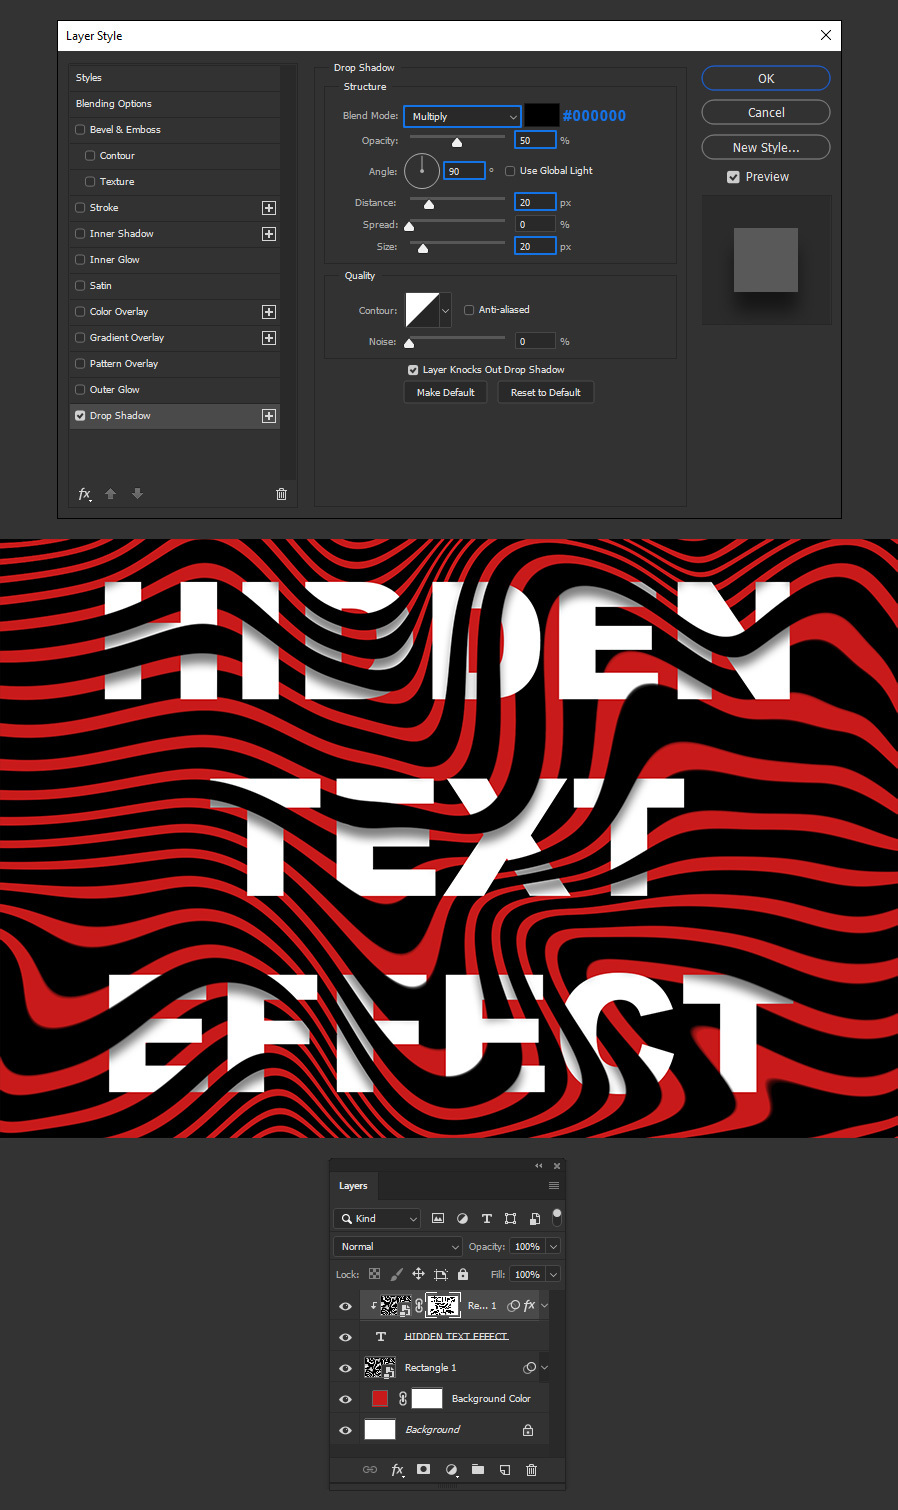
Some Final Notes
With the effect already made, you can now easily change the text and background colors as well to add a color overlay layer style to the distorted rectangles to make any kind of color combination that you like.
