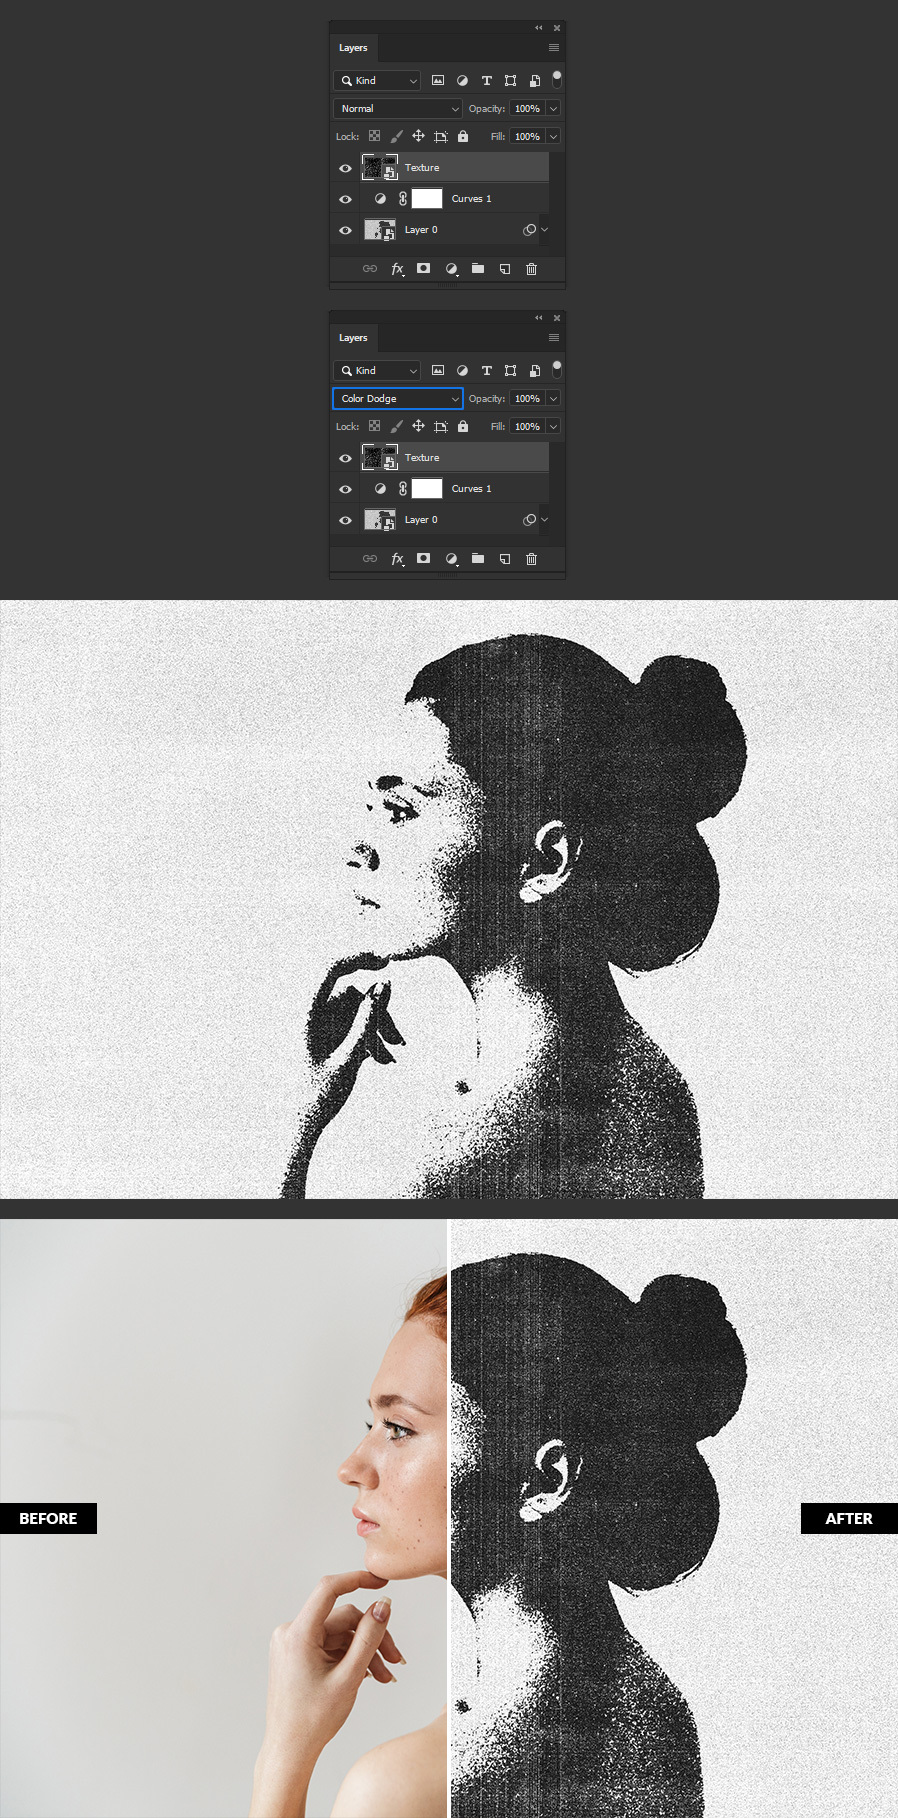
How to Make a Heavy Grain Copy Effect in Photoshop
Photoshop Photo Effects
Photocopied effects are very popular these days, mostly used to give a design a grungy and weathered look. You may have seen this effect on flyers, posters, and even social media posts to promote different events. There are many different ways to create this effect, but today I will show you one of the simplest methods to make a heavy grain copy effect in Photoshop using the Filter Gallery, a Blur effect, and just one simple texture to make this effect look complete.
Step 1
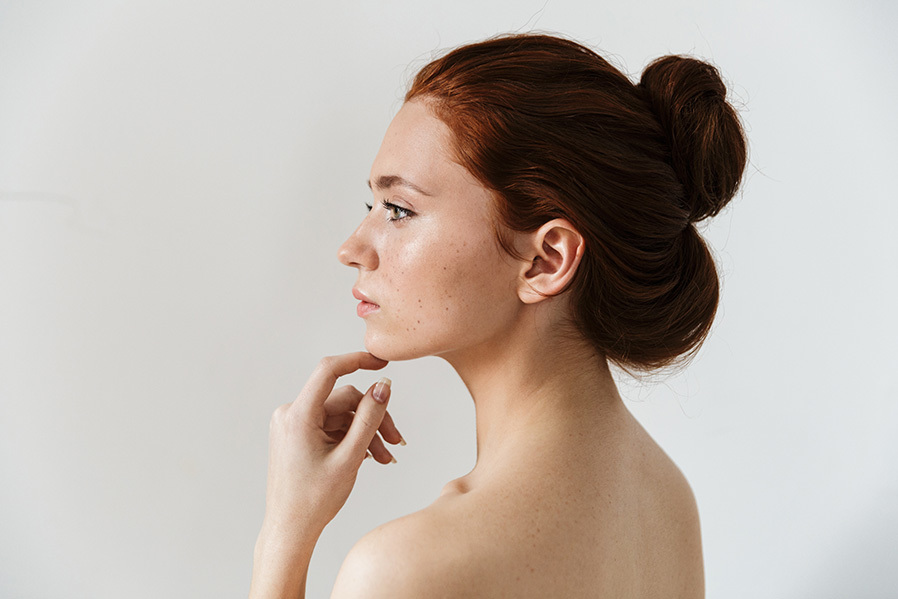
Open your image in Photoshop.
Step 2
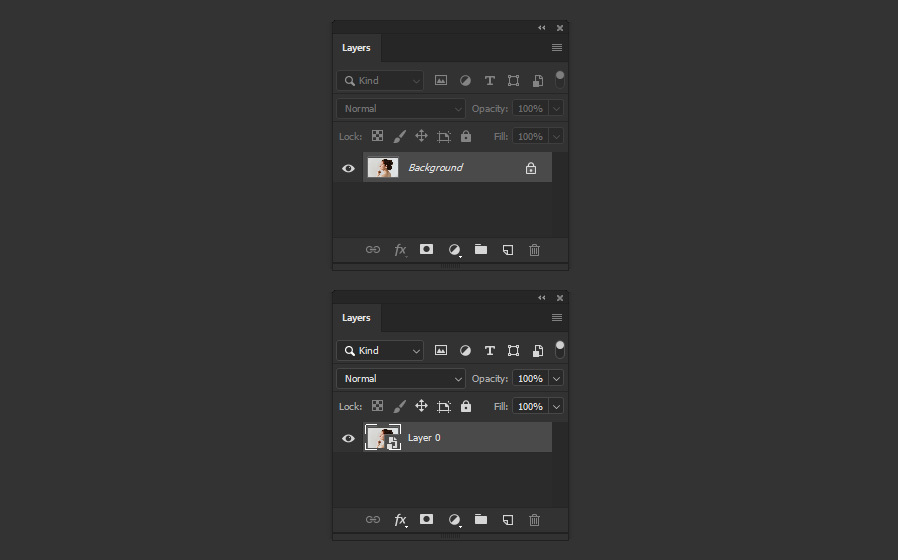
With your Background layer selected go to Layer > Smart Objects > Convert to Smart Object.
Step 3
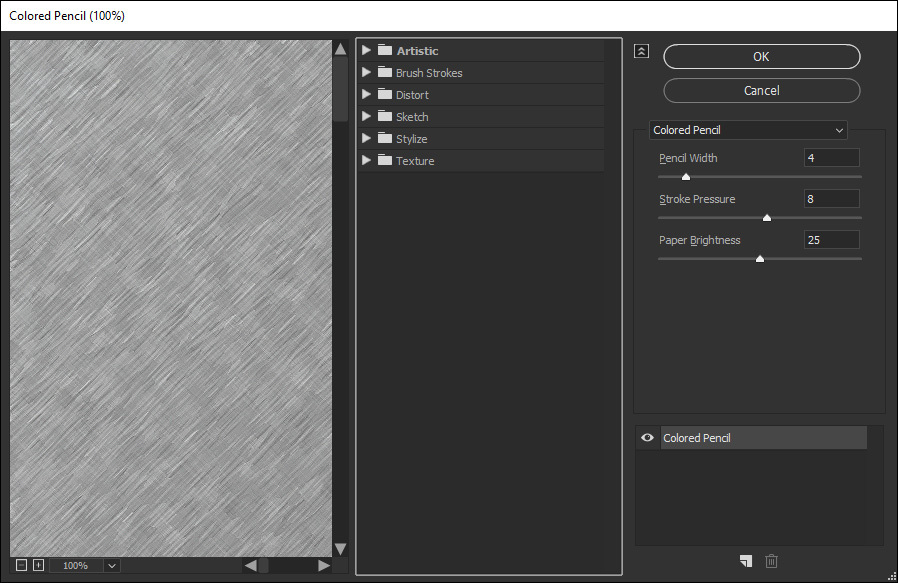
Go to Filter > Filter Gallery.
Step 4
Under "Sketch" select the "Graphic Pen" filter and apply the following settings.
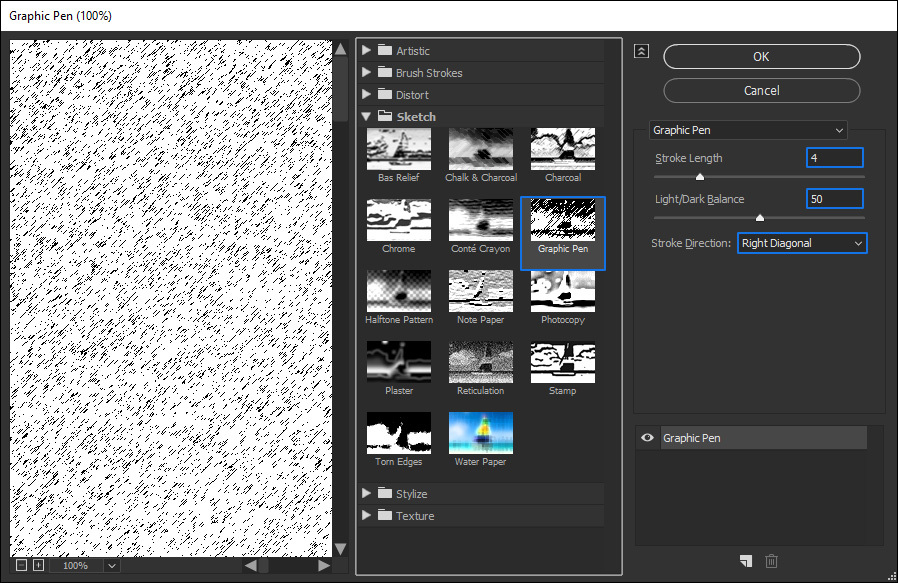
Step 5
Click on the "New Effect Layer" icon and pick the "Reticulation" effect also inside the "Sketch" group.
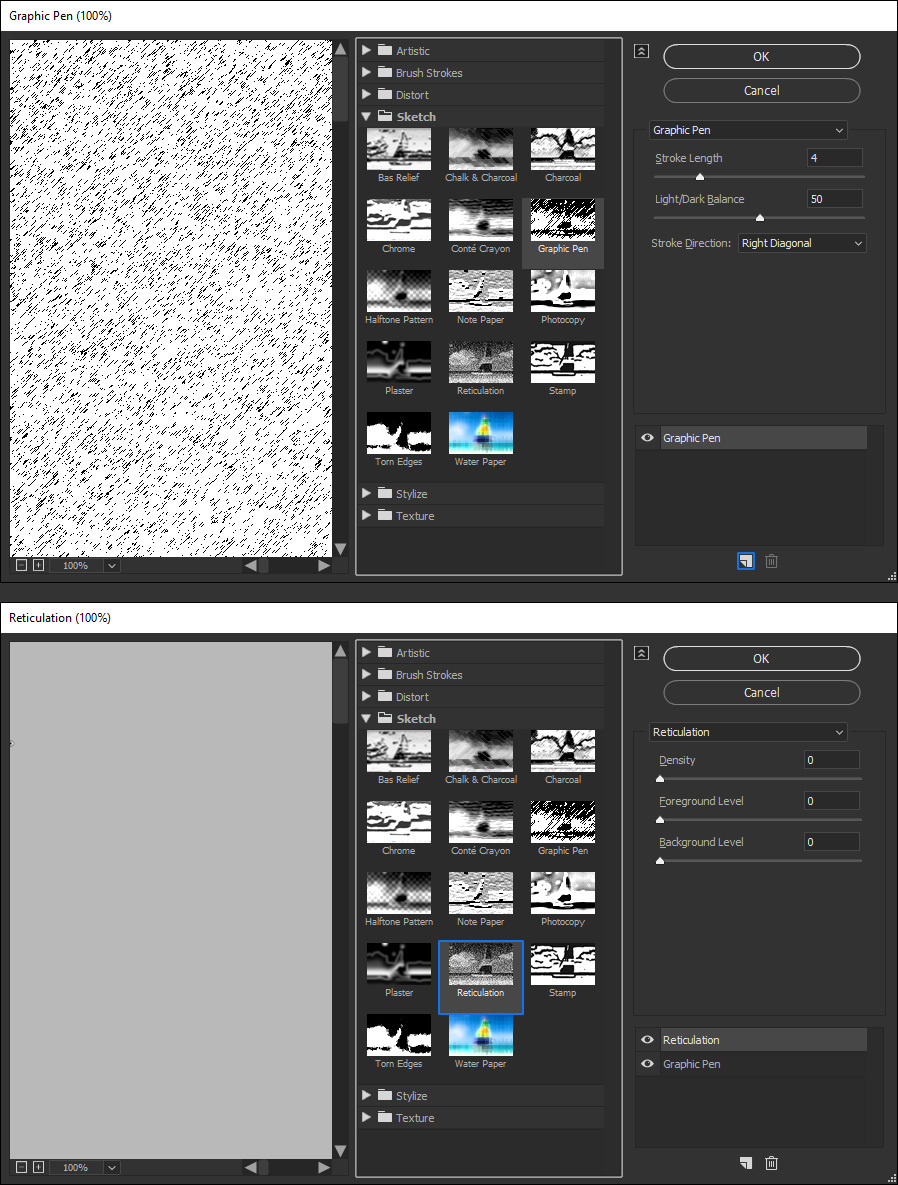
Step 6
Apply the following settings on the "Reticulation" effect and click OK.
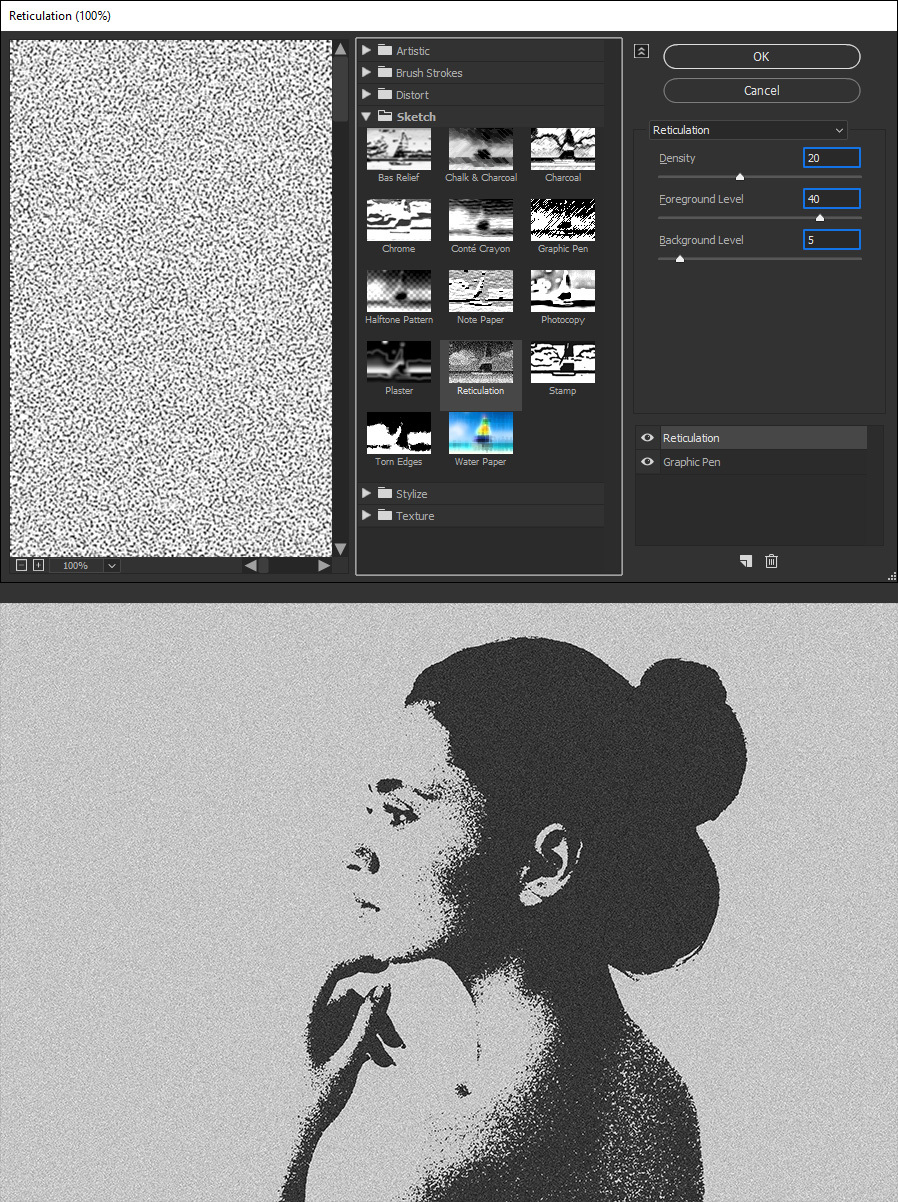
Step 7
Go to Filter > Blur > Gaussian Blur. Apply the following settings and click OK.
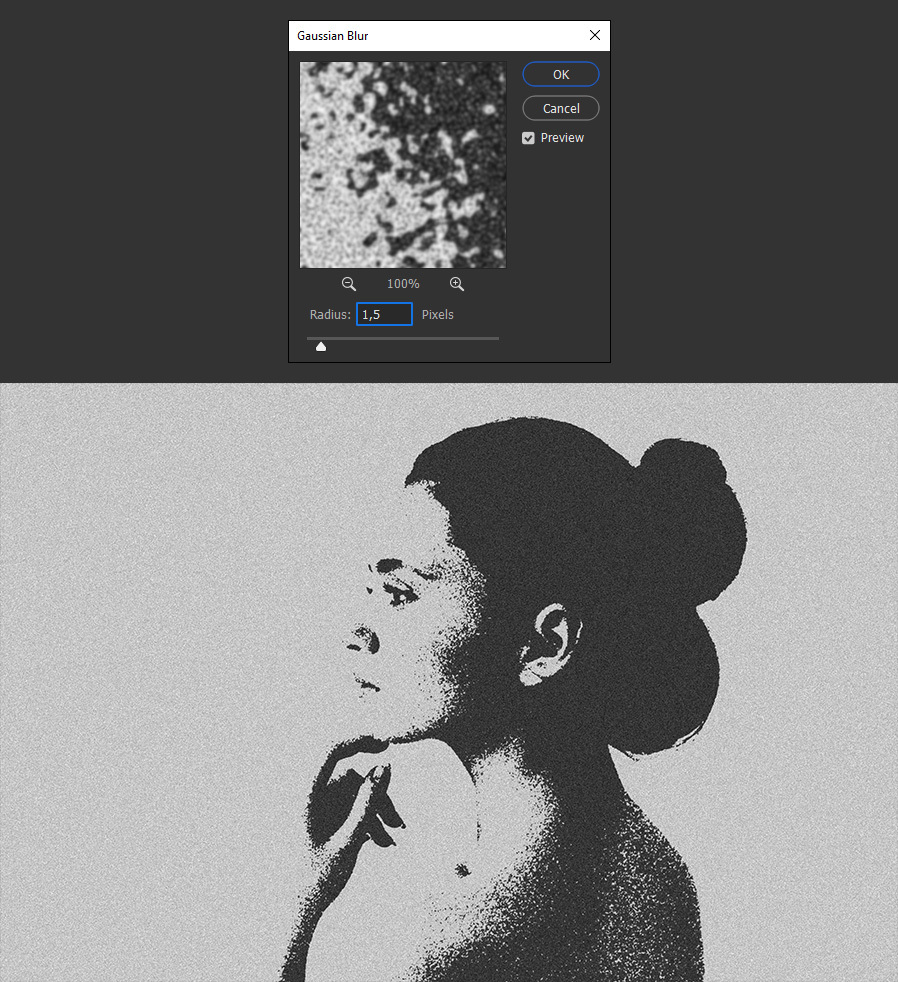
Step 8
Go to Layer > New Adjustment Layer > Curves.
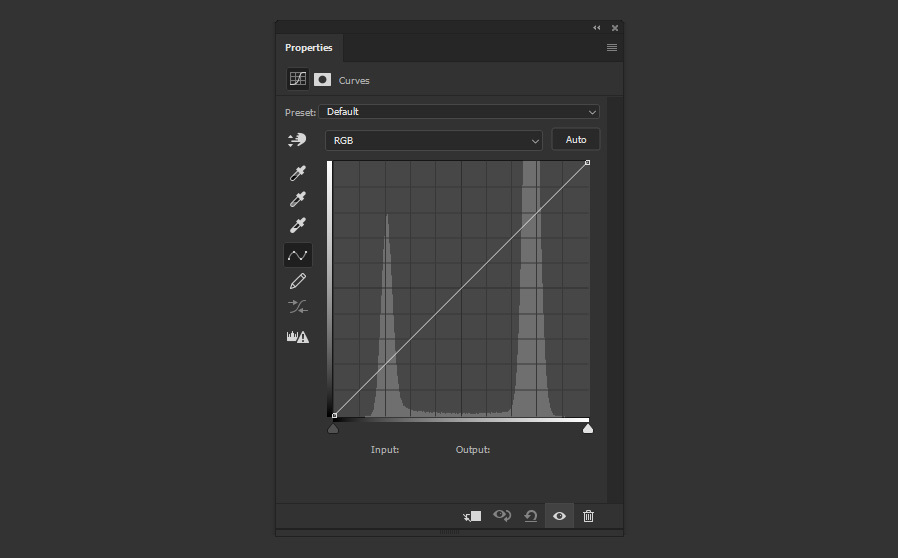
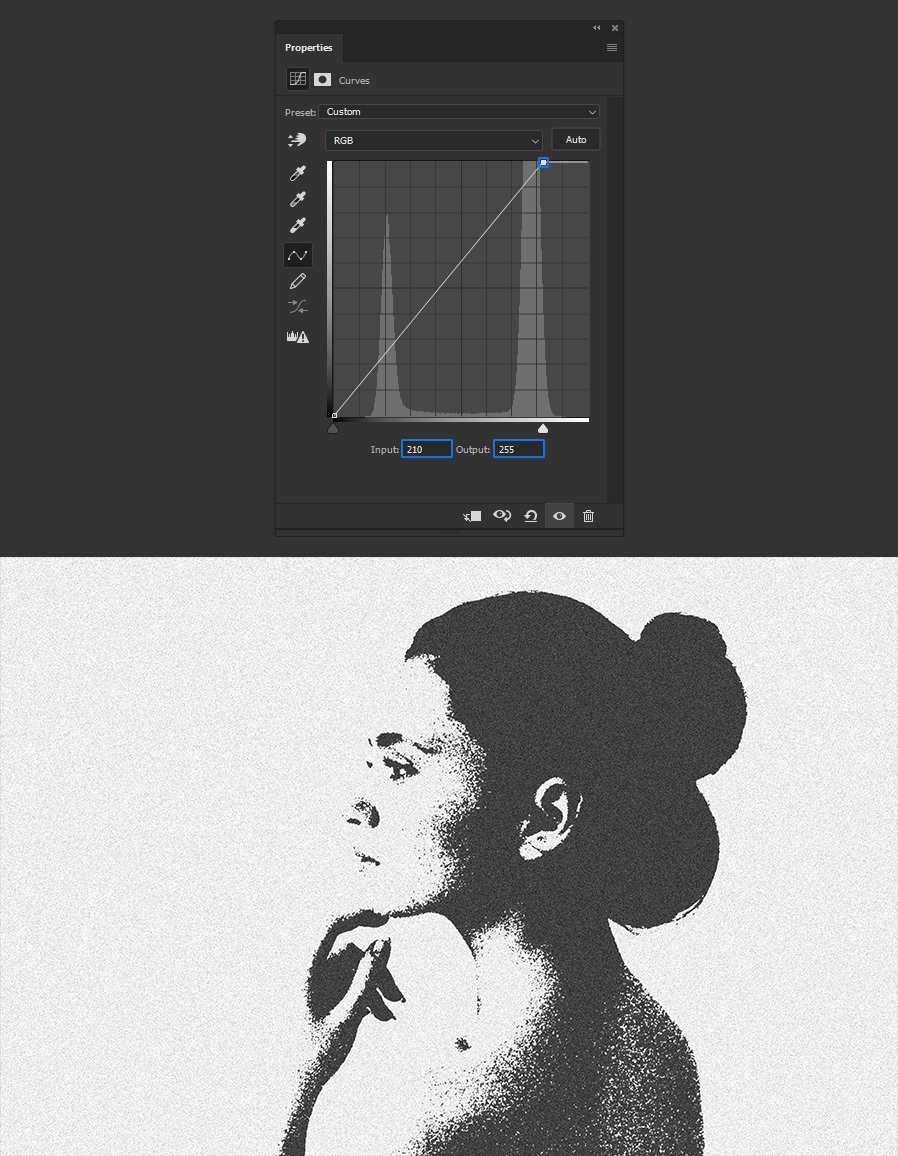
Step 9
Select the top right anchor point and set the value to 210 - 255.
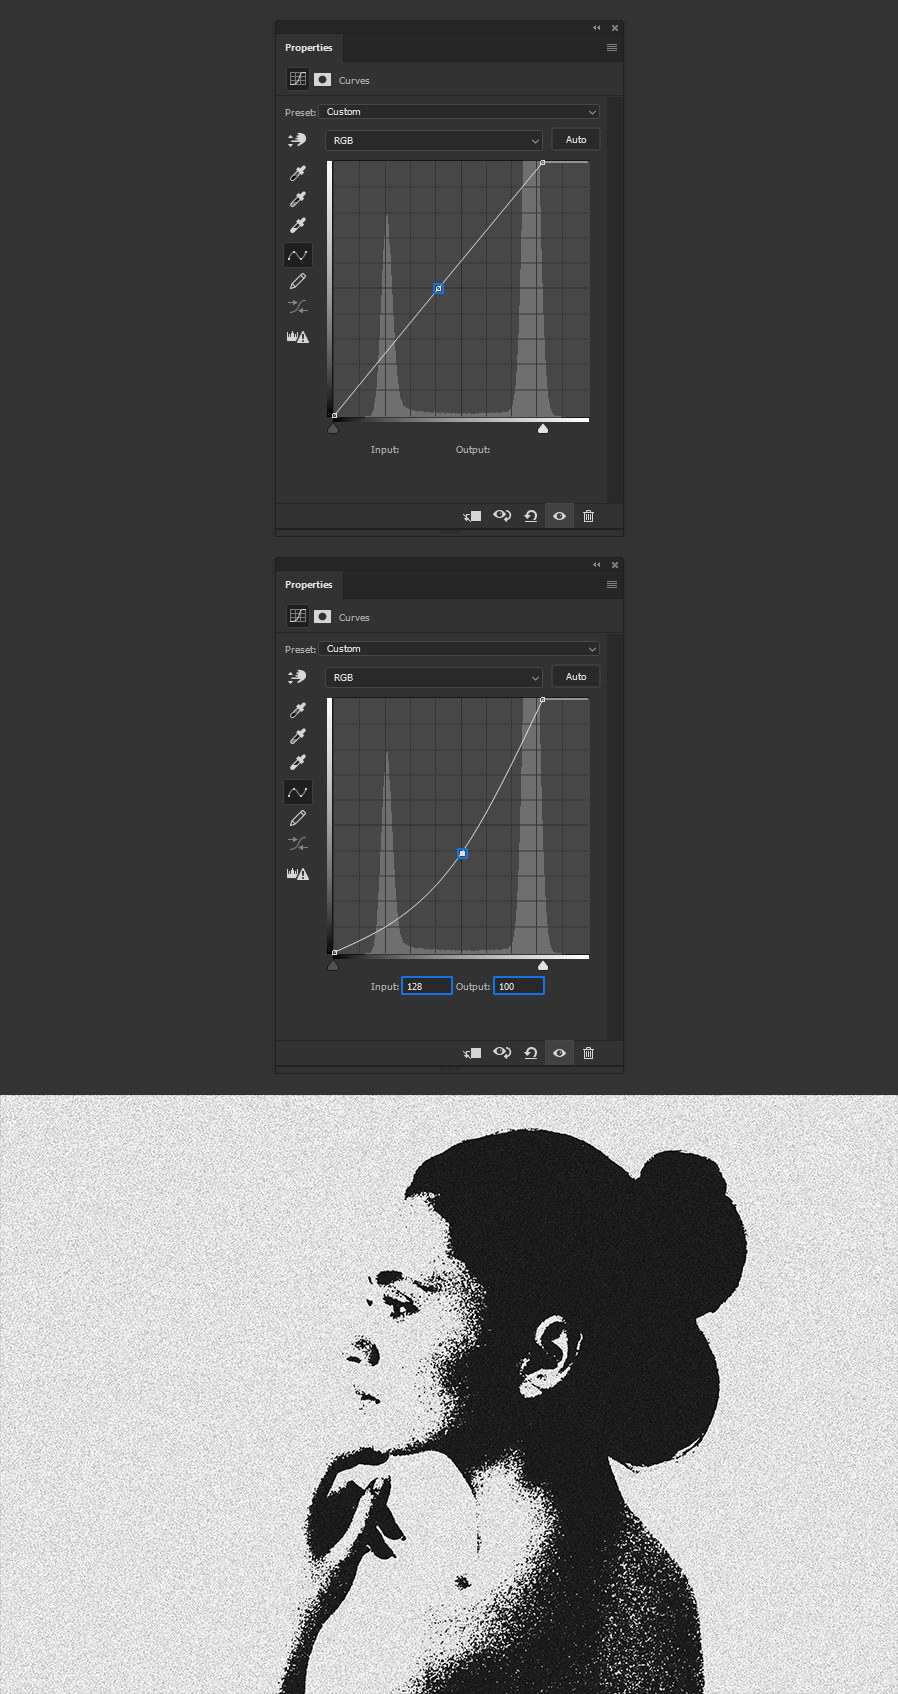
Step 10
Click in the middle of the curve to add a new anchor point and set the value to 128 - 100.
Step 11
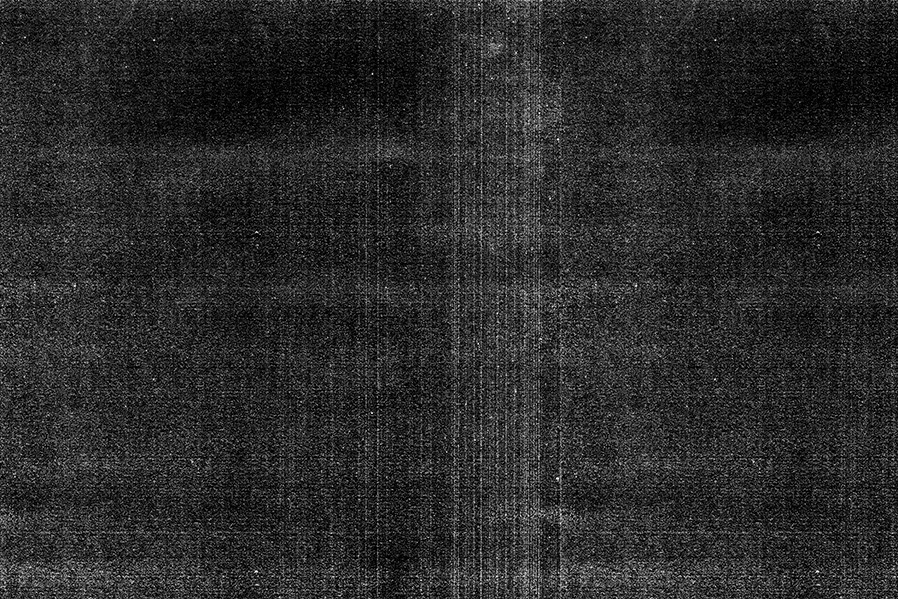
Go to File > Place Embedded. Locate the texture you wish to use on your computer and click the "Place" button.
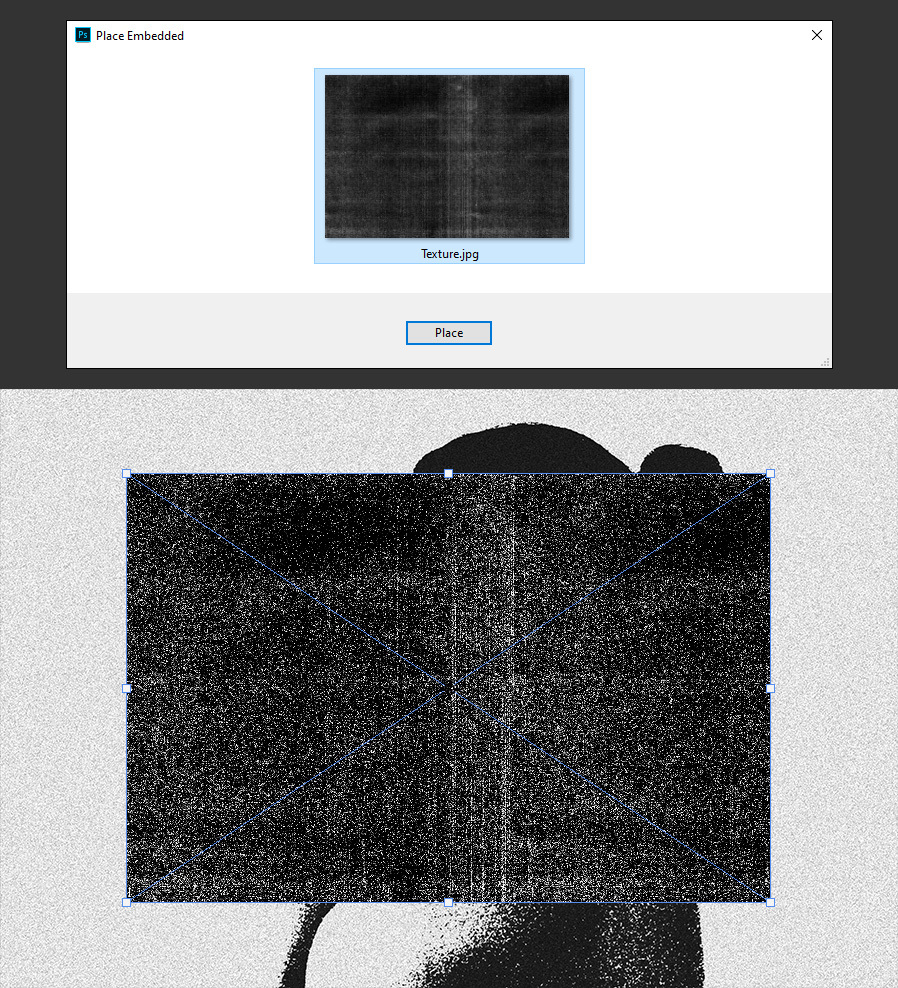
Step 12
If needed, resize your texture to cover the whole artboard.
Step 13
To finish the effect, set the texture layer blend mode to "Color Dodge" or "Linear Dodge".
