How to Make a Grunge Brush in Photoshop
Photoshop Brushes
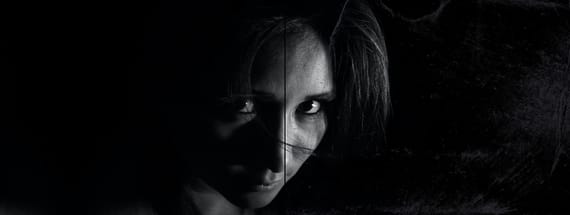
Giving your designs or photos a grungy effect, adding scratches or even dust in Photoshop can be made in many different ways; but there is a very easy and quick way to achieve this kind of effects and you can make it on your own with a simple piece of paper. Today, I will show you how easily you can make a grunge texture in Photoshop and convert it to a brush that you can use over any of your images, and you only need a piece of white paper and a scanner (or your mobile phone).
Step 1
Grab a piece of white paper, rub it over any dirt surface (could be the floor, a wall or any other surface you want), scan it (or take a picture with your phone) and open the image in Photoshop.
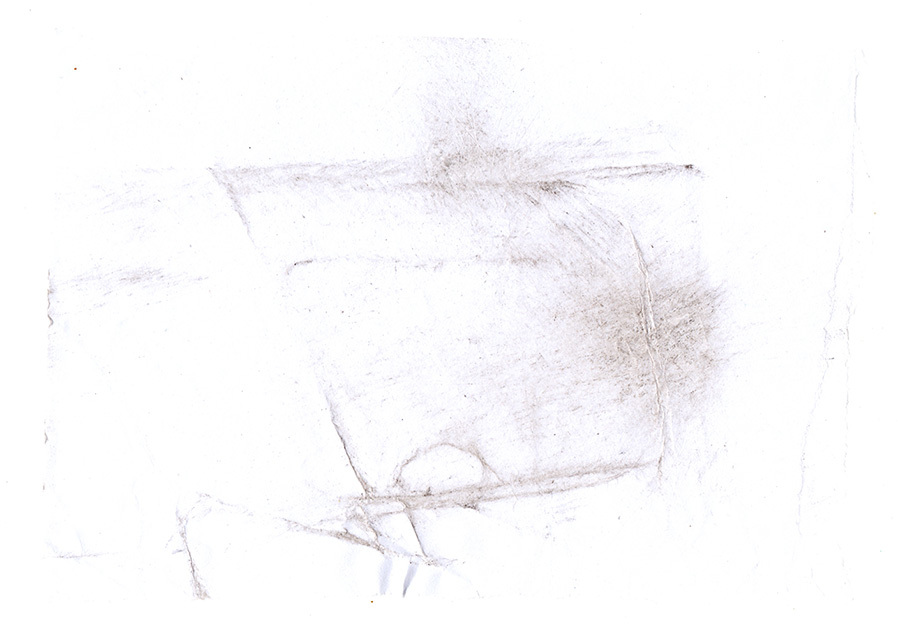
Step 2
Go to Image > Adjustments > Desaturate.
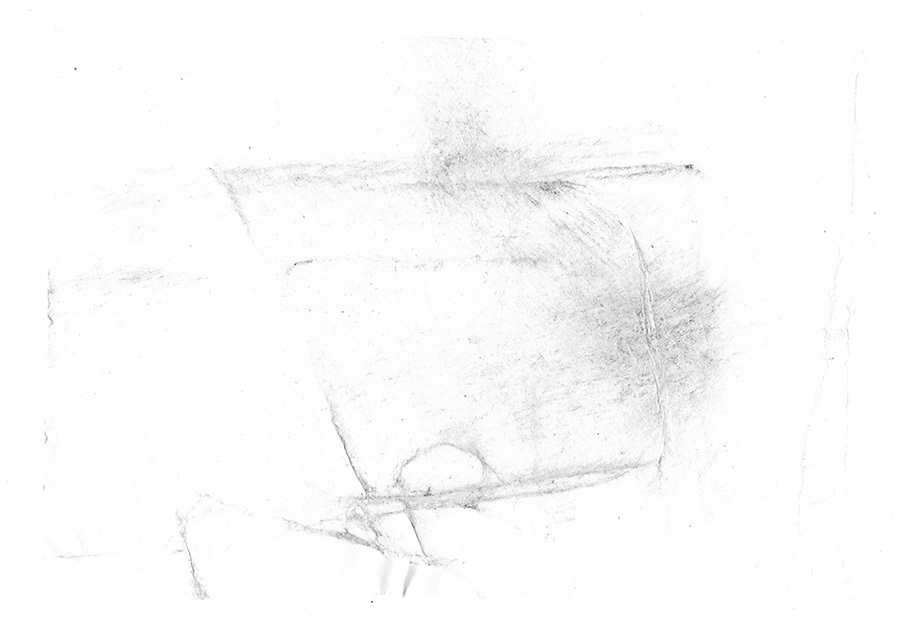
Step 3
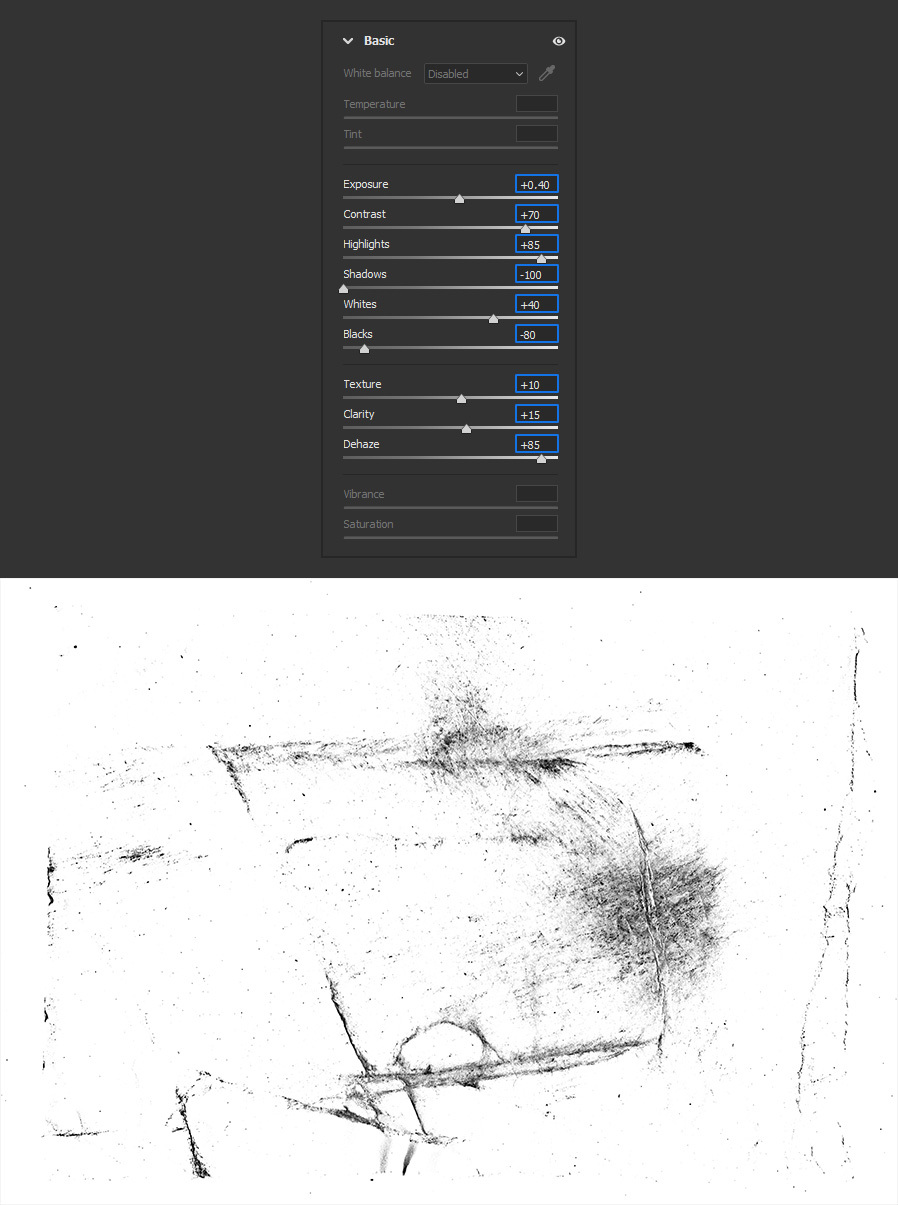
Go to Filter > Camera Raw Filter. In the Basic tab apply the following settings and click OK.
Note: depending on your image, you may need to adjust these values a bit. Look for a good contrasting texture with as many details as you want.
Step 4
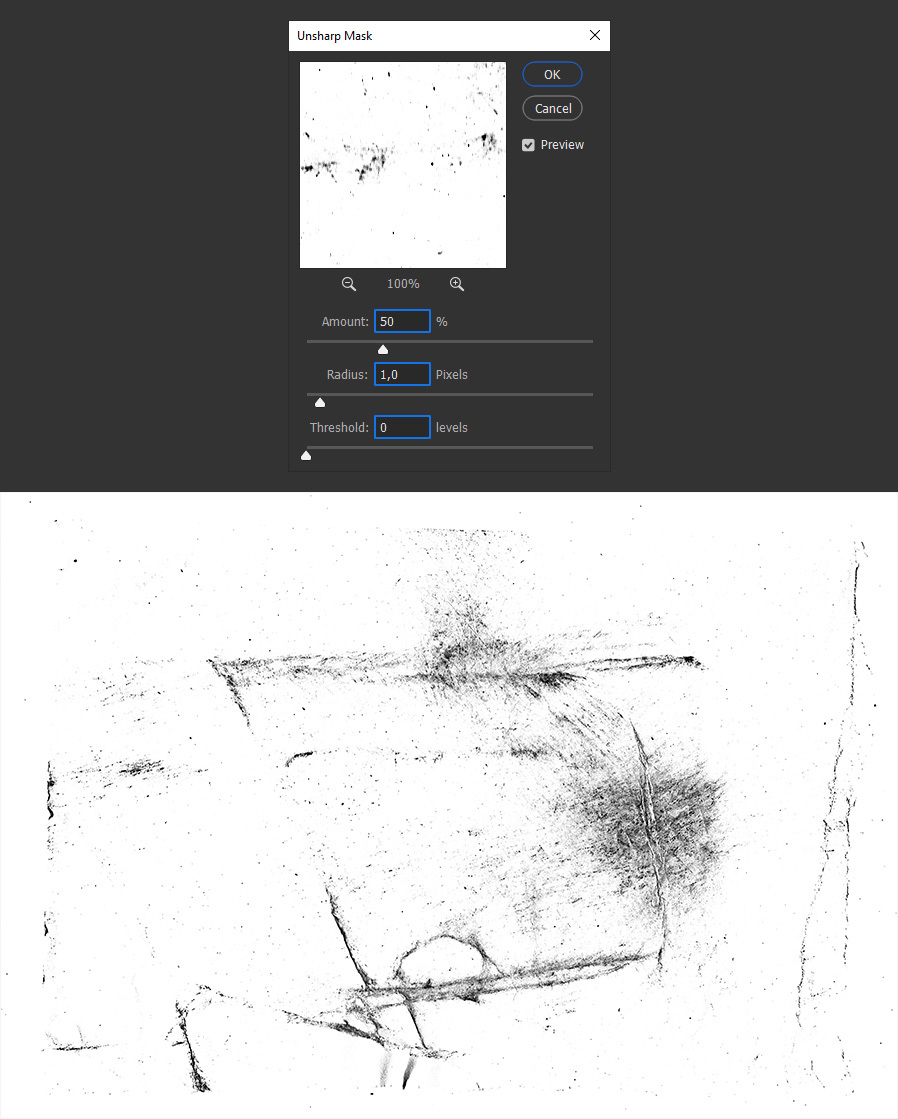
Go to Filter > Sharpen > Unsharp Mask. Apply the following settings and click OK.
Step 5
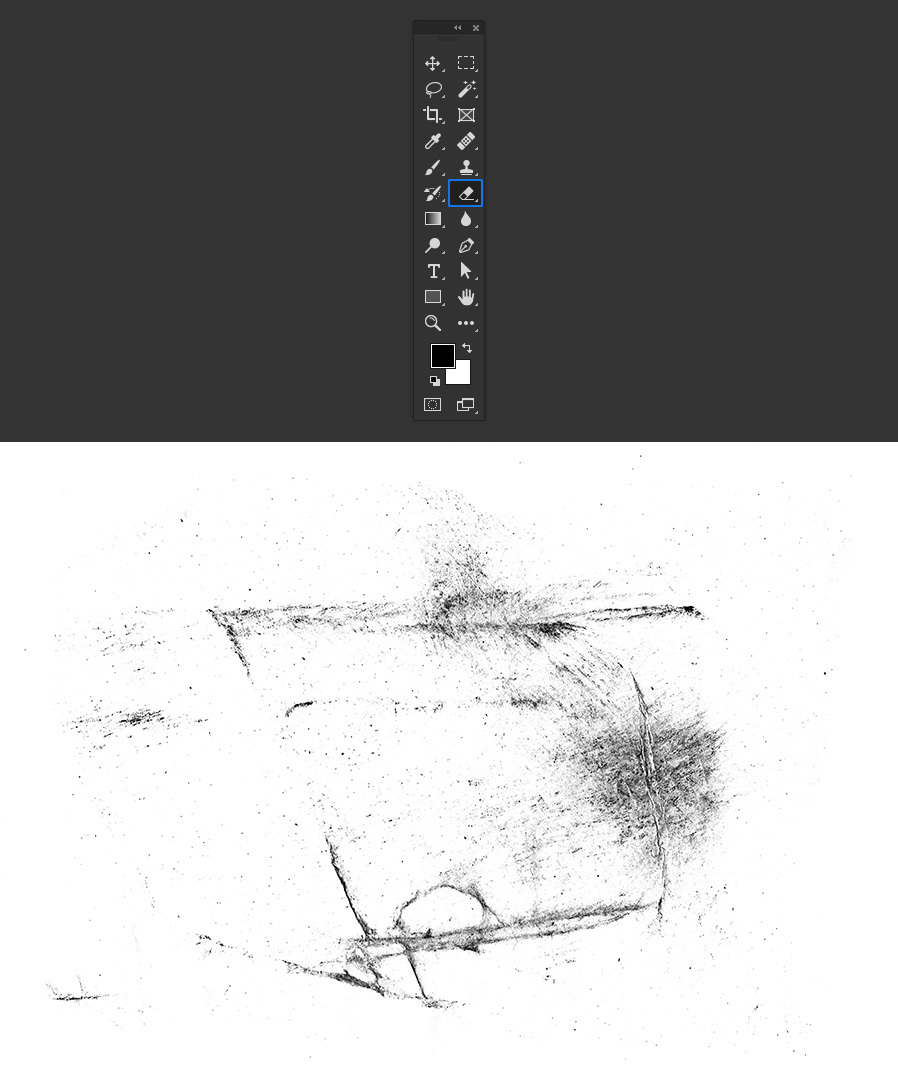
Select the Eraser Tool (E) and erase any part that you do not want for your brush.
Step 6
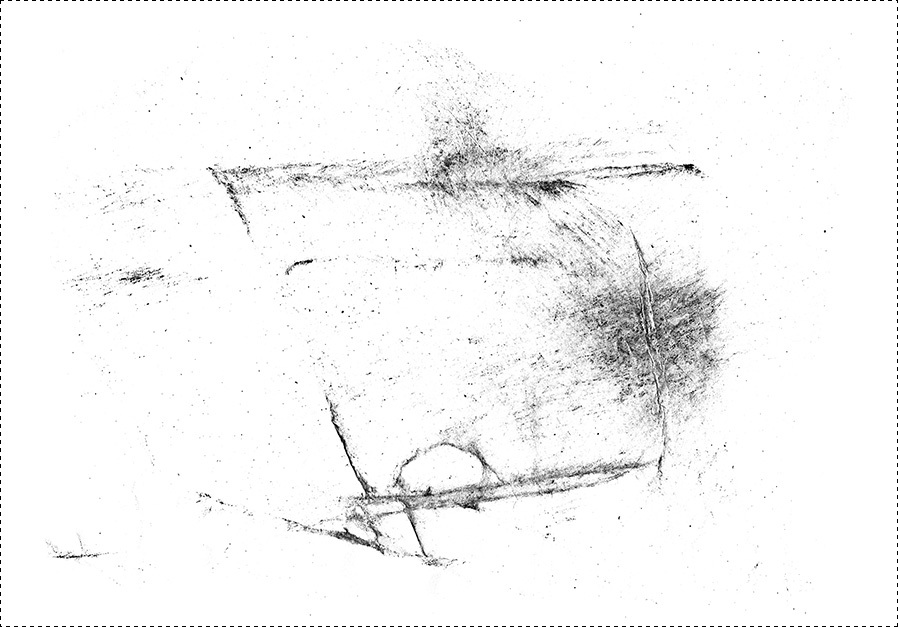
Press Ctrl+A on your keyboard to select all.
Step 7
Go to Edit > Define Brush Preset. Give the new brush a name and click OK.

Step 8
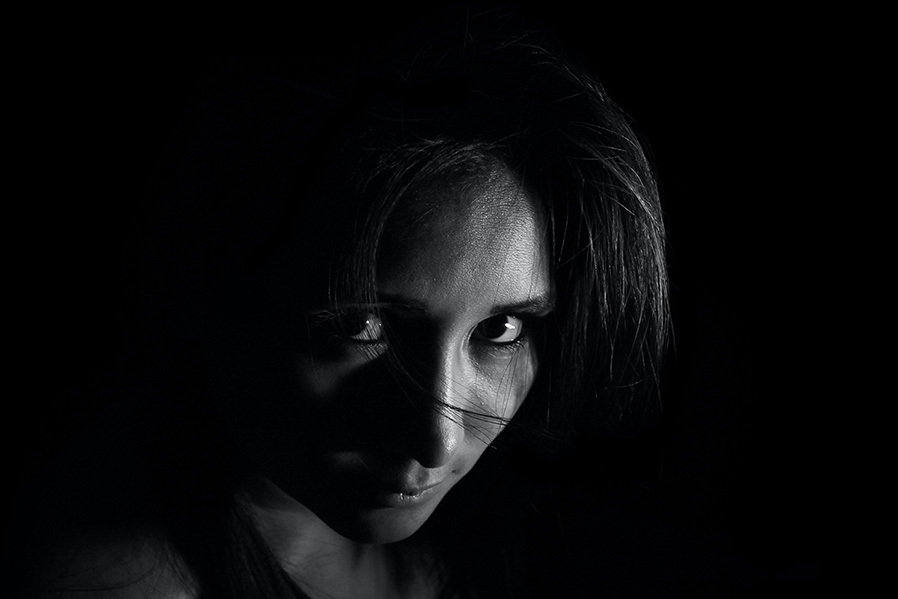
With the brush already made, open any image in Photoshop.
Step 9
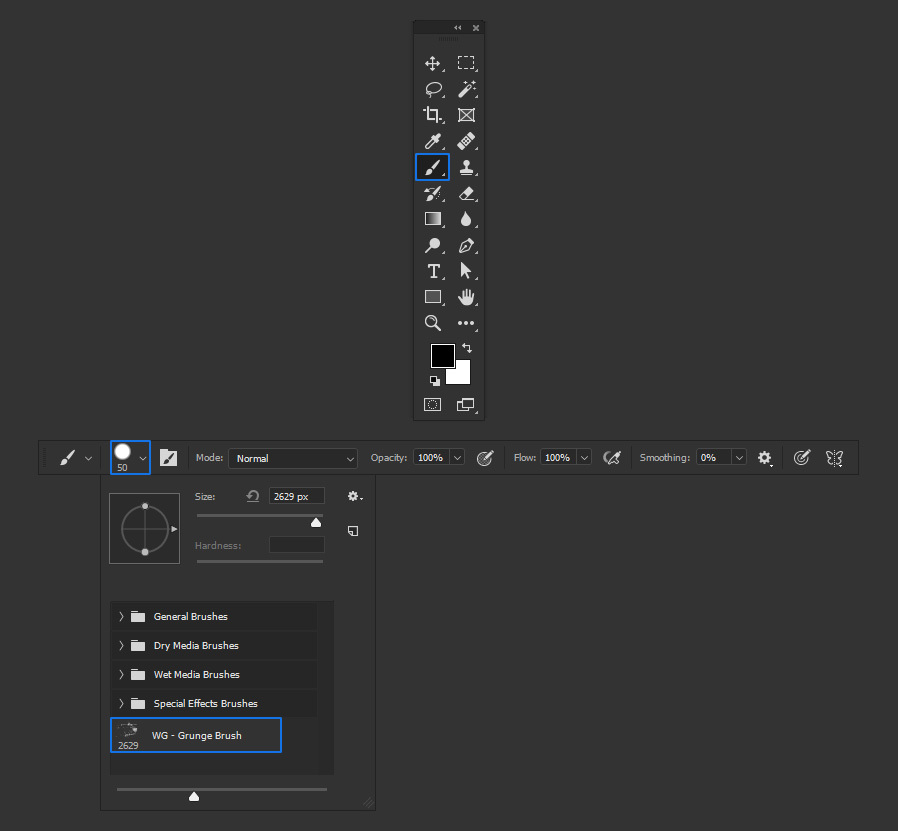
Select the Brush Tool (B) and from the brush presets pick the brush you've made.
Step 10
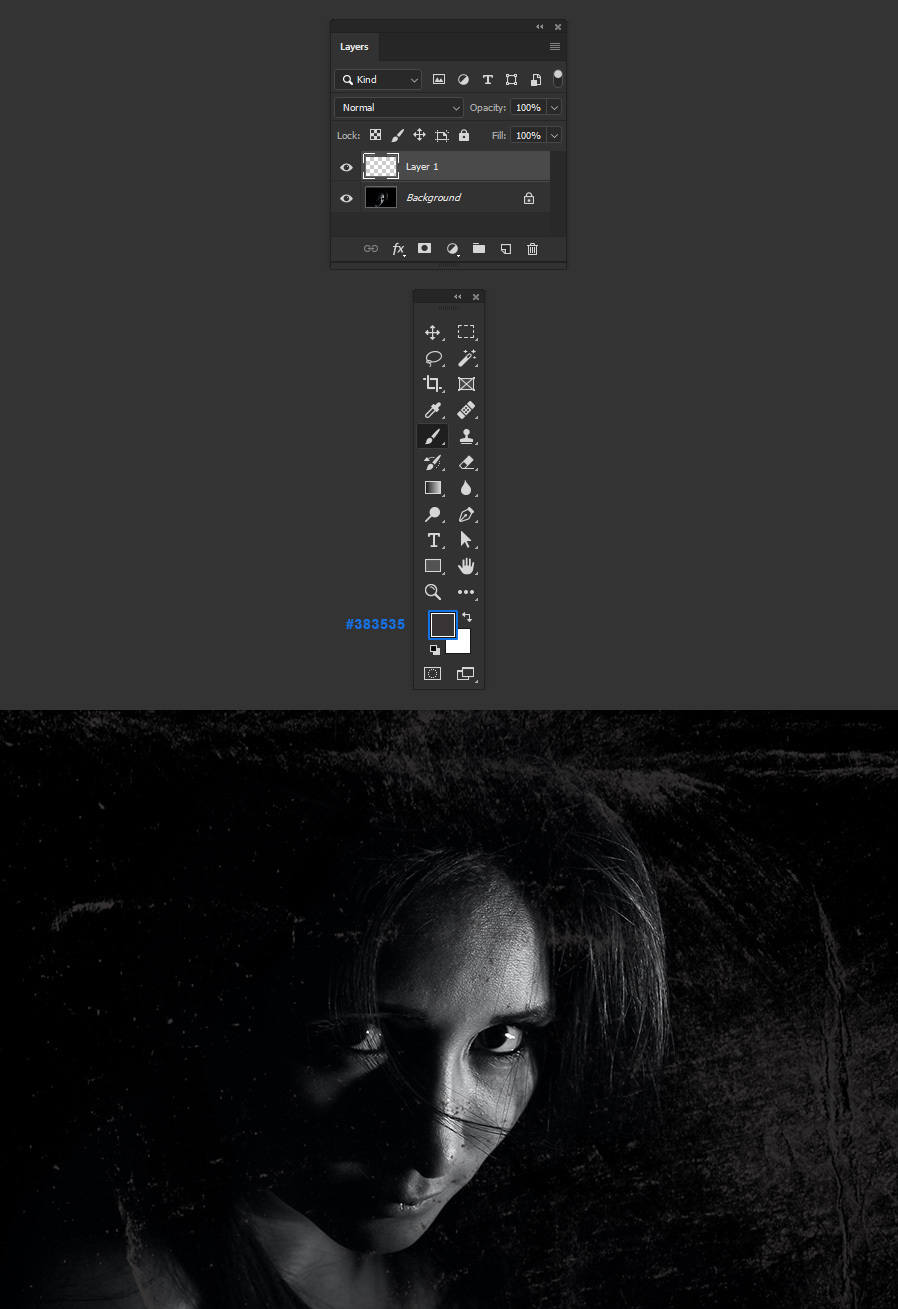
Make a new layer (Layer > New > Layer), pick any color you want for your brush and simply click once over your image.
