How to Make a Basic Rust Texture in Photoshop
Photoshop Textures
Although there are millions of textures available on the internet, sometimes you can have a hard time finding the texture you need for your design. Fortunately, most of the textures can be quickly made in Photoshop if you know which tools to use. So today, I will show you how easily you can make a basic rust texture in Photoshop using only the default Photoshop filters with no need of third-party plugins or add-ons.
Step 1
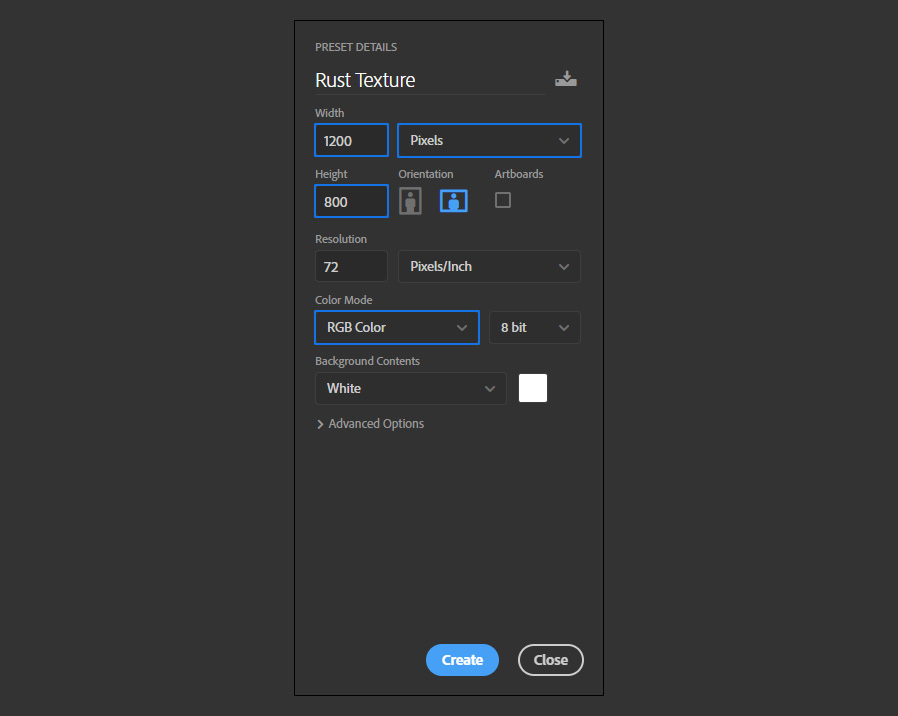
Open Photoshop and make a new file at any size you want. In this case I will setup mine to 1200 x 800 px.
Step 2
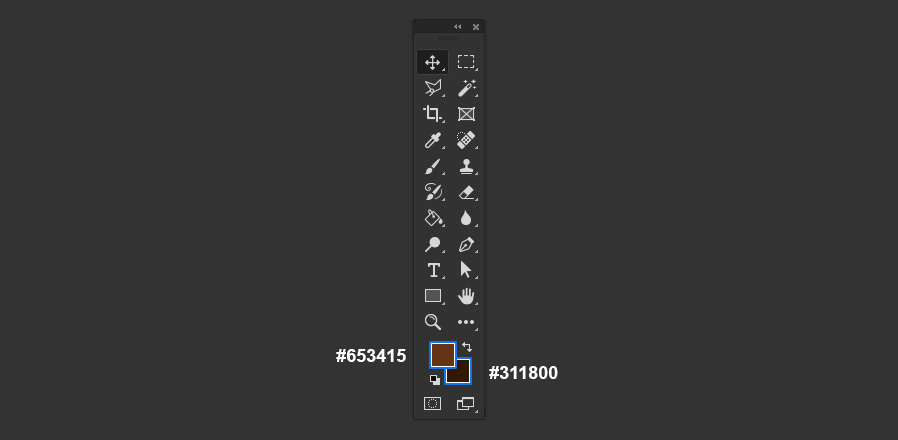
Set the Foreground Color to #653415 and the Background Color to #311800.
Step 3
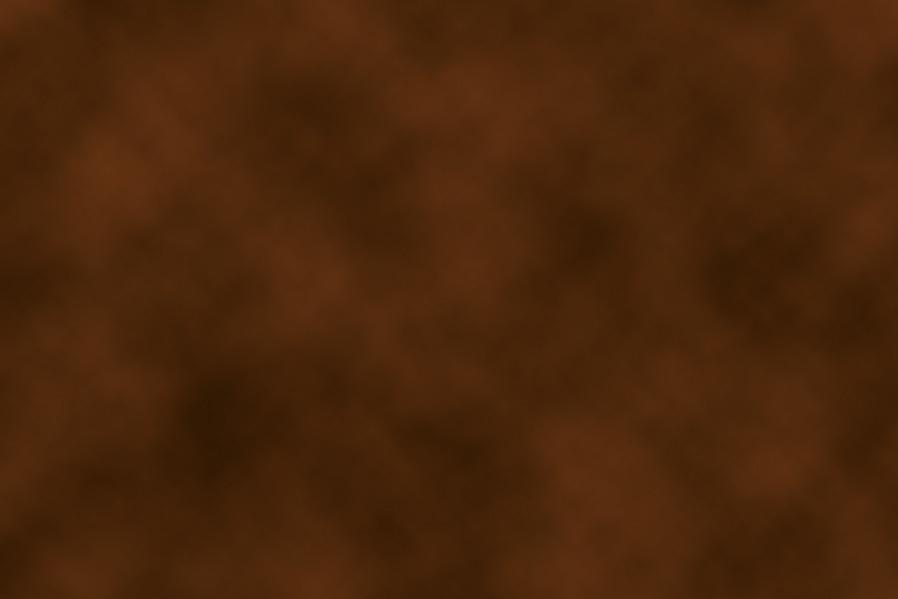
Go to Filter > Render > Clouds.
Step 4
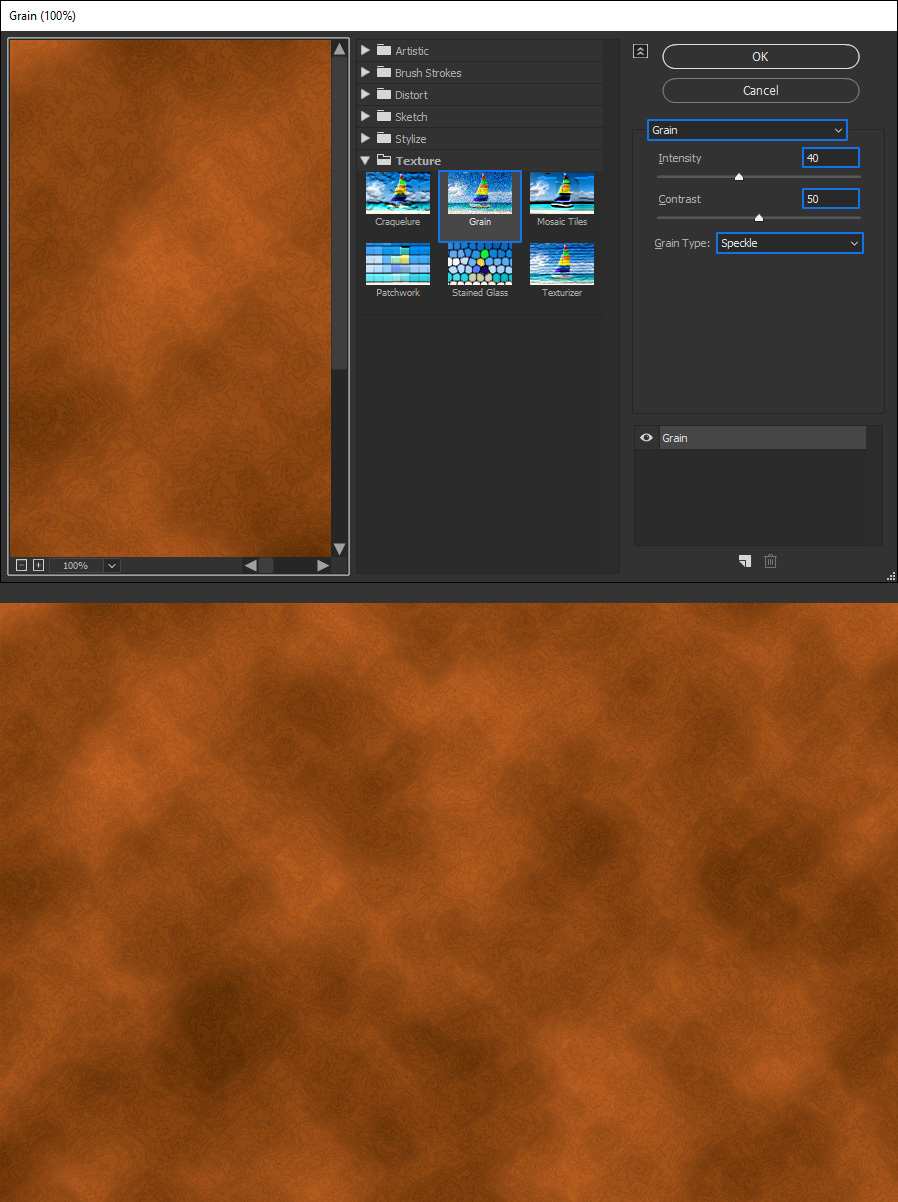
Go to Filter > Filter Gallery. Under "Texture" select "Grain", apply the following settings and click OK.
Step 5
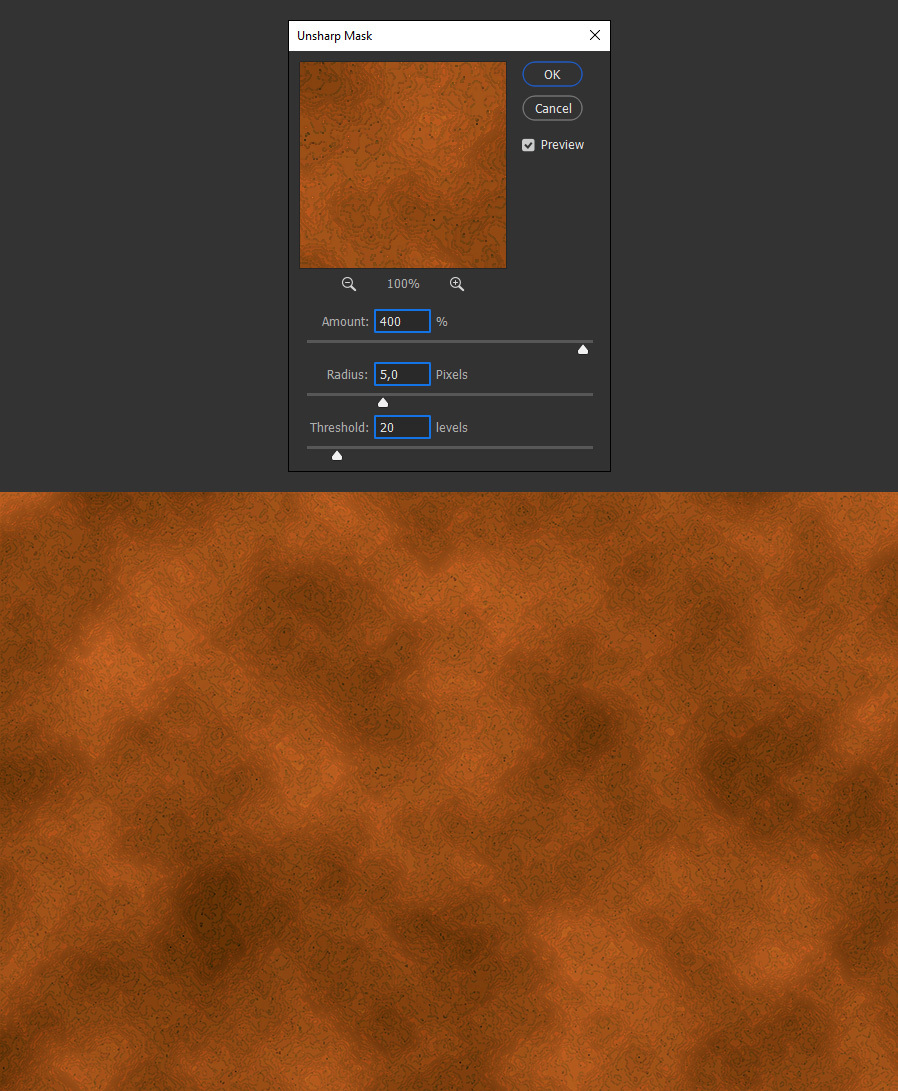
Go to Filter > Sharpen > Unsharp Mask. Apply the following values and click OK.
Step 6
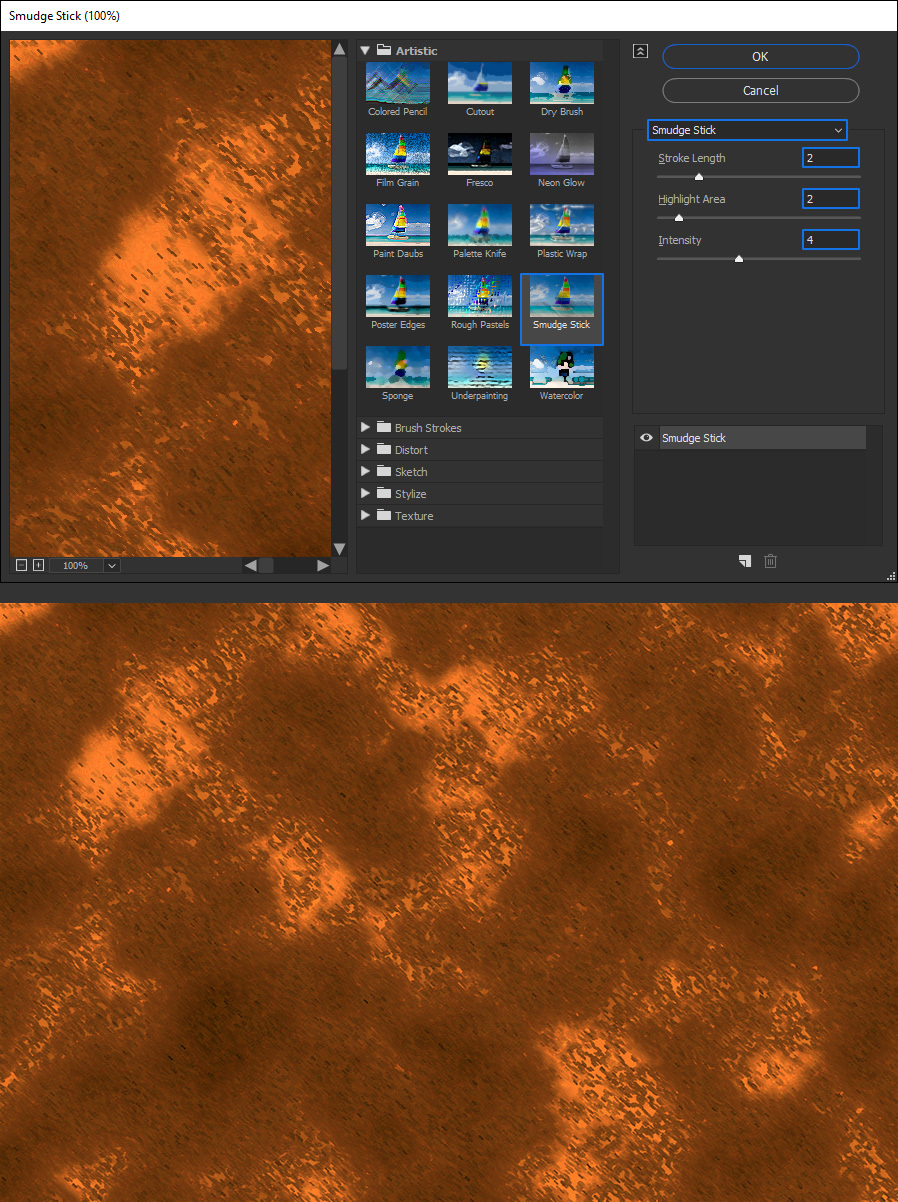
Go to Filter > Filter Gallery. Under "Artistic" select "Smudge Stick", apply the following settings and click OK.
Step 7
Go to Filter > Noise > Add Noise. Apply the following values and click OK.

Step 8
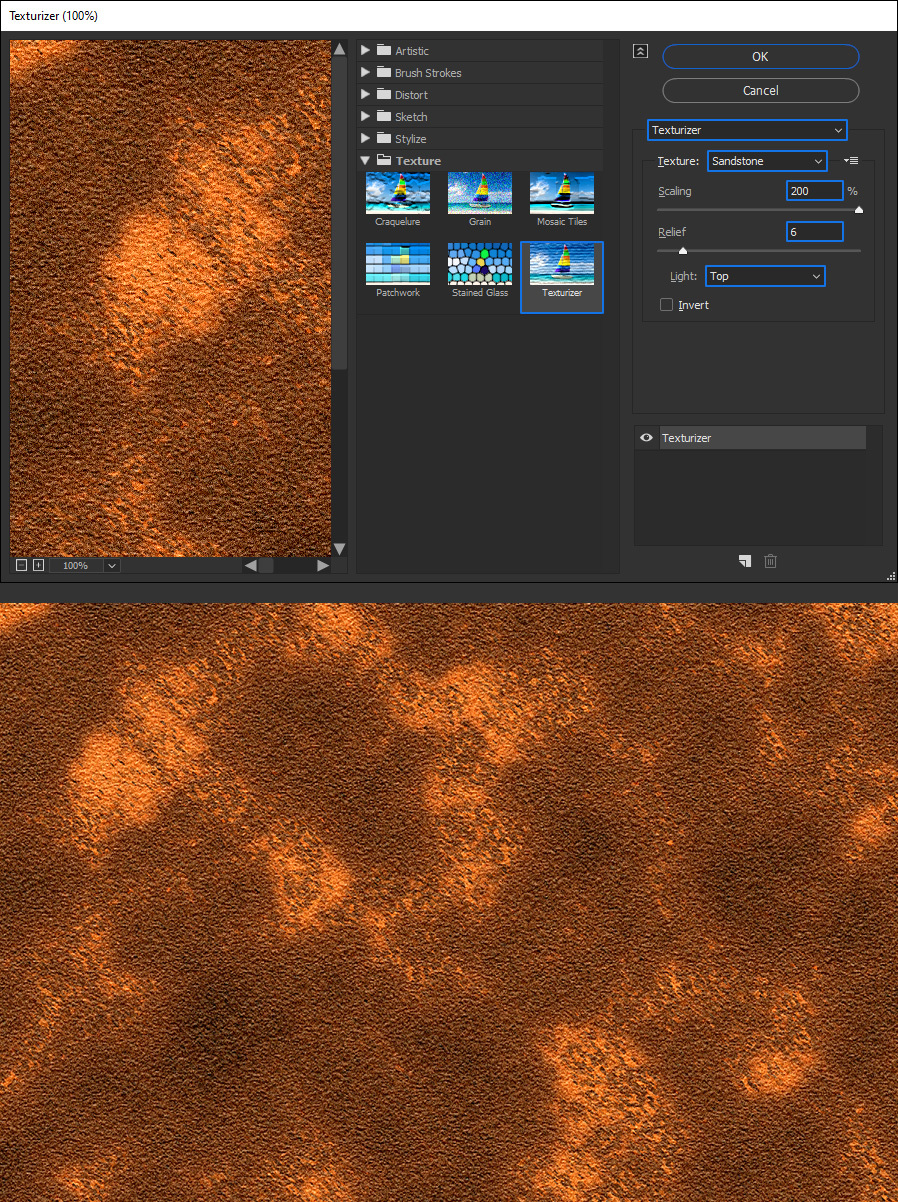
Go to Filter > Filter Gallery. Under "Texture" select "Texturizer", apply the following settings and click OK.
Step 9
To give the texture some finishing touches, paint on some random spots using the Dodge Tool (O) with the Midtones Exposure set to 50% in the top toolbar.
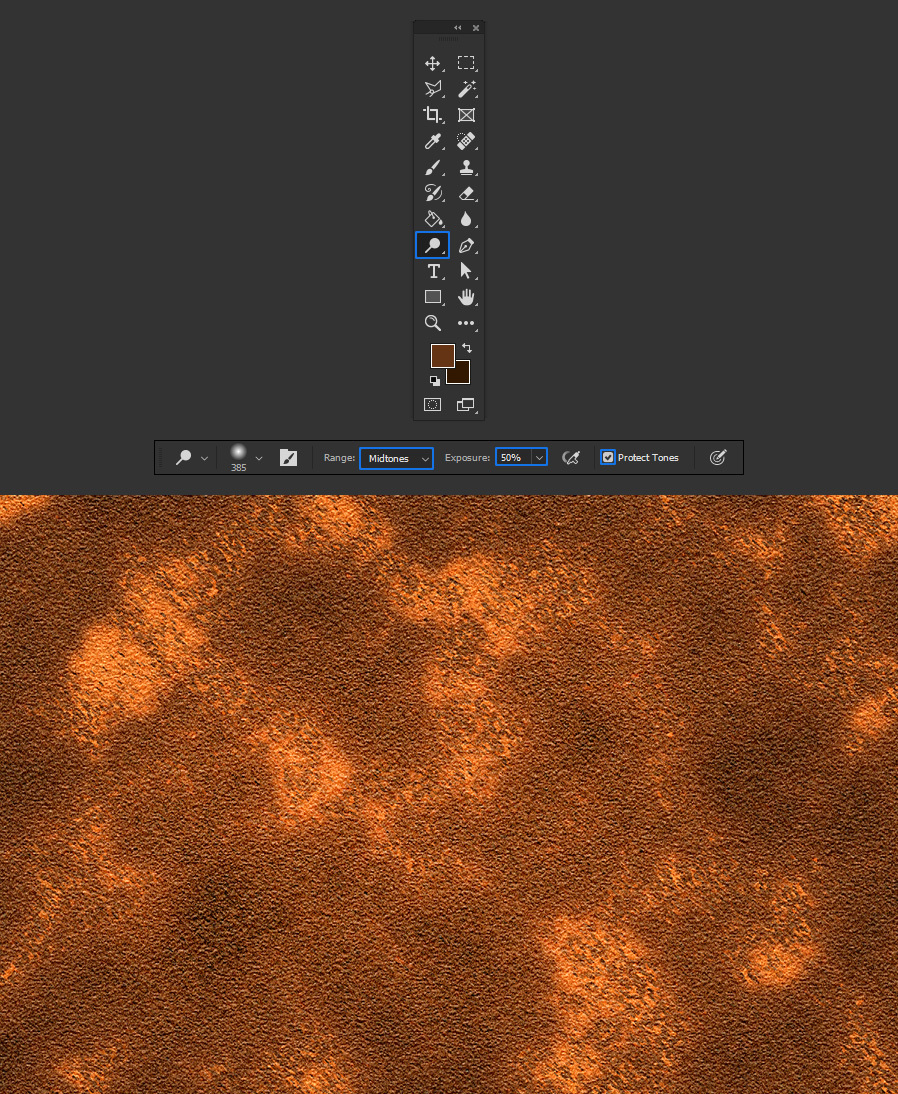
Step 10
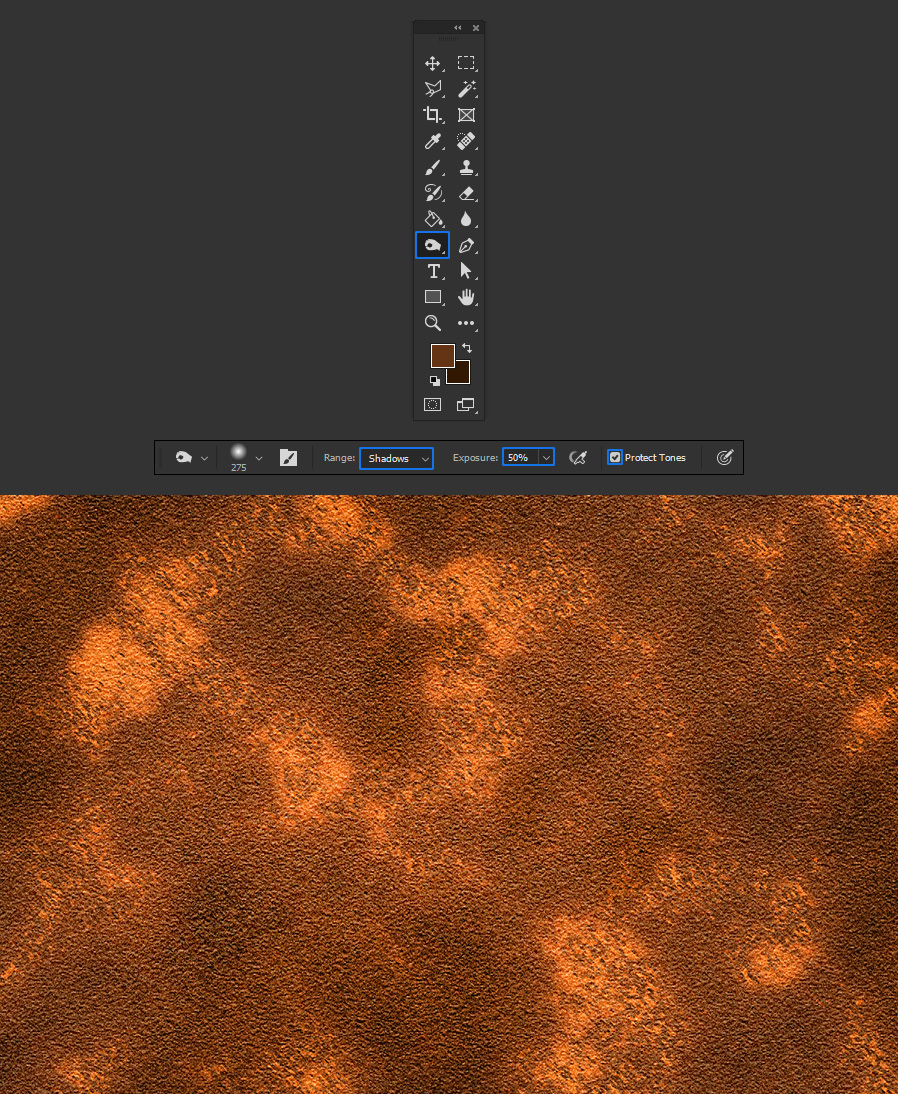
Lastly, select the Burn Tool. Be sure to have the Range set to Shadows in the top toolbar with the Exposure set to 50% and again, paint on some random spots to finish the texture.
