How to Make a Basic Ribbon Brush in Illustrator
Illustrator Brushes
There are times when you need to make a ribbon following a certain path, like in a badge, and advertising or even to frame a simple quote. But it could take you a lot of time to make the ribbon keeping the same width and with perfect end shapes. Fortunately, there are many methods to make ribbons in Illustrator! The one I will show you today is quick, easy, and will let you change the width and color of the ribbon, as well as the ribbon path to follow any shape that you want.
Step 1
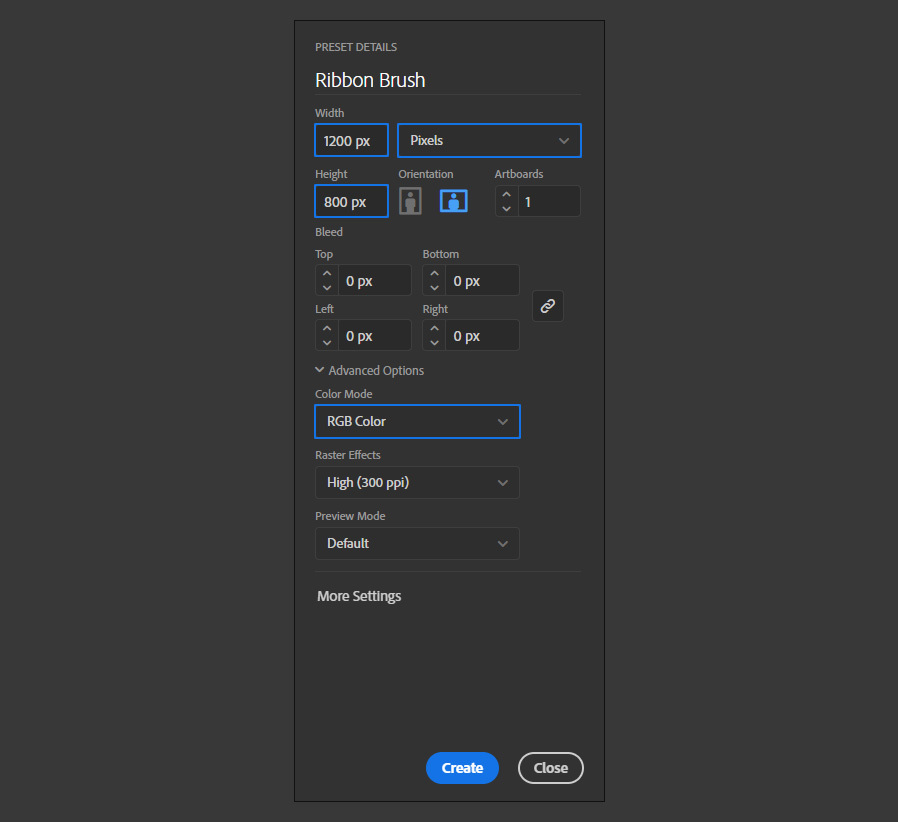
Open Illustrator and make a new file at any size you want. I will make mine at 1200 x 800 px.
Step 2
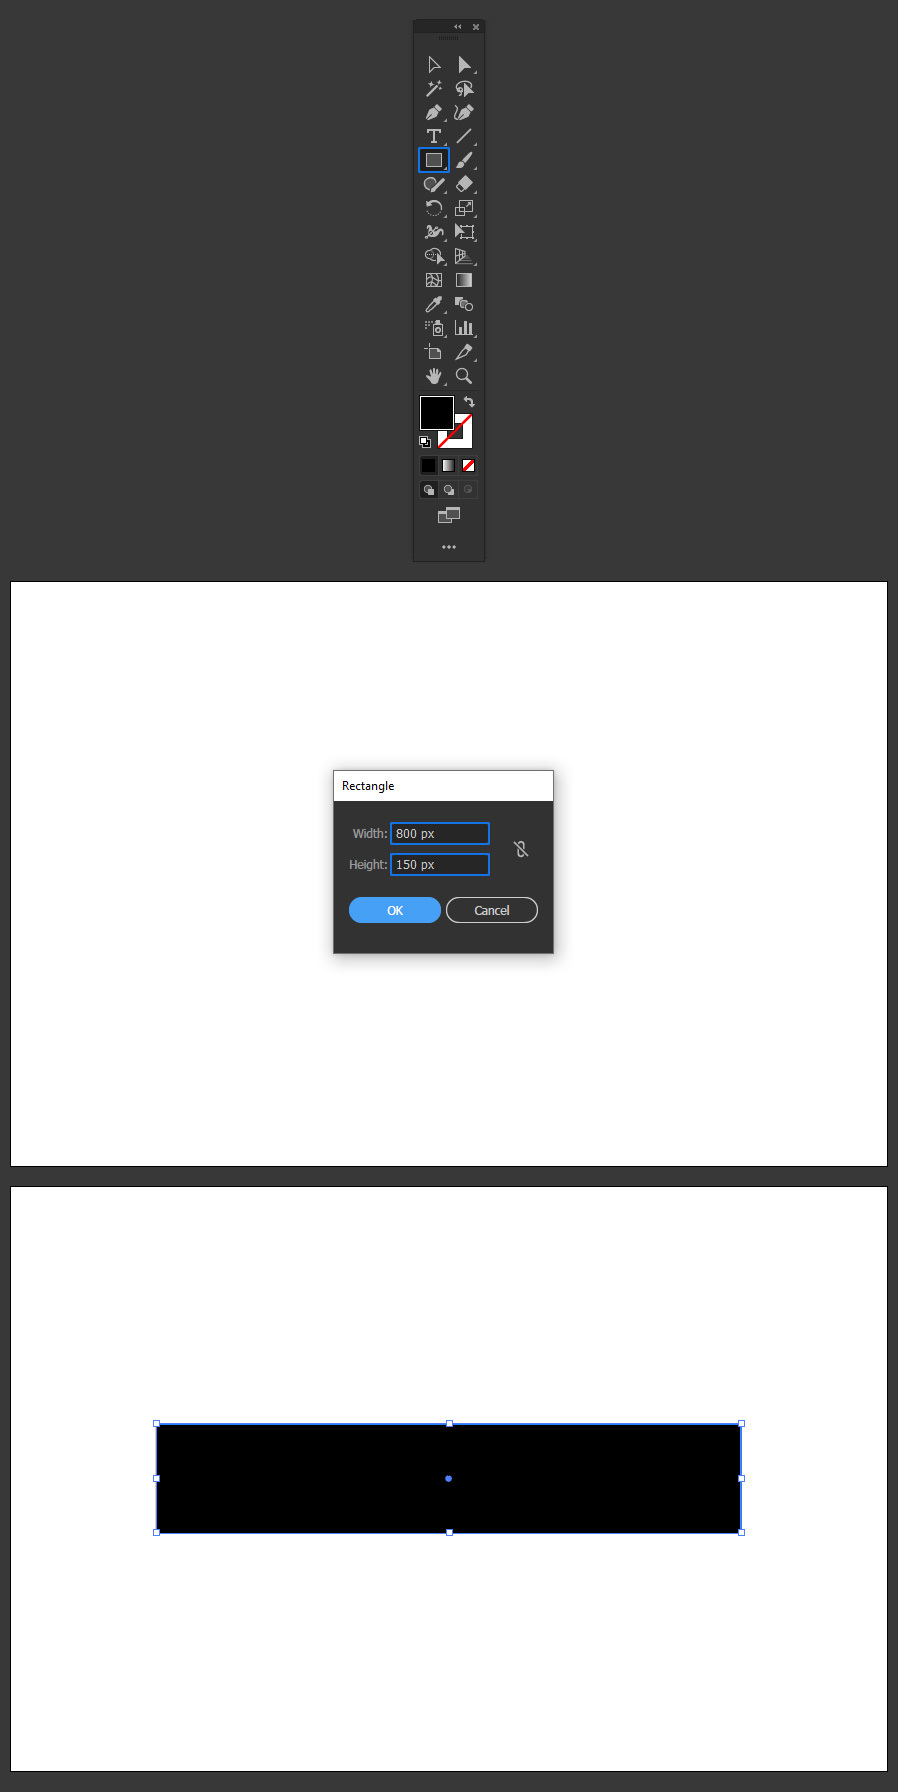
Select the Rectangle Tool (M), click once over the artboard, and set the following dimensions.
Step 3
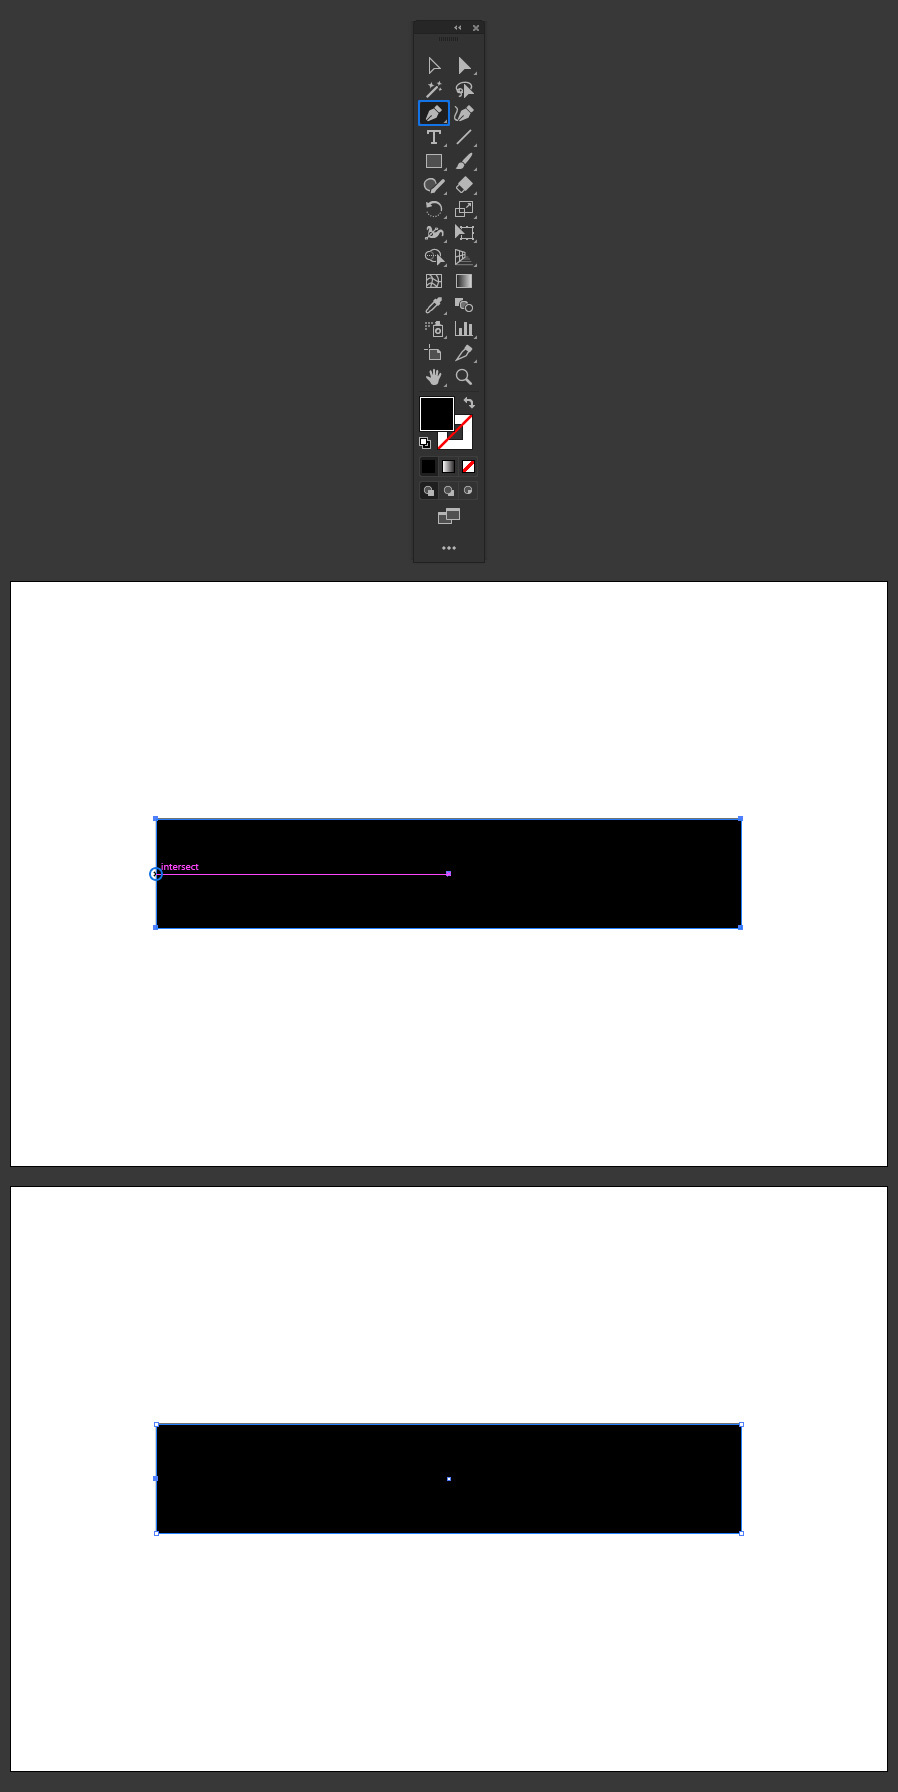
Select the Pen Tool (P) and click once right in the middle of the left side of the rectangle as soon you see the "intersect" guideline.
Step 4
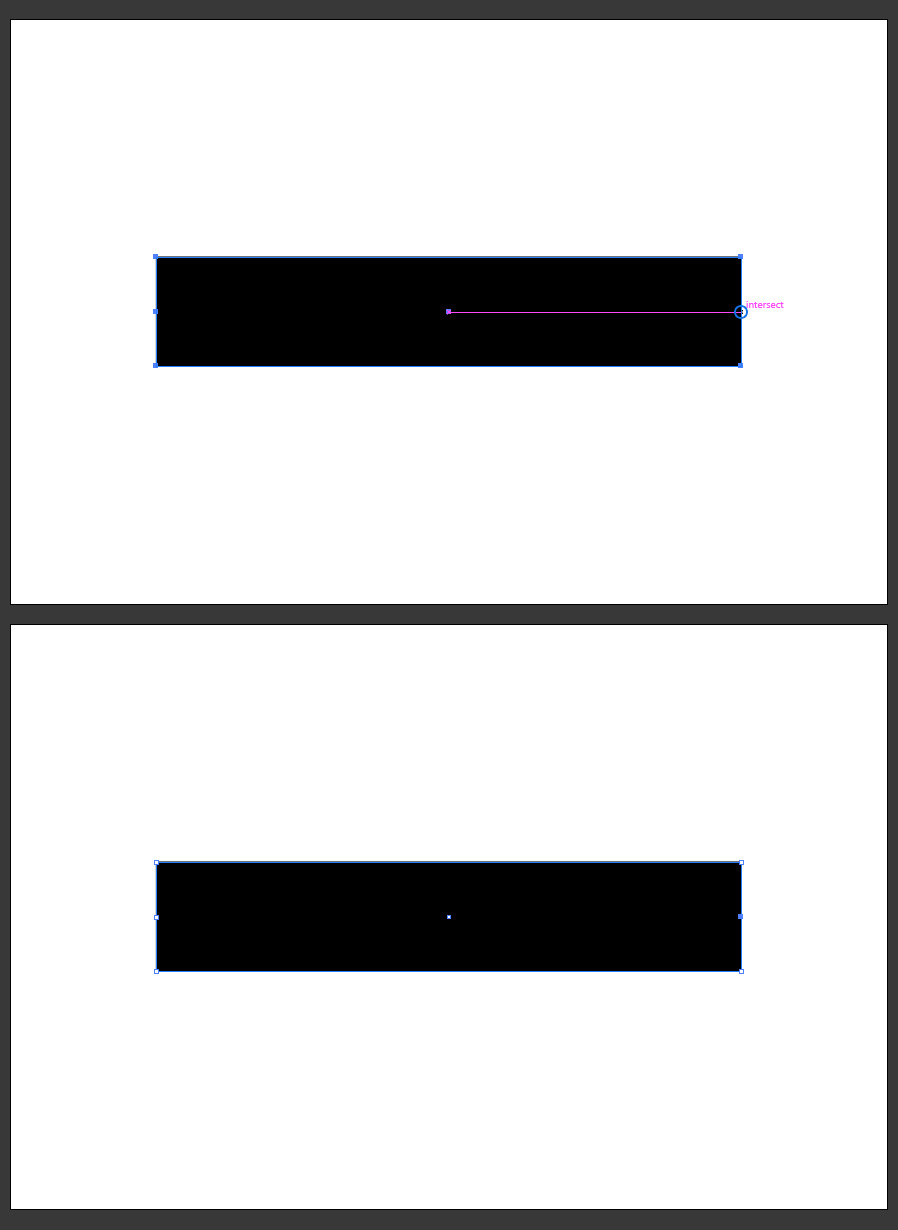
Now click oncer ight in the middle of the right side of the rectangle as soon you see the "intersect" guideline.
Step 5
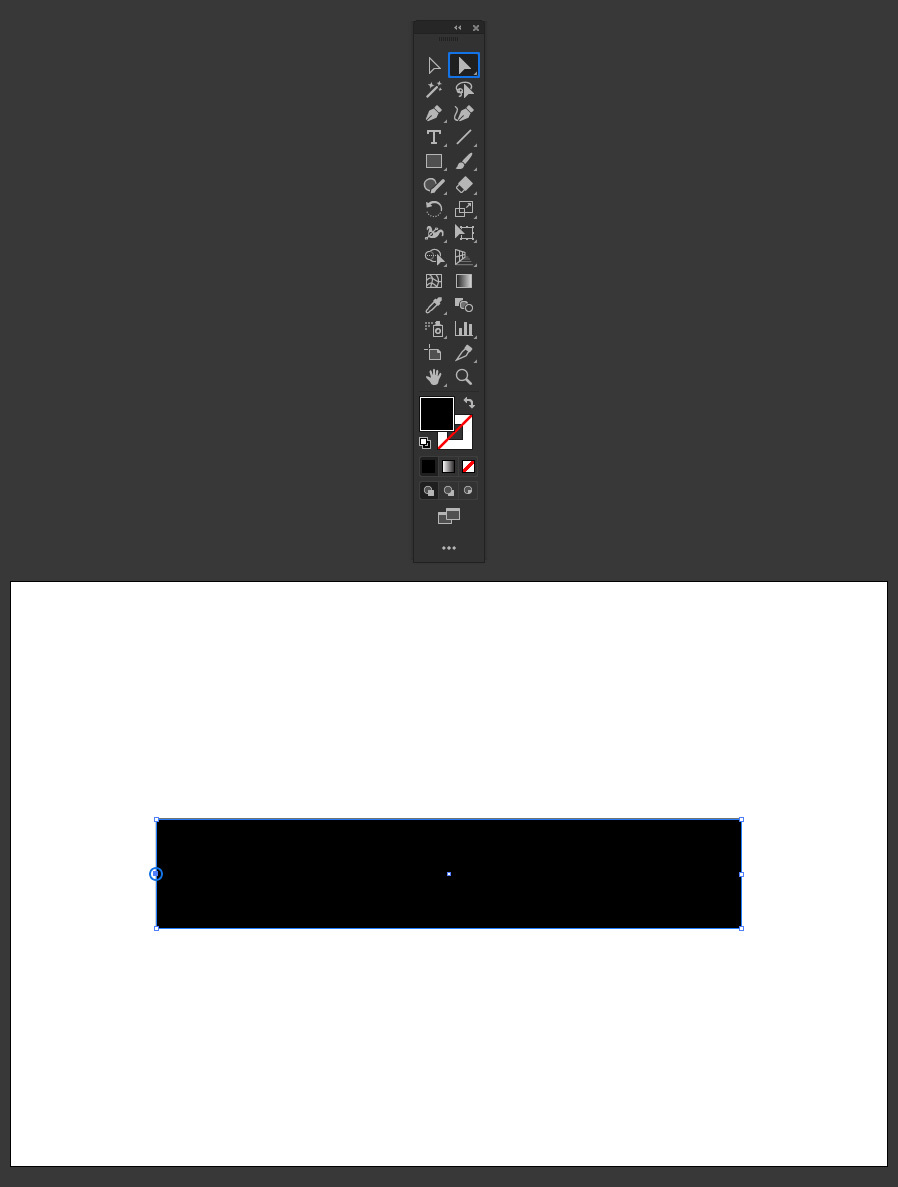
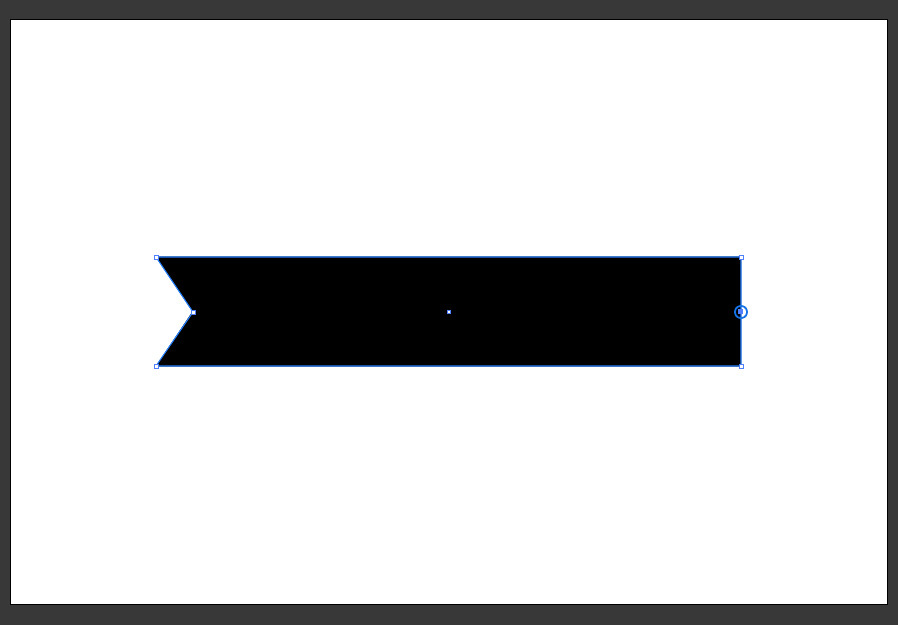
Pick the Direct Selection Tool (A) and click over the middle left anchor point.
Step 6
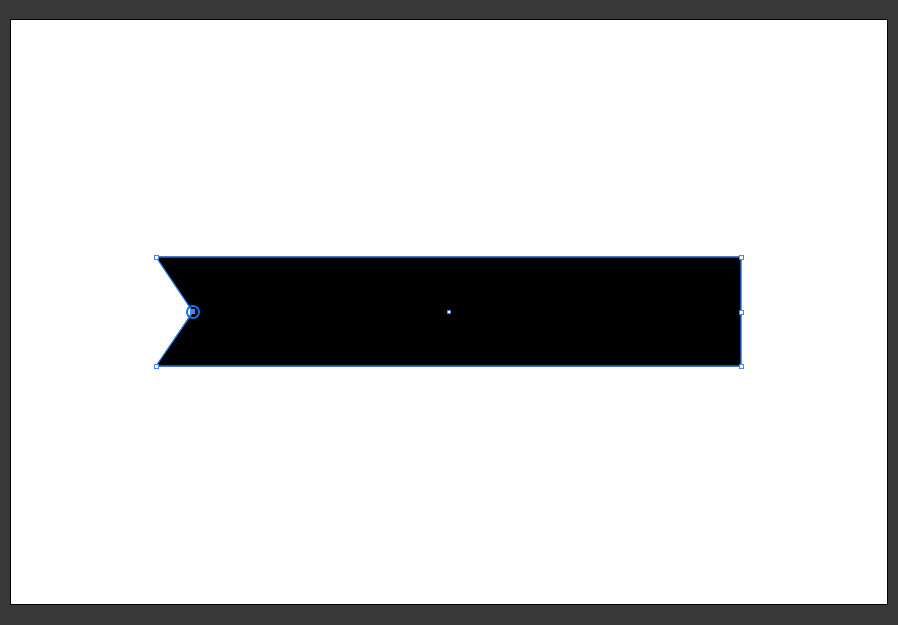
With the anchor point selected, hold the Shift key on your keyboard and press the right arrow key once key to move the anchor point to the right as far as you want.
I will hit the right arrow key 5 times to move it 50 px to the right.
Step 7
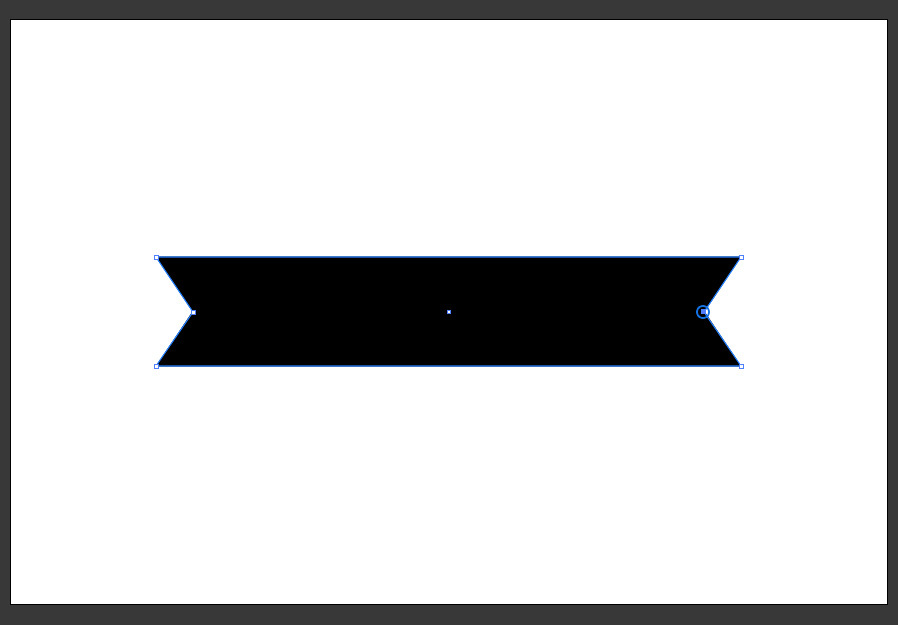
Now select the middle right anchor point with the Direct Selection Tool (A).
Step 8
With the anchor point selected, hold the Shift key on your keyboard and press the left arrow key once to move the anchor point to the left as far as you want.
I will hit the left arrow key 5 times to move it 50 px to the left.
Step 9
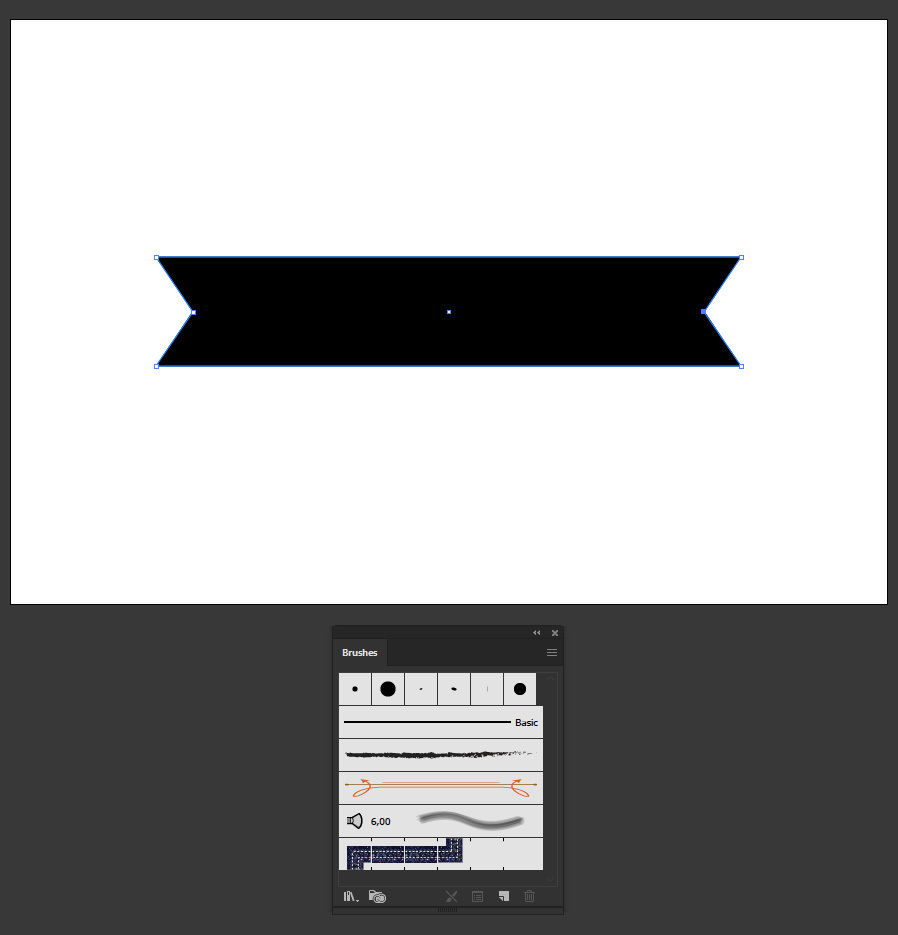
With the anchor point still selected, go to Window > Brushes.
Step 10
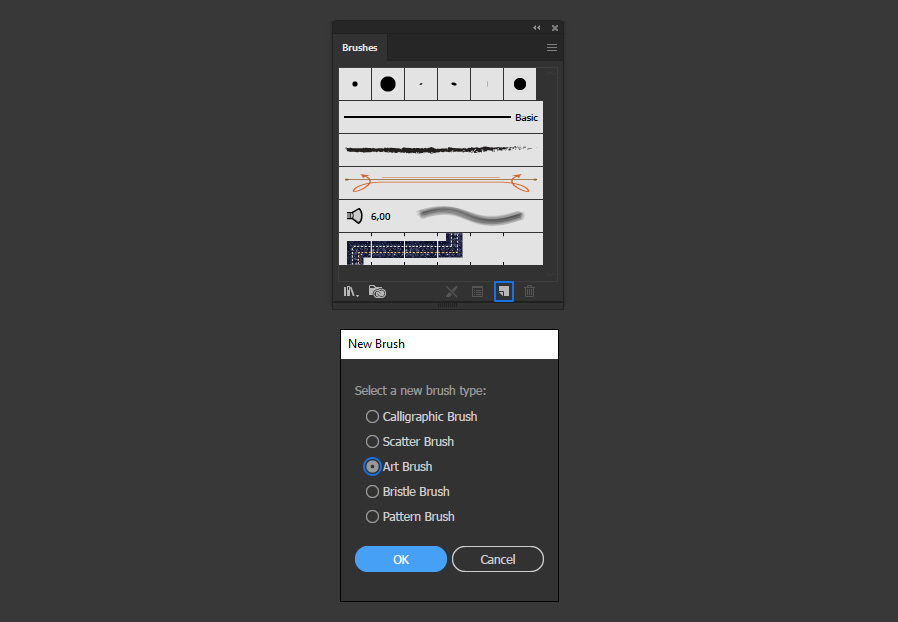
Click over the "New Brush" icon. In the New Brush window select "Art Brush" and click OK.
Step 11
Give your new brush a name and select the "Stretch Between Guides" option under the Brush Scale Options.
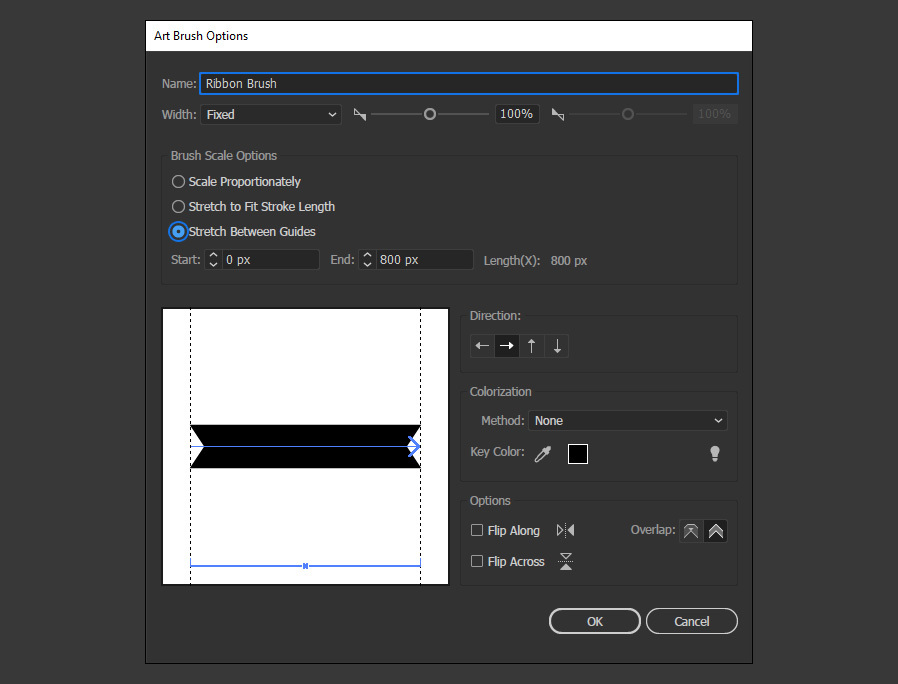
Step 12
As we moved the middle anchor point 50 px to the inside in both directions, we will set the Start guide to 60 px (so we have a 10 px room space) and the End guide to 740 px (due the initial rectangle width has 800 px), so we also have a 10 px space.
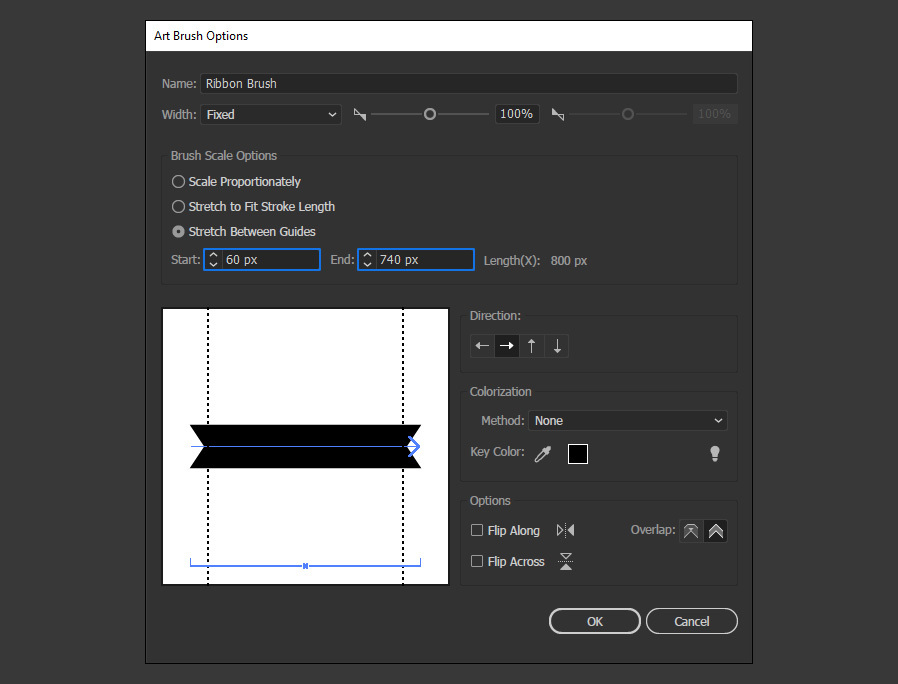
Step 13
Next, under the Colorization option select "Tints" under the Method dropdown menu and click OK in the Art Brush Options window. Now the new brush should be visible in the Brushes Panel.
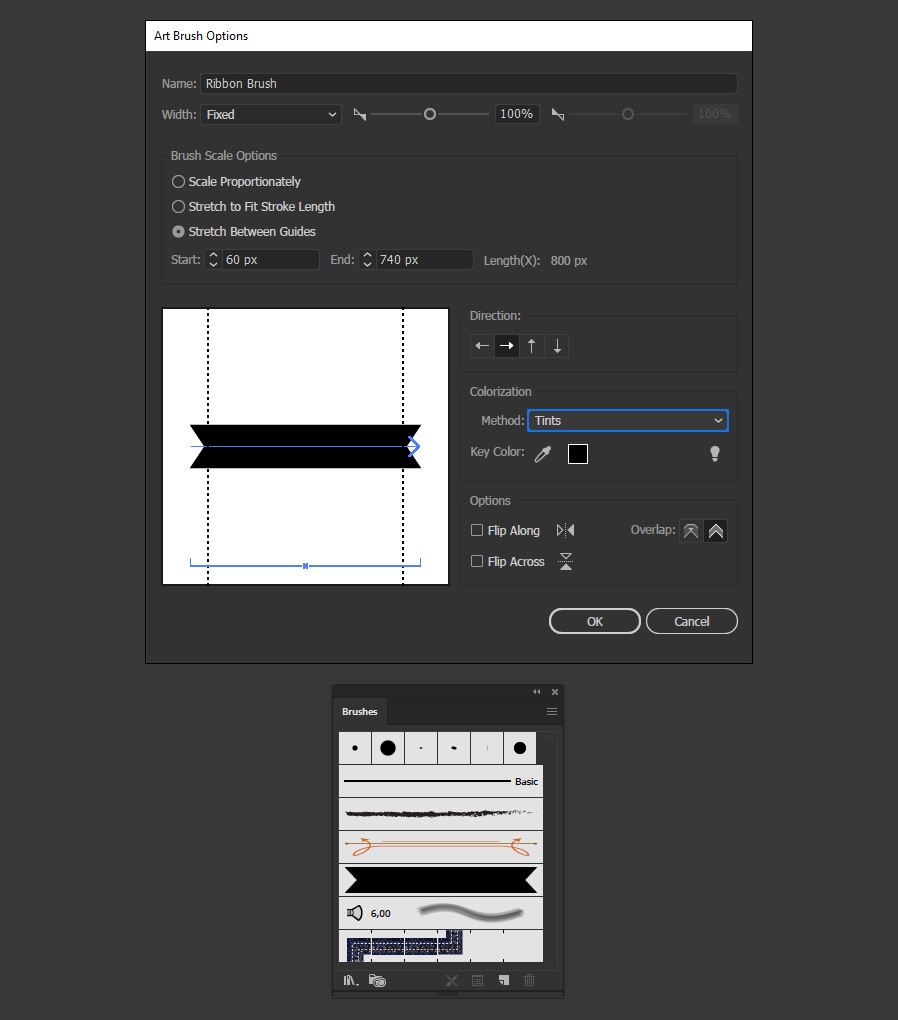
Step 14
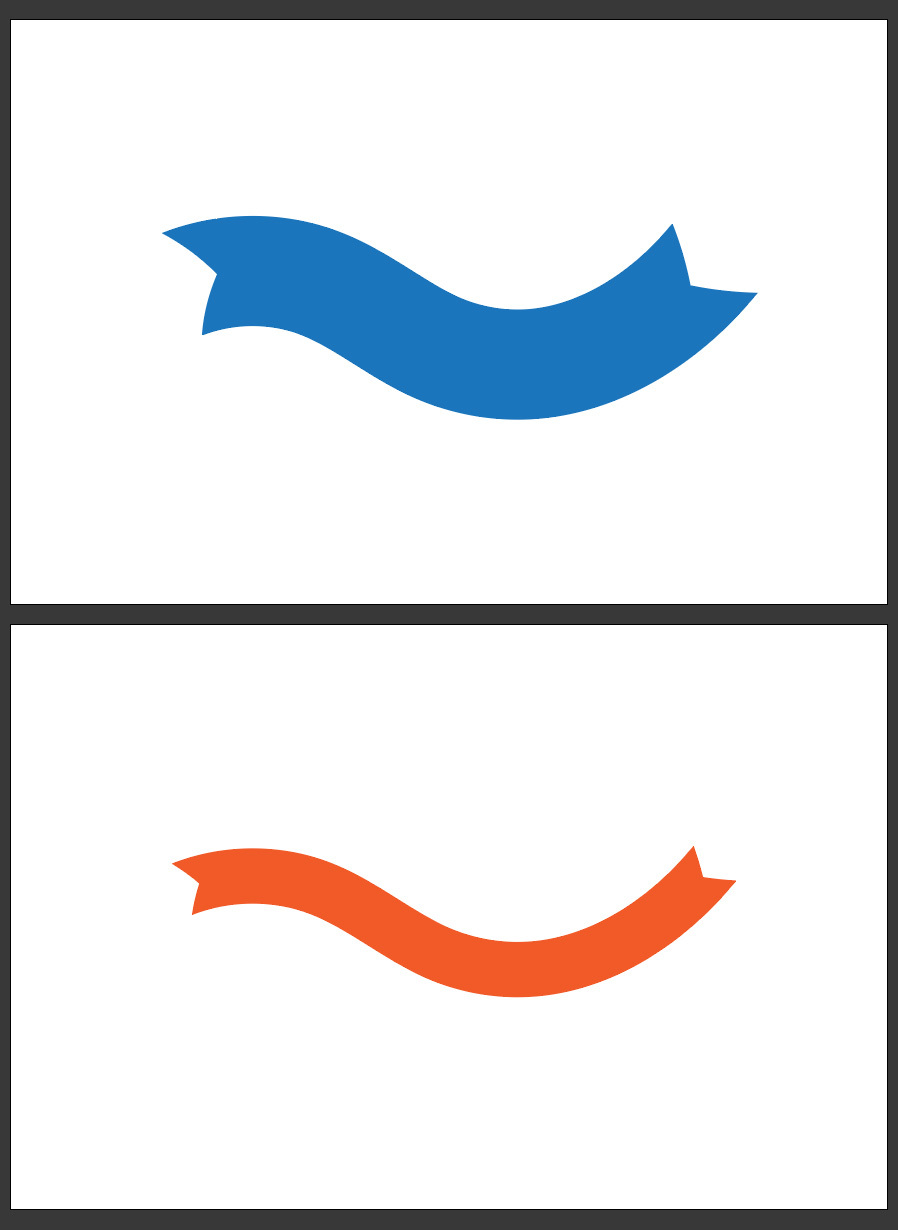
To test the new brush, select the Paintbrush Tool (B), the Pen Tool (P), the Line Segment Tool, or even the Arch Tool and paint/draw over the artboard the shape you want for your ribbon.
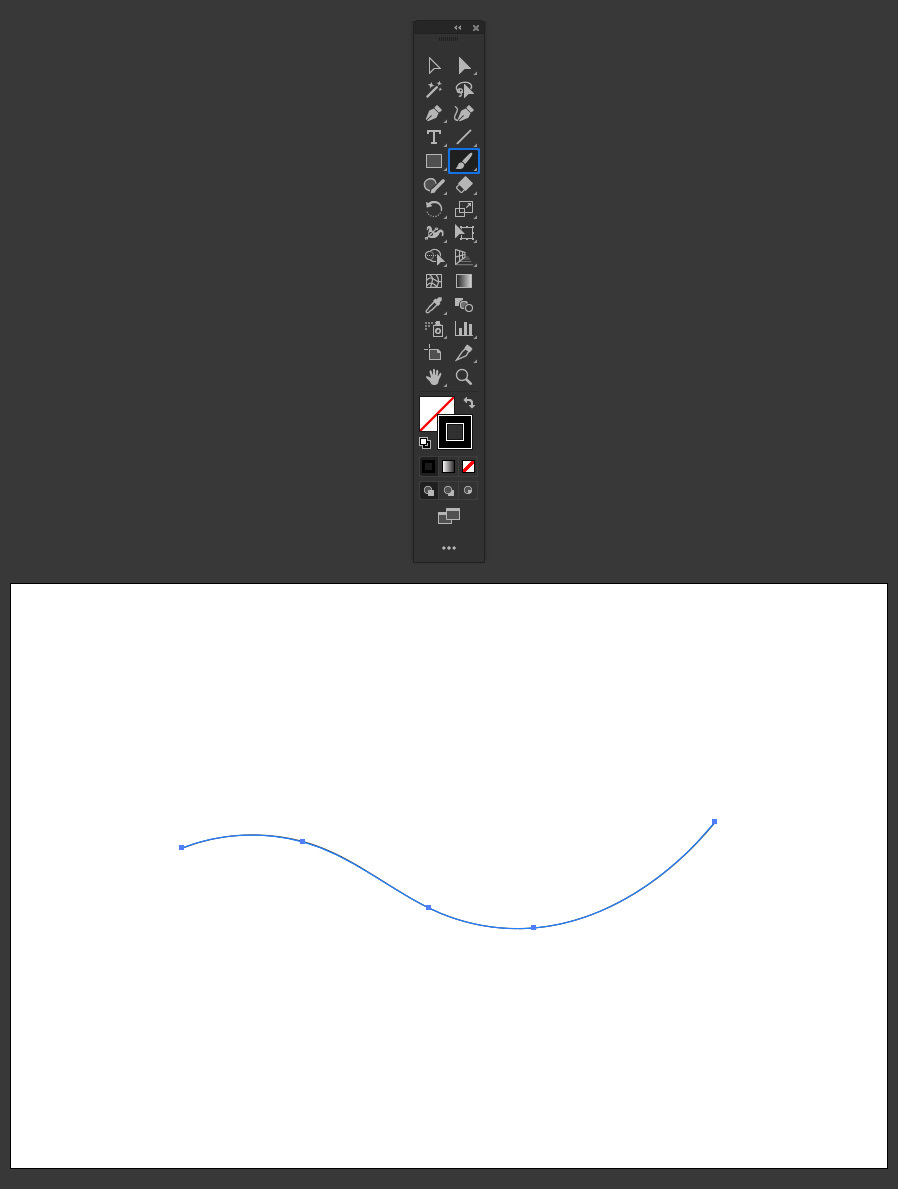
Step 15
Lastly, with your stroke selected, click over the recently created brush in the Brushes Panel.
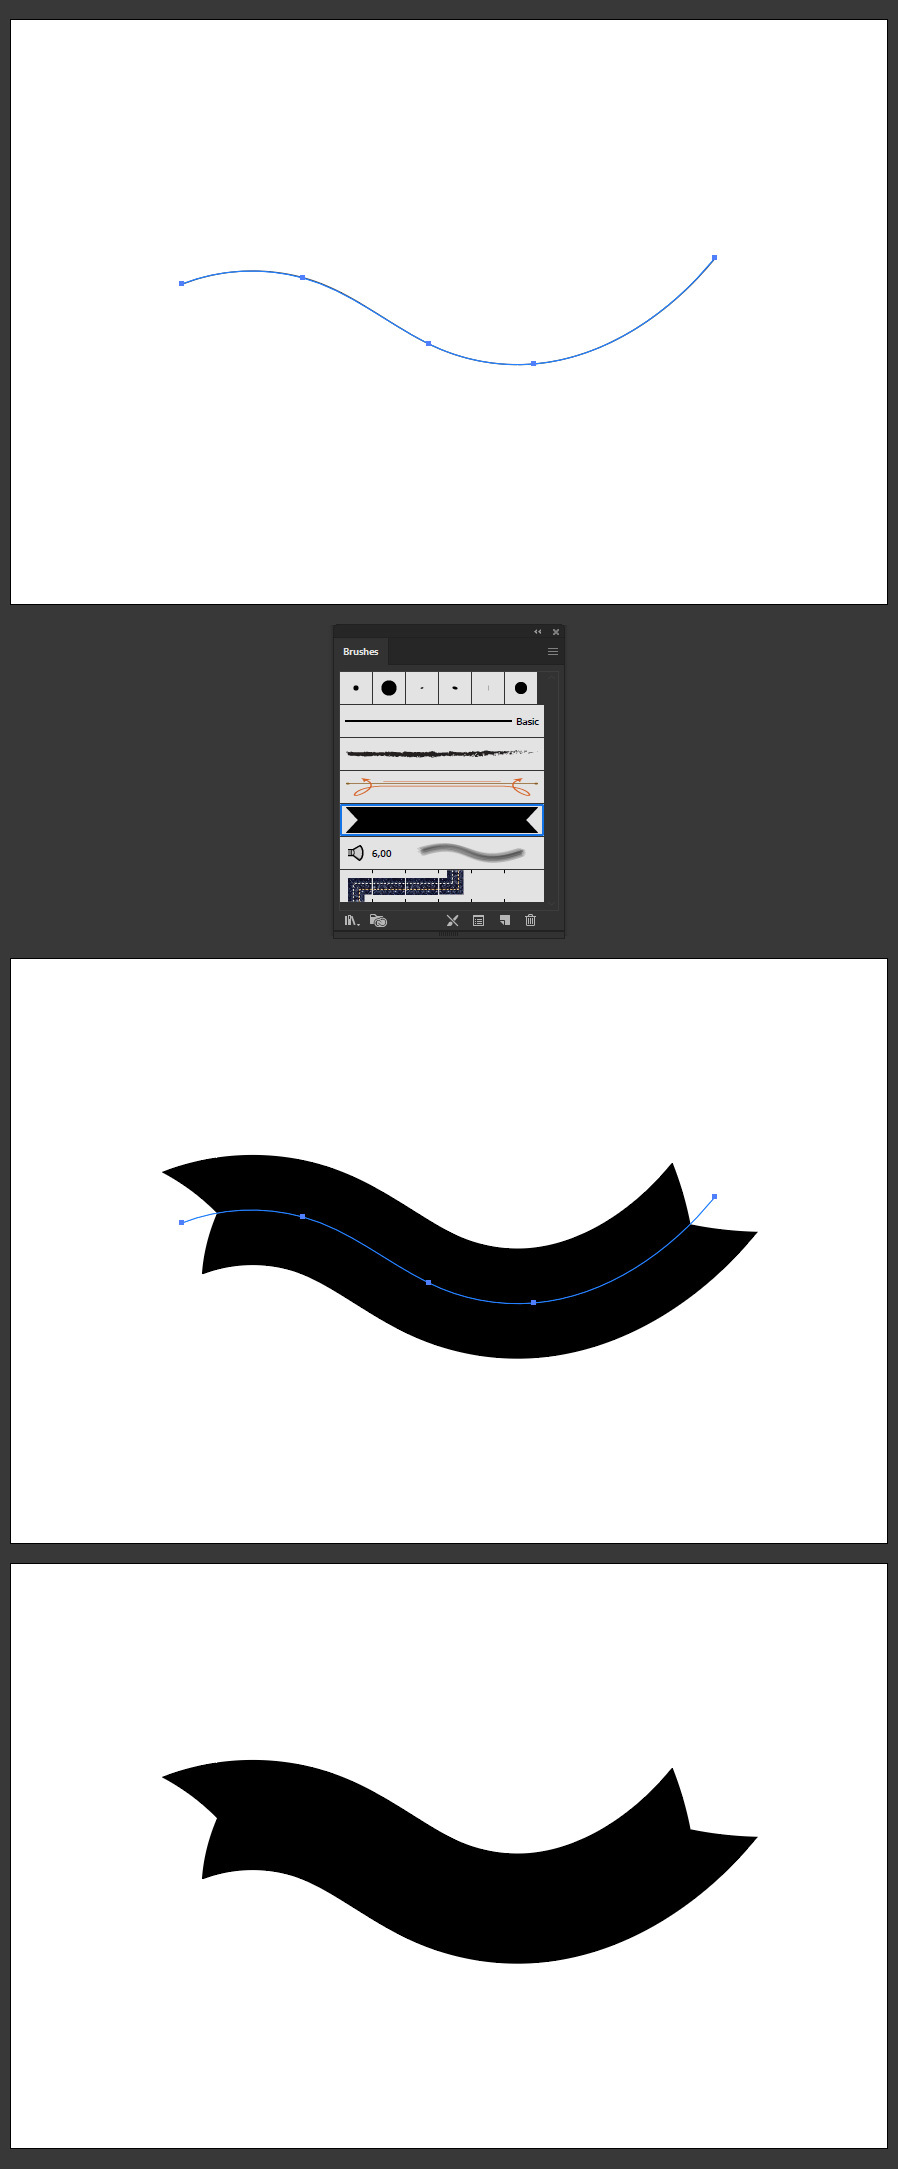
Some Final Notes
If you wish to change the ribbon color, be sure to have the ribbon selected, open the Swatches Panel, and pick any color you want (stroke color).
And if you wish to make the ribbon thicker or thinner, simply increase or decrease the Stroke Weight in the Stroke Panel.
