How to Make a 3D Layered Text Effect in Illustrator
Illustrator Text Effects
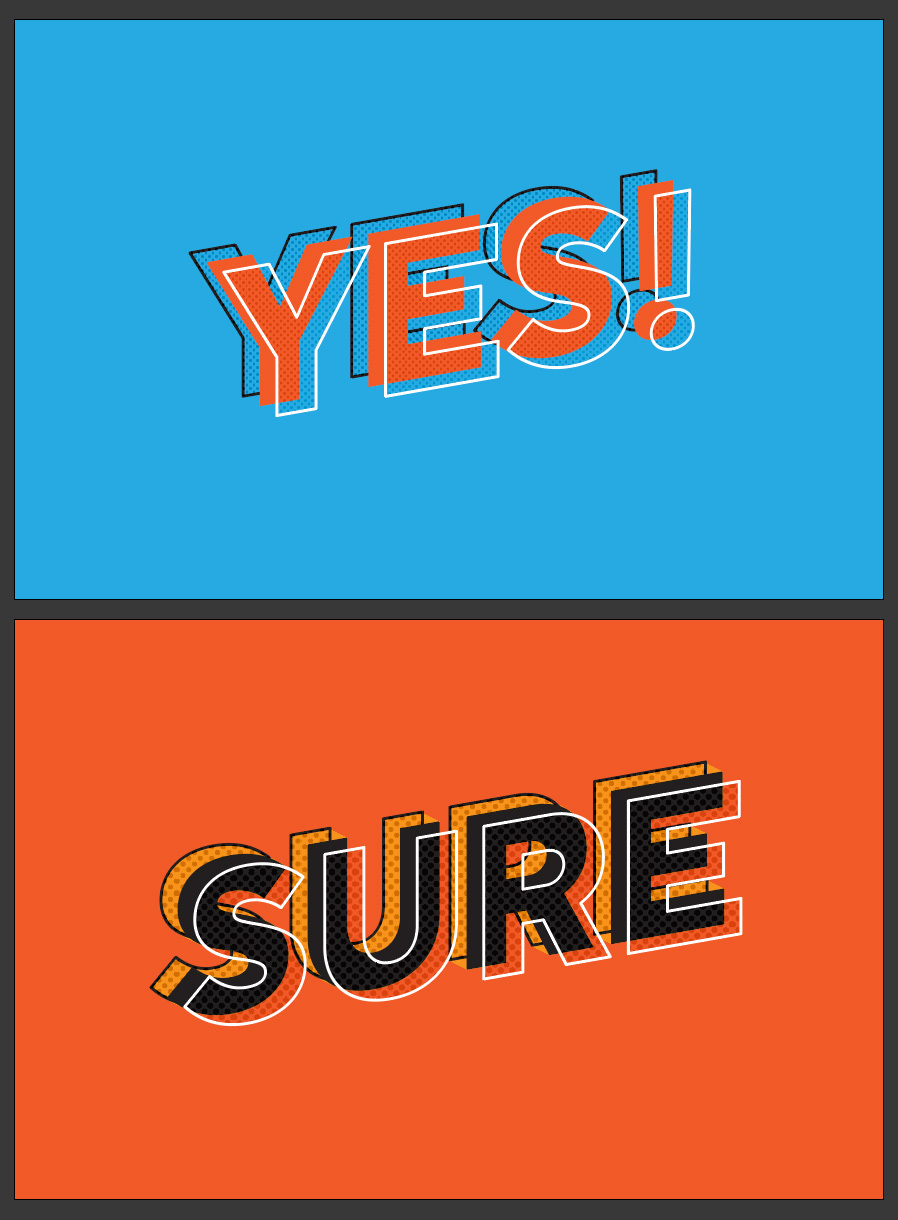
Sometimes, complex text effects can be easily made in less than 5 minutes just by using the right tools. Many of those complicated 3D text effects you may have seen on the internet are often made using only the Illustrator Appearance Panel, and they are not hard to make at all, so today I will show you how easily you can make a 3D Layered text Effect in Illustrator in less than 5 minutes, with the ability to change all the colors and patterns we will use by using only the Appearance Panel and the default Illustrator patterns.
Step 1
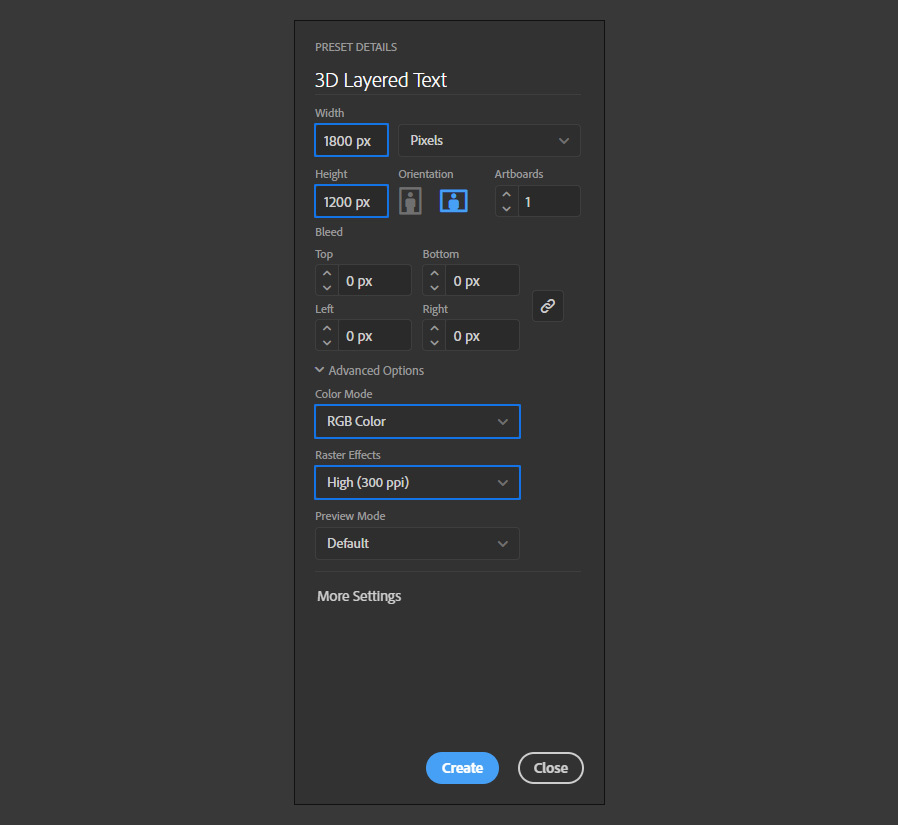
Open Illustrator and make a new file at any size you want. For this tutorial, I will setup mine at 1800 x 1200 px.
Step 2
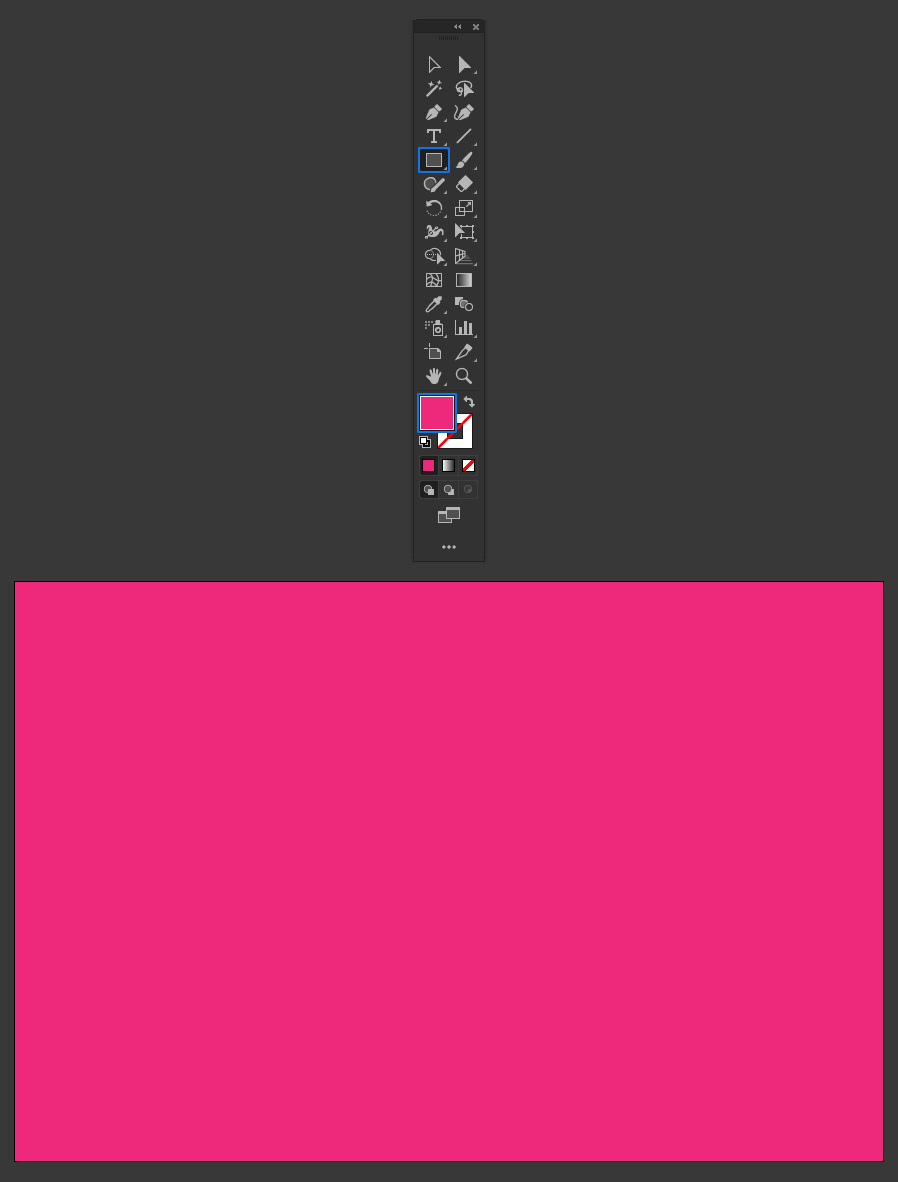
Select the Rectangle Tool (M) and draw a rectangle covering the entire canvas using any color you wish. In this example i am using #CC2D78.
Step 3
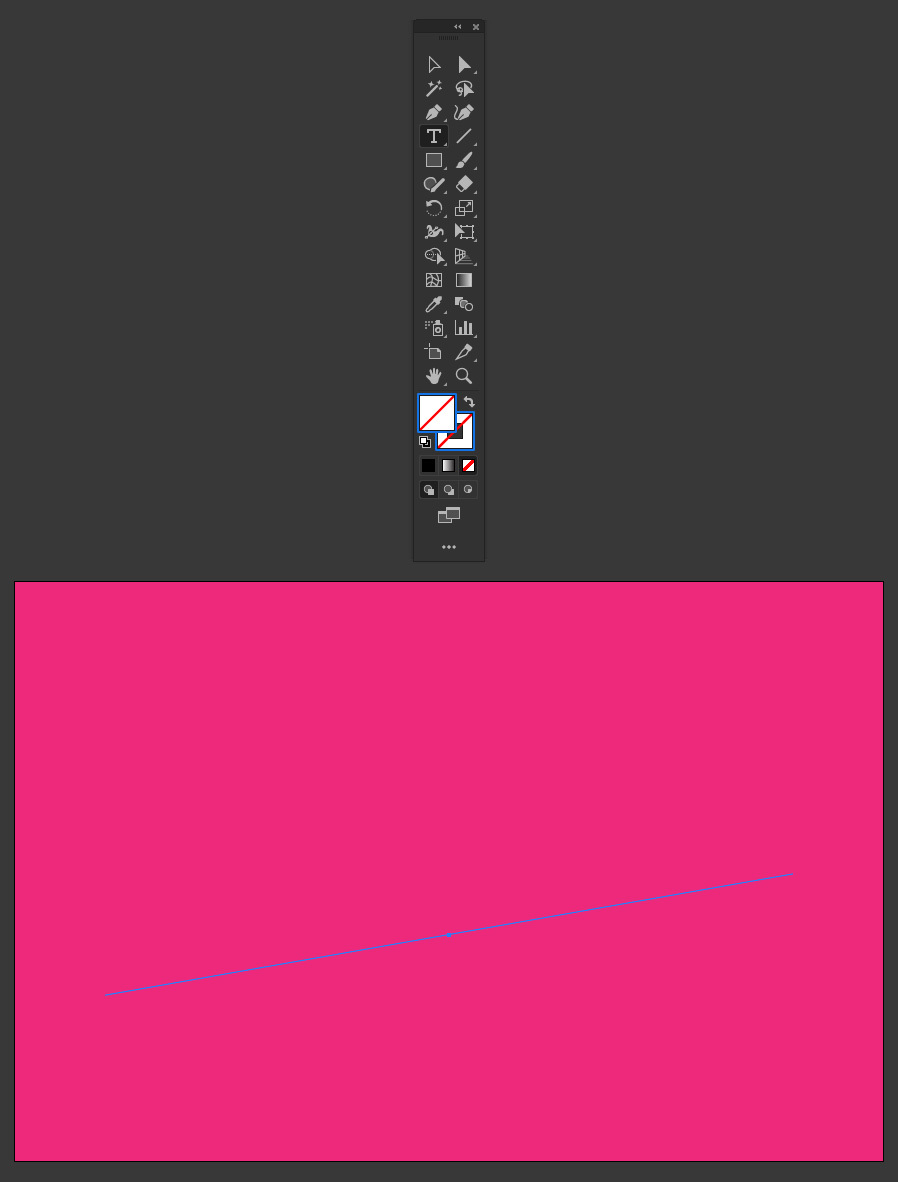
Select the Type Tool (T) and type your text using any font that you want. Here I wil be using CocoSharp at 450pt with a shear angle of -10º just to make the text looks a bit more appealing.

Step 4
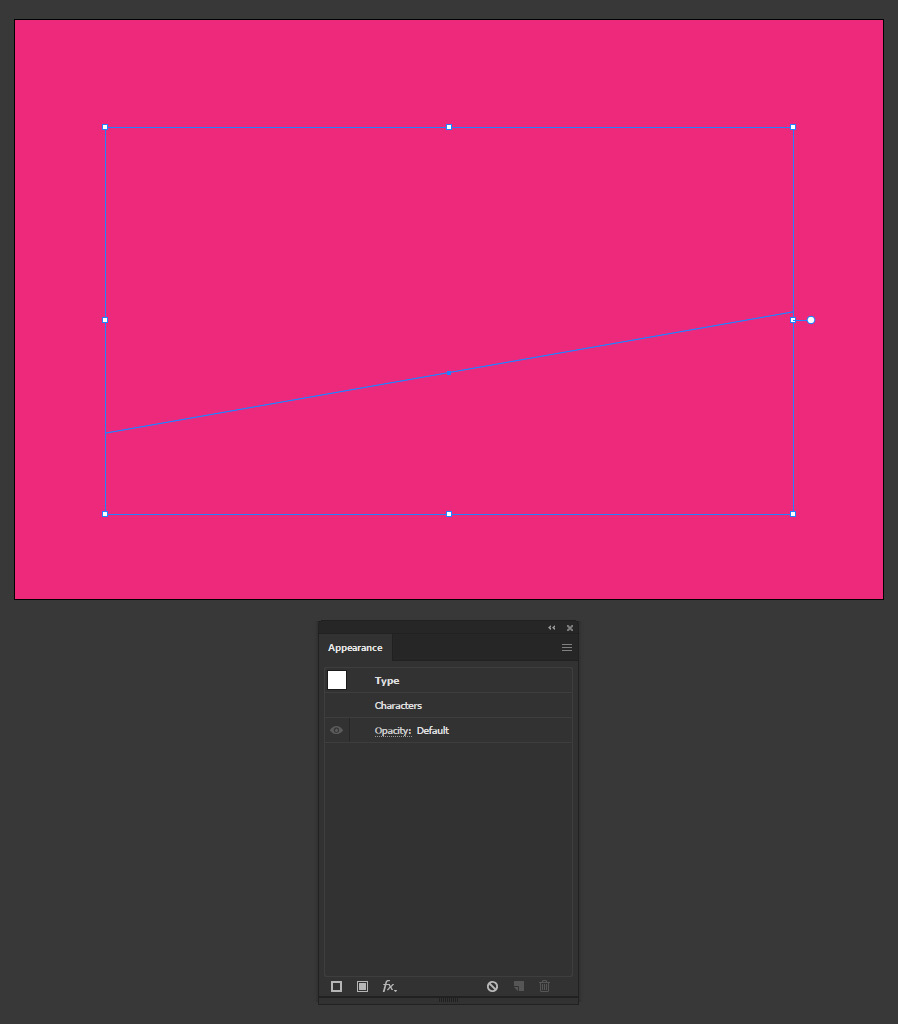
Set the Fill and Stroke to "none" in the toolbar.
Step 5
With the text selected, go to Window > Appearance.
Step 6
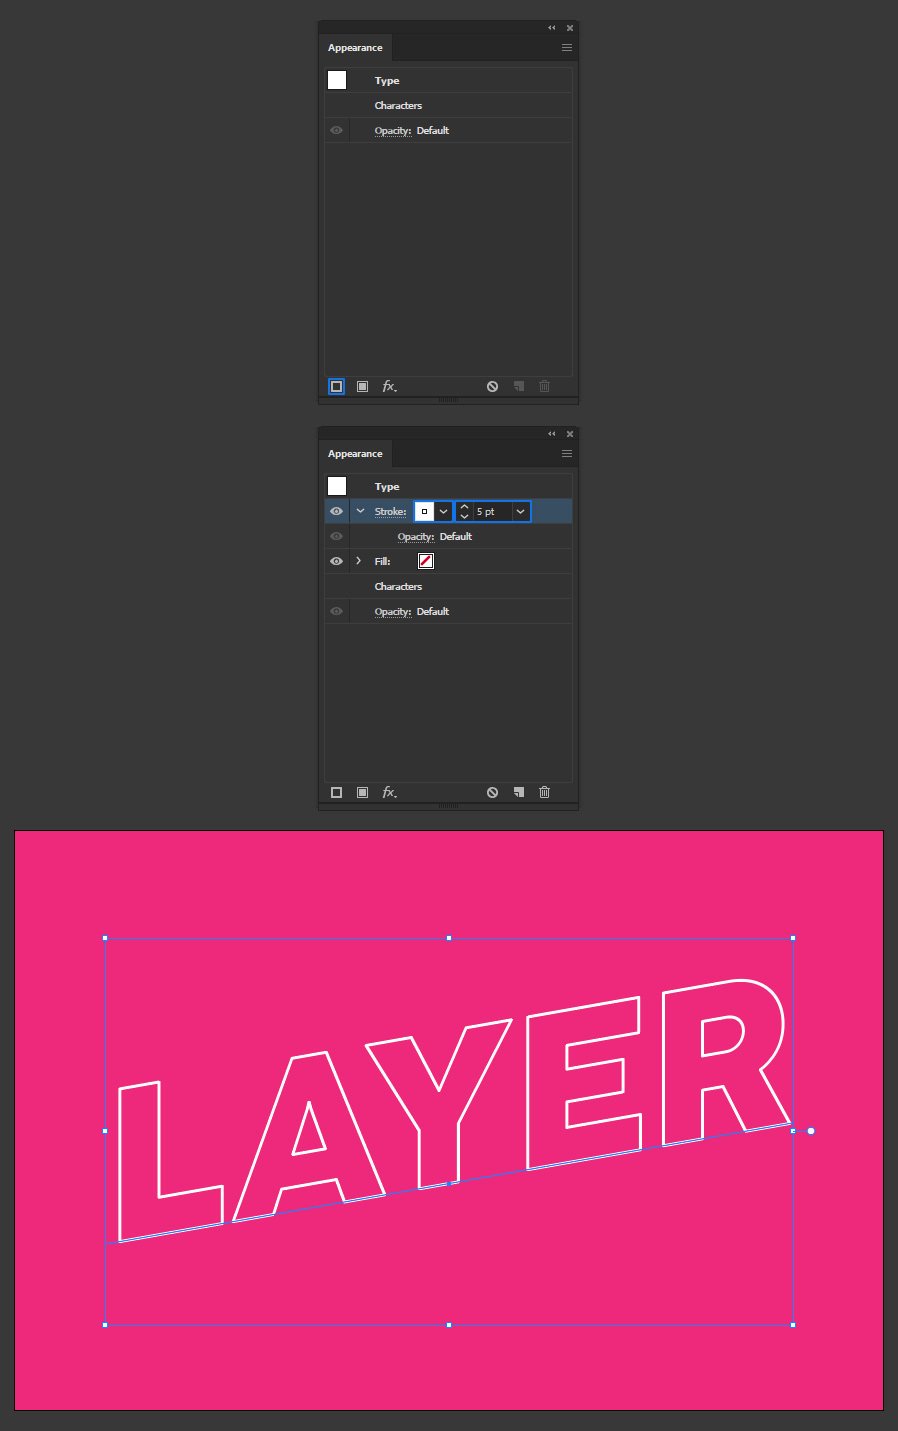
Click on the "Add New Stroke" icon. Set the color to #FFFFFF and the Weight to 5pt.
Step 7
Click on the "Add New Effect" icon. From the dropdown menu select Distort & Transform > Transform, apply the following settings and click OK.

Step 8
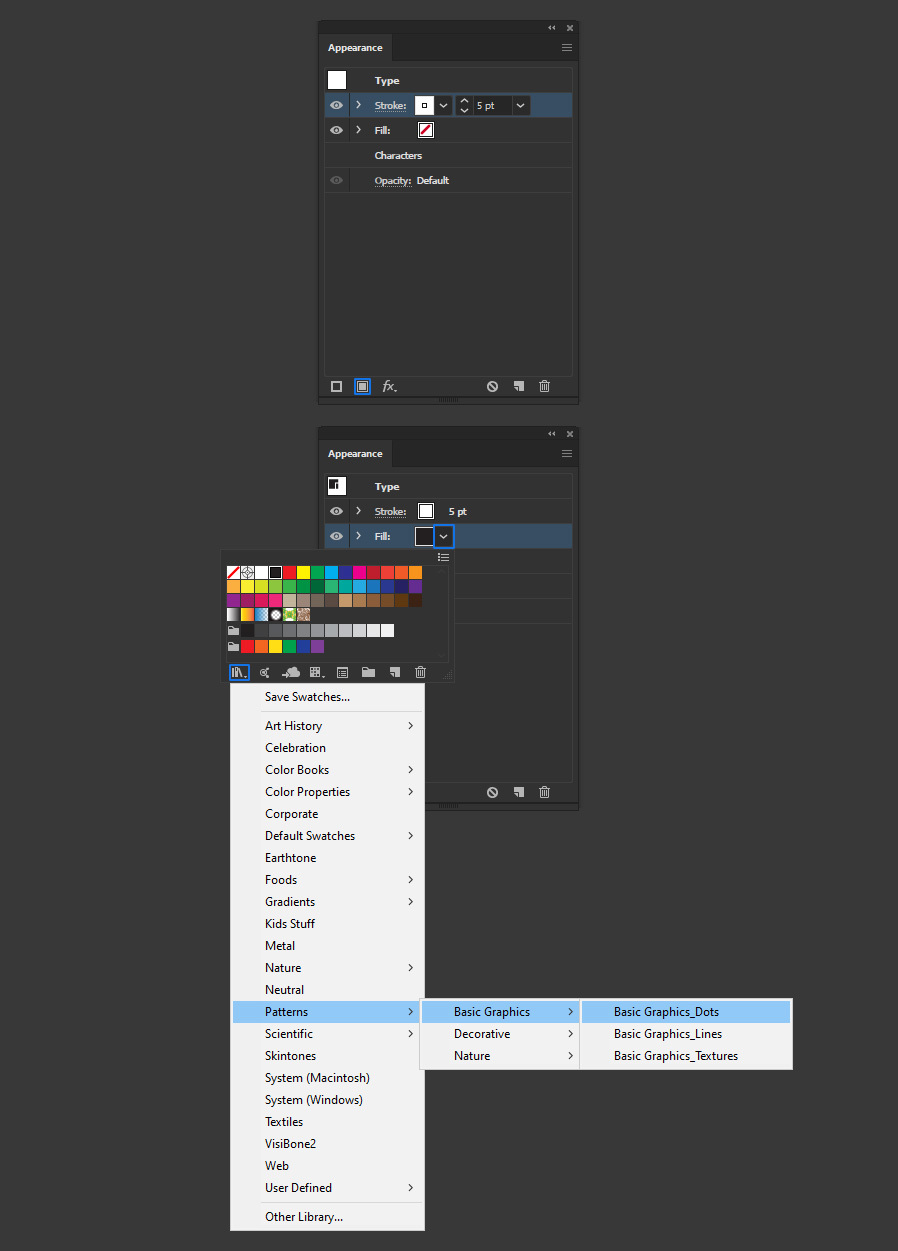
Click on the "Add New Fill" icon. Click on the color thumbnail and in the new window click on the "Swatch Libraries Menu" icon. From the dropdown menu select Patterns > Basic Graphics > Basic Graphics Dots.
Step 9
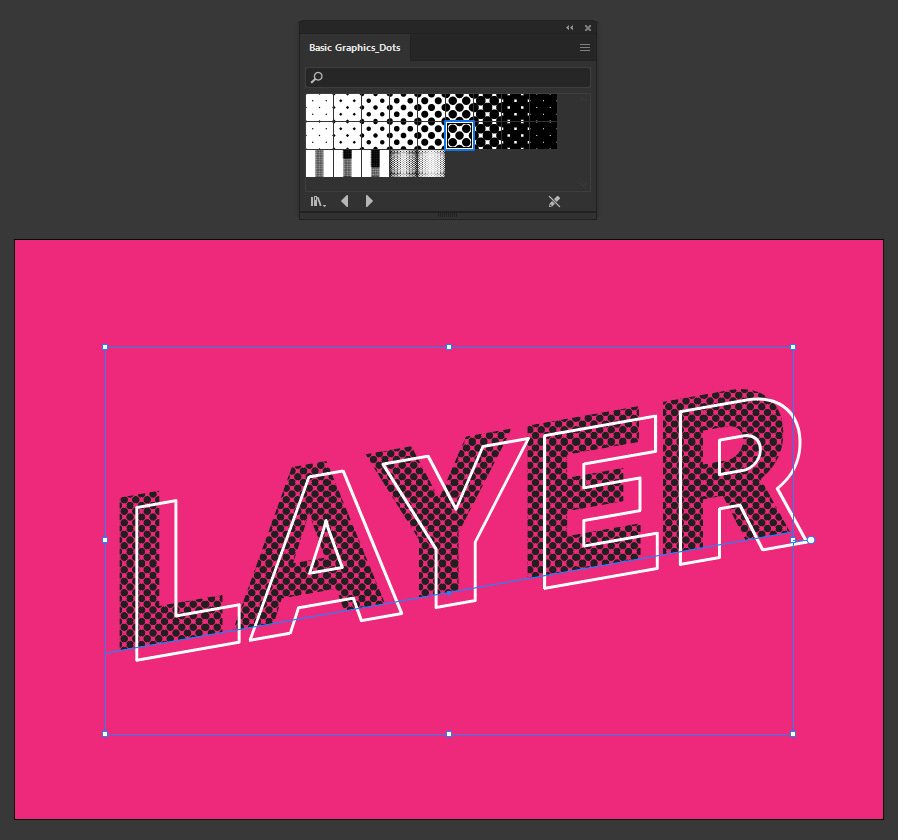
In the Patterns window select the "6 dpi 60%" pattern.
Step 10
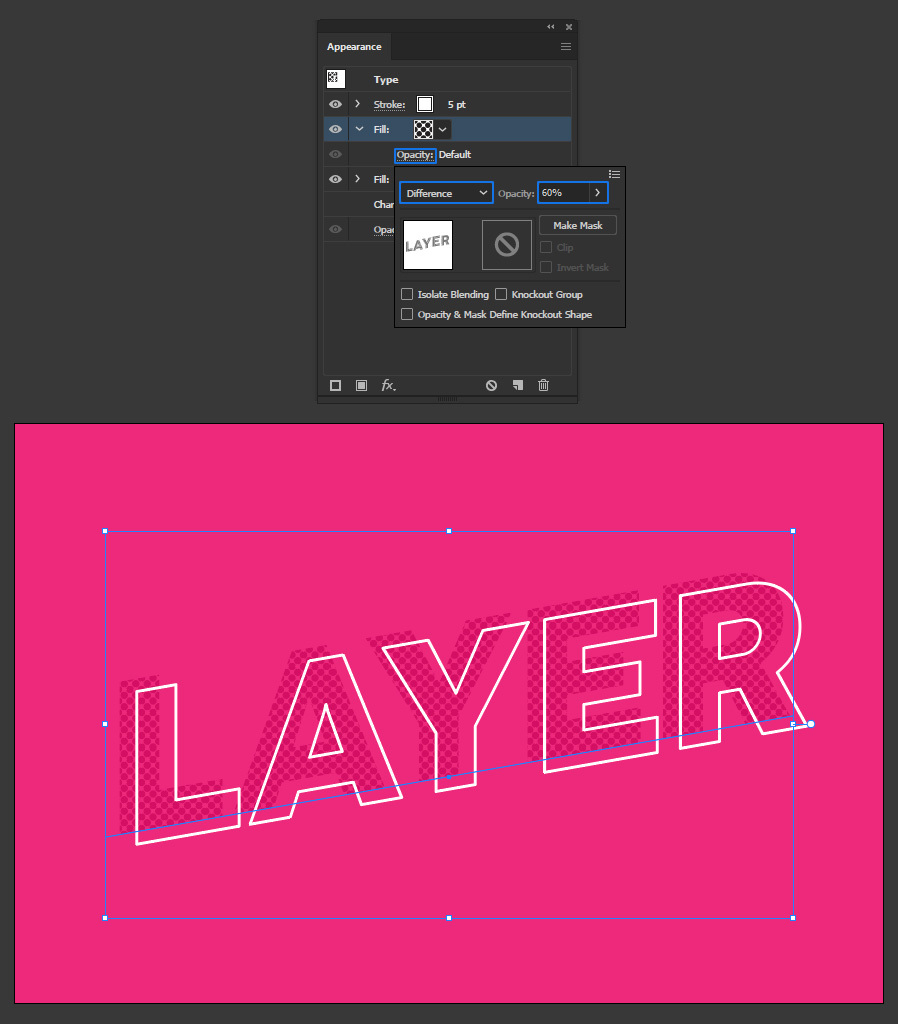
Click on "Opacity". Set the Mode to "Difference" and bring down the Opacity to 60%.
Step 11
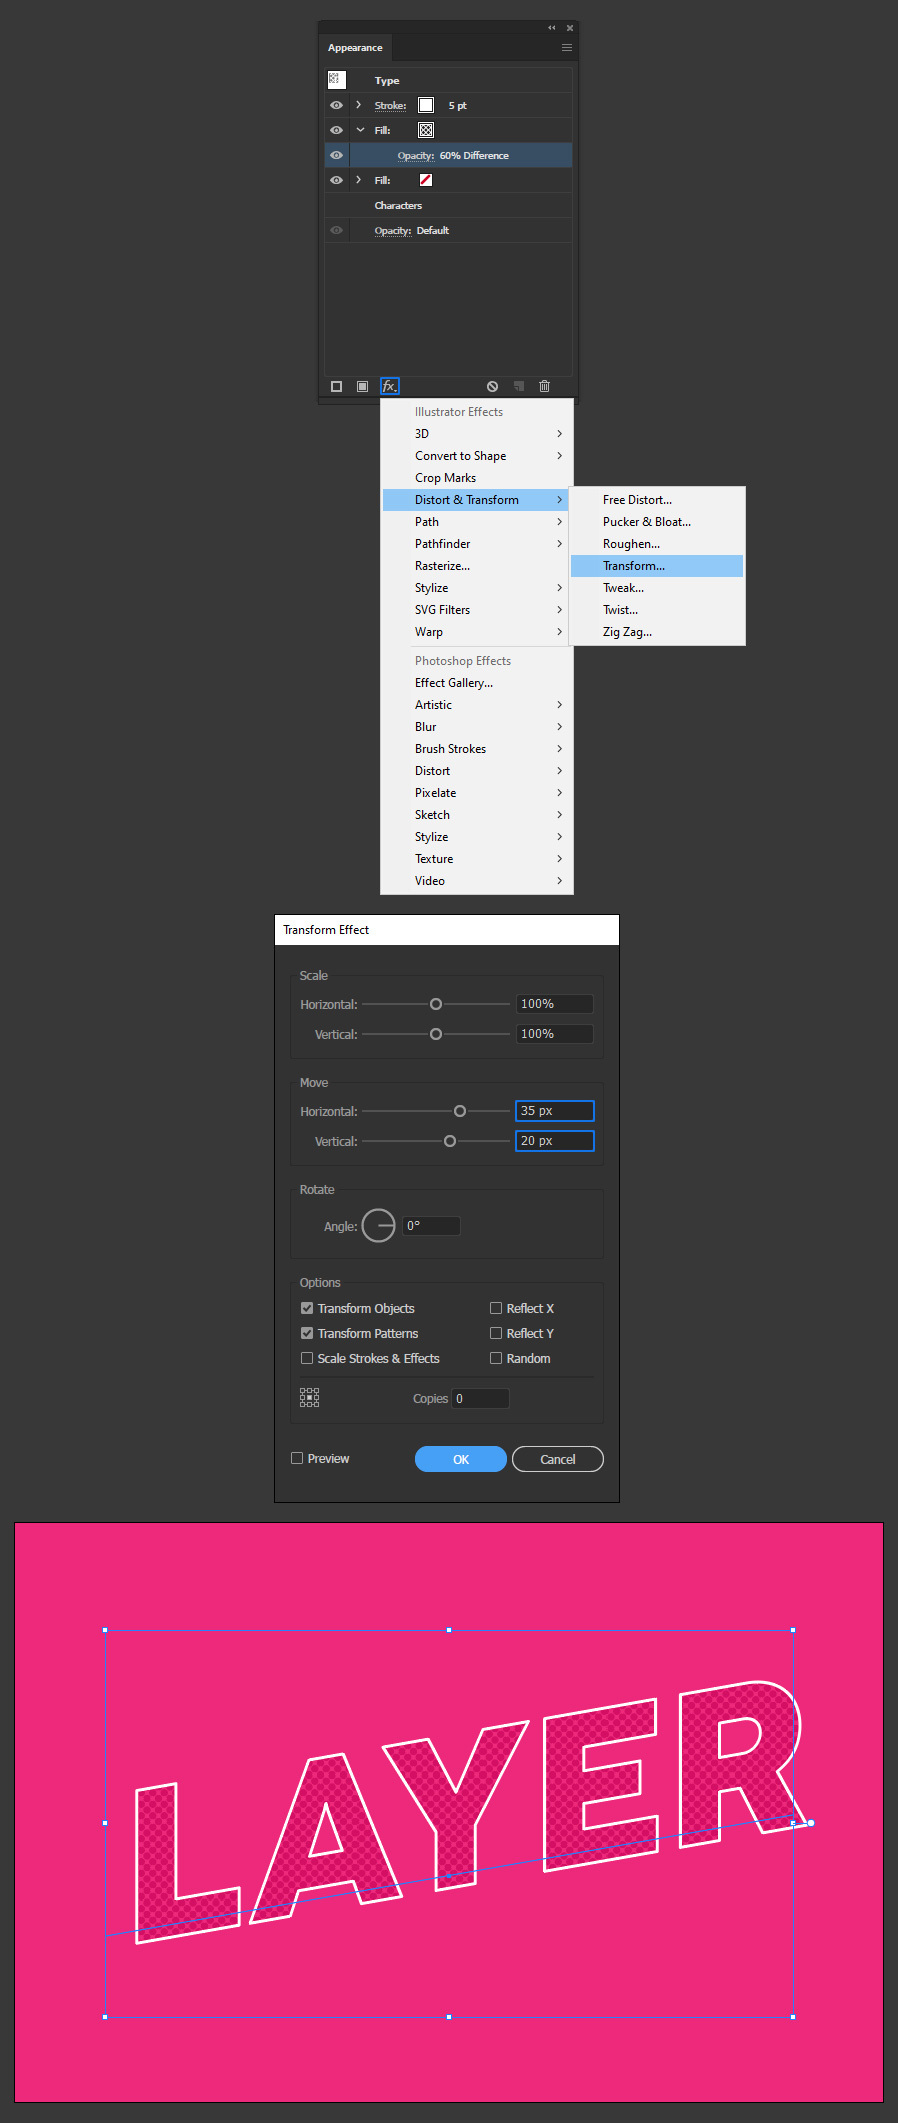
Click on the "Add New Effect" icon. From the dropdown menu select Distort & Transform > Transform, apply the following settings and click OK.
Step 12
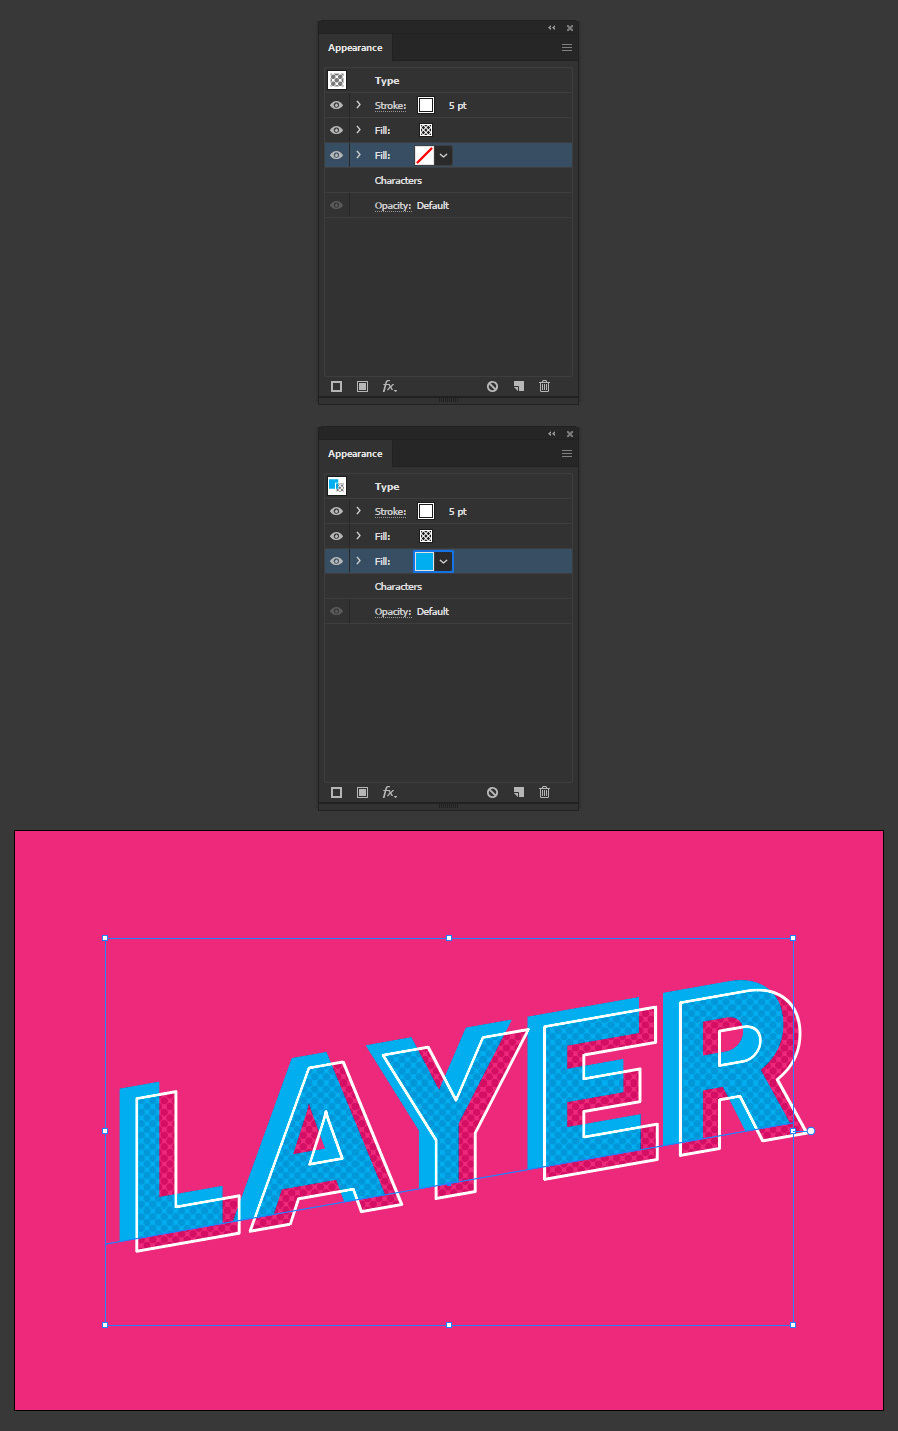
Select the empty fill and set the color to #00ACEC.
Step 13
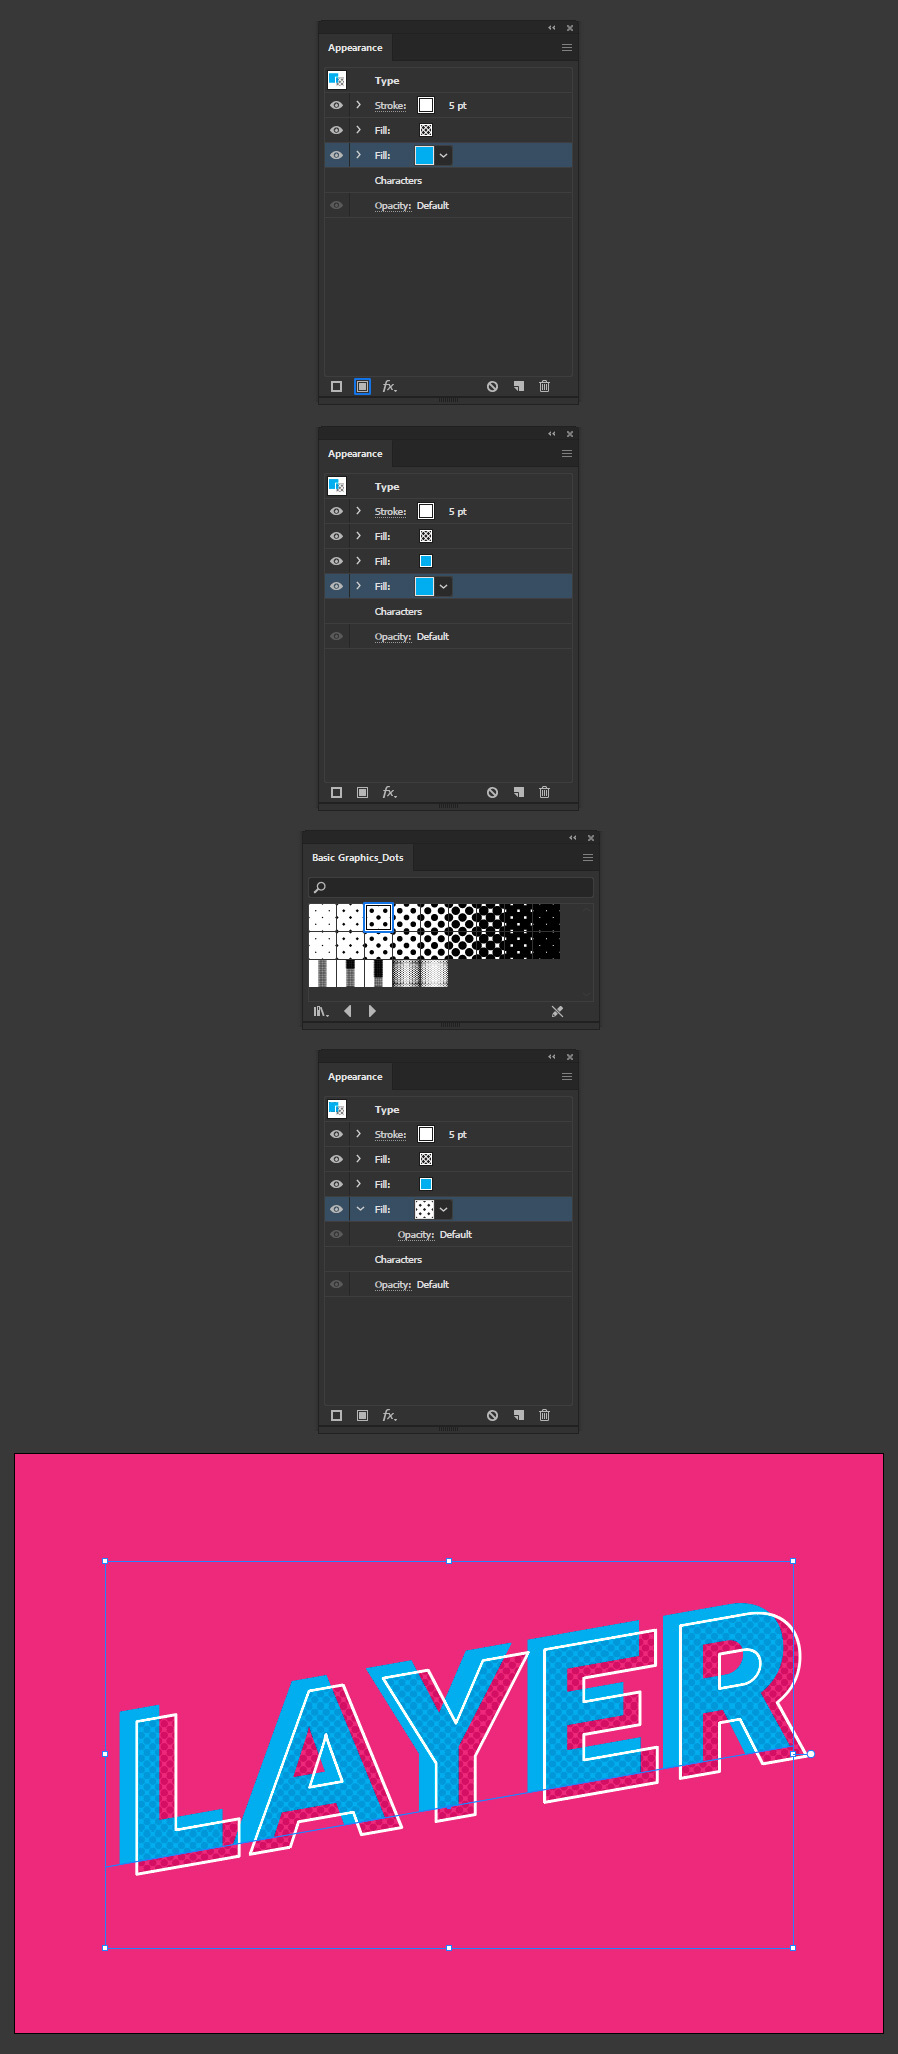
Click on the "Add New Fill" icon. Click on the color thumbnail and select the "10 dpi 30%" pattern fill from the "Basic Graphic_Dots" pattern window.
Step 14
Click on "Opacity" and set the Mode to "Difference".
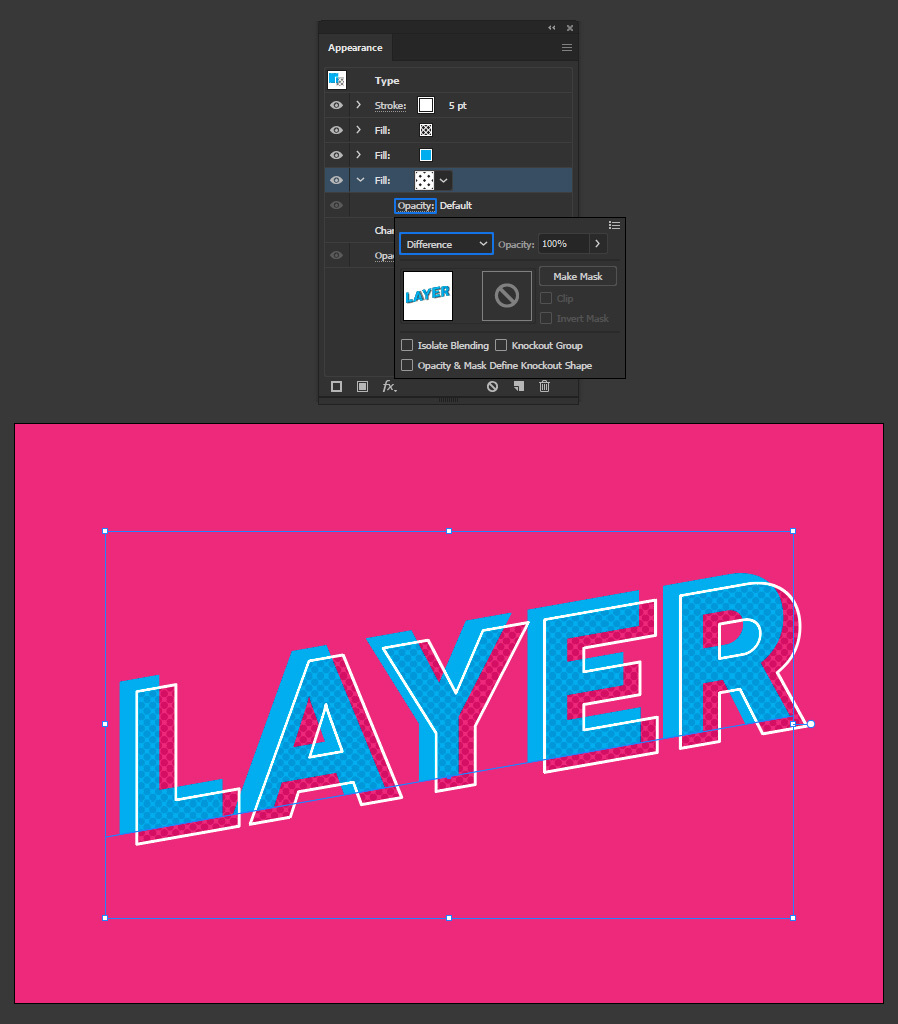
Step 15
Click on the "Add New Effect" icon. From the dropdown menu select Distort & Transform > Transform, apply the following settings and click OK.

Step 16
Click on the "Add New Stroke" icon. Set the color to #000000 and the Weight to 5pt.
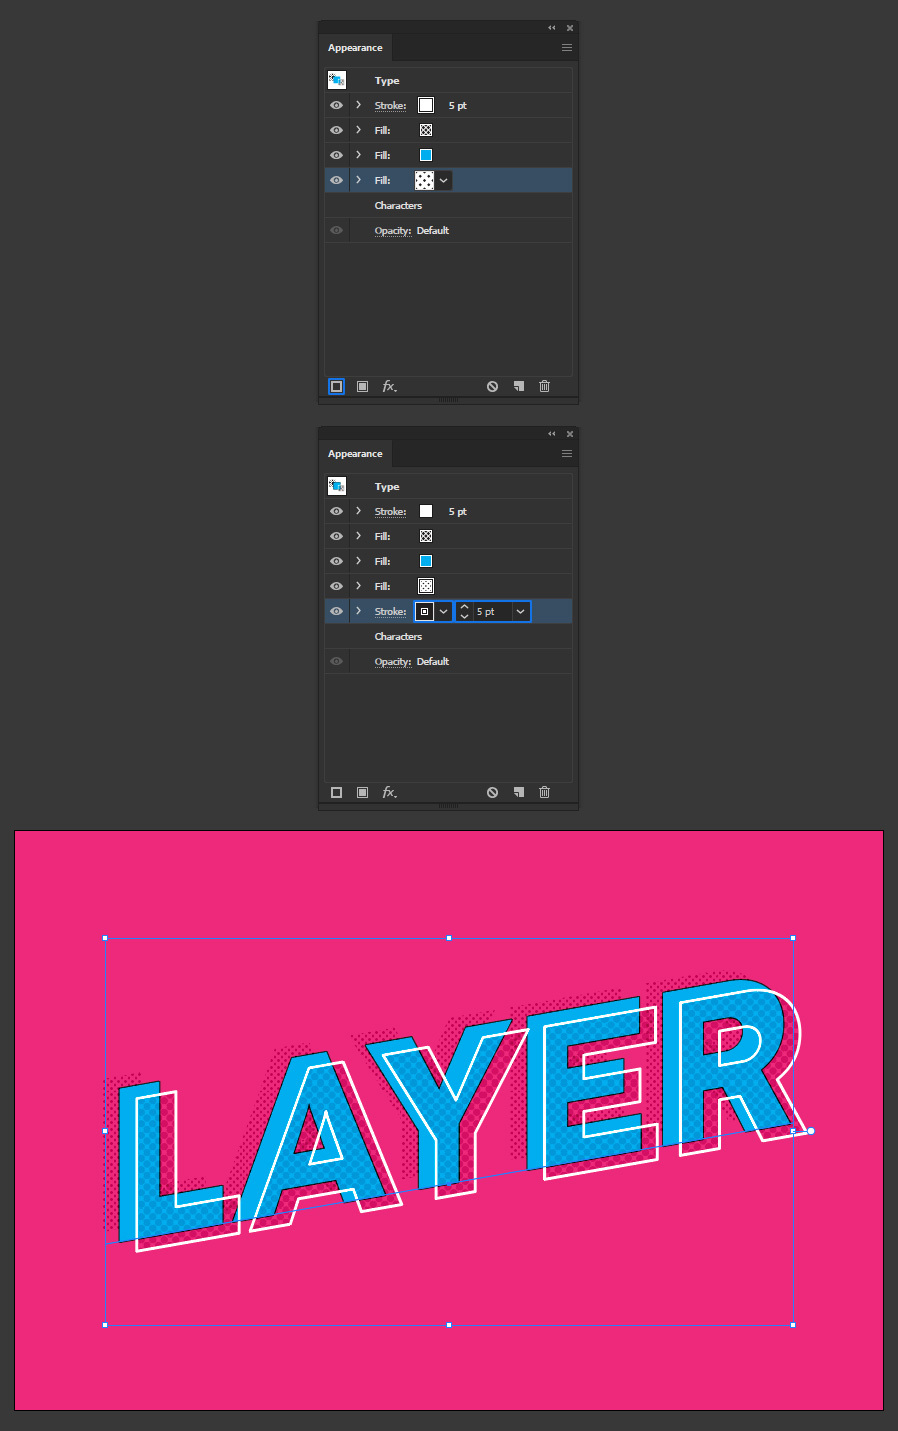
Step 17
Click on the "Add New Effect" icon. From the dropdown menu select Distort & Transform > Transform, apply the following settings and click OK.
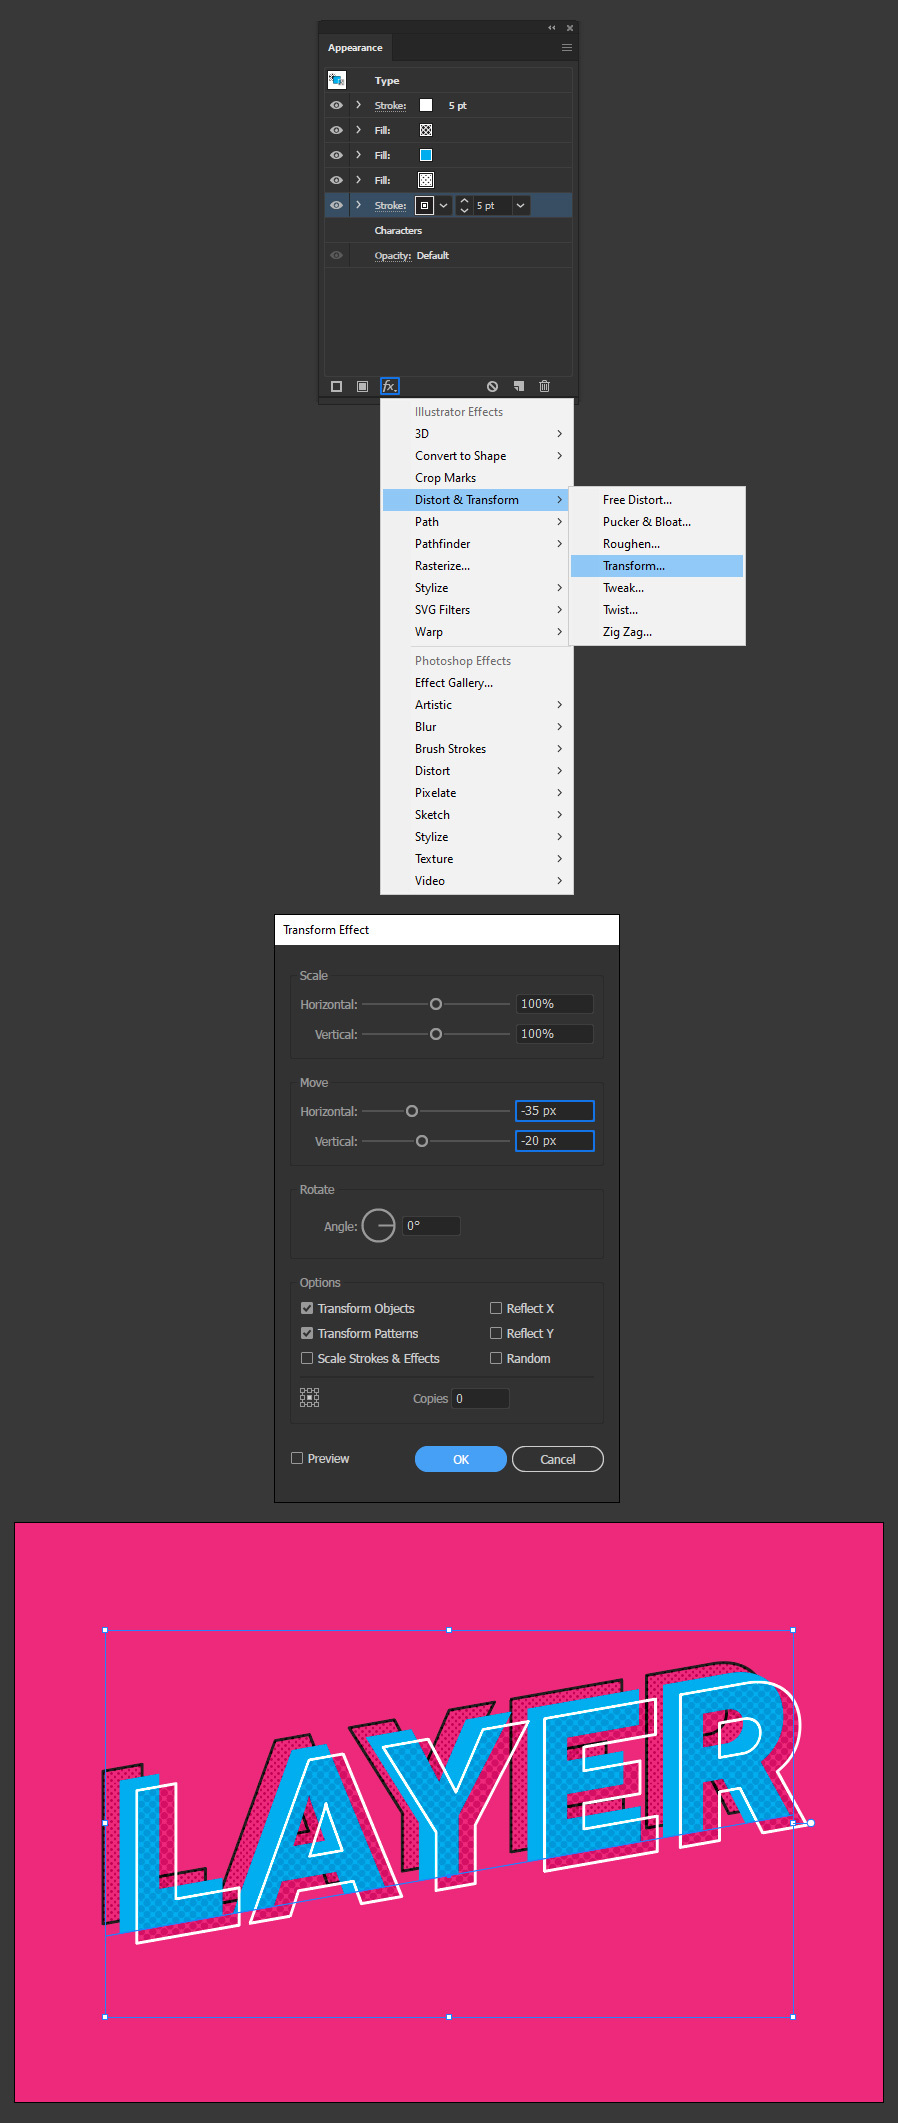
Step 18
Click on the "Add New Fill" icon and set the color to #4674B8.
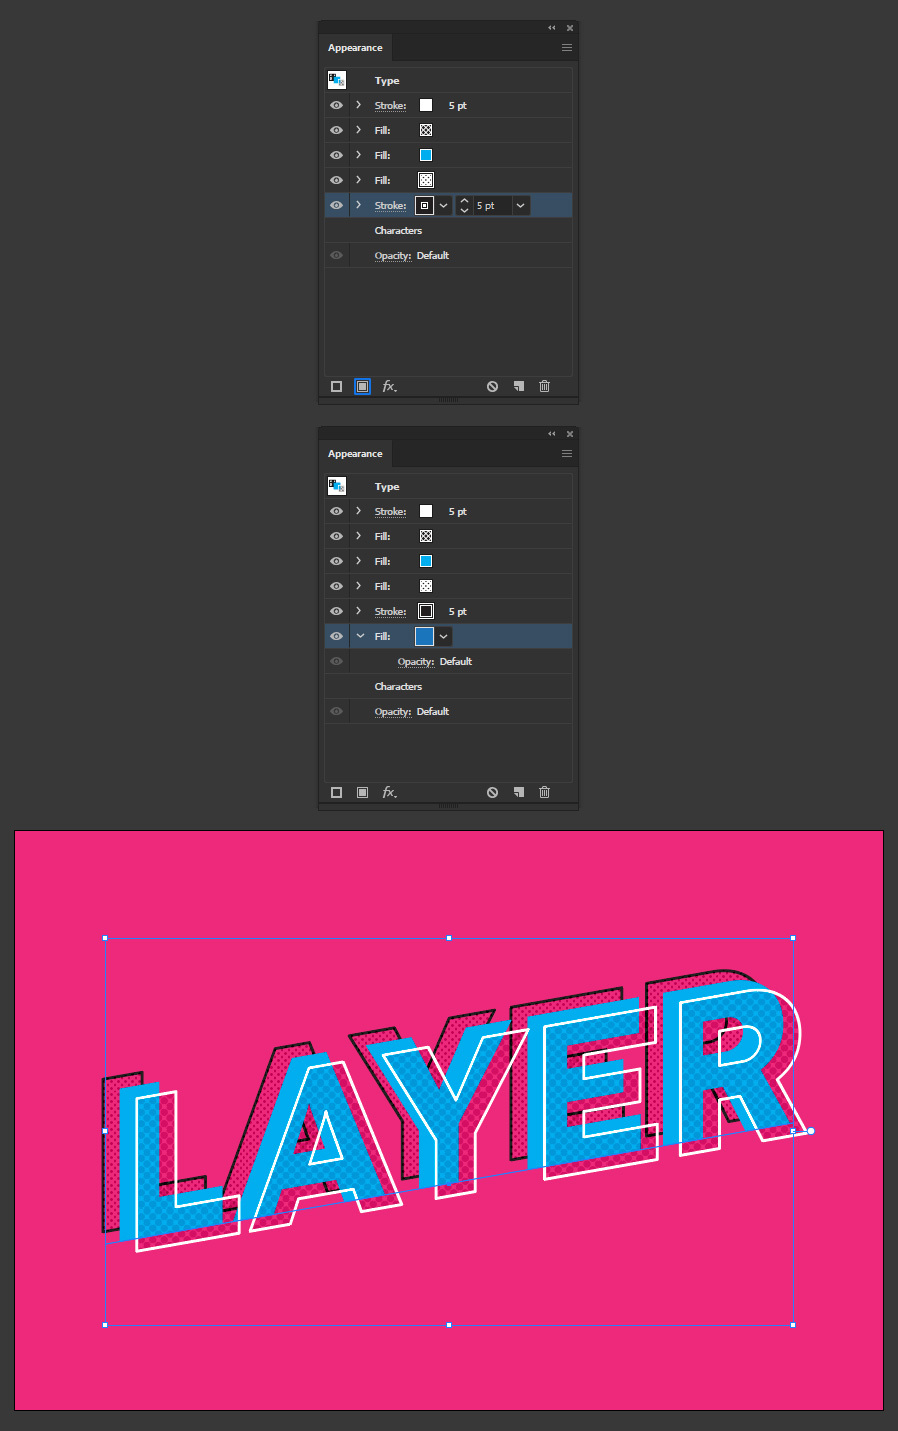
Step 19
Lastly, click on the "Add New Effect" icon. From the dropdown menu select Distort & Transform > Transform, apply the following settings and click OK.

Conclusion
Now that you know how to make a Layered 3D text effect, you can edit the text as you normally do in Illustrator and experiment by changing the color, patterns and even some values in the Appearance panel.
