How to Easily Remove Smoke From The Background in Photoshop
Photoshop Tips & Tricks
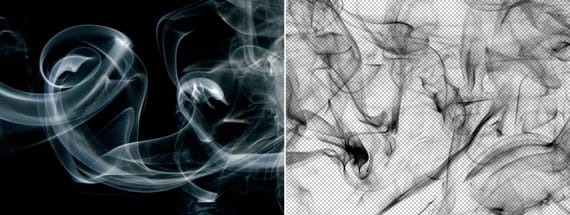
Smoke images can be used in a wide range of applications across various designs, such as adding drama to a photograph, crafting captivating visual effects on posters, or even giving your artwork a mysterious halo. Whichever the case, transparent smoke can serve as a powerful tool in your arsenal. So today, I will show you how easy it is to remove the background from a smoke image, and in the process, prepare the file to change the smoke color at any time you want, allowing you to seamlessly integrate it into your projects.
Step 1
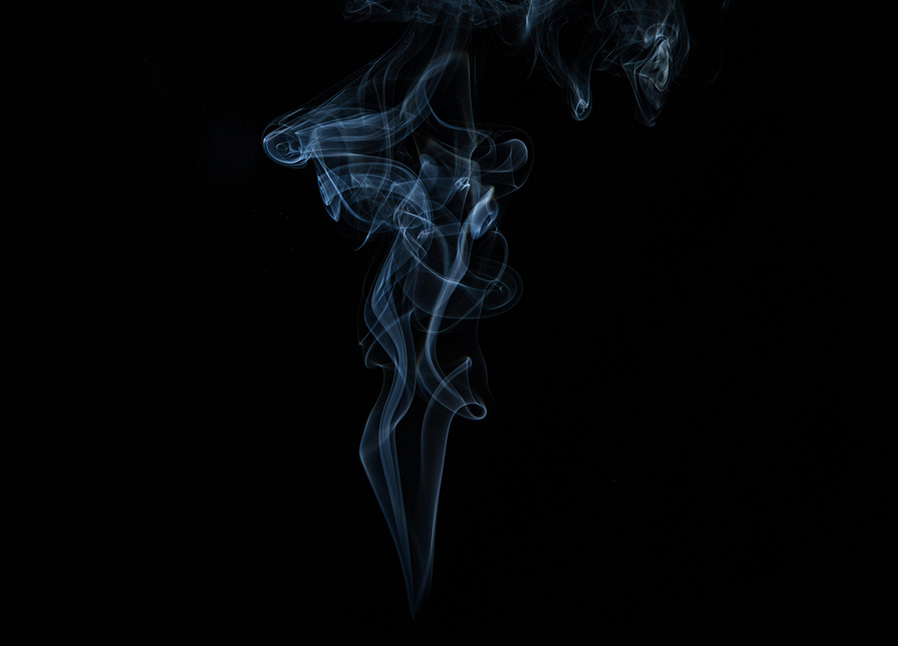
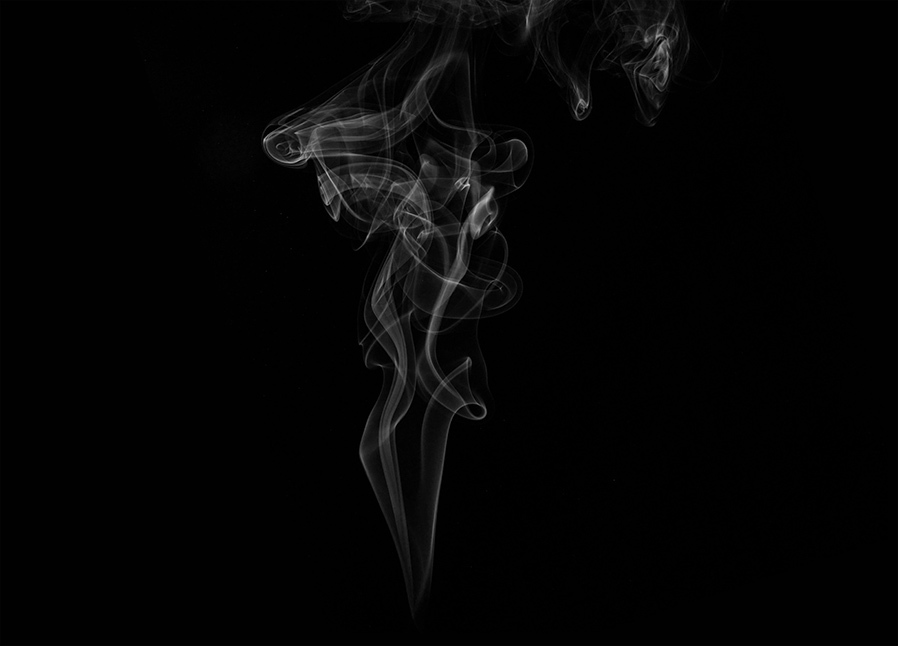
Open your Smoke image in Photoshop.
Step 2
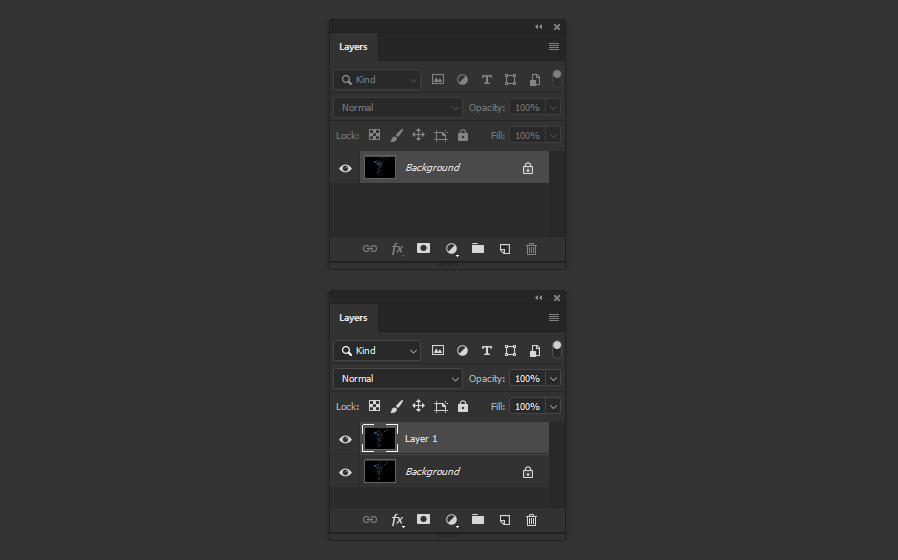
Press "Ctrl+J" on your keyboard to duplicate the Background Layer.
Step 3
Go to Image > Adjustments > Desaturate.
Step 4
Go to Select > All.

Step 5
Go to Edit > Copy.

Step 6
Hide to copied layer by clicking on the eye icon next to the layer's name.
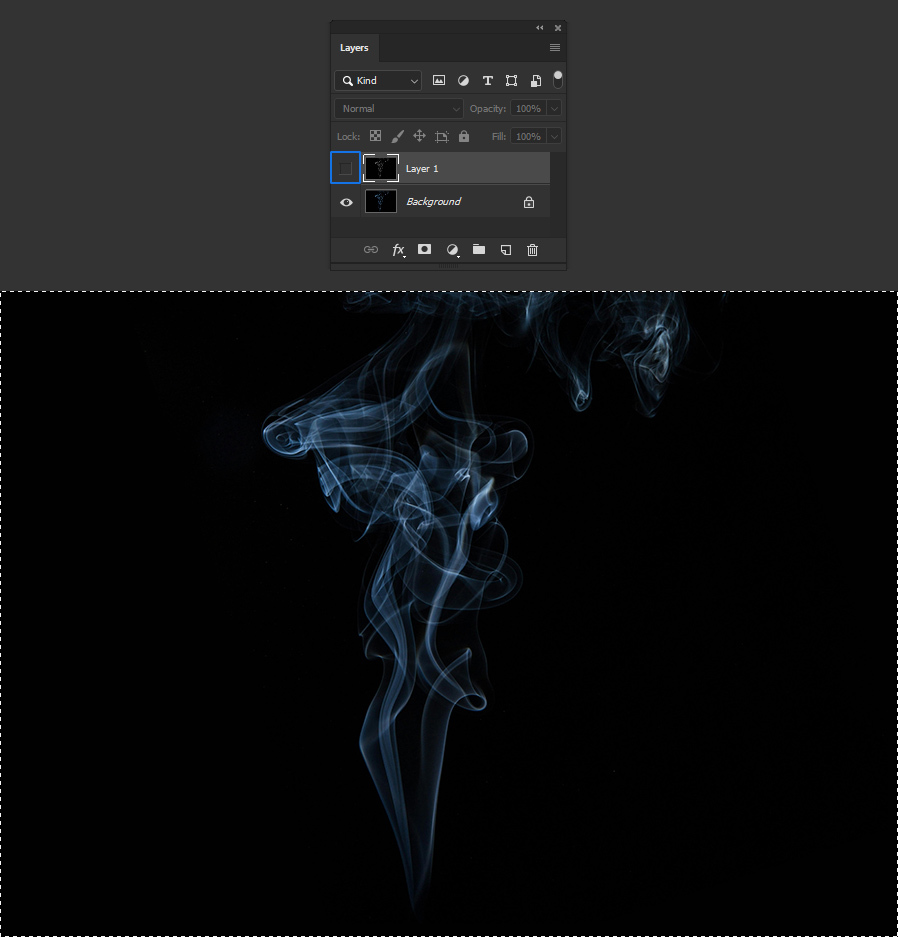
Step 7
Select the original Background layer and in the Layers Panel click on the "Add Layer Mask" icon.
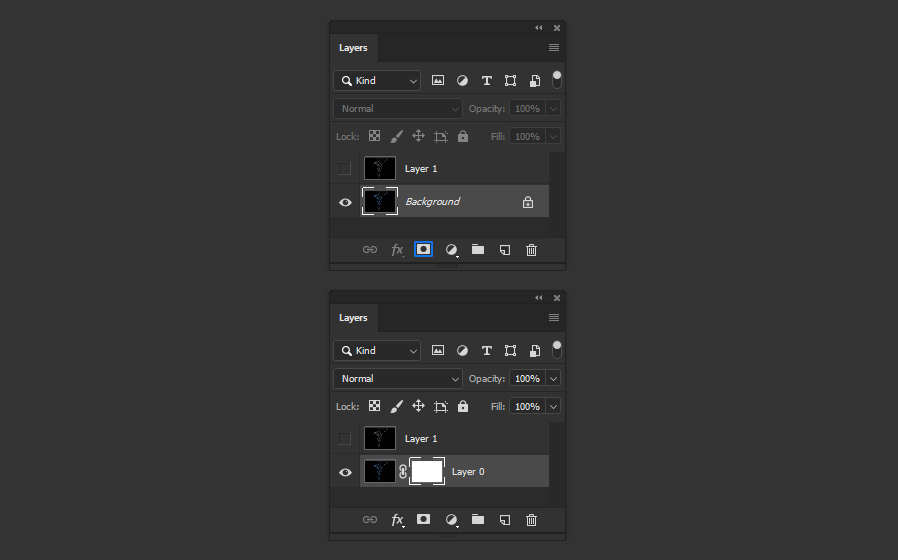
Step 8
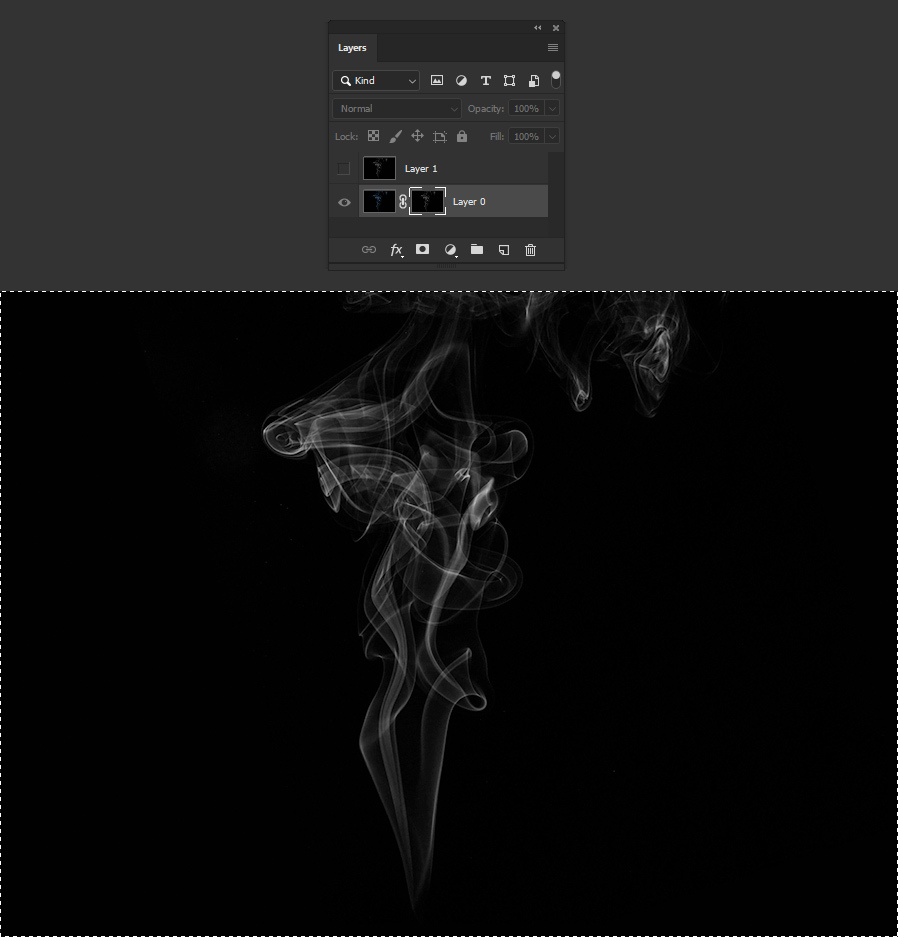
Hold the "Alt" key on your keyboard and click over the layer mask thumbnail.

Step 9
Go to Edit > Paste.
Step 10
Lastly, click on the layer thumbnail and press "Ctrl+D" to deselect all.
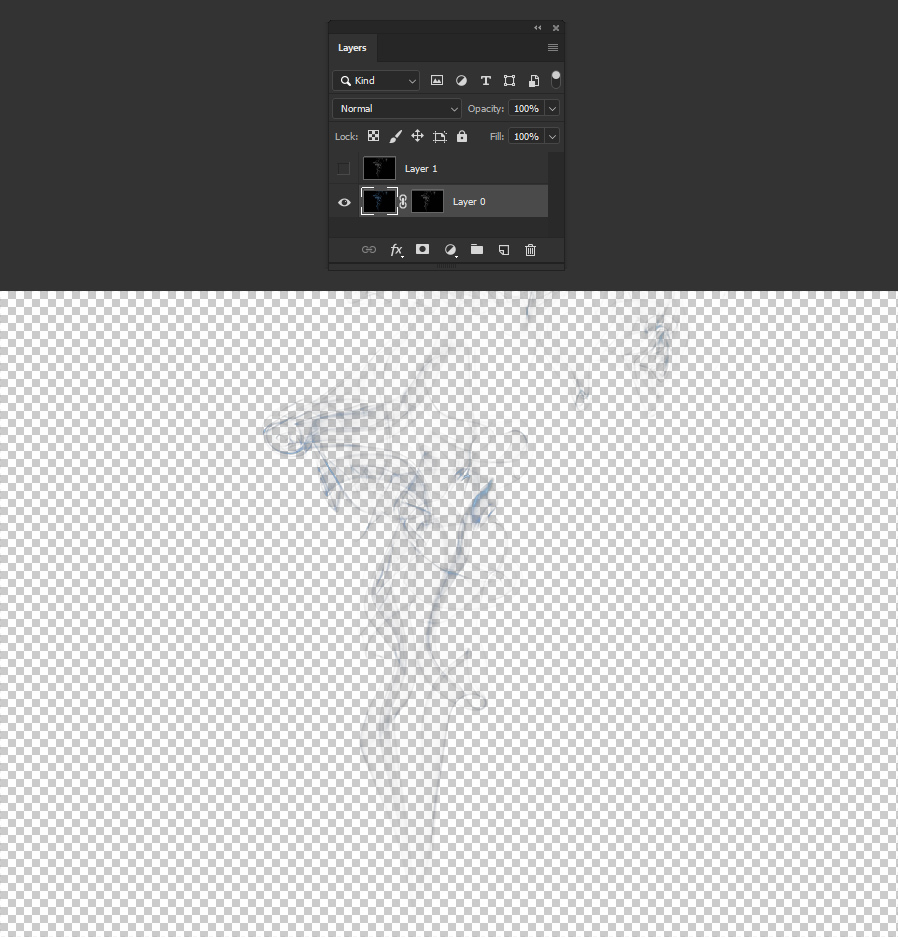
Step 11
If you want to change the smoke color, we need to take a few extra steps. First, to better see the color change, make a new solid color layer below the isolate smoke layer. In this case, I've set my color to be White.
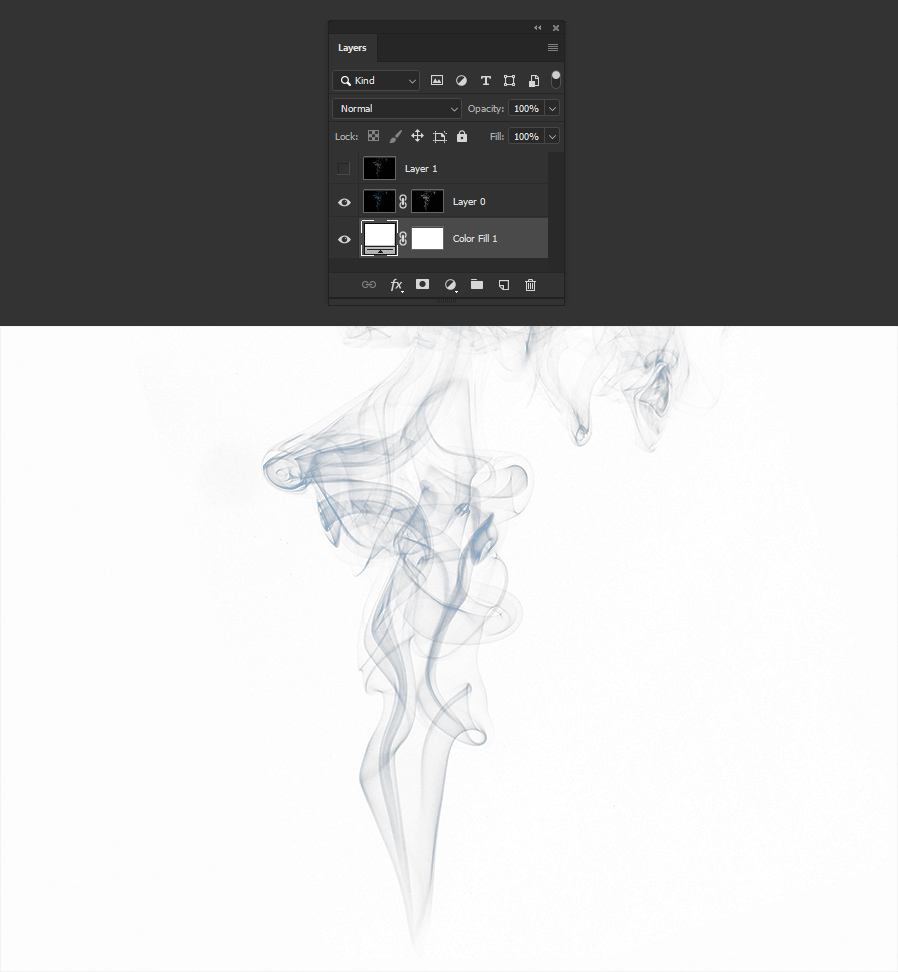
Step 12
Select the masked layer and go to Layer > New Fill Layer > Solid Color. Name the layer as "Smoke Color", be sure to enable the "Use Previous Layer to Create Clipping Mask" option and click OK.
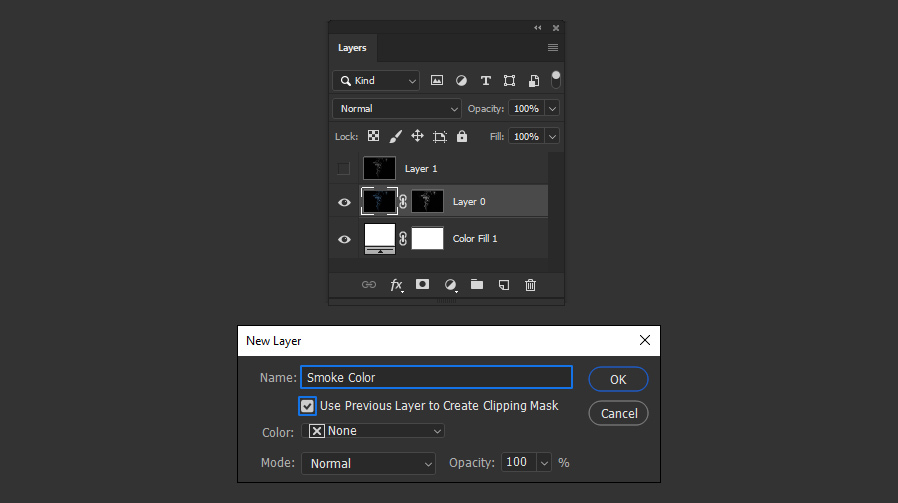
Step 13
Lastly, in the Color Picker window, pick any color you want for your Smoke and click OK. In this case I will set mine to Black.
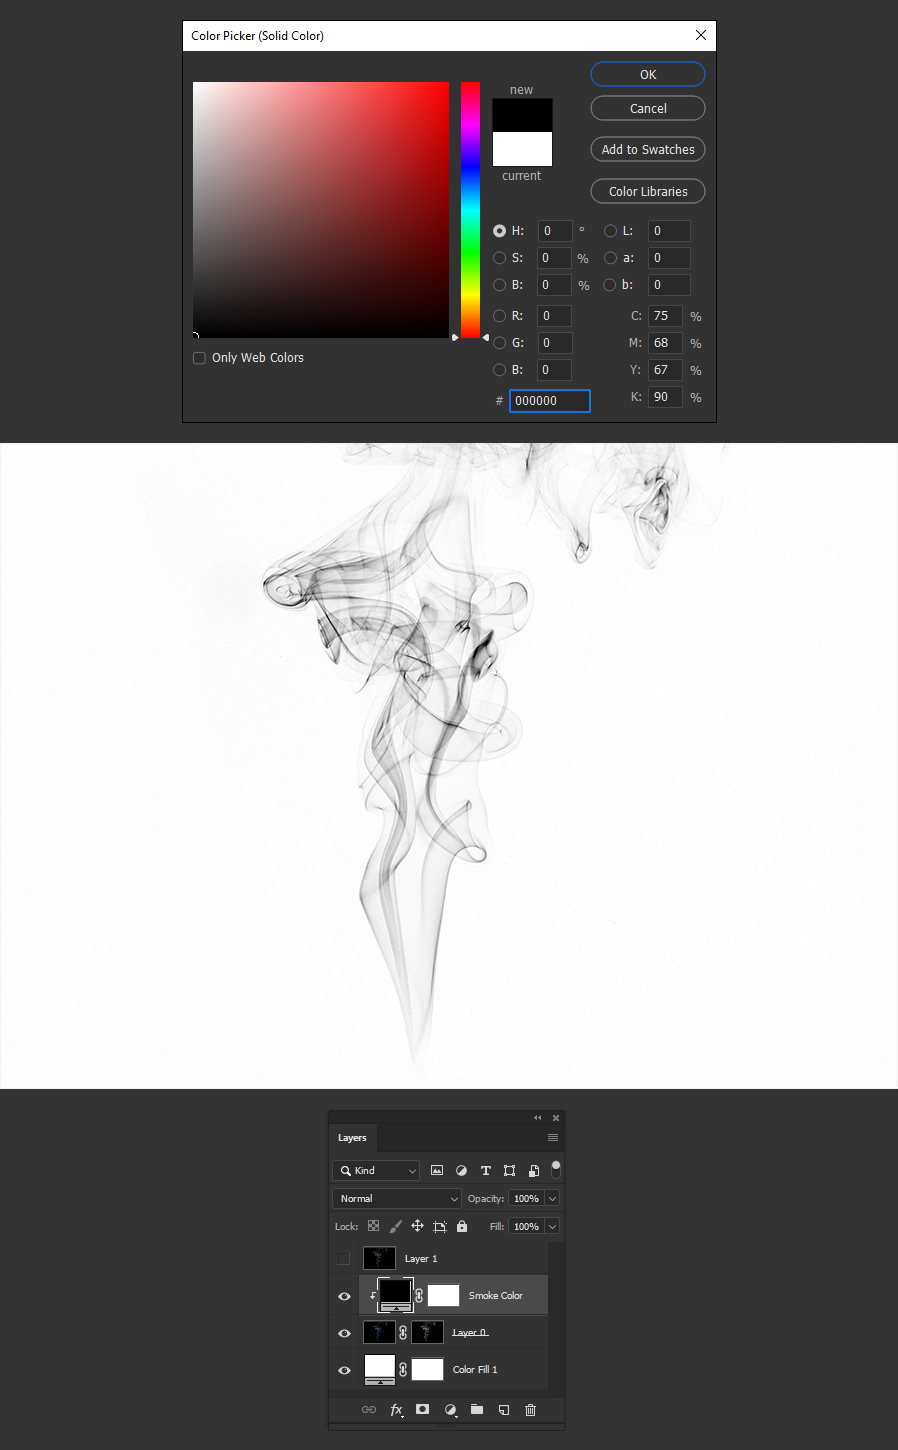
Conclusion:
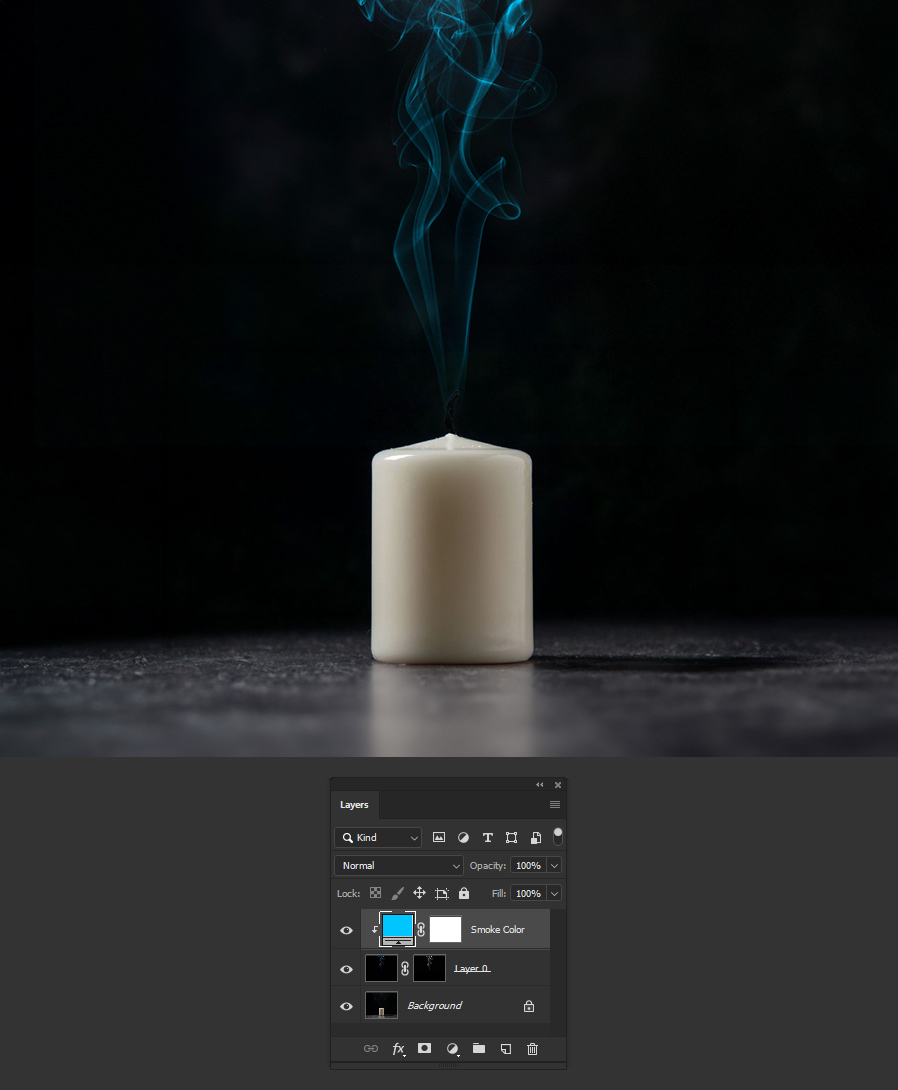
Now that you know how to easily remove the background from a smoke image, you can now place it over any other image you want and change the smoke color to your liking simply by changing the "Smoke Color" fill layer, like in the following example.
