Three Ways to Create a Handmade Look in Illustrator
Illustrator Effects
Creating a handmade aesthetic from an existing design can add a sense of charm and individuality to your works, making them ideal for use in logos, emblems, product packaging, and illustrations. This style helps convey a more personal and crafted feel, which is perfect for projects that need to stand out. In Illustrator, you can easily replicate this effect in many different ways, but today I will show you three simple yet effective methods to achieve a hand-drawn look using the Brush Tool, Wrinkle Tool, and Blur Effects and these simple techniques will help you add organic textures, uneven edges, and a natural flow to your creations.
Method 1
Step 1
Open your design in Illustrator.

Step 2
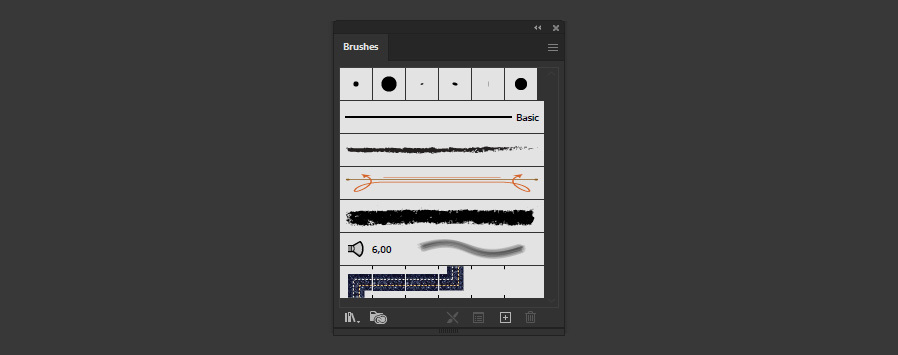
Go to Window - Brushes.
Step 3
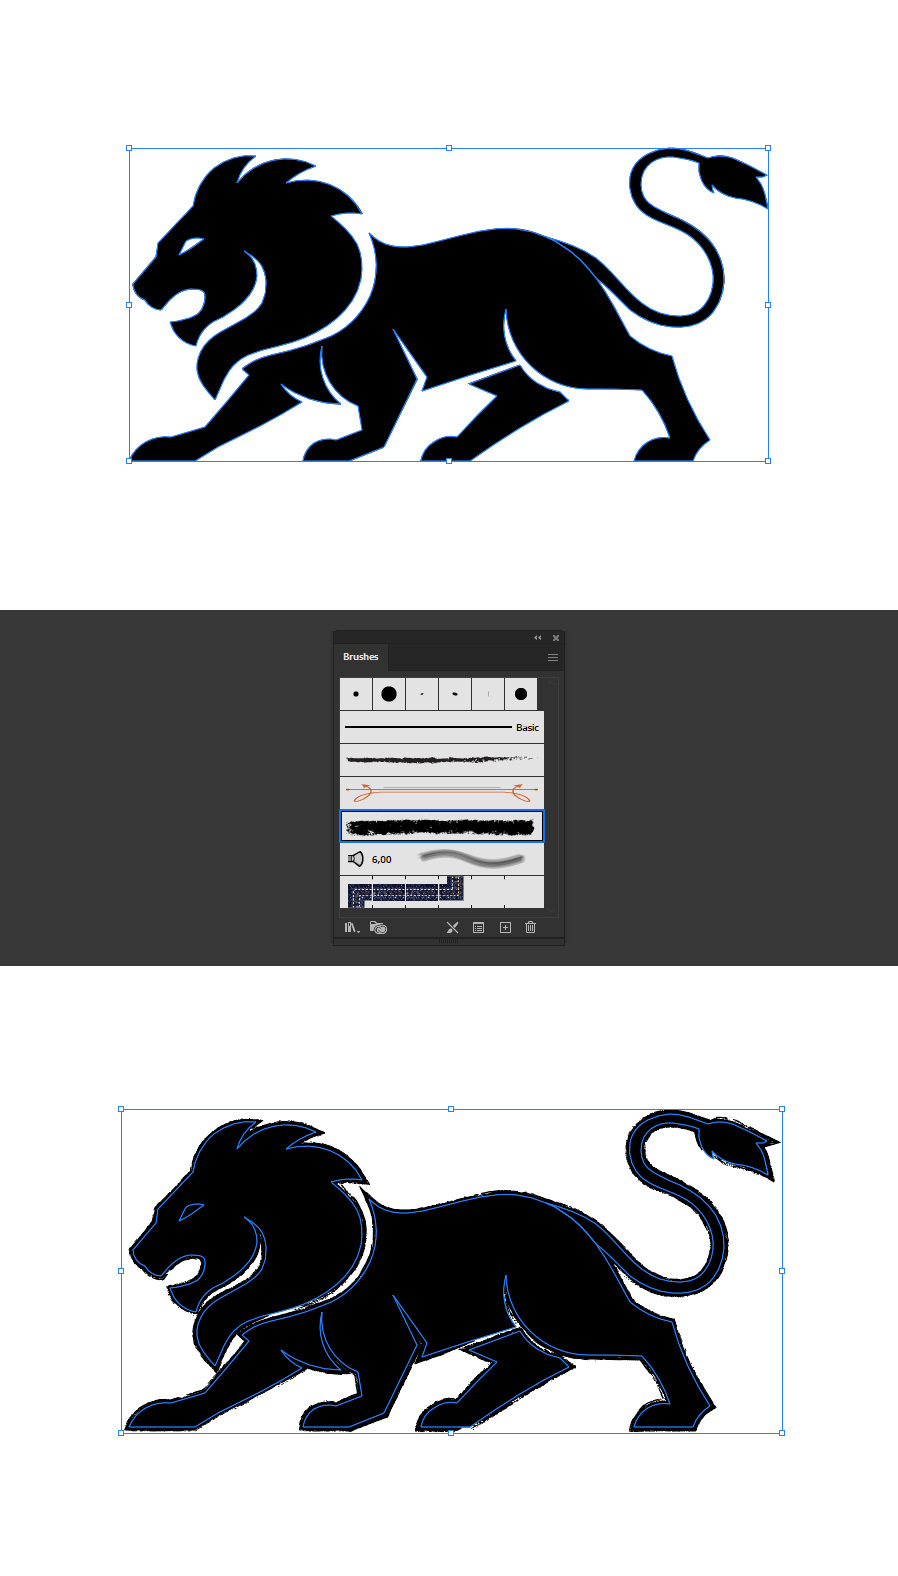
With your design selected, click on any of the available brushes. In this case I will be using "Crayon 8" from the Crayon Illustrator Brushes set that you can get at Medialoot, but you can use any other brush you like.
Step 4
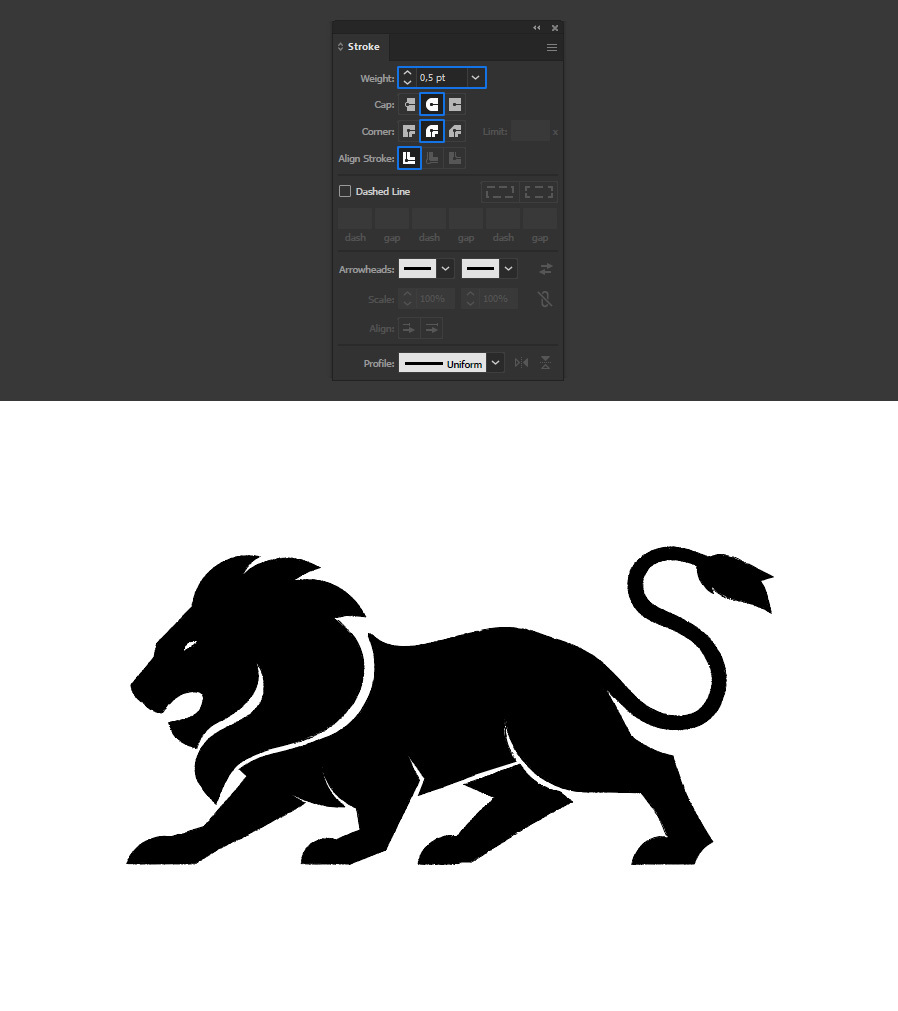
Go to Window > Stroke and set any stroke Weight you wish for your design. In this case, a weight of 0,5 pt seems to work just fine.
Method 2
Step 1
Open your design in Illustrator.

Step 2
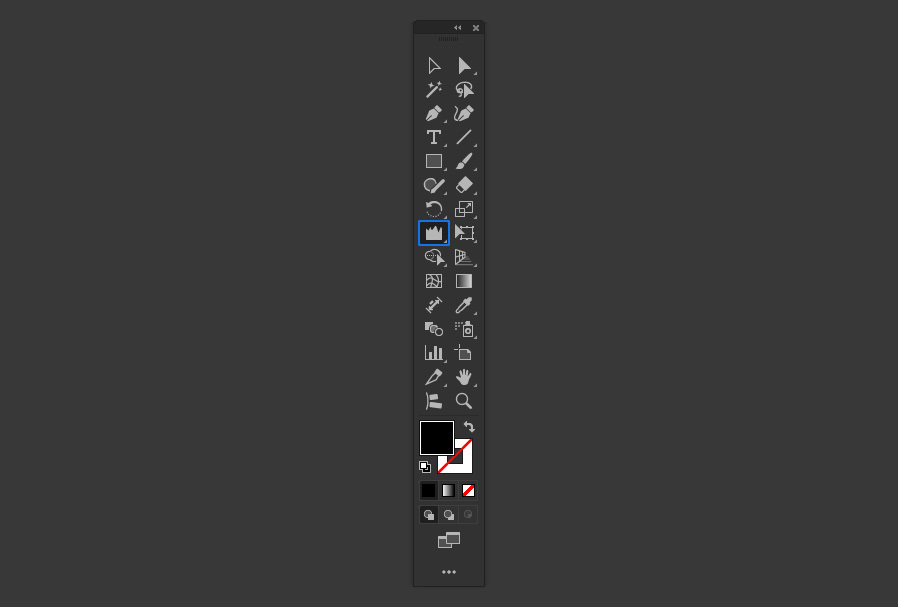
Select the Wrinkle Tool.
Step 3
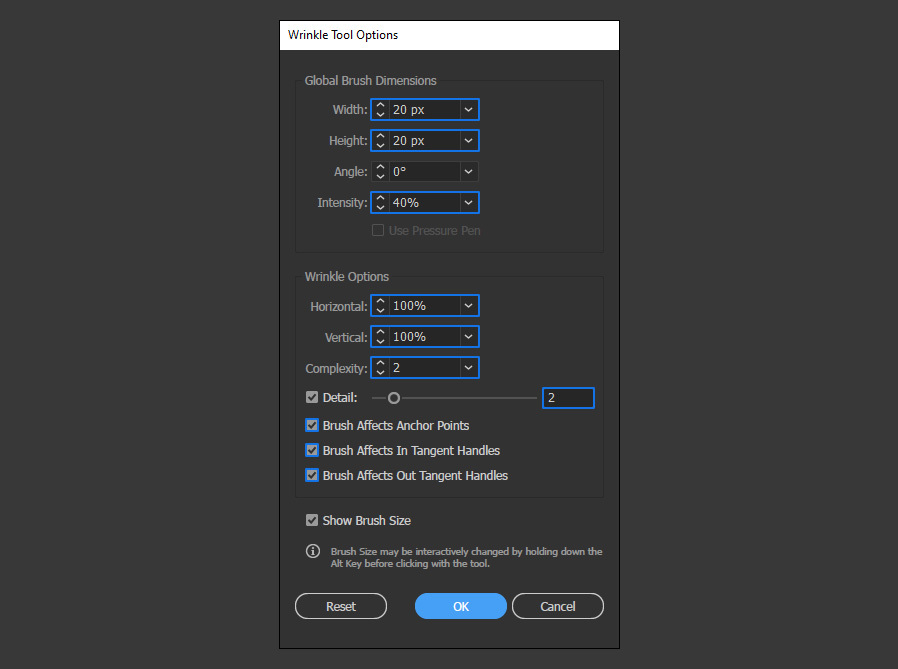
Double click on the Wrinkle Tool to open the Wrinkle Tool Options window, apply the following settings and click OK. Note: You may adjust all of these settings to your liking according to the effect you want to achieve.
Step 4
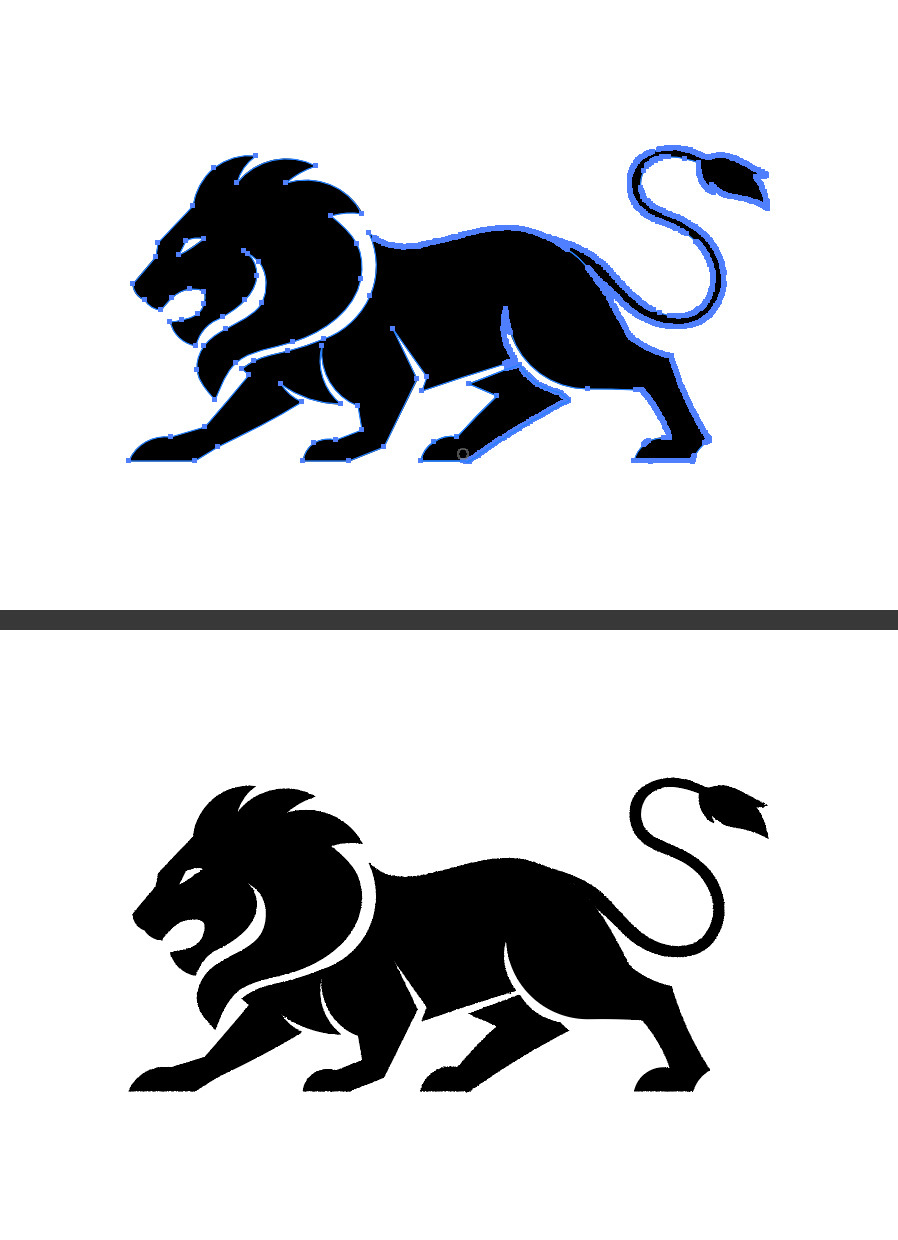
Now, simply click and drag the cursor over your design.
Method 3
Step 1
Open your design in Illustrator.

Step 2
Go to Effect > Blur > Gaussian Blur. Set the Radius to about 7 pixels and click OK.

Step 3
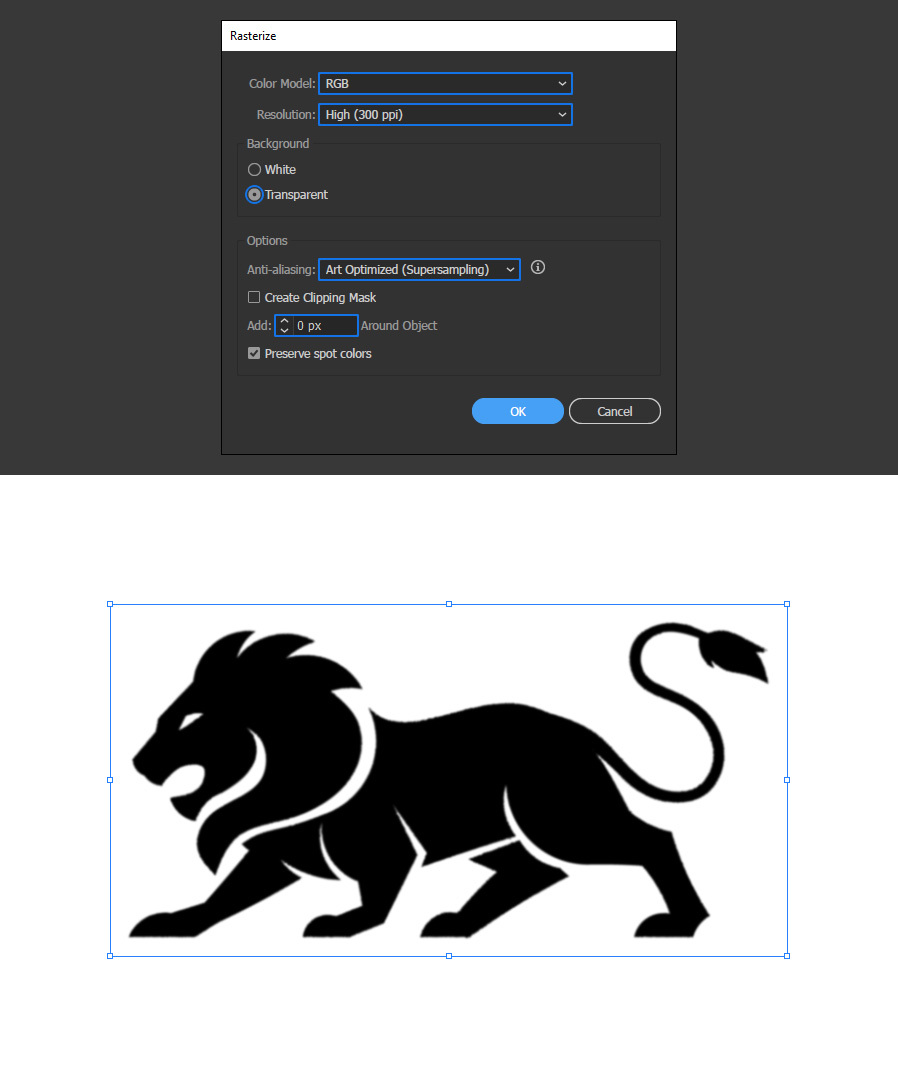
Go to Object > Rasterize. Apply the following settings and click OK.
Step 4
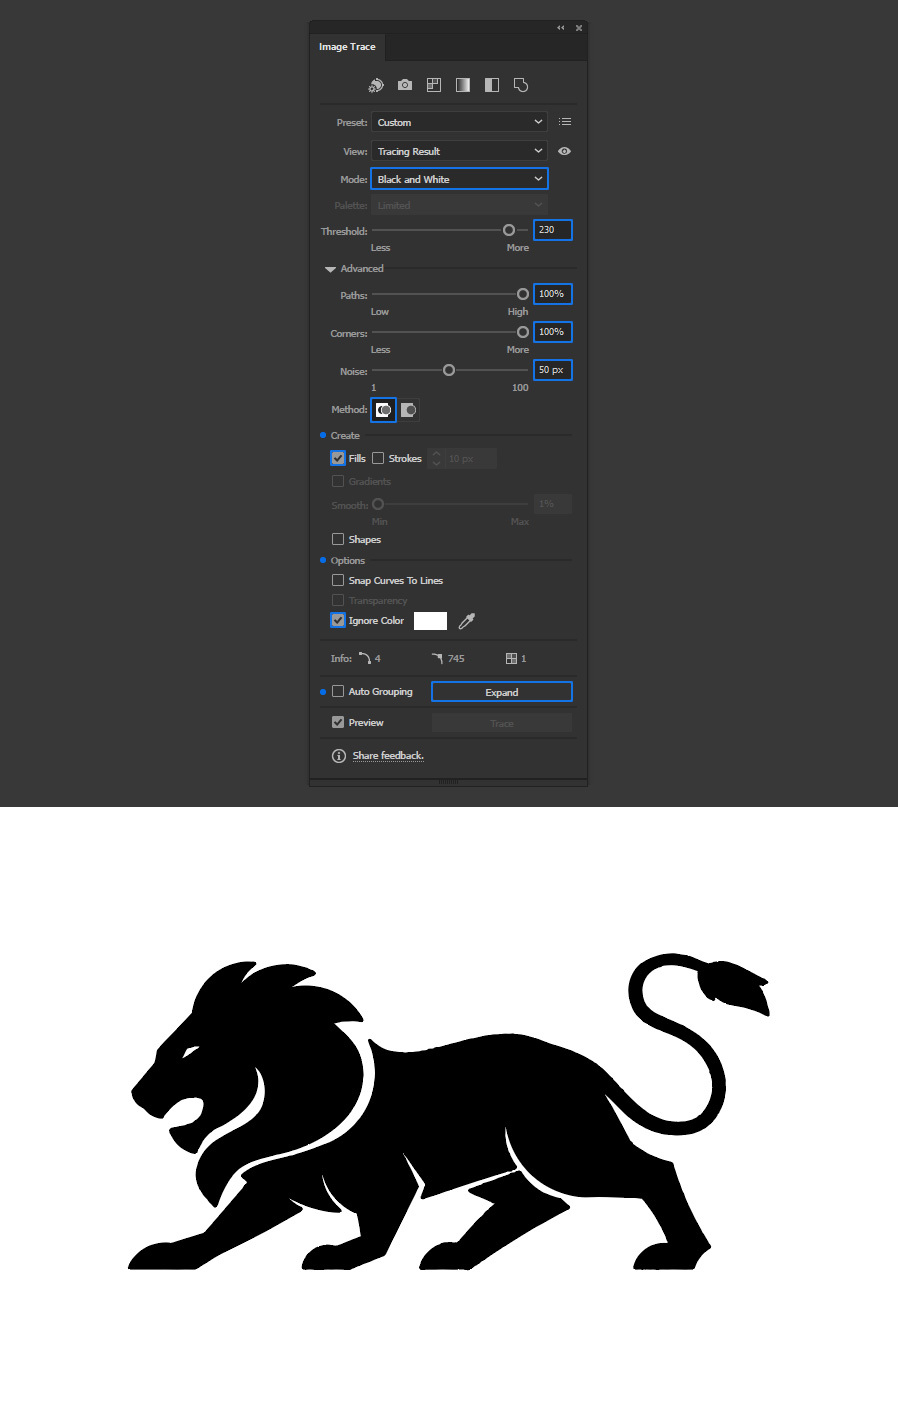
Lastly, go to Window > Image Trace. Apply the following settings and click the "Expand" button.
