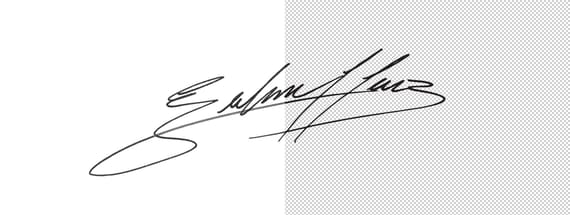
How to Easily Make Your Vector Digital Signature
Illustrator Tracing
In today's digital life, whether you are a freelancer, a business owner, or simply someone who frequently engages in digital transactions, having a well-crafted digital signature is almost indispensable to add a touch of authenticity and credibility to your documents. So today, I will show you how easily you can make your own vector digital signature in Illustrator for you to sign your digital documents or incorporate it into any design work.
Step 1
Make your signature using a black pen over a white piece of paper and scan it using at least a 400 dpi resolution so we can end up with a big image, which will be of great help to get a more precise vectorization. All scanners have different interfaces, but they all share more or less the same settings, so as a general guidance use the Color Mode in Grayscale and a Resolution of at least 400 dpi.

Step 2
Open your signature image in Illustrator.

Step 3
Click once over the image. When you do that, the top bar will change according to the object type (in this case, an Image).

Step 4
But before tracing our image, we need to make some adjustments. If you do not have the Image Trace panel visible, go to Window > Image Trace.

Step 5
Click on "Advanced" to display the advanced options and check the "Preview" option.

Step 6
Before adjusting the "Threshold" levels, apply the following settings.

Step 7
Now, adjust the "Threshold" levels to your liking. In this case, I will set mine to 145.

Step 8
Once you are happy with the results, click the Expand button in the top bar.

Step 9
Lastly, with the expanded signature selected go to Object > Compound Path > Make.

Step 10
With your vector signature finished with a transparent background, you can now colorize, rotate and scale your signature as you wish like you normally do in Illustrator with any shape/path.


