How to Easily Make a Soundwave in Photoshop
Photoshop Tips & Tricks
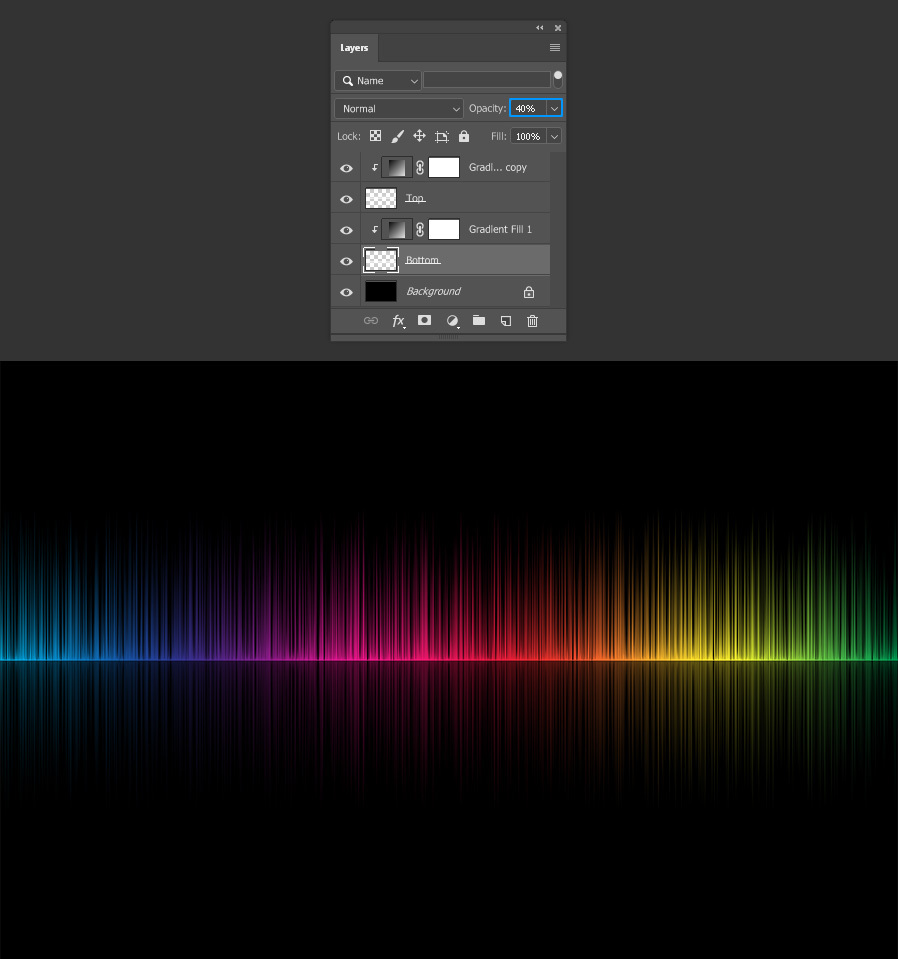
Making a complex soundwave in Photoshop is not as complex as you may think. In fact, it is very easy if you know which tools to use. In this tutorial, and in less than 5 minutes you will be able to make your own colorful soundwave starting from a single 1 px line. There are not extra plugins involved, we will be using just the default Photoshop tools and filters.
Step 1
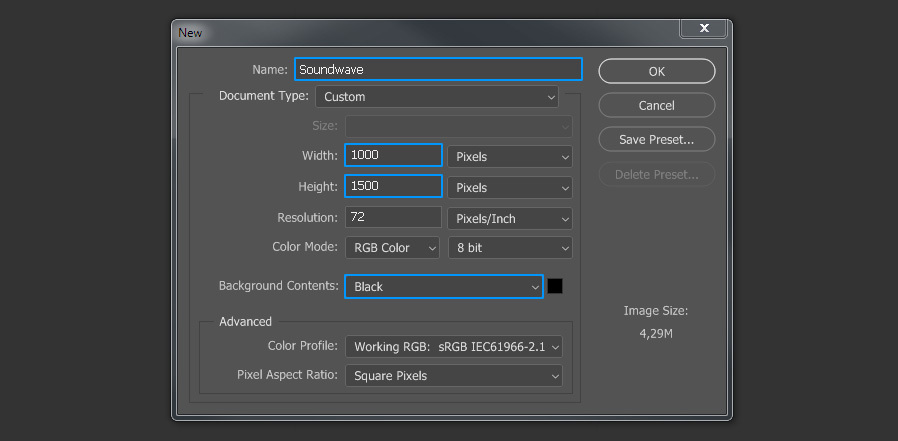
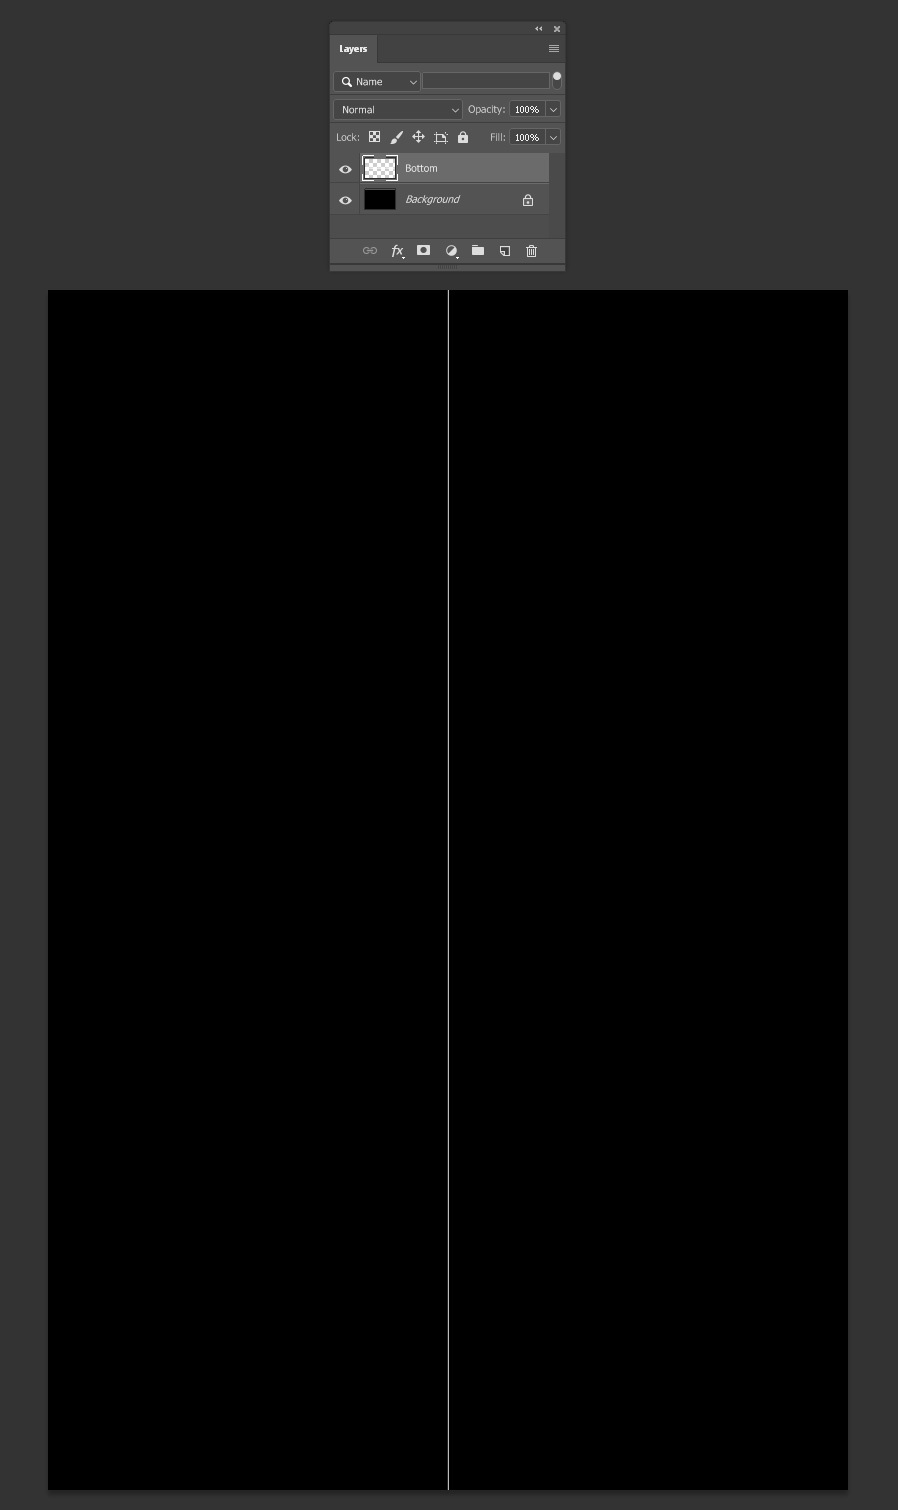
Open Photoshop and make a new file at any size you want, but set the Background color to Black. In this case I will set my canvas size to 1000 x 1500 (in a Vertical orientation, which later we will rotate).
Step 2
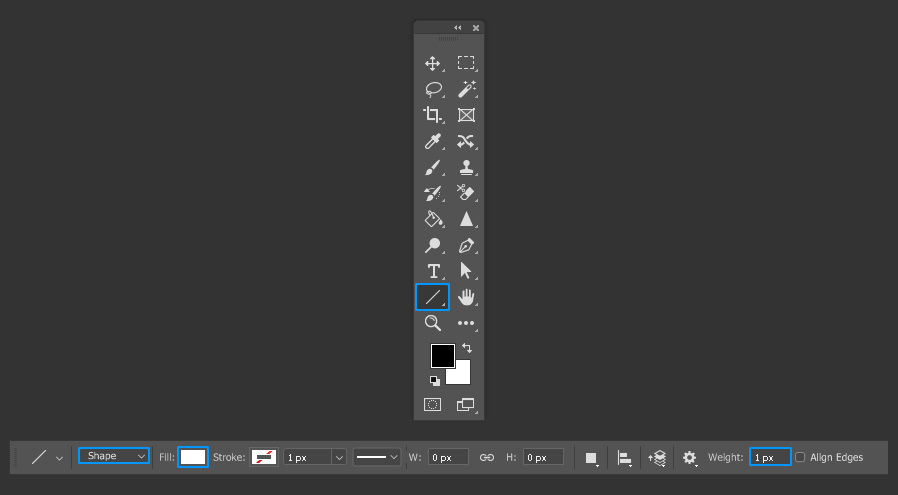
Select the Line tool (U). In the top toolbar be sure to have the Mode set to “Shape”, the Fill to “White” and the Weight to “1 px”.
Step 3
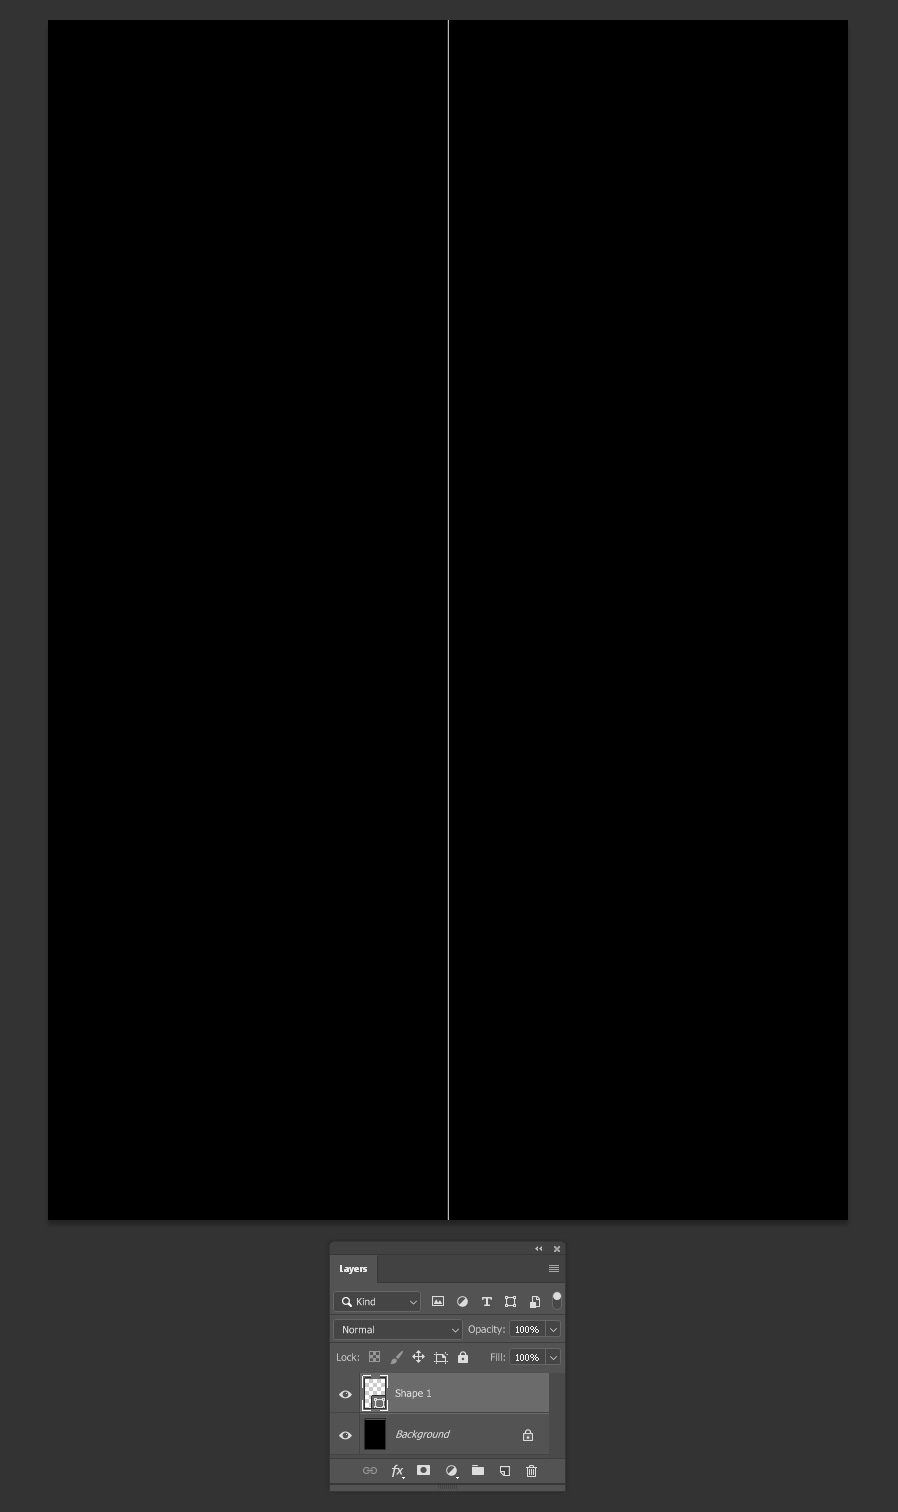
Draw a line from the top to the bottom and center it in the middle of the canvas.
Step 4
Go to Layer > Rasterize > Layer. Rename this layer as “Bottom”.
Step 5
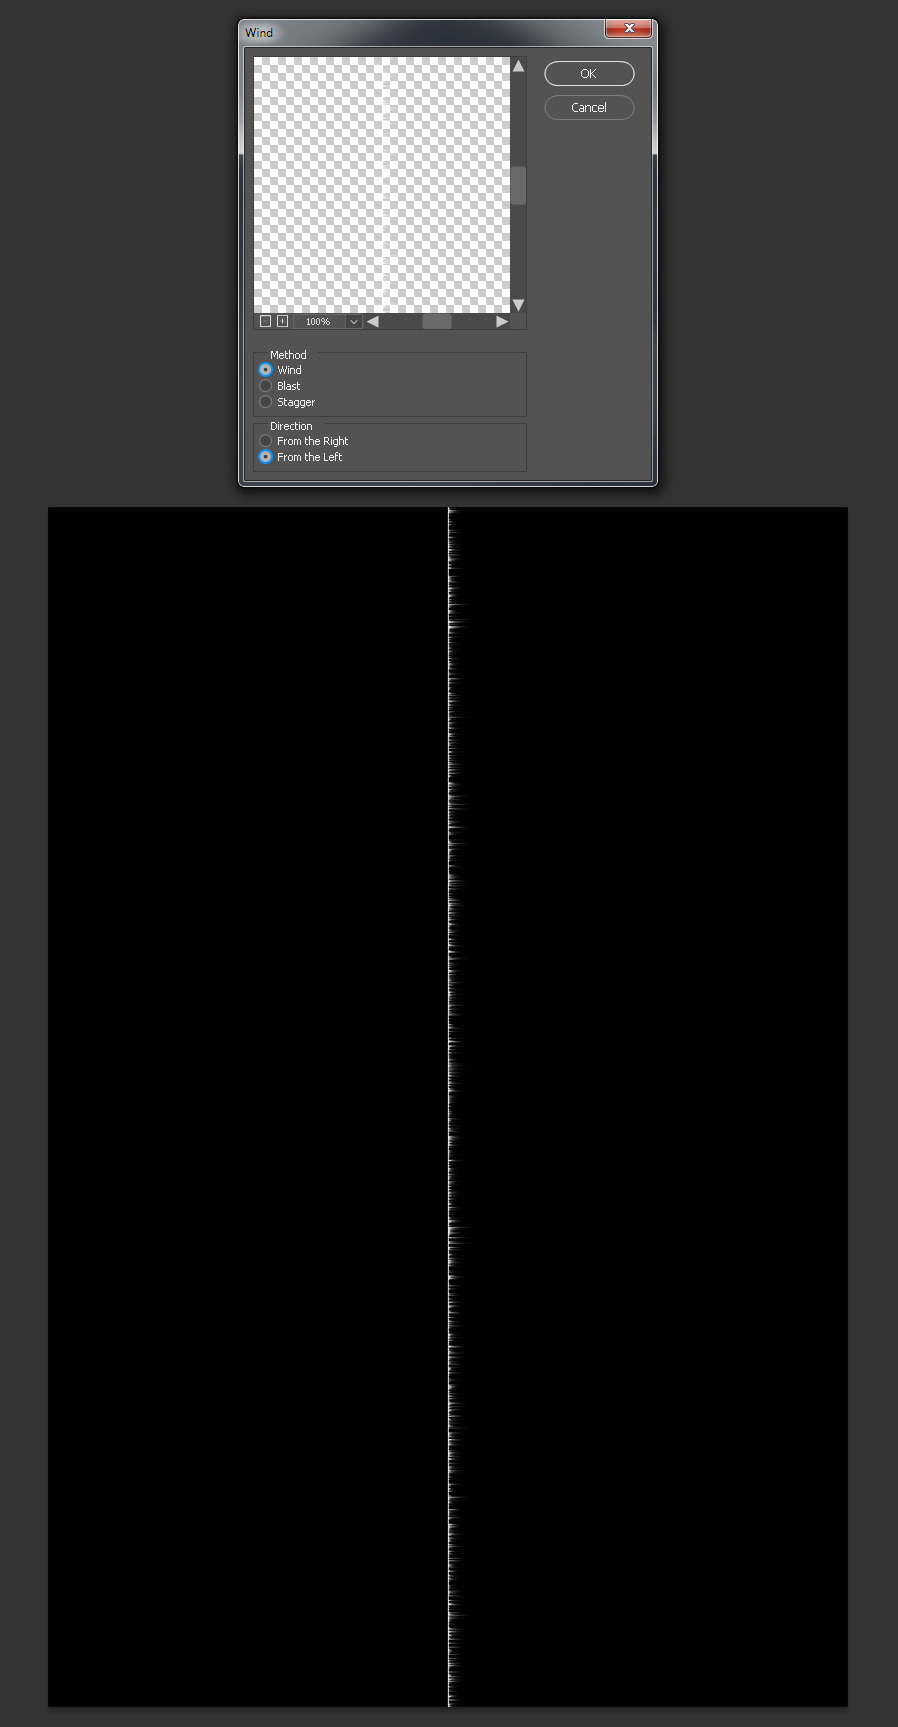
Go to Filter > Stylize > Wind. Set the Method to “Wind”, the Direction to be “From the left” and click OK.
Step 6
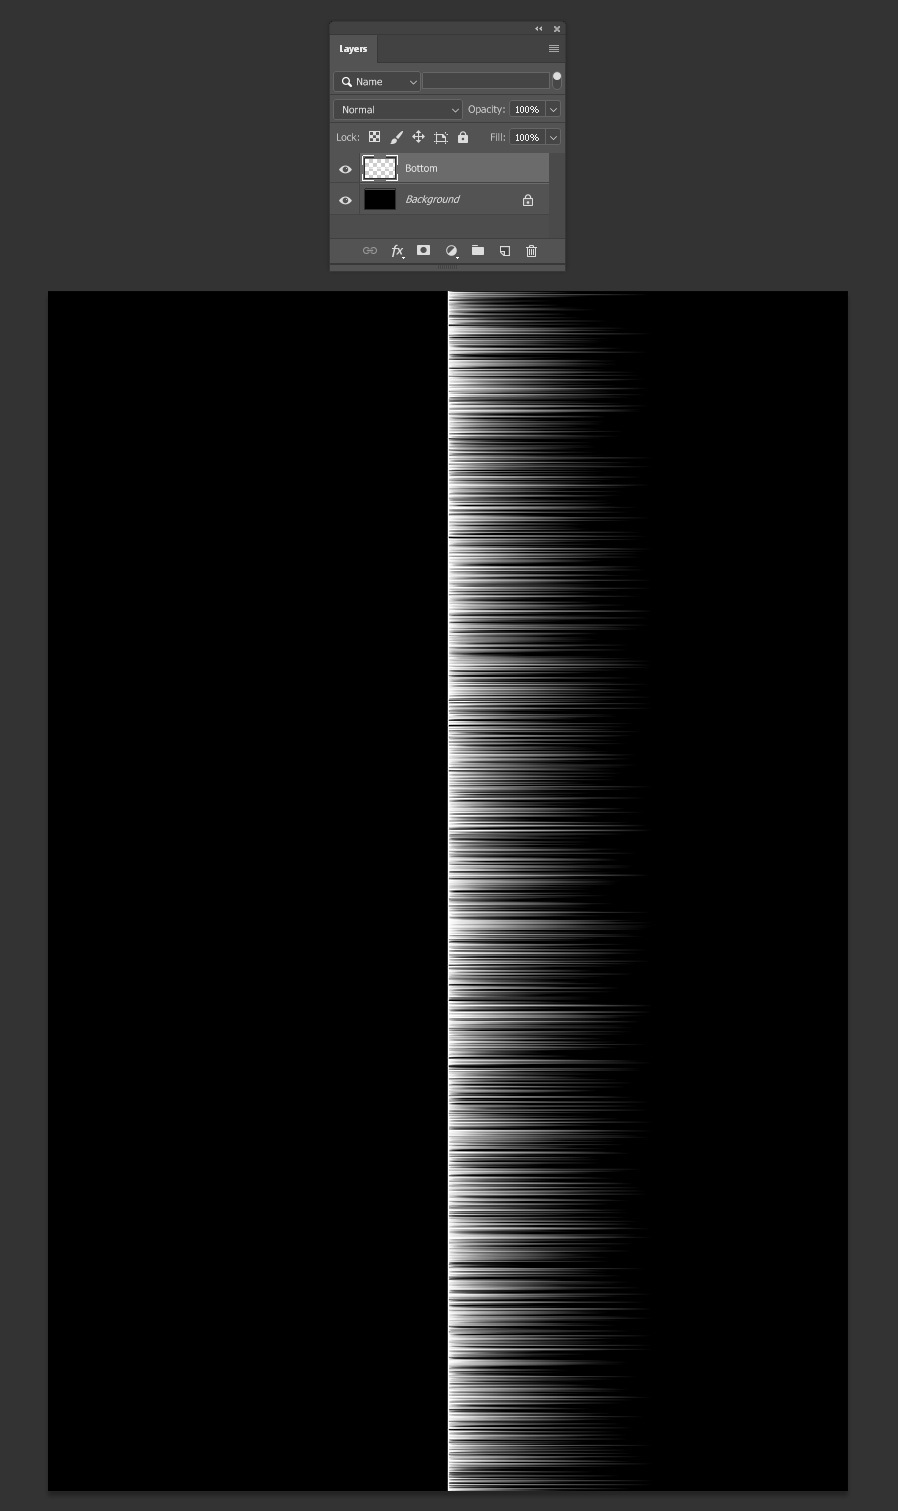
Go to Filter > Wind (or press Alt+Ctrl+F on your keyboard) four times to apply the same Wind effect 4 more times.
Step 7
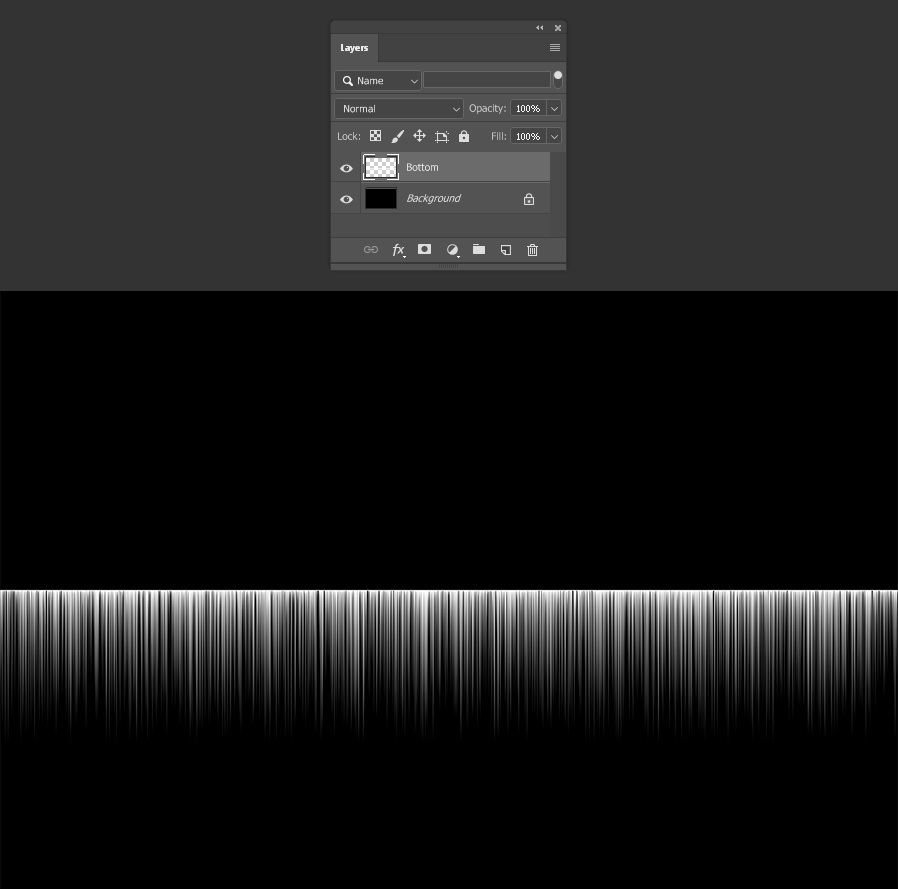
Go to Image > Image Rotation > 90º Clockwise.
Step 8
Go to Layer > Duplicate Layer. Name this layer “Top” and click OK.
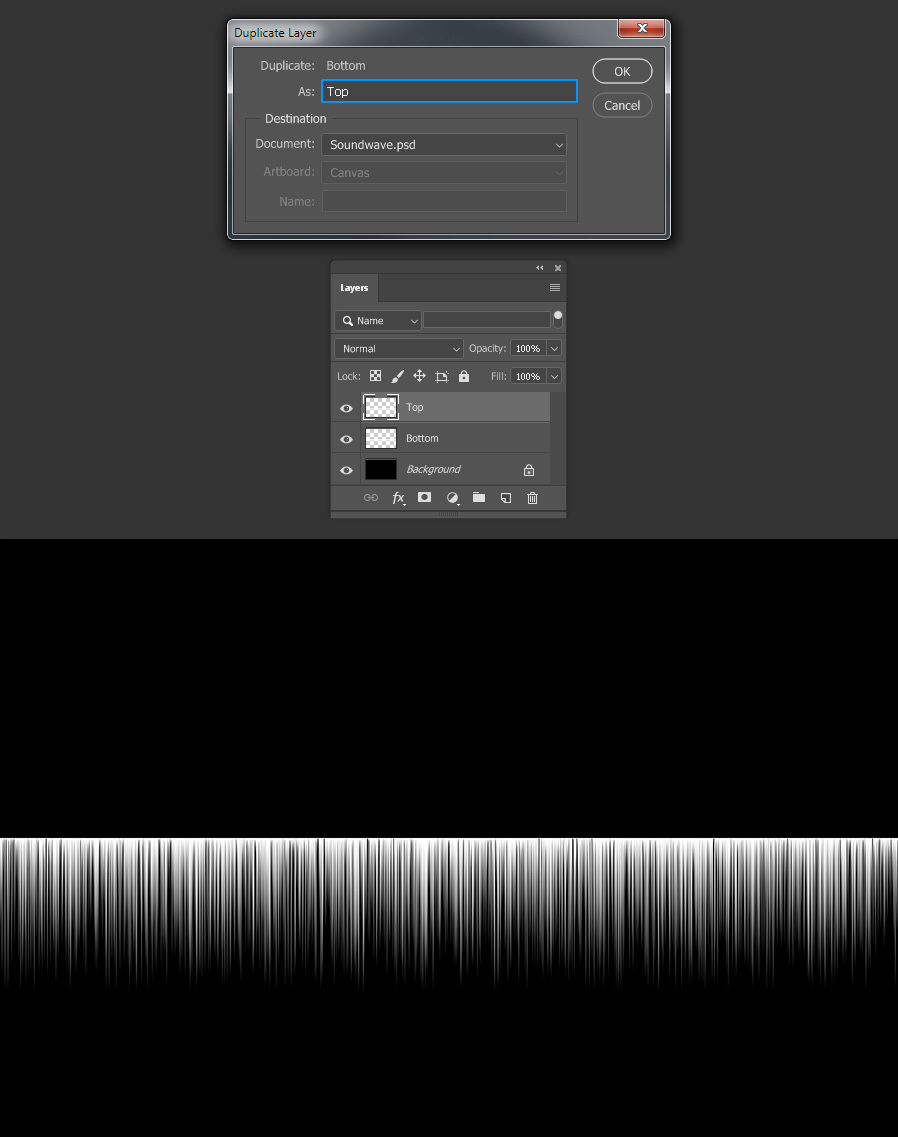
Step 9
With the “Top” layer selected, go to Edit > Transform > Flip Vertical.
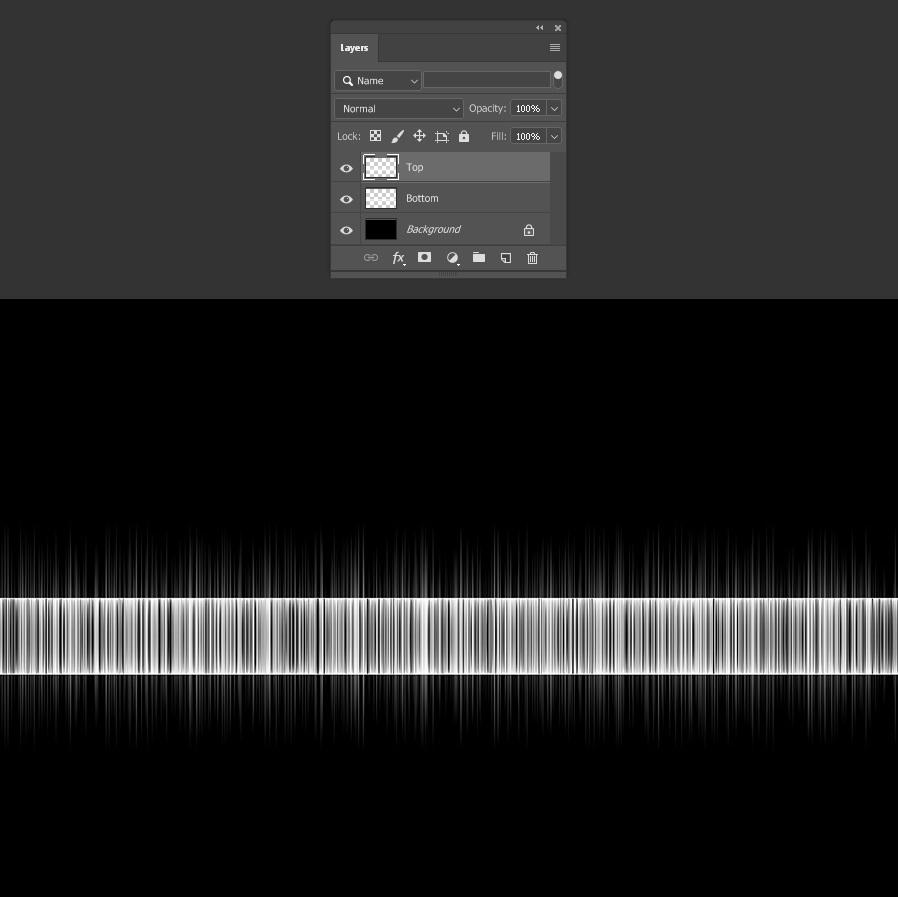
Step 10
Reposition the “Top” layer to make both lines match in the middle as shown.
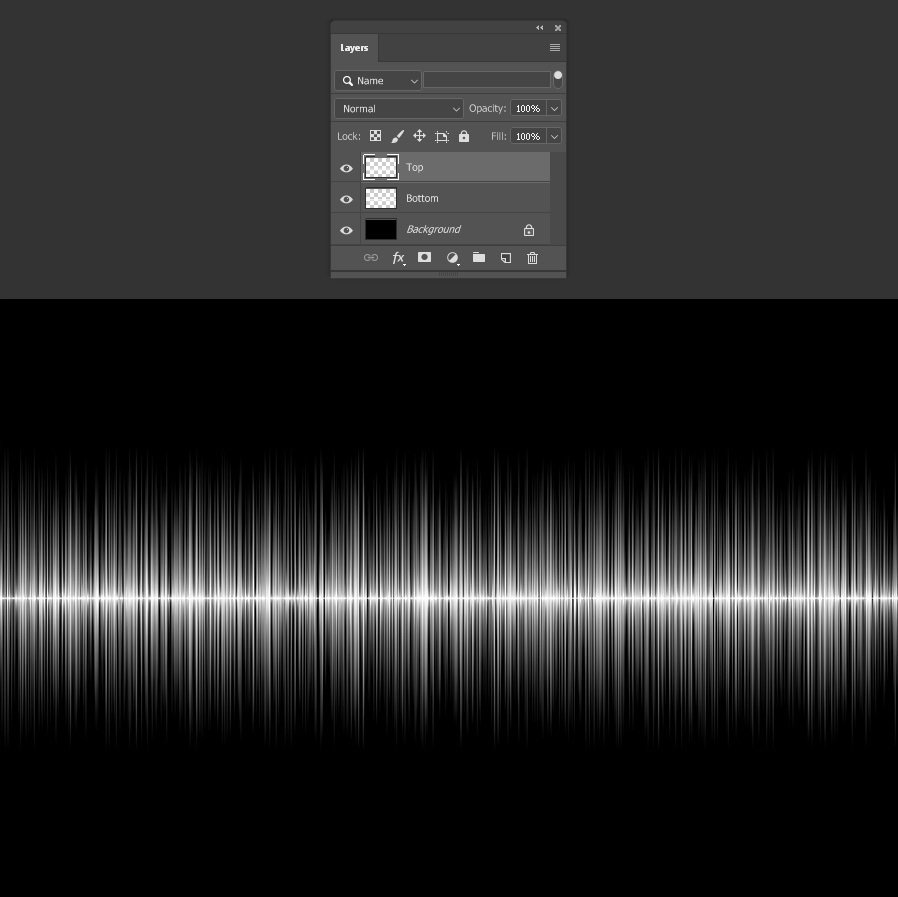
Step 11
Select the “Bottom” layer and go to Layer > New Fill Layer > Gradient. Be sure to check the “Use Previous Layer to Create Clipping Mask” option and click OK.
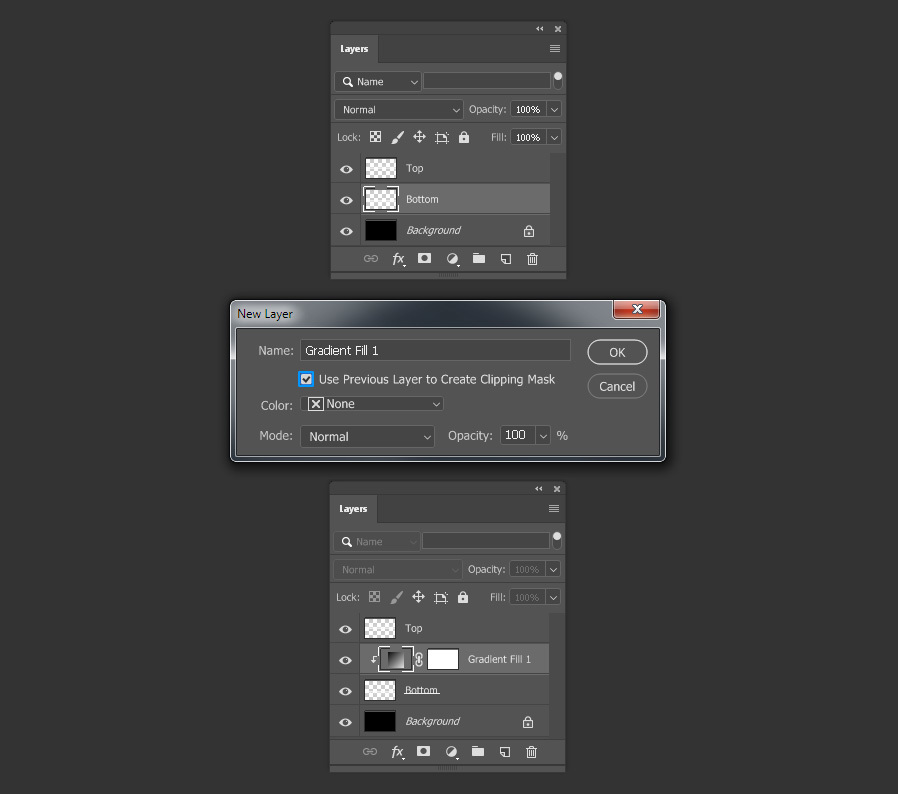
Step 12
In the Gradient Fill window, pick any gradient you want from the thumbnail dropdown. In this case I will be using “Spectrum”. Then set the Style to “Linear”, the Angle to “0º” and click OK.
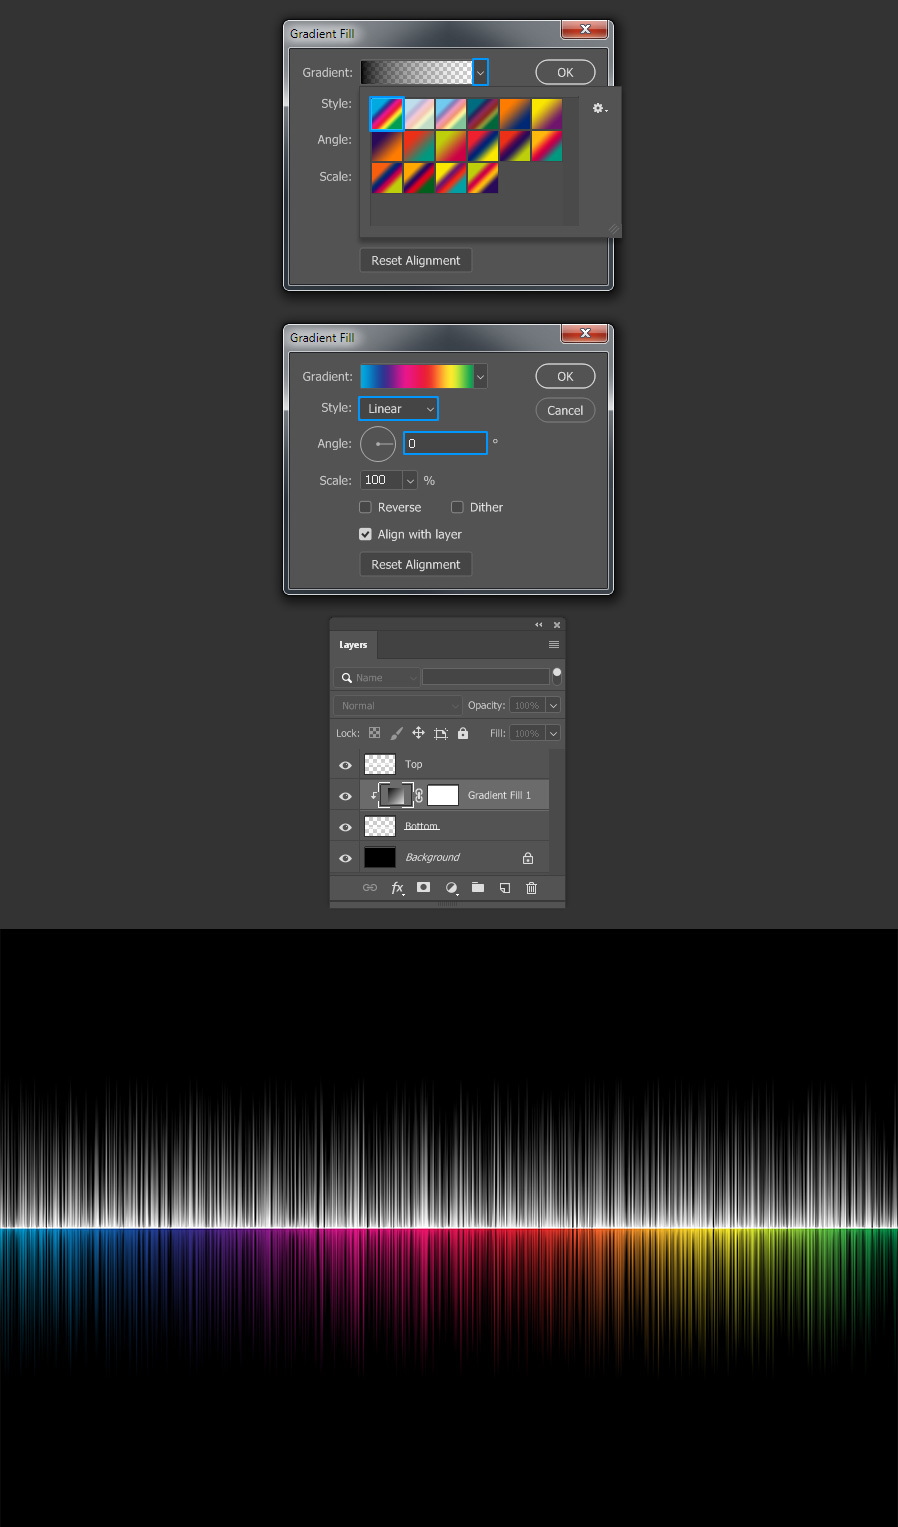
Step 13
Press Ctrl+J on your keyboard to duplicate the Gradient Fill layer.
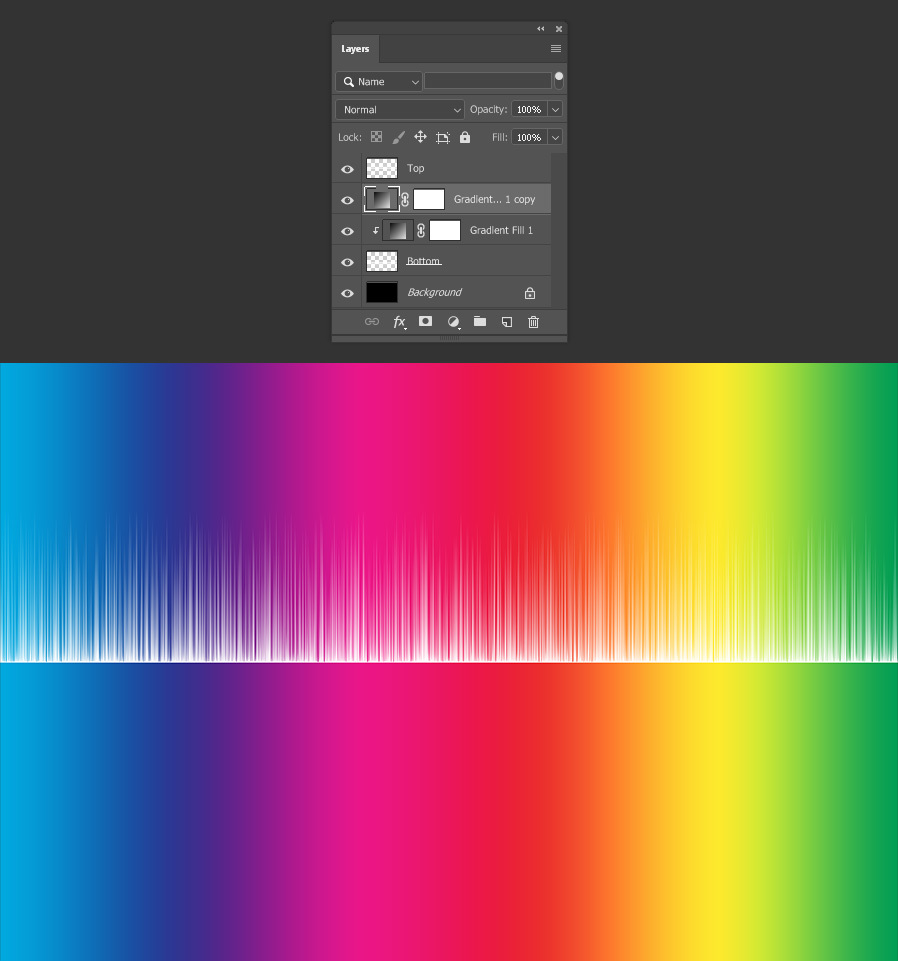
Step 14
Reposition the layer above the “Top” layer and go to Layer > Create Clipping Mask.
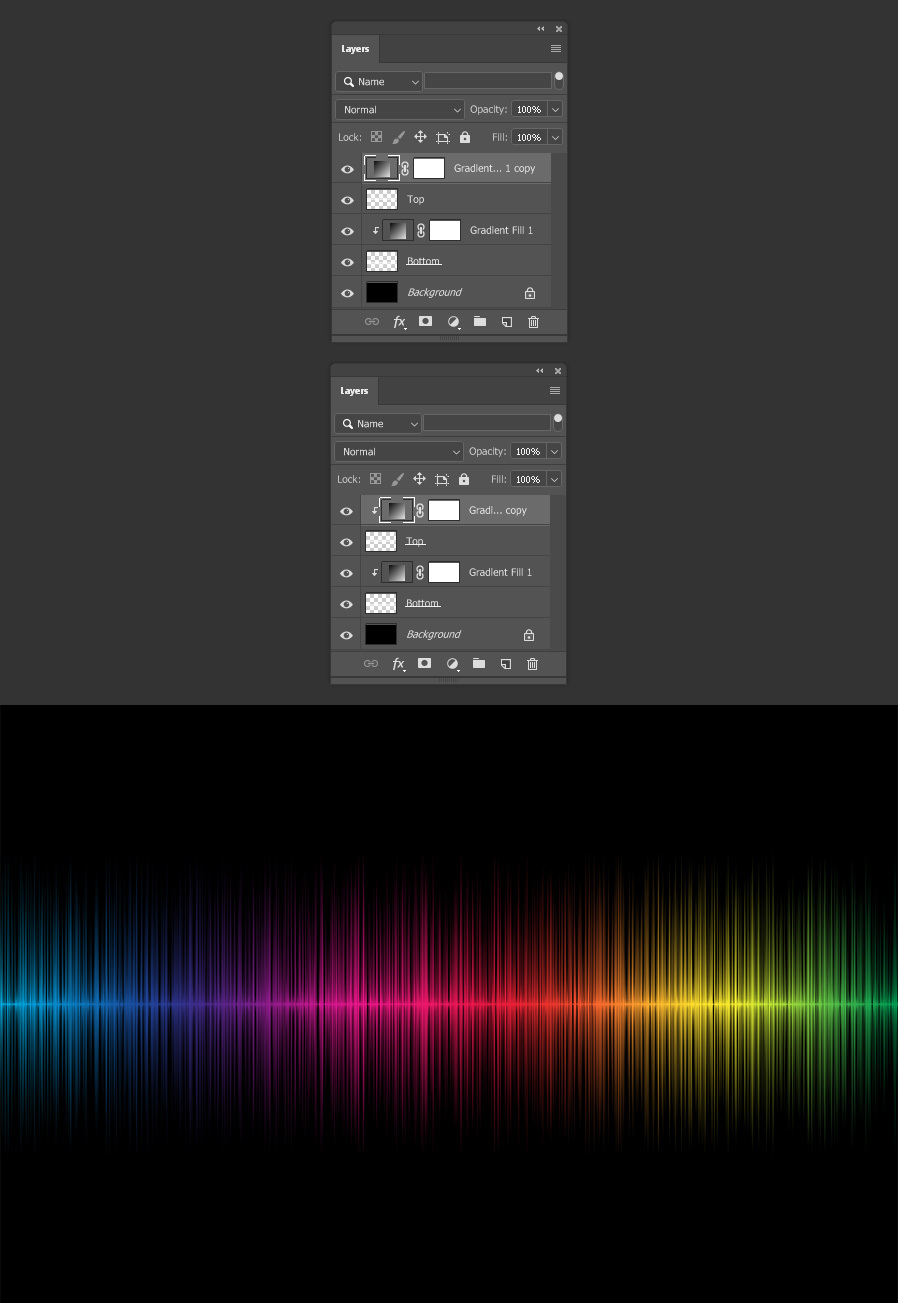
Step 15
As a finishing touch, select the “Bottom” layer and decrease the opacity to around 40% to make it look like a reflection.
