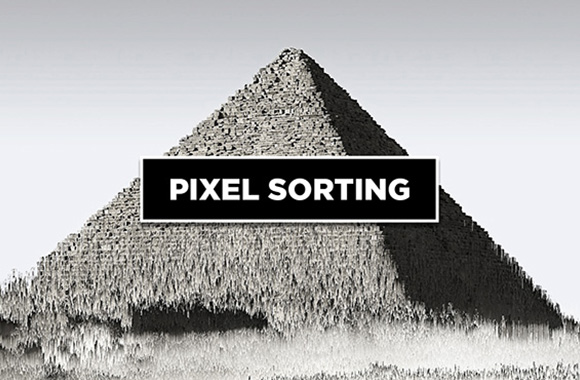


Easily add to any image (at any size and any resolution) a modern Pixel Sorting Effect to a specific area or to the entire image. The Pixel Sorting action has 2 different instances, one with a 105% vertical compensation and another one without it so you can have a more precise sorting effect according to your image.
You just have to open your image, choose the action you want to run, and hit the play button. After a few seconds the action will finish and all you have to do is to paint over the layer mask with the provided brushes to reveal the effect in the area you want, and for even more precision, we have included 3 extra 'border' brushes to use on the surrounding areas of your selection.
How to install (brushes):
- Open Photoshop.
- Go to Edit > Presets > Preset Manager.
- From the dropdown select "Brushes" and click on Load, locate the "Medialoot - Pixel Sorting.abr" file and click Load.
How to install (action):
- Open Photoshop.
- In the Actions Panel click on the top right icon and from the dropdown menu select "Load Actions".
- Locate the "Medialoot - Pixel Sorting.atn" file and click on Load.
How to use:
- Open your image. Be sure that is set as the background (if not, go to Layer > New > Background from Layer).
- In the Actions Panel expand the "Medialoot - Pixel Sorting" action container.
- Select the any of the included actions and click on the play button.
- When prompted select any of the included brushes to paint over the layer mask to reveal the effect.
Tip:
- When painting the area to reveal the effect, choose any of the first 3 included brushes and alternated between them to get a more realistic effect.
- To reveal a more precise border of the area you want, use any of the last 3 brushes (with the 'border' suffix) and alternated between them for a better end result.


