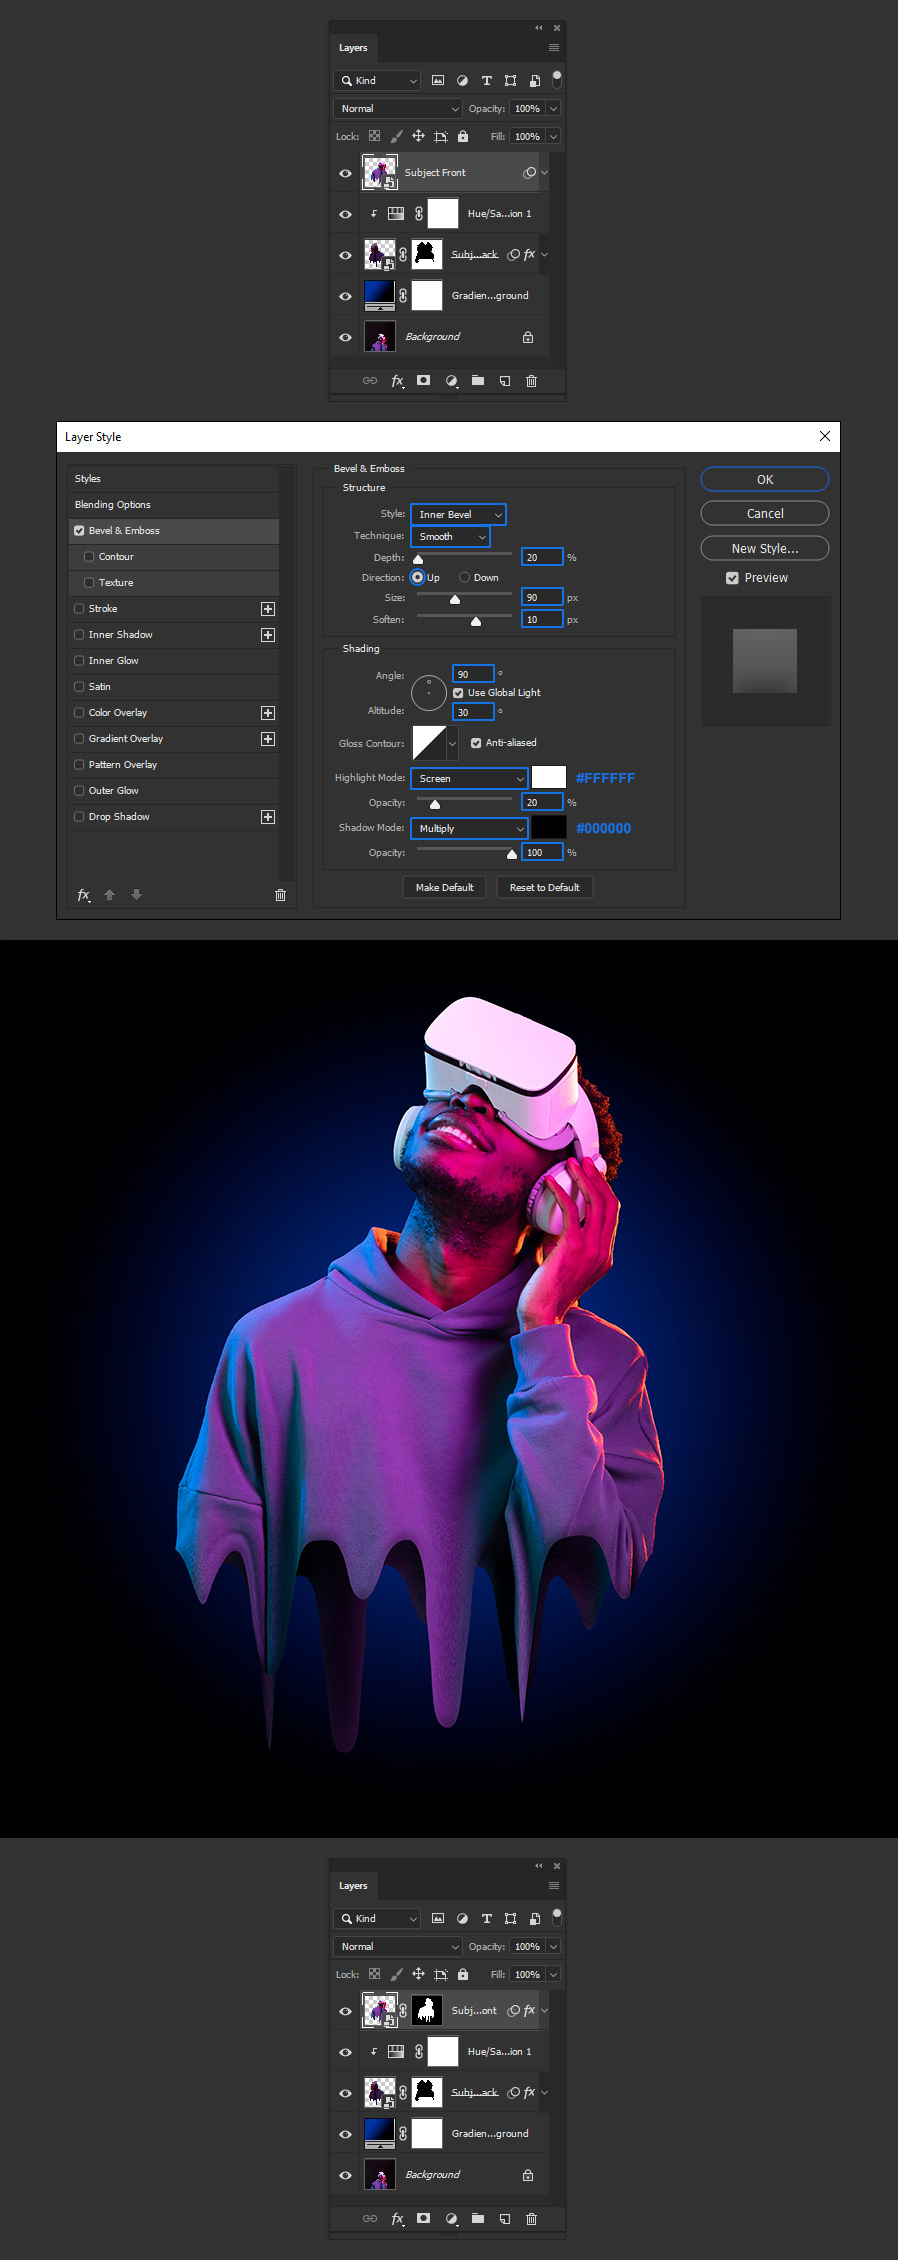
How to Easily Make a Dripping Photo Effect in Photoshop
Photoshop Photo Effects
Lately, we have seen a lot of pictures with a dripping effect in many advertisings, websites and even Instagram posts, and making this effect in Photoshop is very easy if you know which tools to use. While some techniques requires you to use a dripping image shape as a mask, there many other methods to make this effect, and a simpler way to achieve this same effect (in fact, we will make some improvements so it does not looks flat like others dripping effects) is by using the Liquify Tool in Photoshop.
But before we begin, and if you want to follow this tutorial exactly as described, please download the following image from Freepik: Download.
Step 1
Open the image in Photoshop.

Step 2
Using your favorite method, cut off the subject from the background and place it over a new layer. Name this layer as "Subject Back".
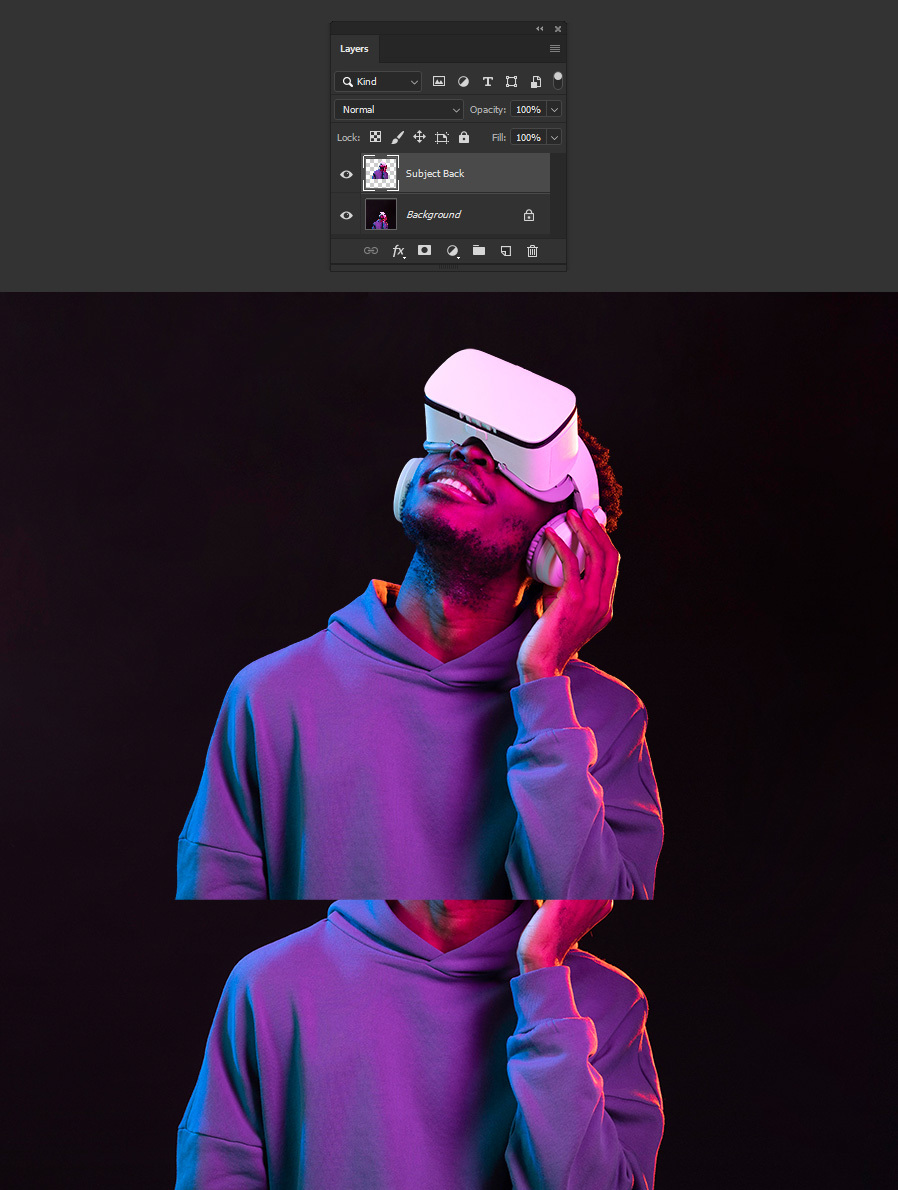
Step 3
With the "Subject Back" layer selected, go to Layer > Smart Objects > Convert to Smart Object.
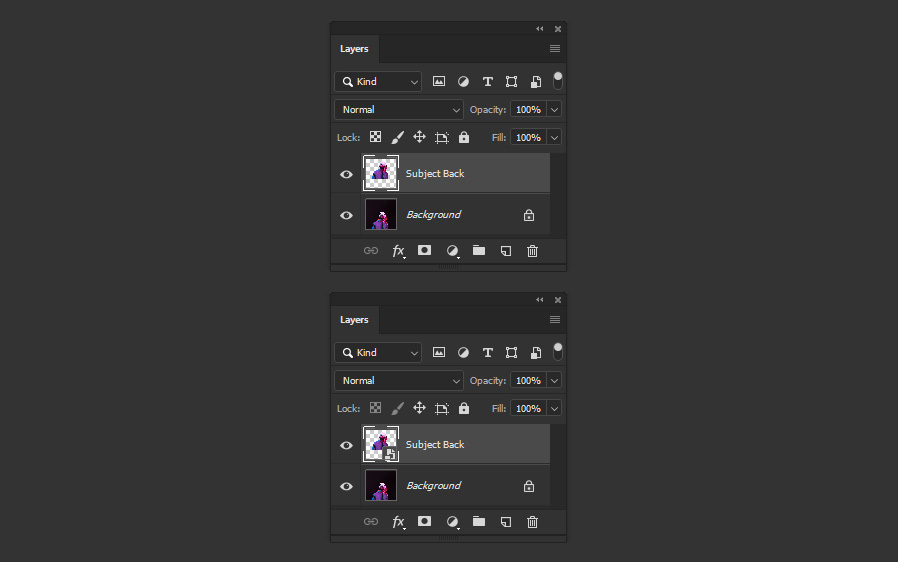
Step 4
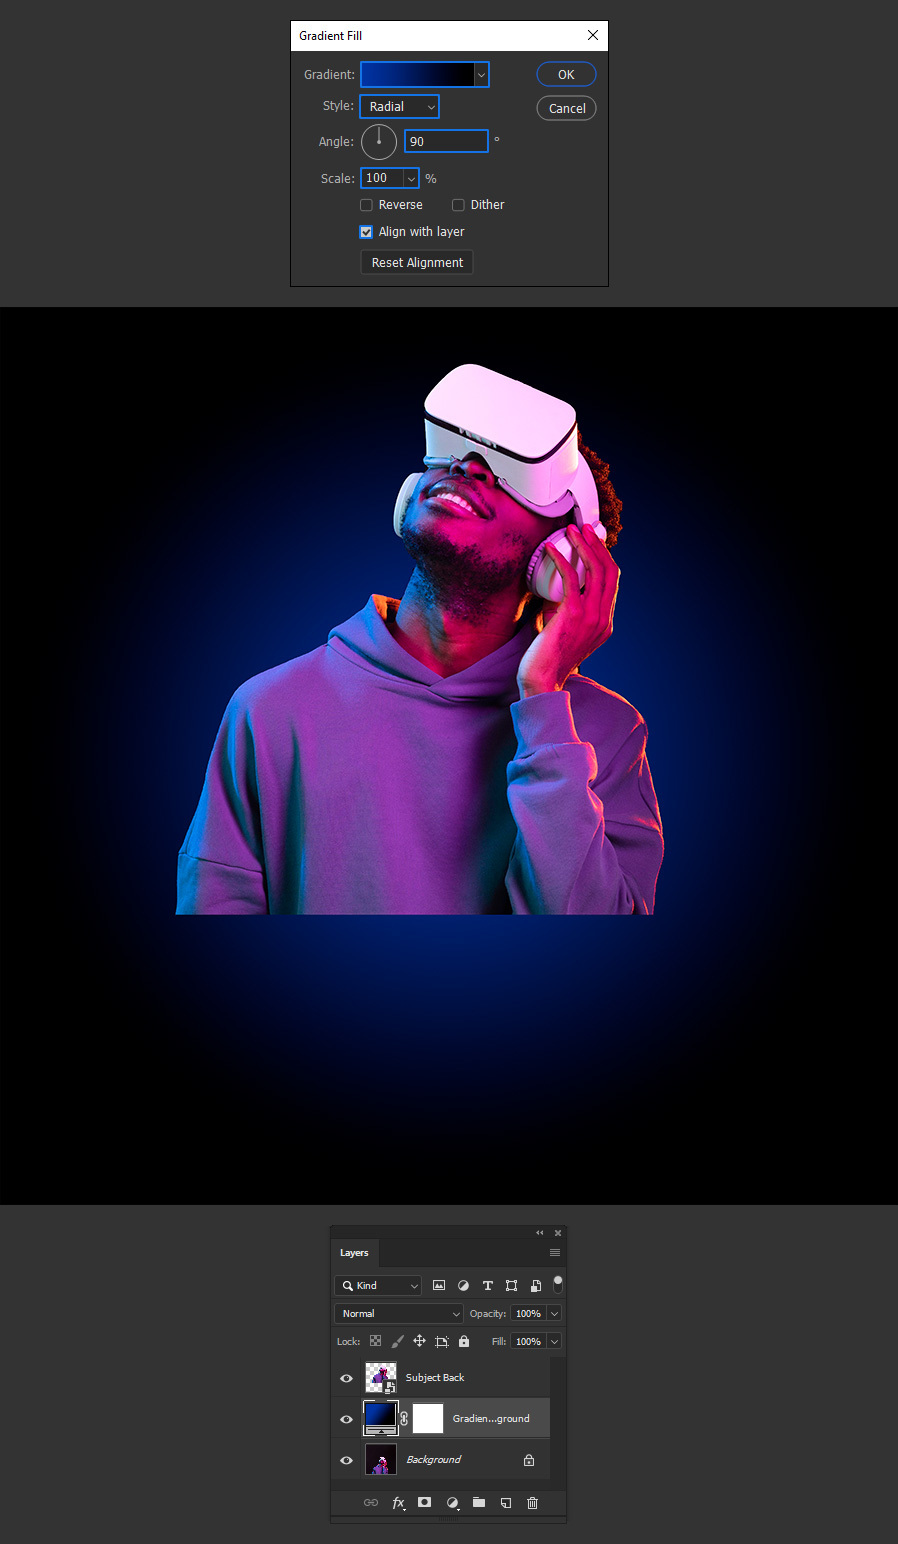
Select the "Background" Layer and go to Layer > New Fill Layer > Gradient. Name this layer as "Gradient Background" and click OK.
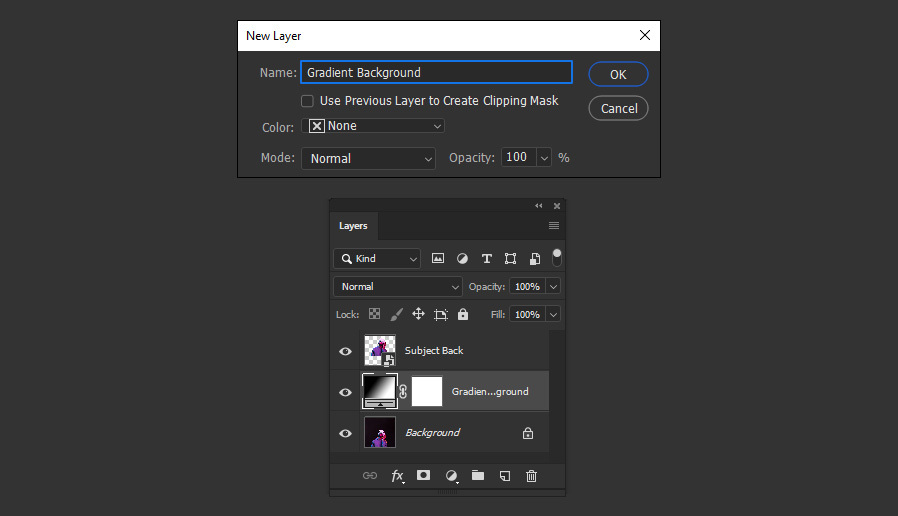
Step 5
Set the Gradient to any color you like using a Radial Style and click OK. In this case, I will setup my gradient from #12369e to #000000.
Step 6
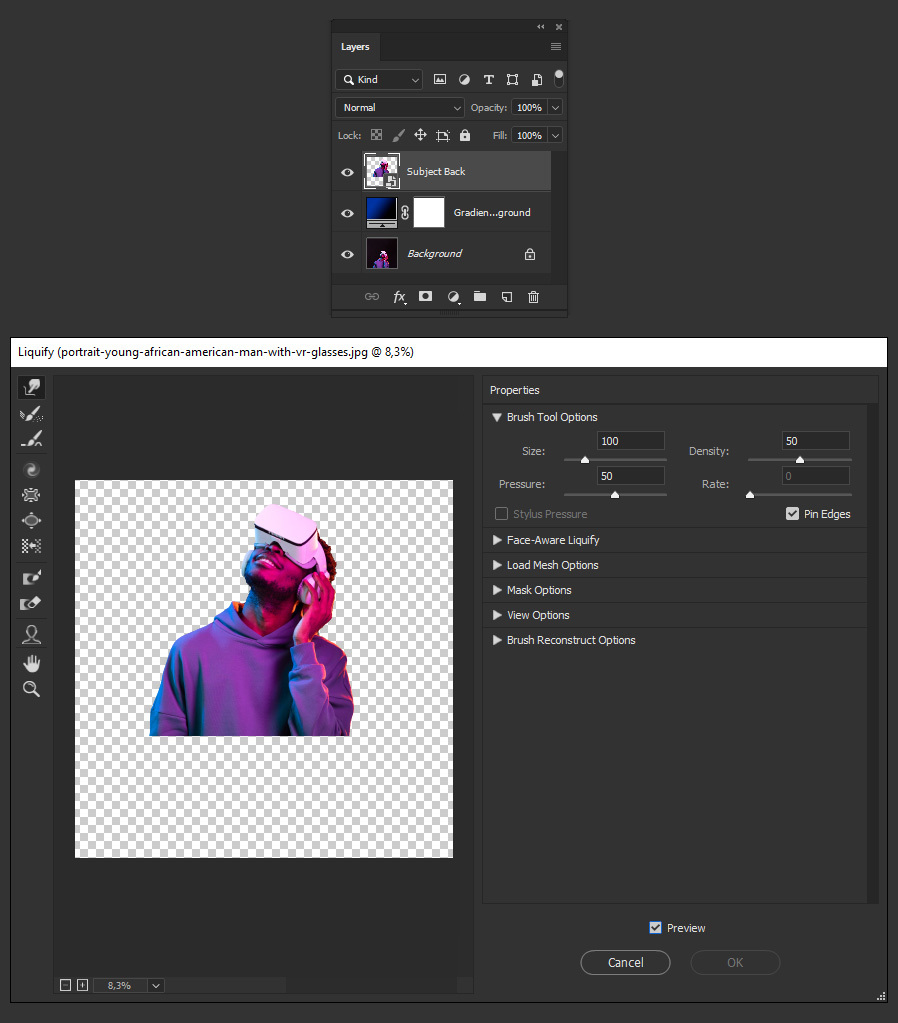
Select the "Subject Back" layer and go to Filter > Liquify.
Step 7
In the Liquify window, under the Brush Tool Options, adjust the brush size, density and pressure to any value that you feel comfortable working with and then using the Forward Warp Tool (W) click and drag from top to bottom to make a dripping effect as shown. When you are happy with the result, click OK in the Liquify window.

Step 8
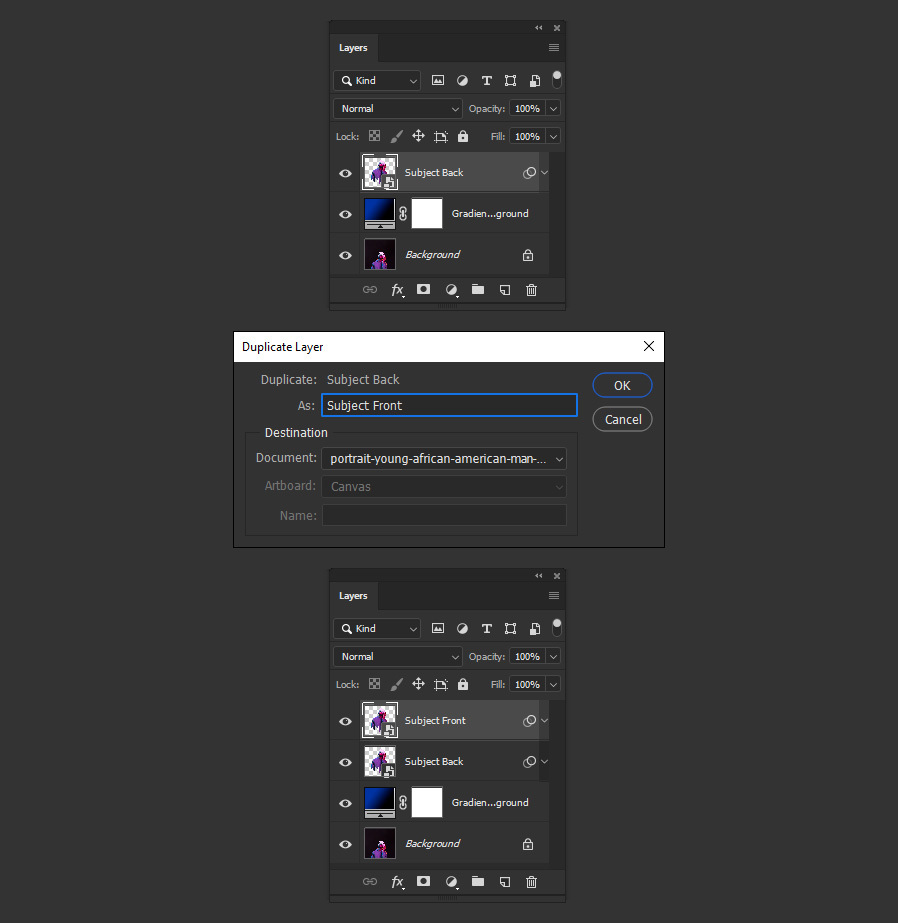
With the "Subject Back" layer selected, go to Layer > Duplicate Layer. Name this layer as "Subject Front" and click OK.
Step 9
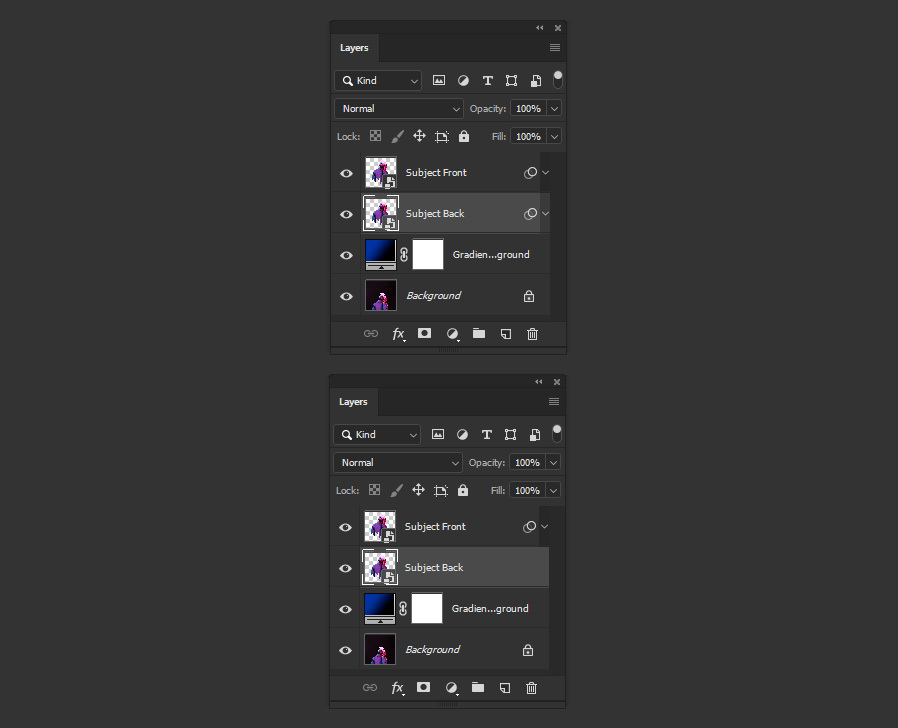
Again, select the "Subject Back" layer and go to Layer > Smart Objects > Convert to Smart Object. Although it is already a Smart Object, we need to convert it to a Smart Object again so we do not loose the previous effect in the next steps.
Step 10
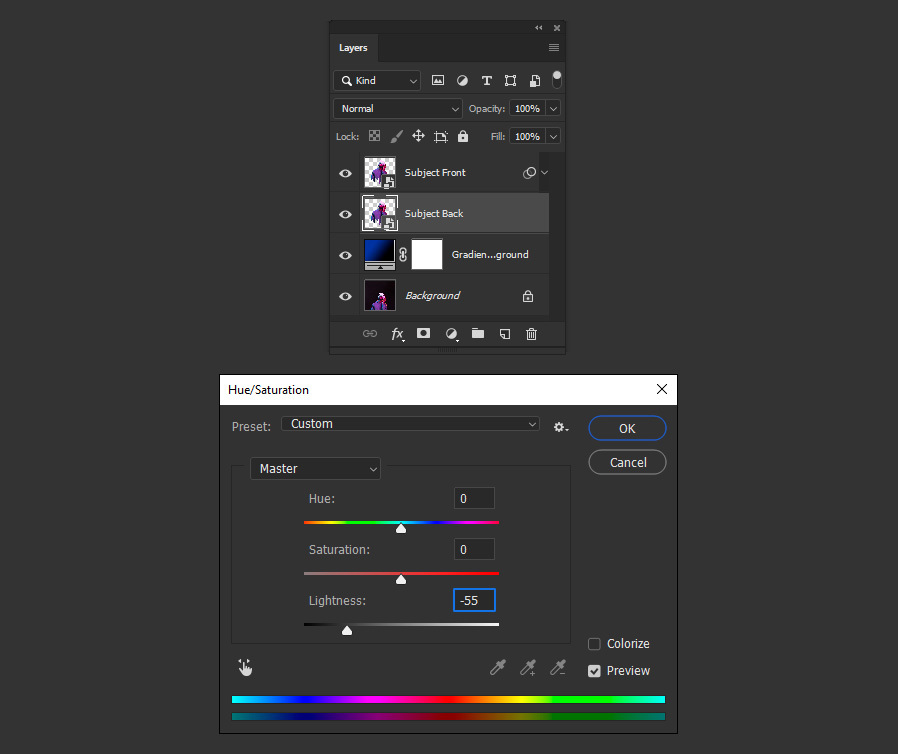
With the "Subject Back" layer selected press Ctrl+U on your keyboard and in the Hue/Saturation window, set the Lightness to -55 and click OK.
Step 11
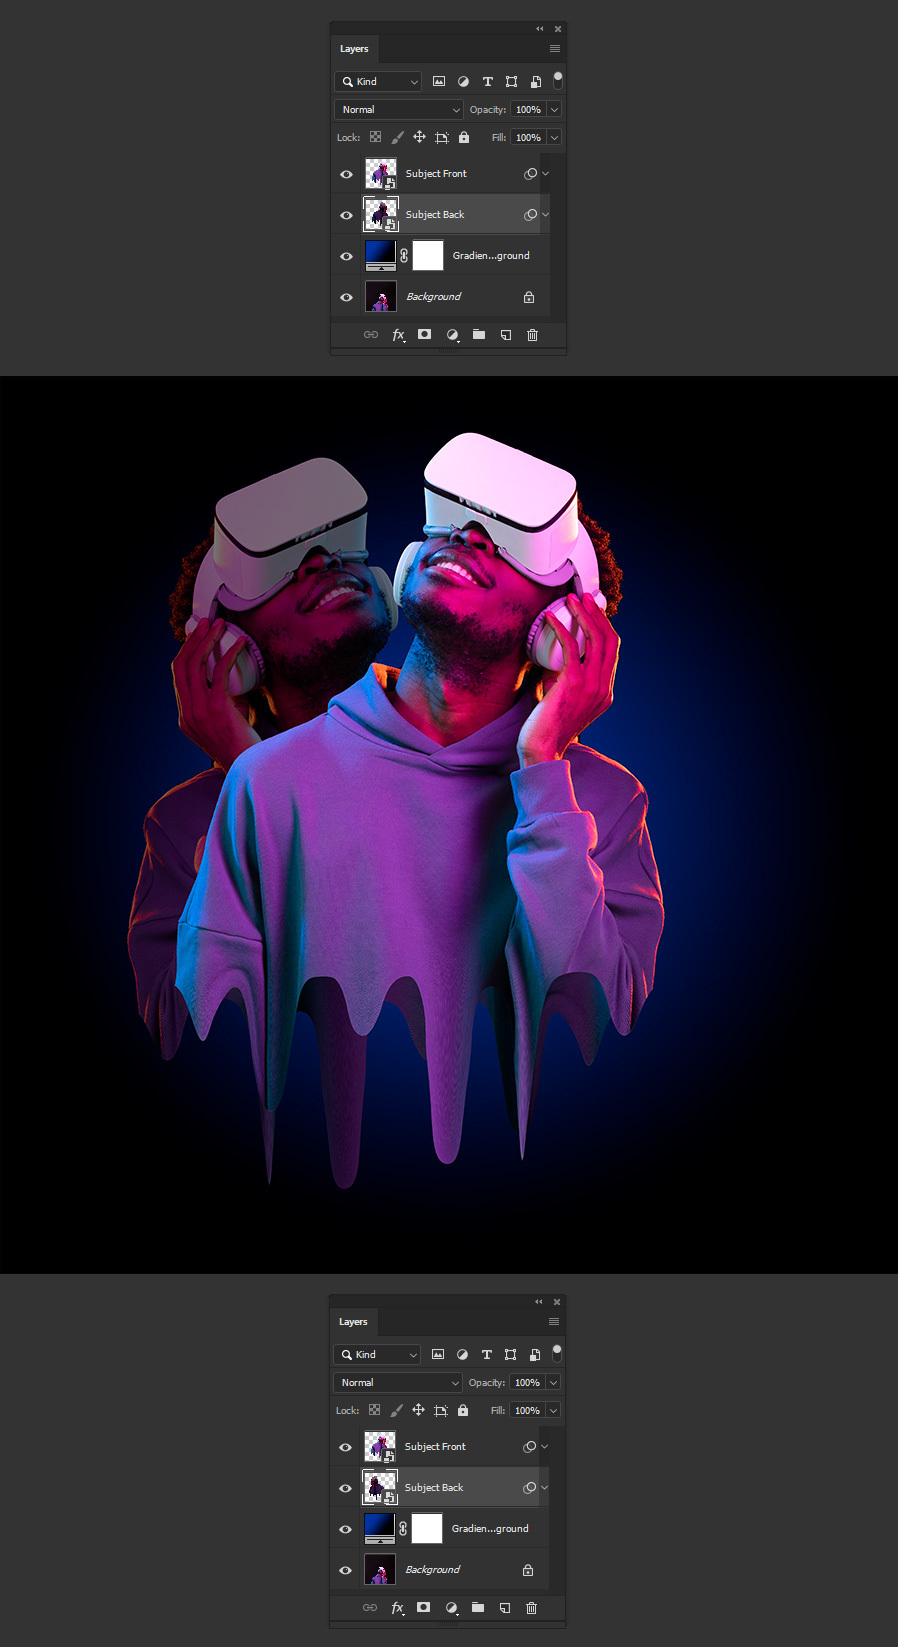
Go to Edit > Transform > Flip Horizontal and arrange the flipped image so the drippping effect is placed between the front effect as shown.
Step 12
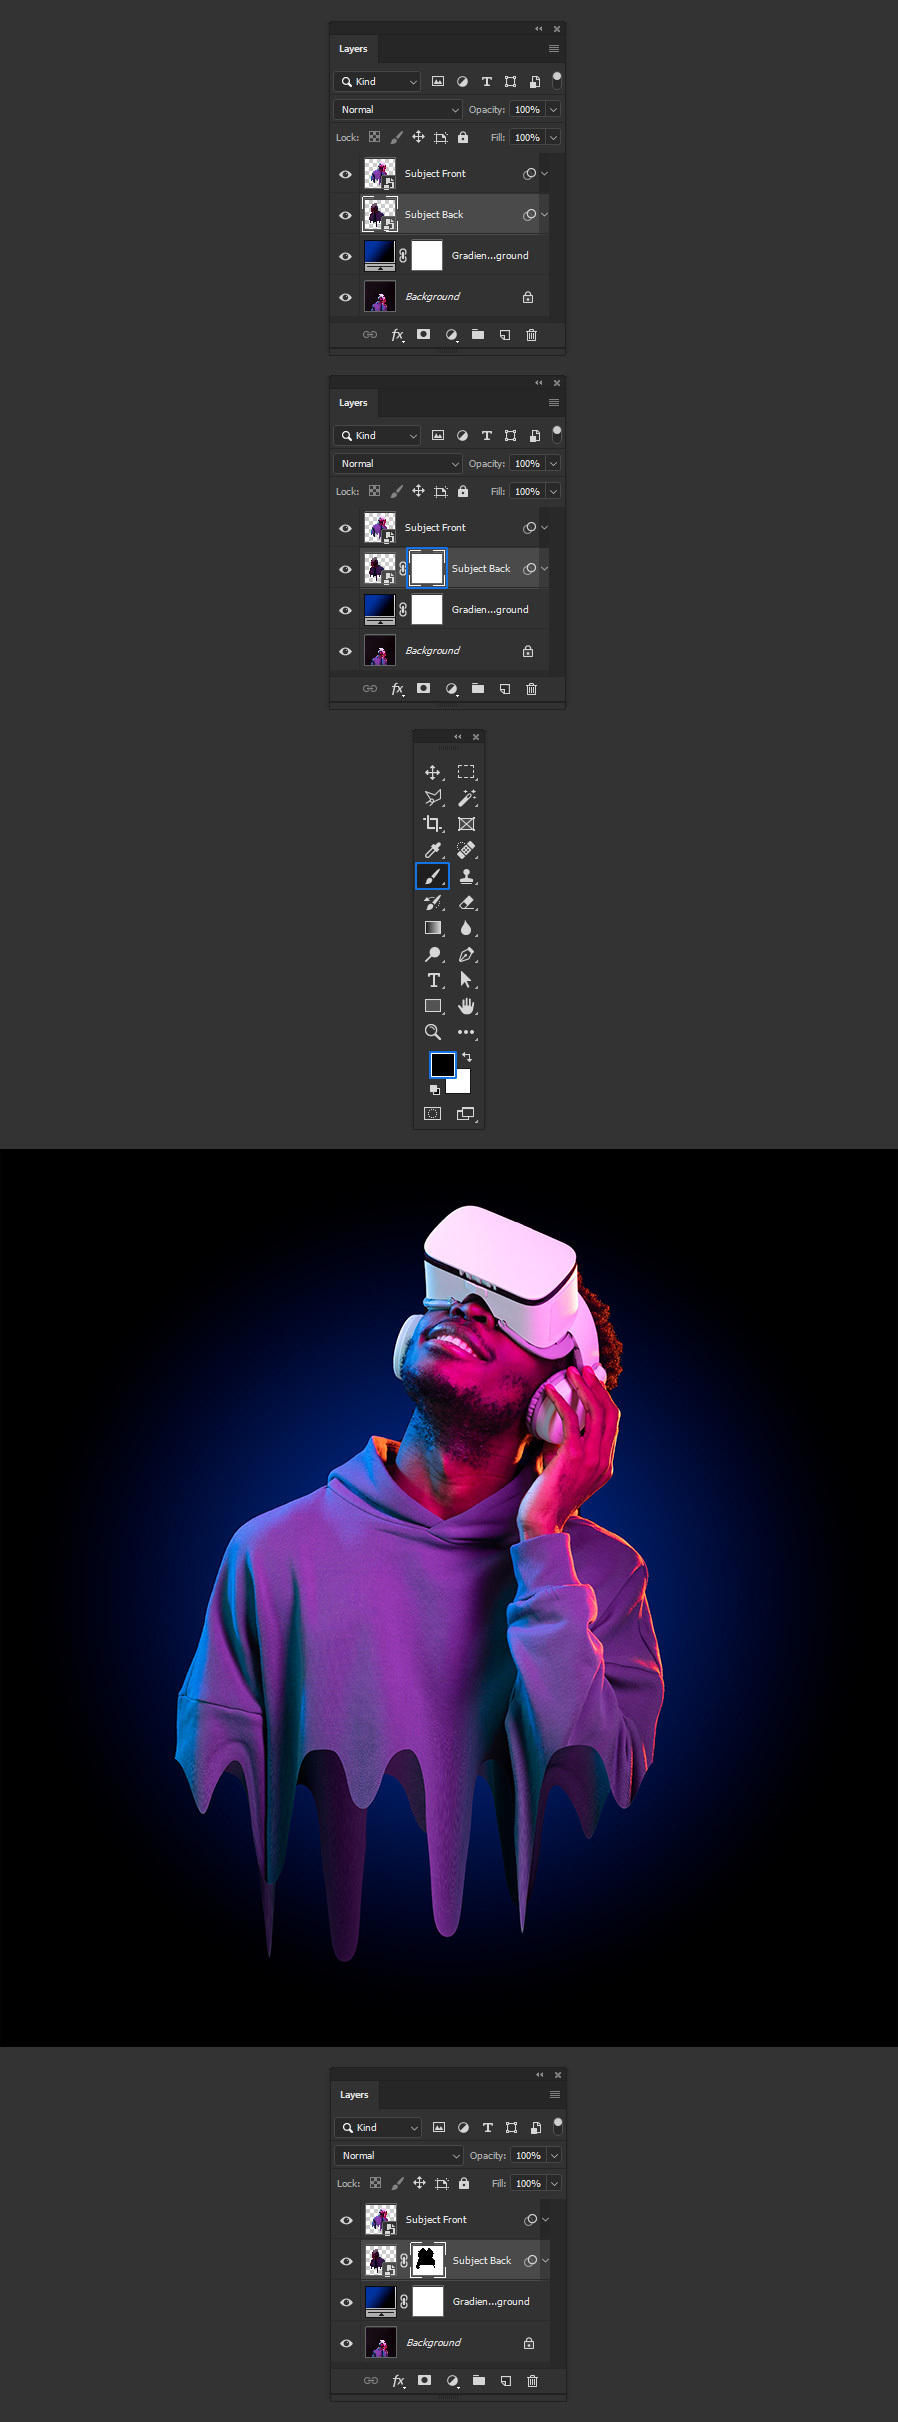
Go to Layer > Layer Mask > Reveal All. Be sure to select the mask in the "Subject Back" layer and using a black color, paint over the parts you want to hide.
Step 13
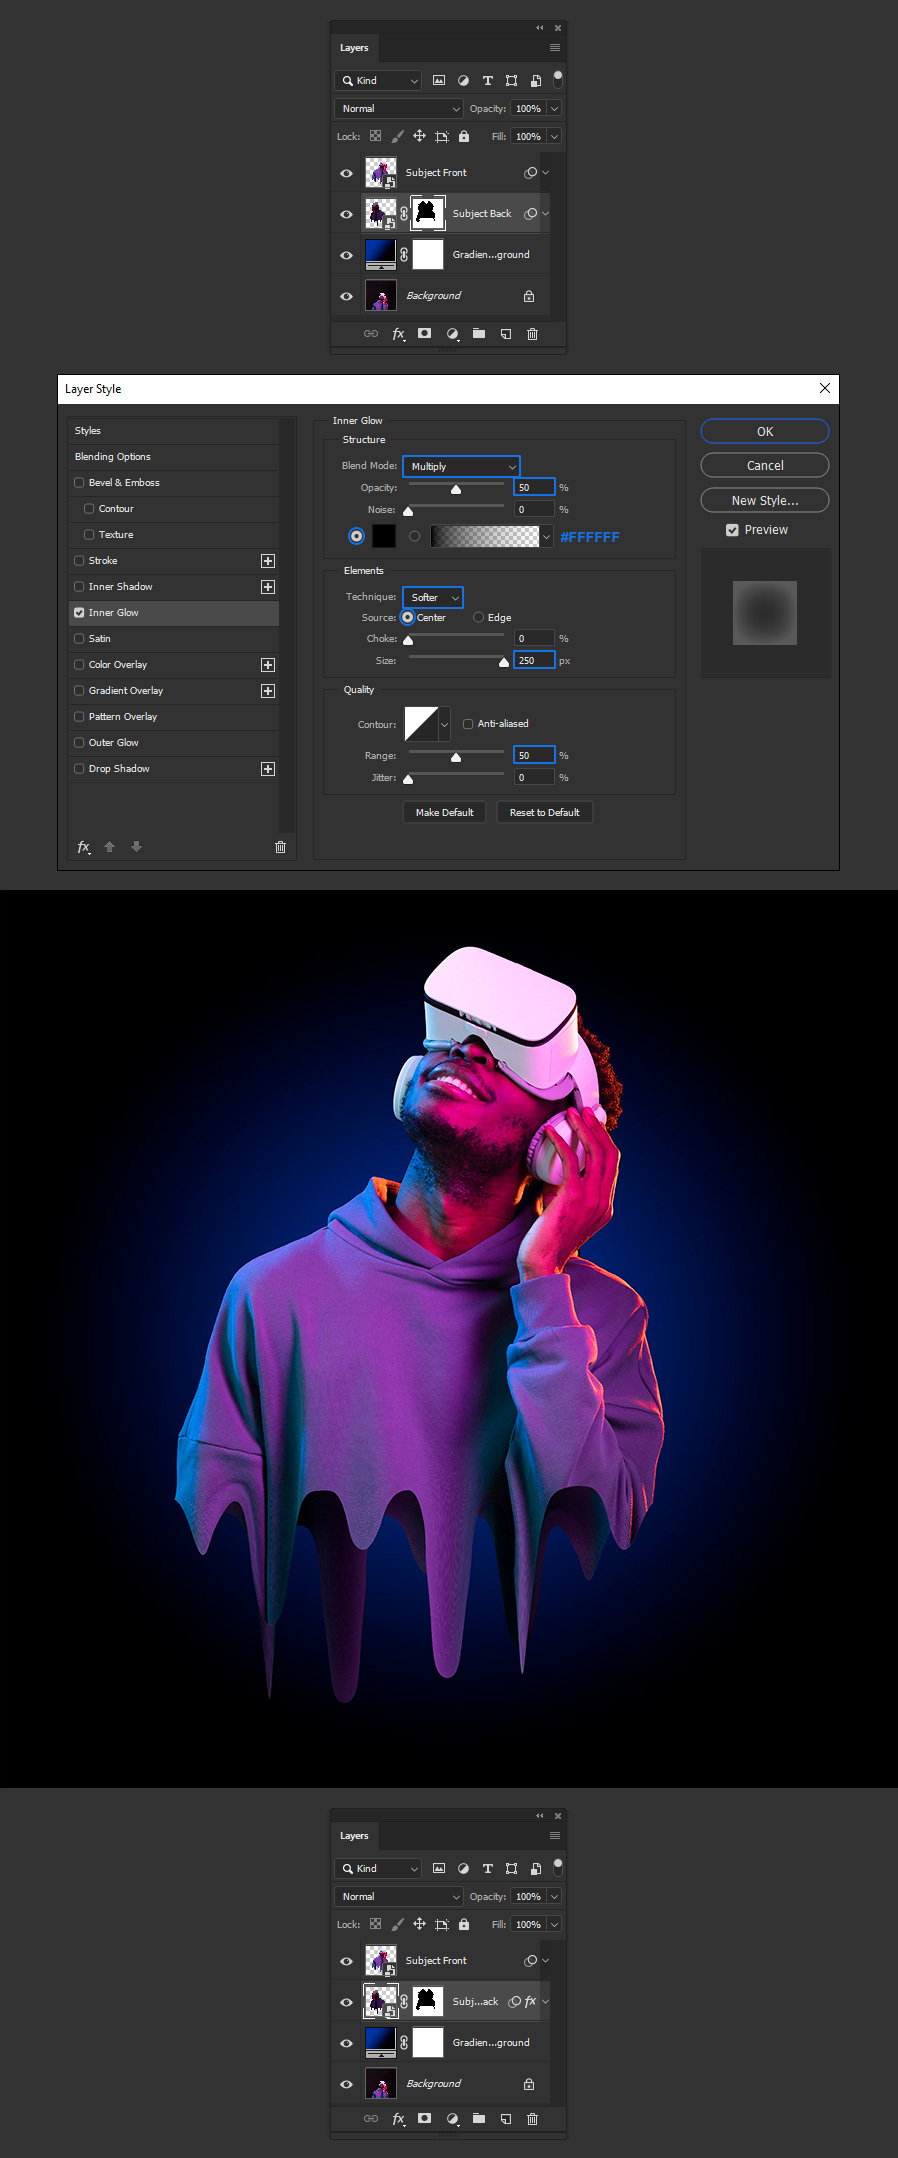
Go to Layer > Layer Style > Inner Glow. Apply the following settings and click OK.
Step 14
Go to Layer > New Adjustment Layer > Hue/Saturation. Apply the following values and click OK.
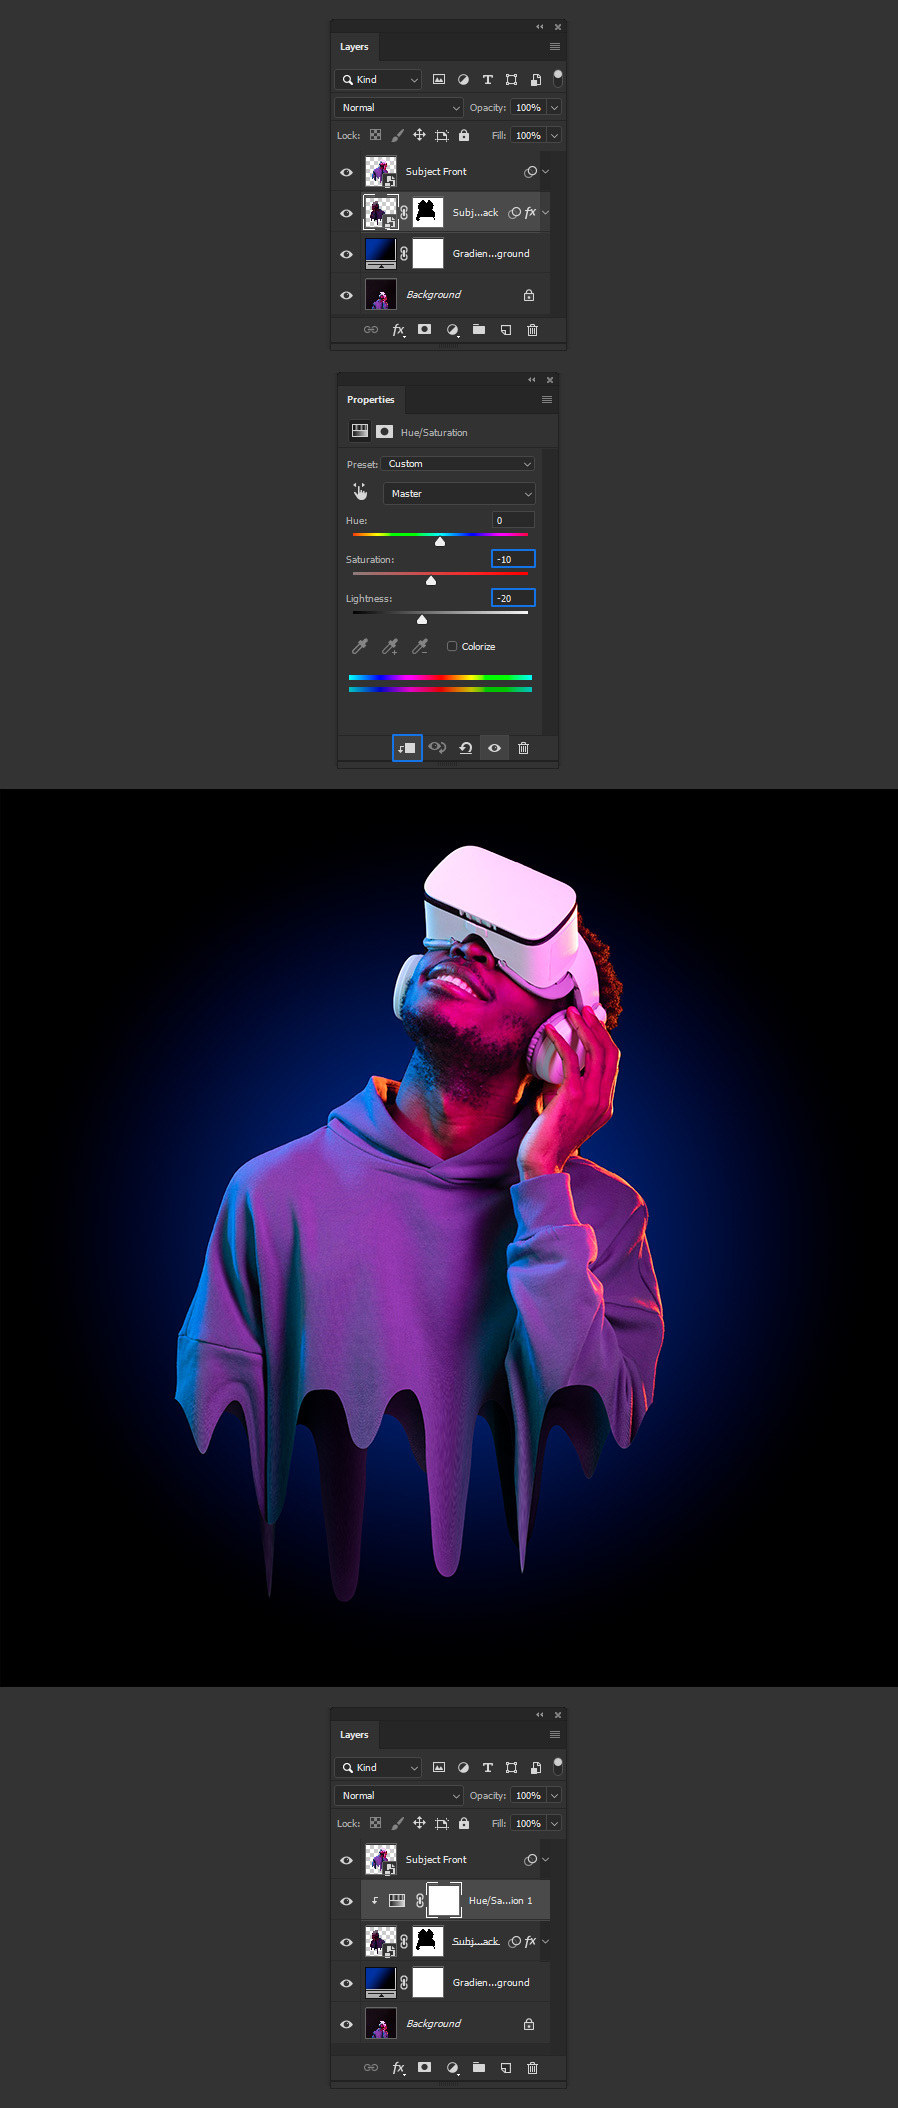
Step 15
Lastly, select the "Subject Front" layer and go to Layer > Layer Style > Bevel & Emboss. Apply the following settings and click OK.
