How to Design a Modern Style Ski Poster in Photoshop
Preview
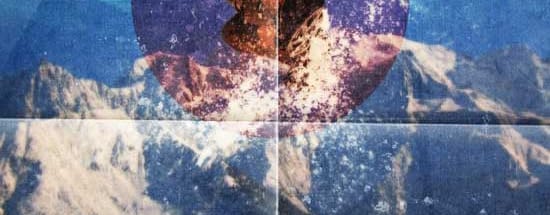
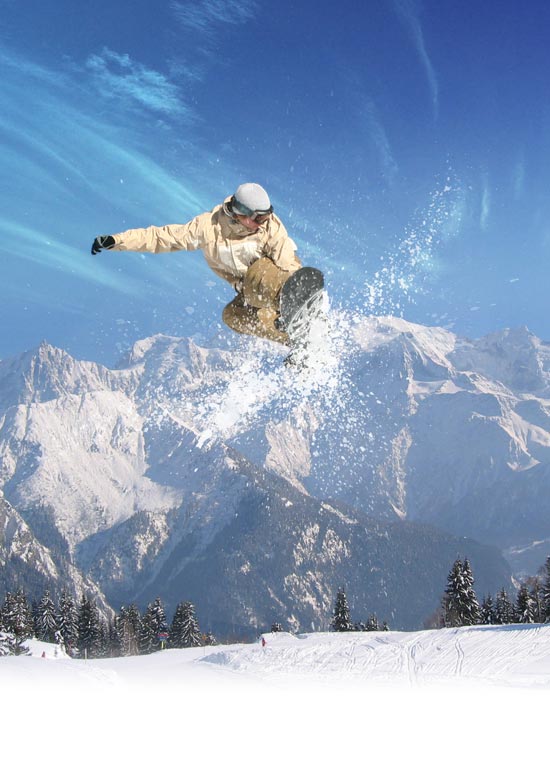
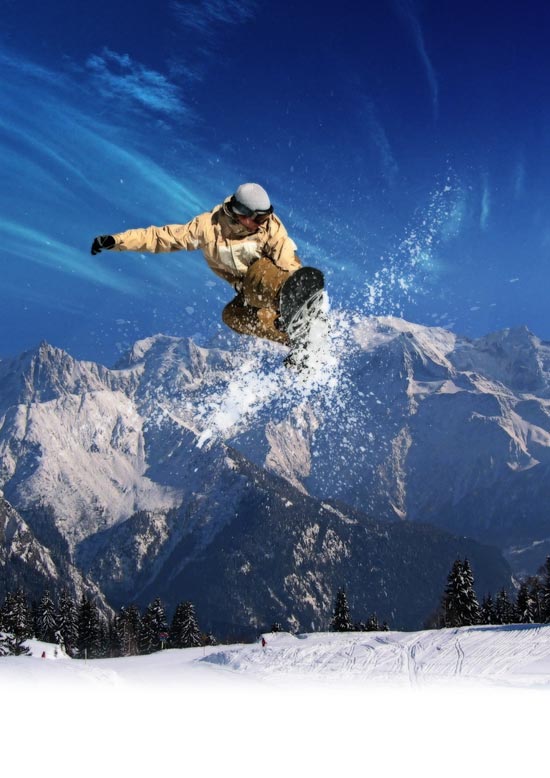
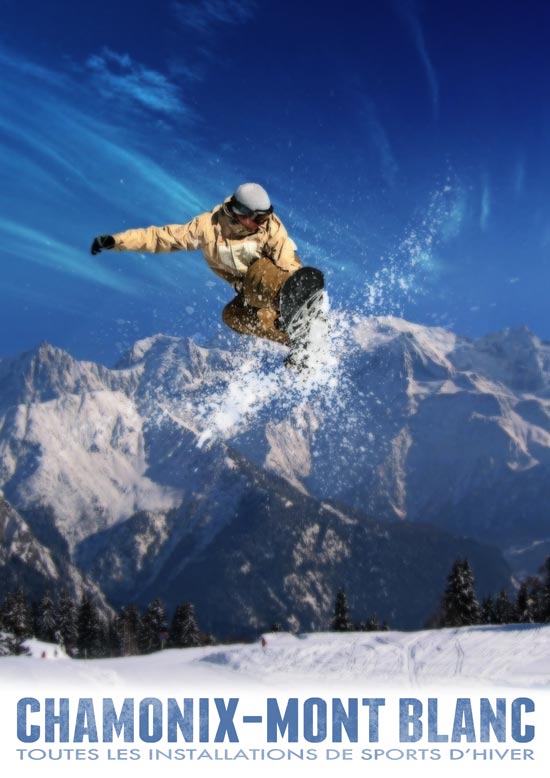
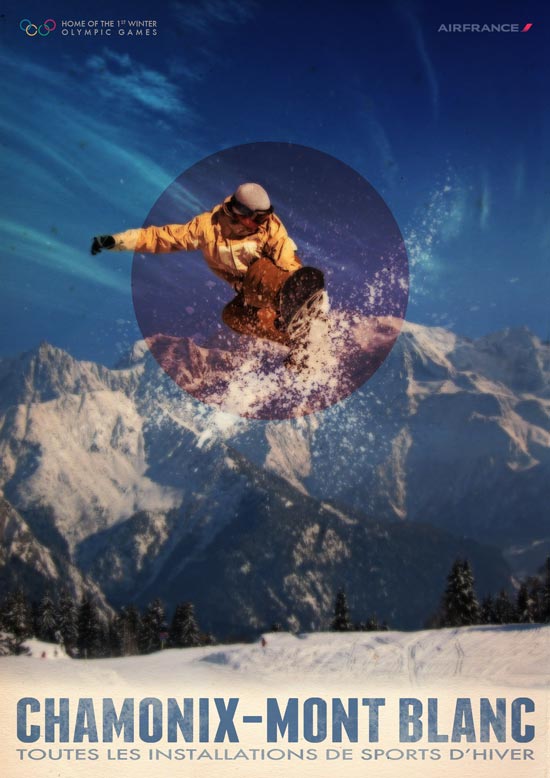
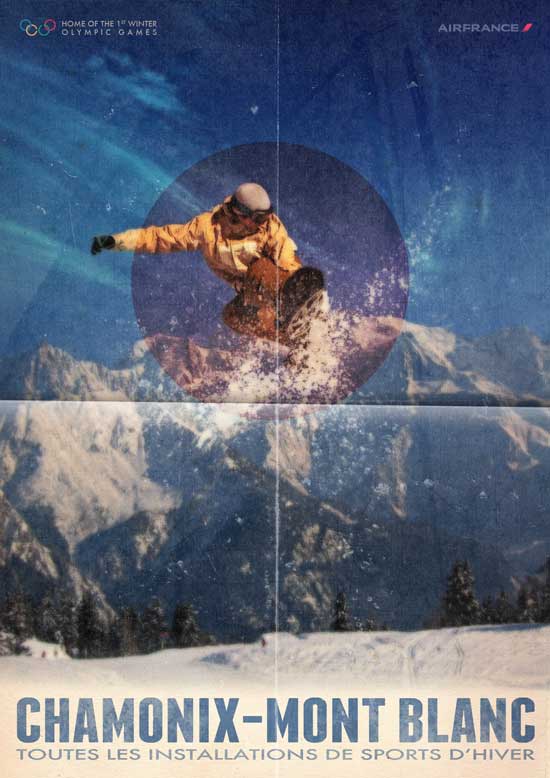
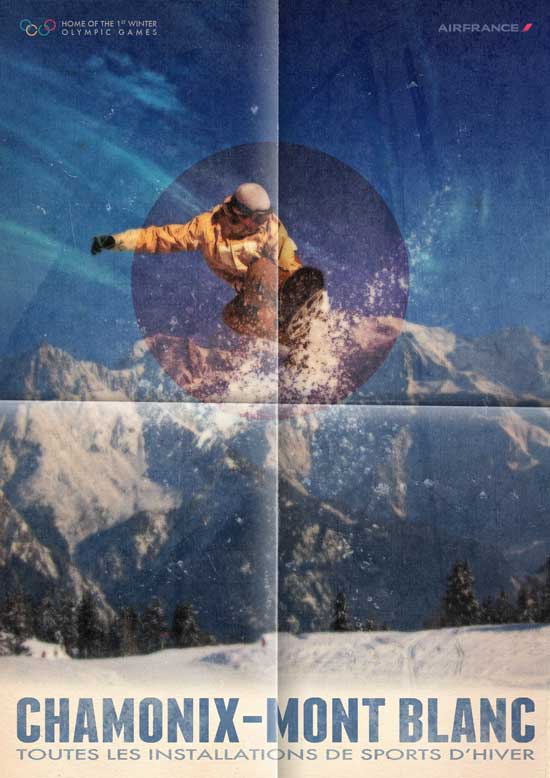
First, take a look at the image we'll be creating.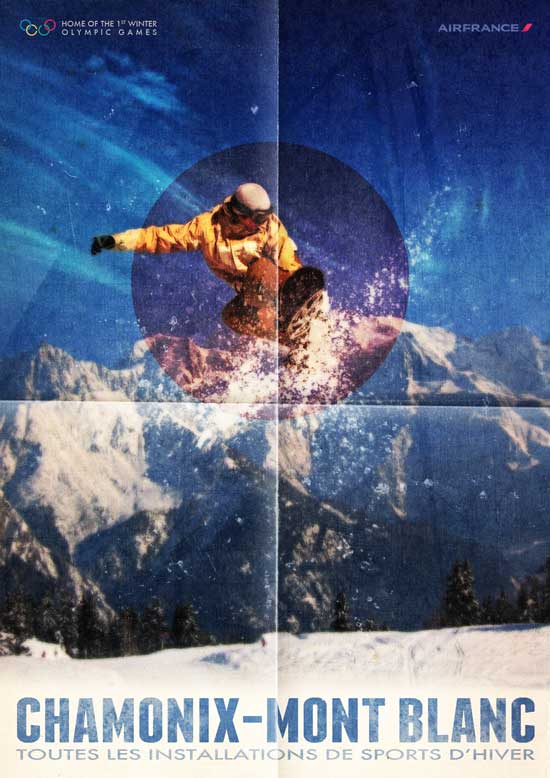
Step 1
Open up Adobe Photoshop and create a document with your desired poster dimensions. Fill background with white color. Remember to use a high DPI (between 150-300 dpi) and CMYK Color Mode if you are planning on sending your work to the press. For this tutorial, I created a document sized at 842x1190px, RGB Color at 72dpi for web use.Step 2
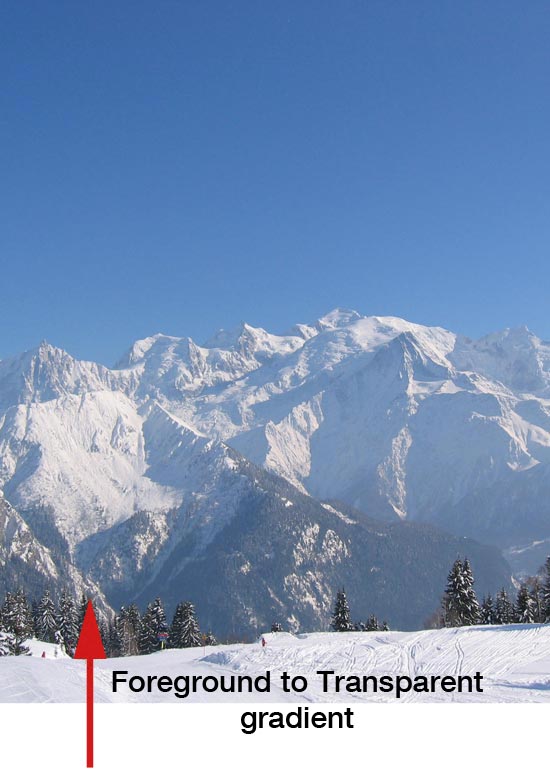
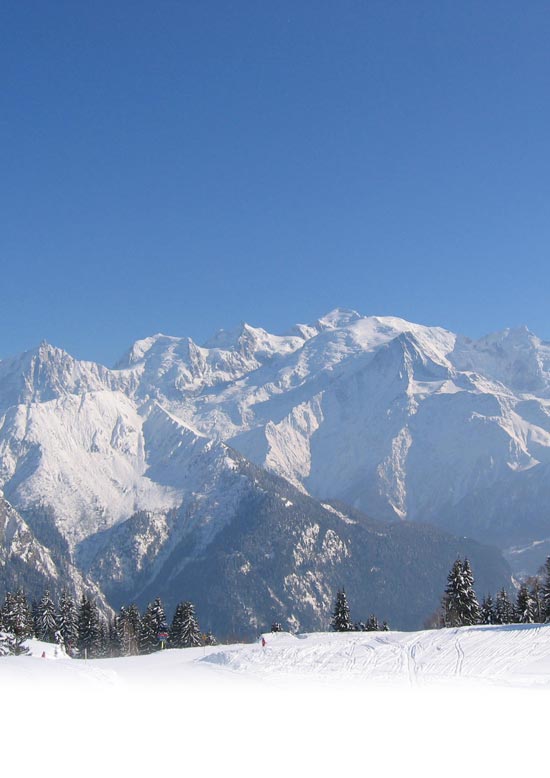
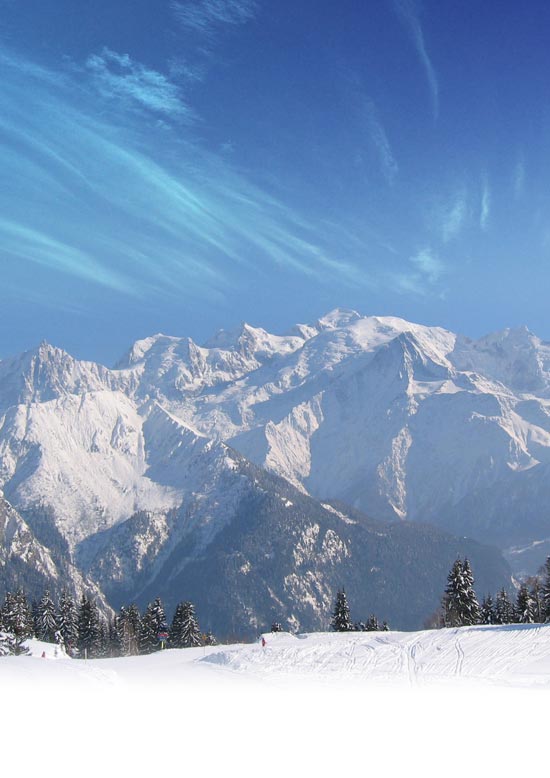
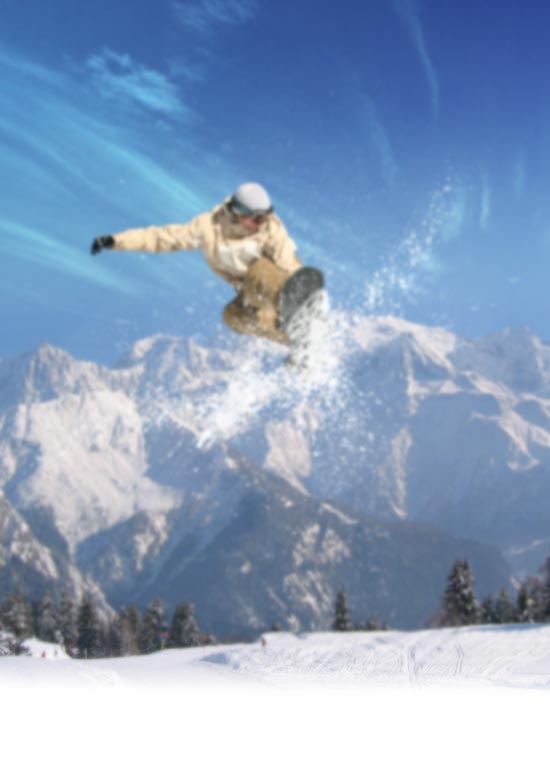
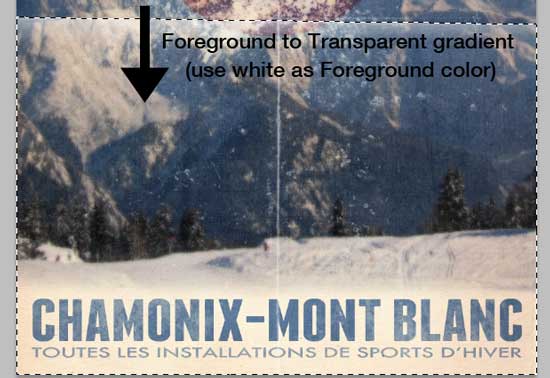
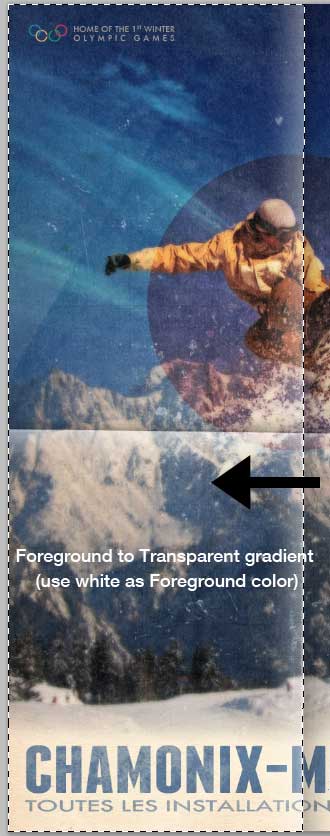
Download and import onto our canvas Mont Blanc mountain and ski photo. Use image below as reference.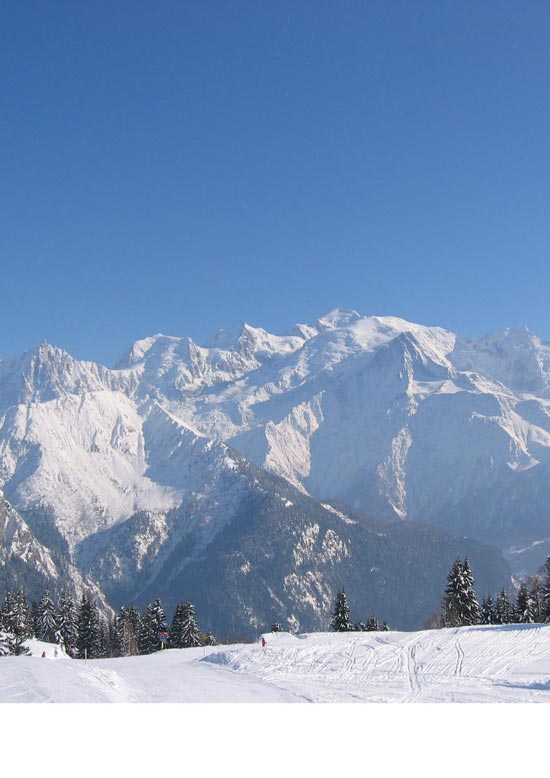 Add Layer Mask (Layer > Layer Mask > Reveal All), pick up Gradient Tool (G), make sure that Foreground color is black (#000000), choose Foreground to Transparent gradient, and draw few gradients, starting from the bottom of the picture, to soften edges and blend image to the white background.
Step 3
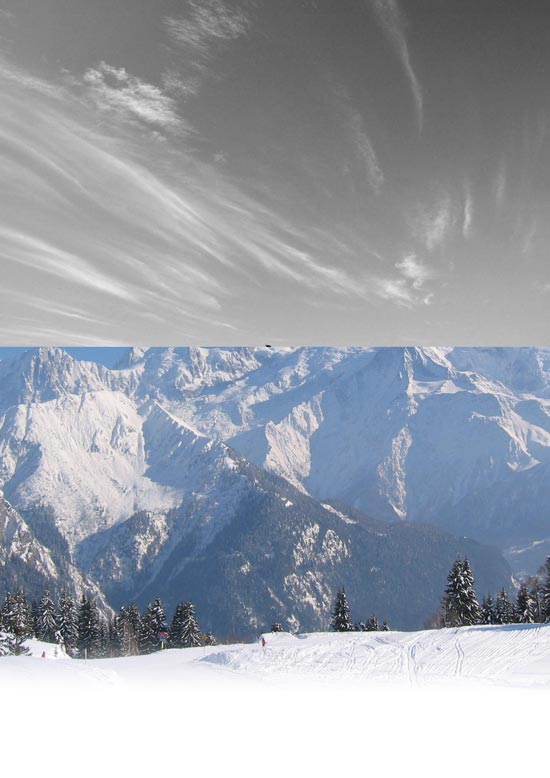
Sky is just too plain so we will add some clouds to our composition. Download and insert onto our canvas Swept Sky stock photo. Scale it down a bit and position like on the image below.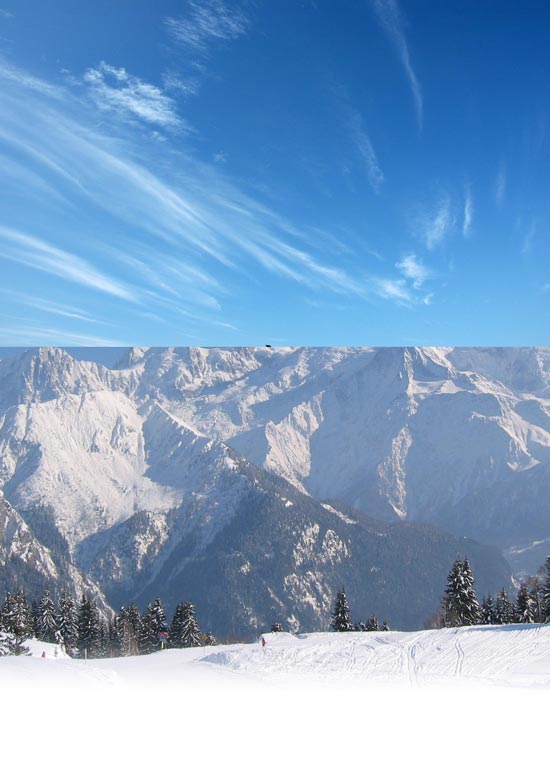 Desaturate Swept Sky photo (Cmd/Ctrl + Shift + U),
 change Blend mode to Overlay,
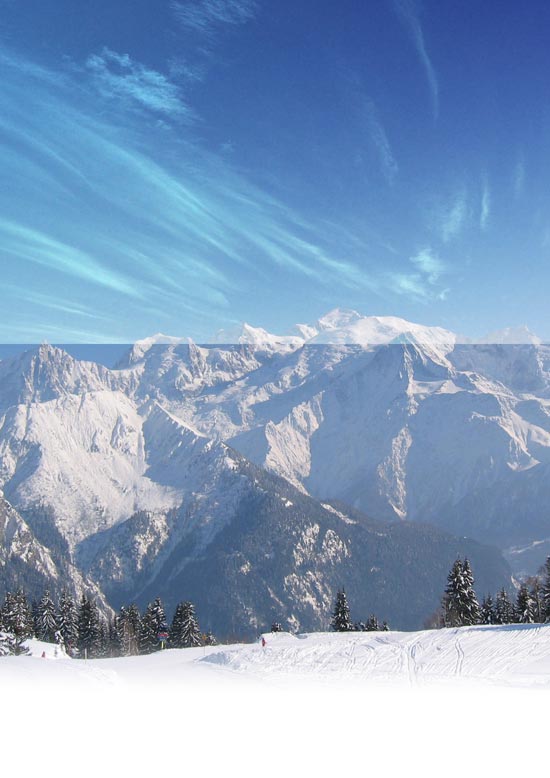 and like in the previous step, use Layer Mask and Foreground to Transparent gradient to soften edge of the sky and blend perfectly with background.
Step 4
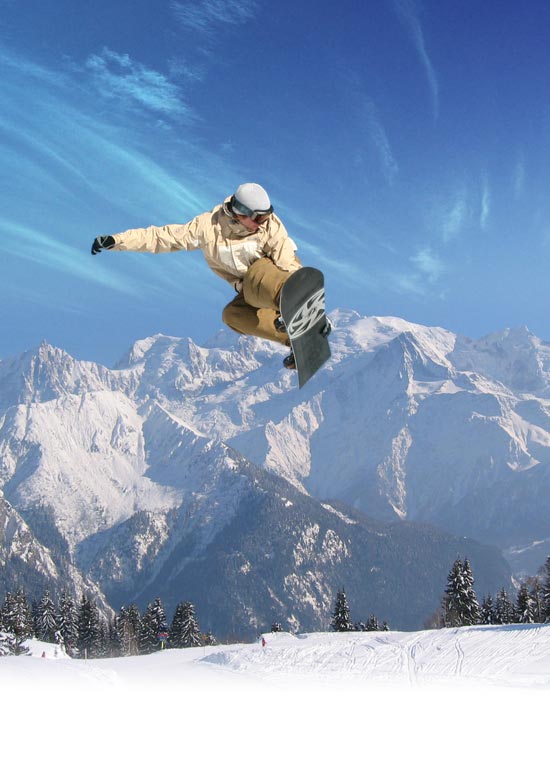
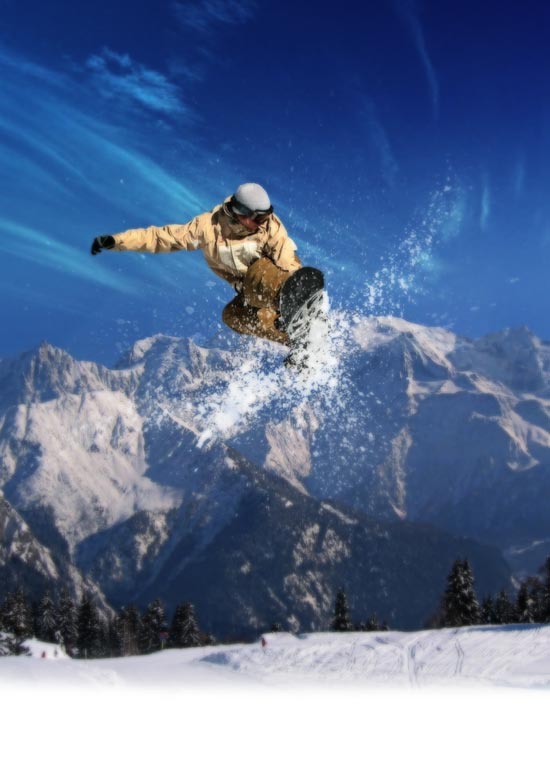
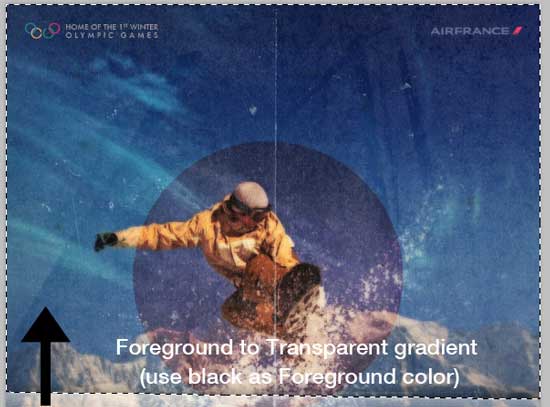
Grab Snowboard Jump Series 1 stock photo from sxc.hu, open it in Photoshop and isolate snowboarder using Pen Tool (P).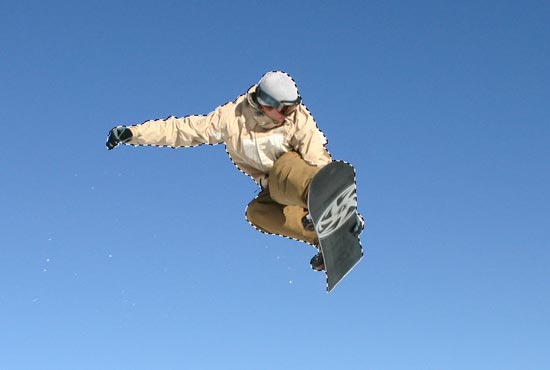 Copy and paste snowboarder in our canvas, scale it down and position using the image below as reference.
Step 5
Install Free Hi-Res Splatter Photoshop Brushes, set Foreground color to white (#ffffff), create new layer on top, and using splatter brushes you just downloaded create snow around and below snowboarder.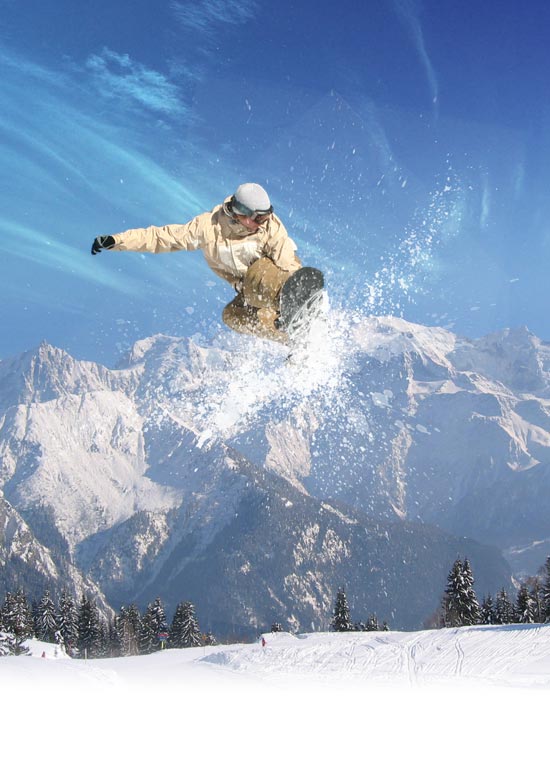 Apply Layer Mask, and with Soft Round Brush, using black color, mask out some parts of the snow, to blend this layer perfectly into our composition.
Step 6
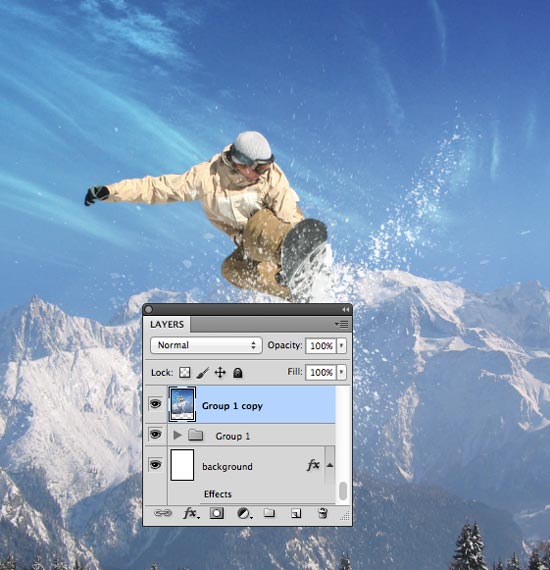
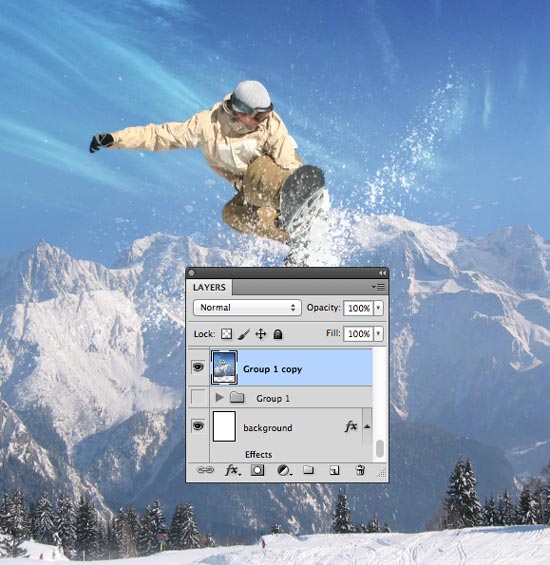
Slect all layers in group them (Cmd/Ctrl + G). Duplicate this group and then Merge Group (right mouse click on group and choose Merge Group). Finally hide Group 1 (turn off eye icon).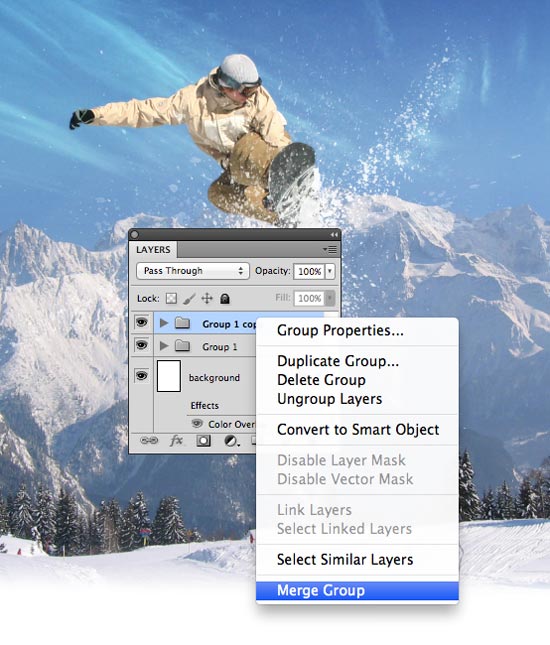
 Duplicate merged image twice, hide topmost layer, select layer just below topmost layer, and apply Gaussian Blur with Radius set to 5px.
 Set Blend Mode to Multiply.
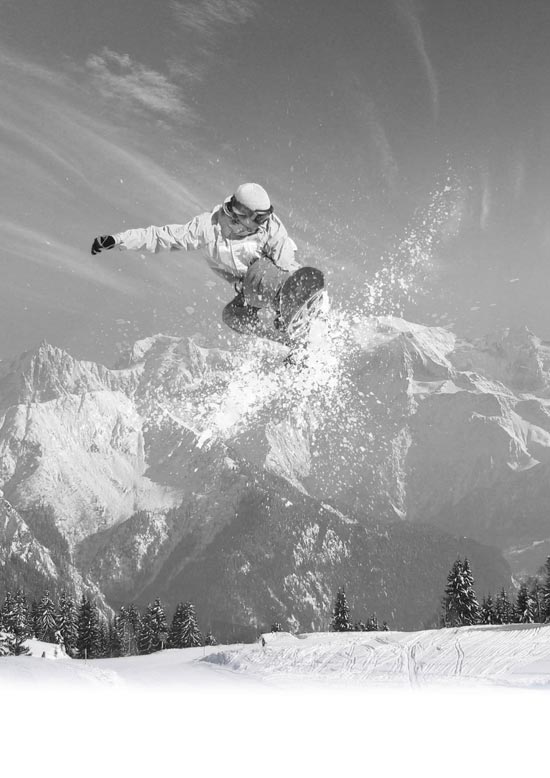
 Unhide and select the layer on top, desaturate it (Cmd/Ctrl + Shift + U),
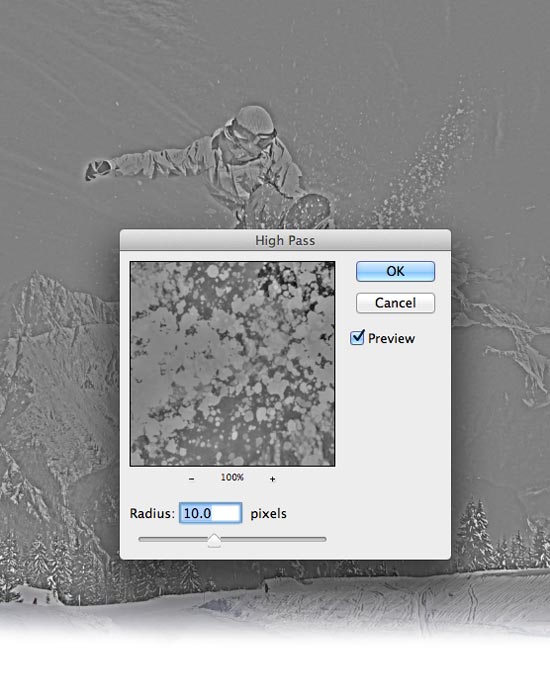
 go to Filter > Other > High Pass and set Radius to 10px.
 Change Blend Mode to Soft Light.
Step 7
Again select those 3 layers, duplicate them and merge them in one layer. Give this layer Gaussian Blur with Radius set to 5px. Apply Layer Mask to this layer, pick up Brush Tool (B), and using Large Soft Brush with Opacity set to 40% dub few spots over the snowboarder.
 Lower the Opacity of this layer to around 70%.
Step 8
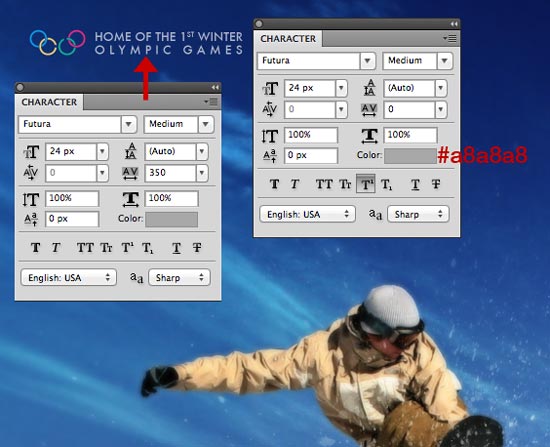
It's time to add some text to our composition. You will need Franchise Bold font, so in case you don't have it already go ahead download it and install. Let's start with first line of text "CHAMONIX-MONT BLANC". Change the Blend Mode to Linear Burn.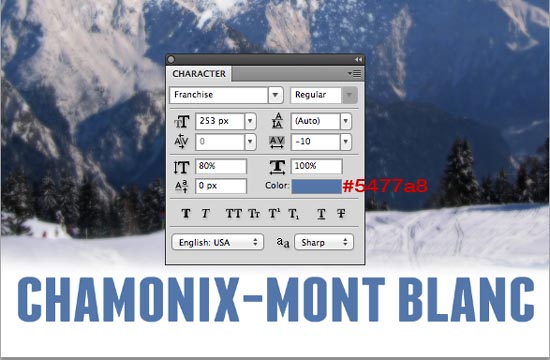 Next grab Grunge Brush Set Vol1, apply Layer Mask to text, pick up any brush from just downloaded set of brushes, make sure that Foreground color is set to Black, set Opacity to around 40%, and paint over the Layer Mask.
 Add another block of text.
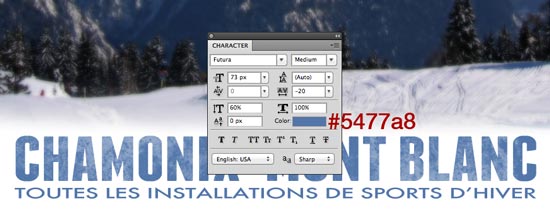 Set Blend Mode to Linear Burn, Opacity to 70%, add Layer Mask, and again using brushes from Grunge Brush Set Vol1 paint over the mask.

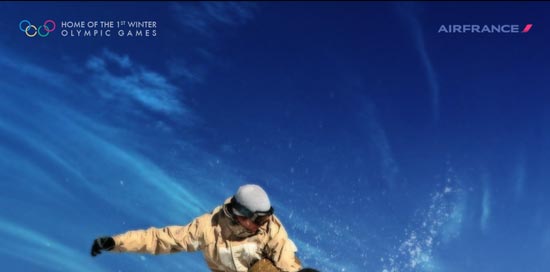
 Pick up Olympic Games logo and place like on the image below. Set Blend Mode to Screen for both: logo and text.
 Add air carrier branding as well. I used Air France logo.
Step 9
Download and import into our design Paper0048_2 texture. Scale it down to fit our canvas and change Blend Mode to Multiply.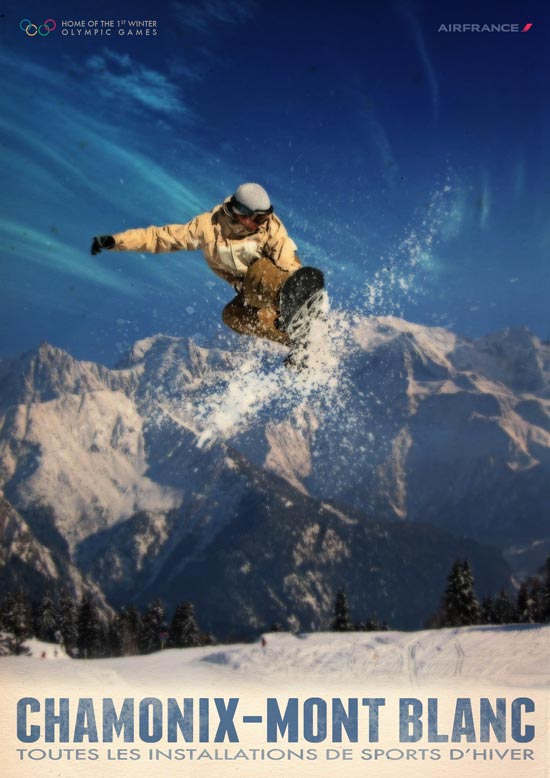 Use Ellipse Tool (U) to draw red (#810000) circle.
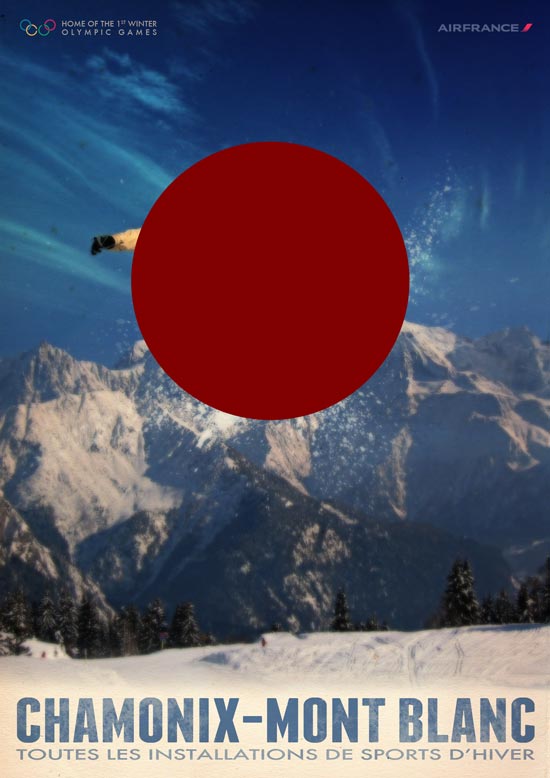 Change Blend Mode to Overlay and lower the Opacity to 40%.
 Import into our canvas metal texture 7 by ~wojtar-stock, scale down a bit, set Blend Mode to Soft Light and Opacity to 40%.
Step 10
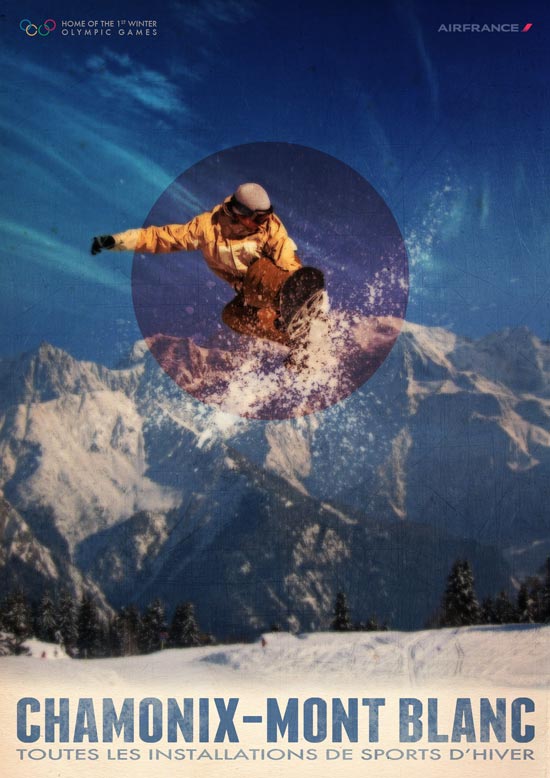
Grab a free sample from Folded and Scratched Paper Textures Part II, import into our design, scale it down so it fits our canvas.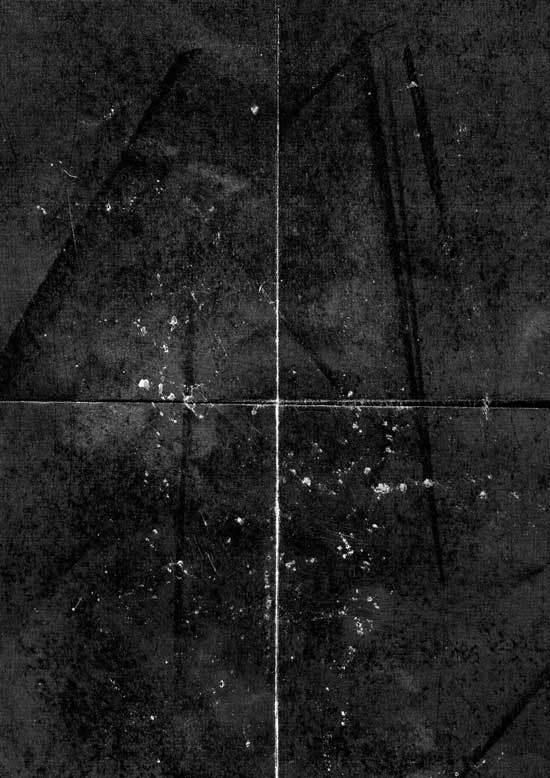 Change Blend Mode to Screen and lower the Opacity to 50%.
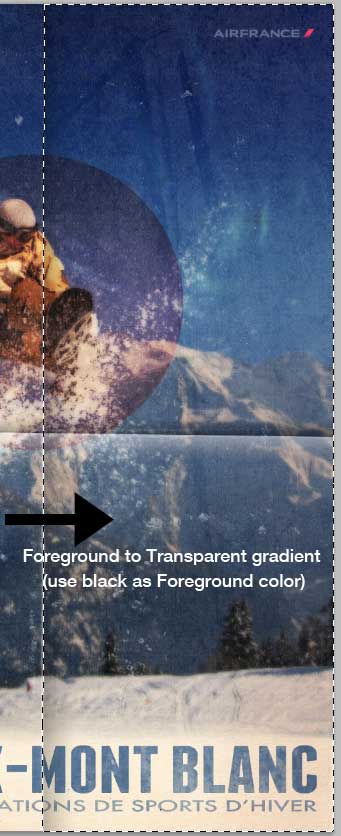
 Let's make a fold more intensive. Create new layer, with Polygnal Lasso Tool (L) create selection like on the image below,
 make sure that Foreground color is set to white (#ffffff), and draw small Foreground to Transparent gradient using Gradient Tool (G).
 Create new layer on top, inverse selection (Cmd/Ctrl + Shift + I), change Foreground color to black and draw small Foreground to Transparent gradient using Gradient Tool (G).
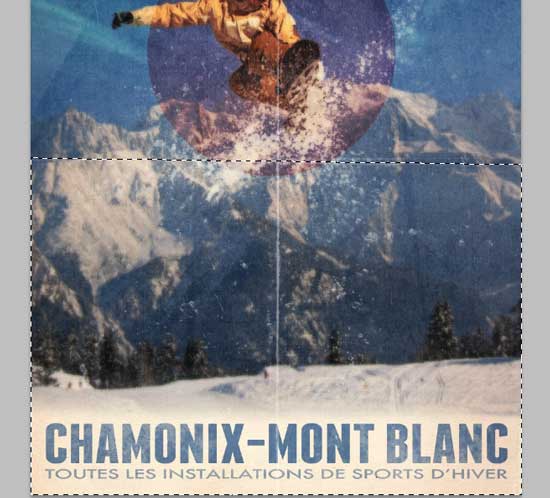
 Let's take a quick look at what we did now.
 Next we will add vertical fold using the same method explained above.
 At the end lower the Opacity of all fold layers to 60%.
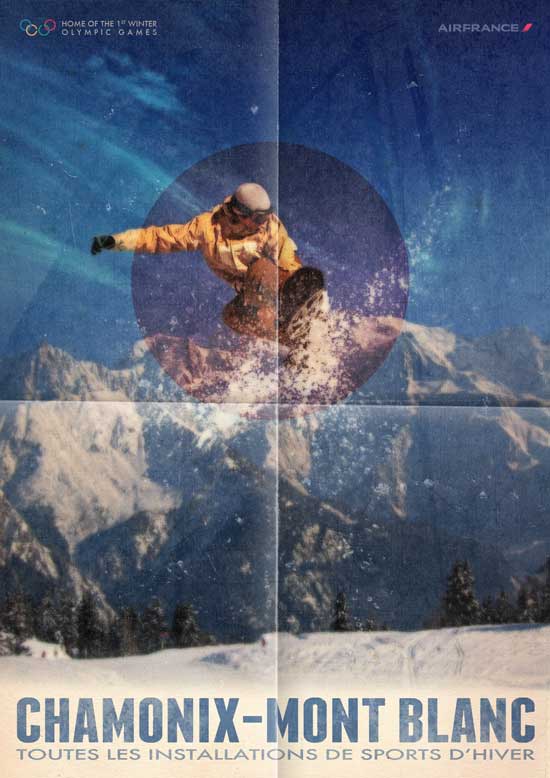
Step 11
This is the final step of tutorial. Add an adjustment layer to give our entire composition the color theme we are going for. Go to Layer -> New Adjustment Layer -> Brightness/Contarast to add an adjustment layer above all the other layers. Set Brightness to +10 and Contrast to +80 and we are done!More from Tutorials

How to Make Light Leaks From Images in Photoshop
Tutorialsby Diego Sanchez
Light leaks can instantly add warmth, depth, and a cinematic feel to your images, and creating them in Photoshop is much easier than you might think. In this tutorial, we’ll transform ordinary images into beautiful light leak overlays using just a few simple tools like Blur, Contrast adjustments, and the Liquify filter. By manipulating colors and shapes, you can craft soft gradients of light that bring a nostalgic, film-inspired atmosphere to your photos. Whether you want to enhance portraits, add flair to design projects, or create dreamy lighting effects, this method gives you full control over the final look in just a few minutes.
Read more
Enhance Autumn Colors in Lightroom with Ease
Tutorialsby Diego Sanchez
Enhancing the warm and vibrant tones of autumn photography is easier than it seems with just a few simple adjustments in Lightroom. By carefully refining exposure, boosting contrast, and enhancing the reds, oranges, and yellows, you can transform any fall image into a rich and captivating scene. Using only Lightroom’s basic tools along with the Color Mixer and Color Grading panels, you’ll bring out the full beauty of autumn landscapes with ease.
Read more
Easily Add a Twilight Mood to Your Photos in Lightroom
Tutorialsby Diego Sanchez
Give your photos a mystical touch by transforming ordinary daylight or sunset shots into captivating twilight scenes. By combining simple adjustments with precise tweaks in the Color Mixer, enhancing tones with Color Grading, and adding a delicate layer of Grain, it’s possible to achieve a soft, cinematic glow. These subtle yet impactful edits can shift the mood of your images, creating a serene, atmospheric look that feels like the perfect blue hour moment.
Read more
How to Create an Editable Soft Glow Text Effect in Illustrator
Tutorialsby Diego Sanchez
Creating eye-catching visual effects in Illustrator doesn’t always require complex tools or multiple layers. Sometimes, a single feature—used creatively—can deliver stunning results. Today, I’ll show you how to create a soft glow text effect using nothing but the Appearance Panel in Illustrator. Thanks to its non-destructive structure, you’ll be able to edit your text at any time without losing the effect, making it perfect for experimenting with different styles, colors, and typefaces without starting over.
Read more