Step 1
Start by creating a new document in Photoshop. For this tutorial I went with 800 x 640 pixels. Fill the background with a dark grey (#303134).

Step 2
In the foreground draw a 480 x 480 pixel white circle holding down the shift key to constrain proportions. Use Photoshop's align features to center the circle in the middle of the document.

Step 3
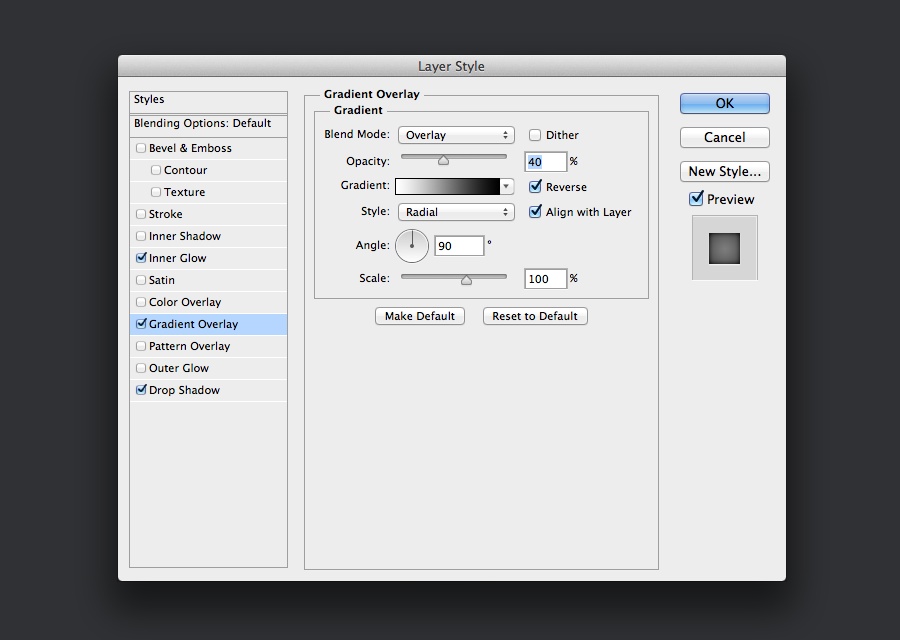
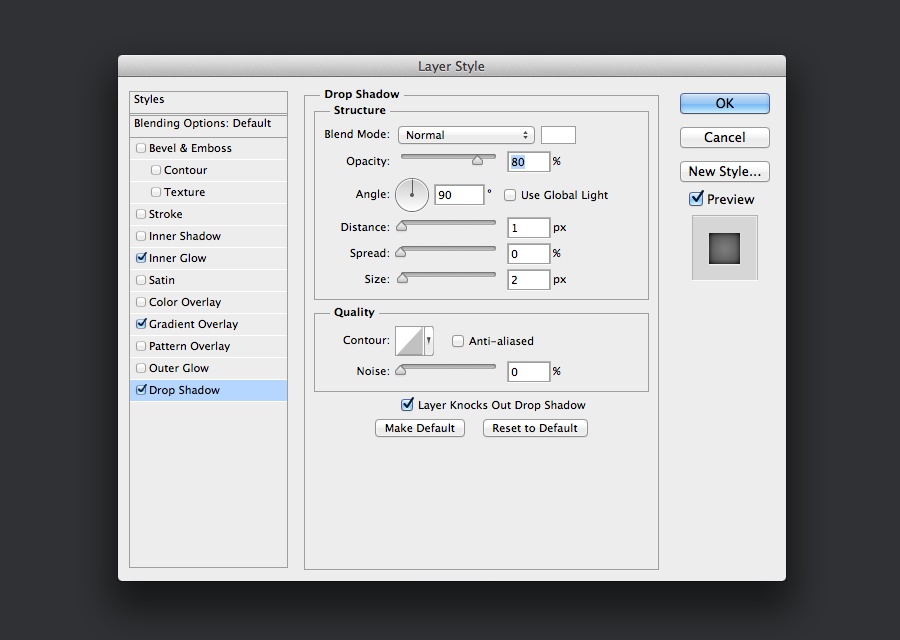
Apply Gradient Overlay, Inner Glow and Drop Shadow layer styles to the circle layer:
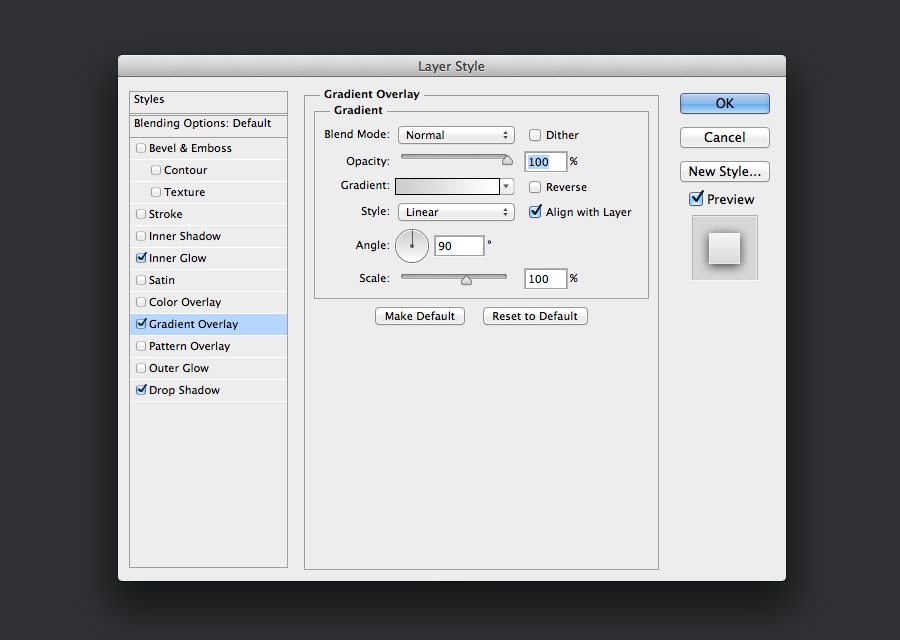
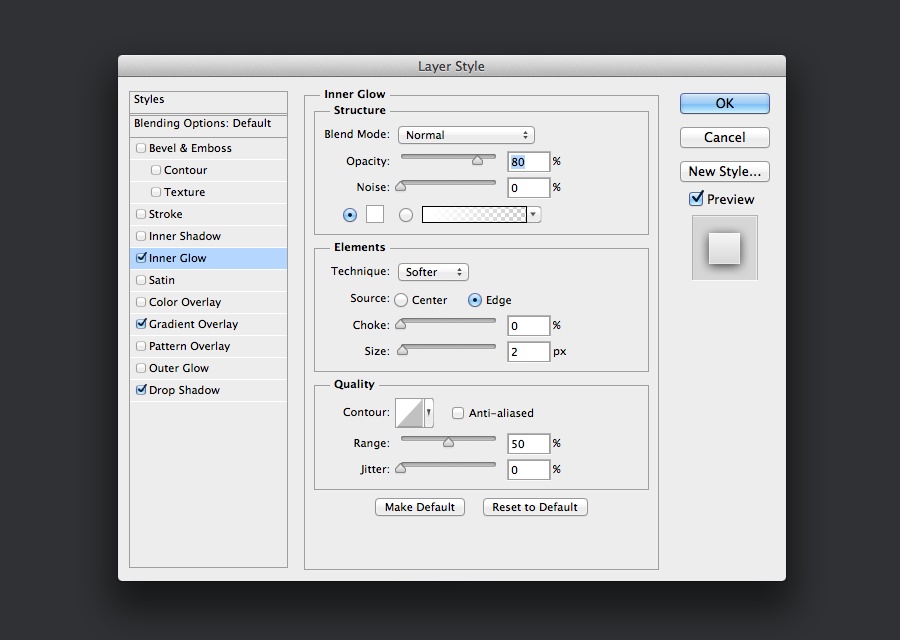
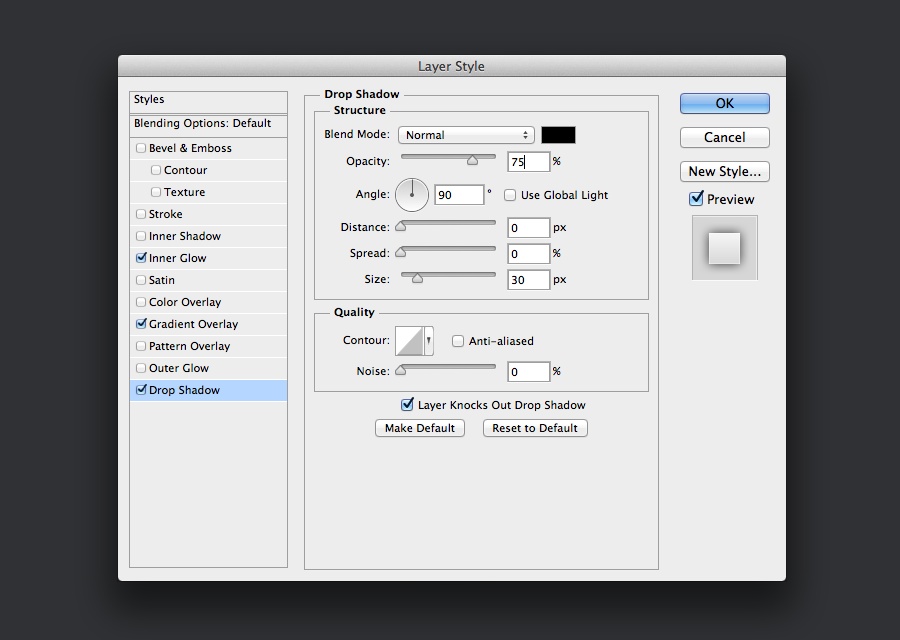
Step 4
Draw another circle or duplicate the original, resize to 445 x 445 pixels and set the fill colour to #1b96e2

Step 5
Apply Gradient Overlay, Inner Glow and Drop Shadow layer styles to the circle layer:
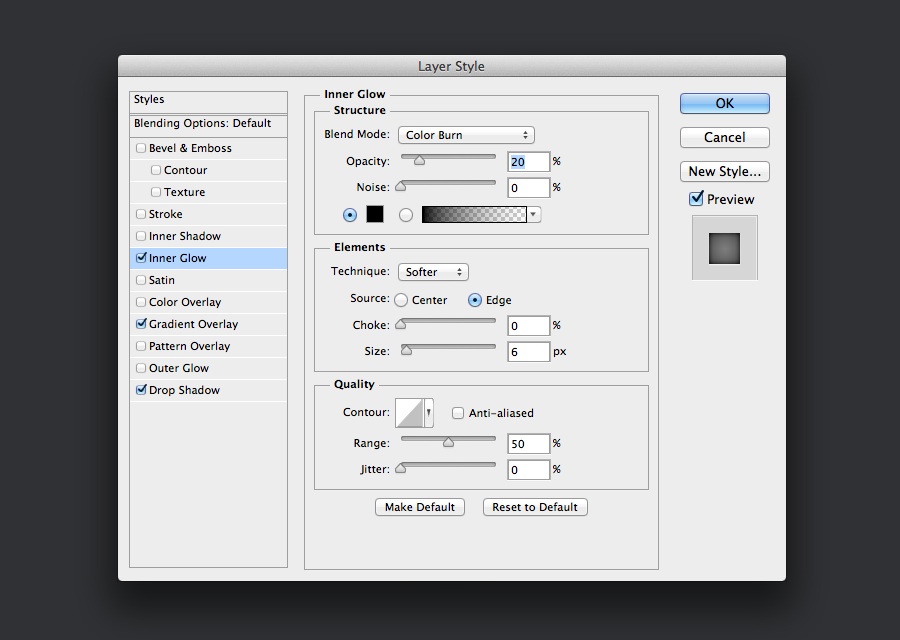
Step 6
The results should now be looking something like this:

Step 7
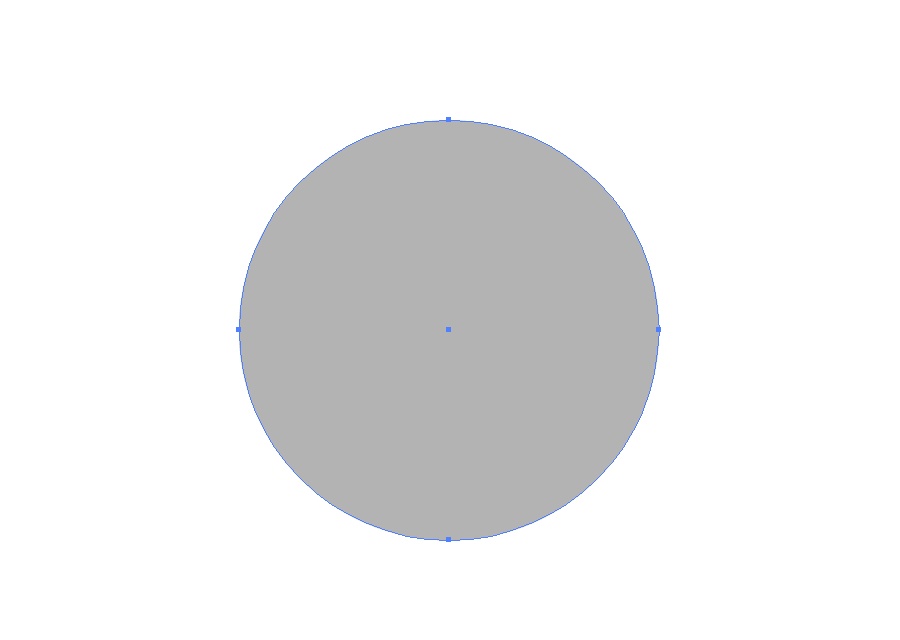
For the next step we need to jump over to Illustrator to make use of the Rotate tool. Create a new document in Illustrator and draw a 420 x 420 pixel circle to use as a guide.
Step 8
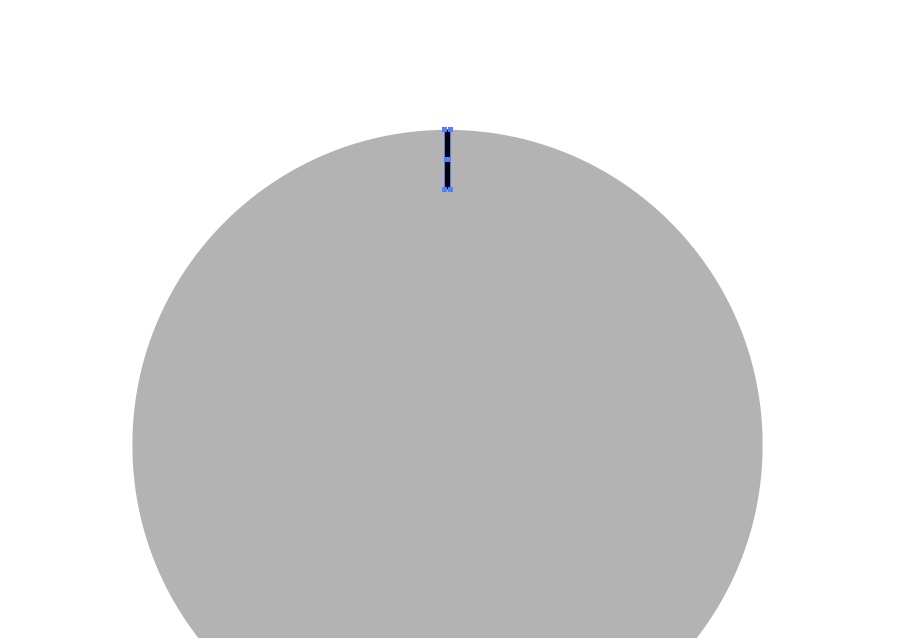
At the topmost edge of the circle draw a tall 4 x 40 pixel rectangle. Zoom in a little to ensure it as closely aligned to the top edge of the guide circle as possible.
Step 9
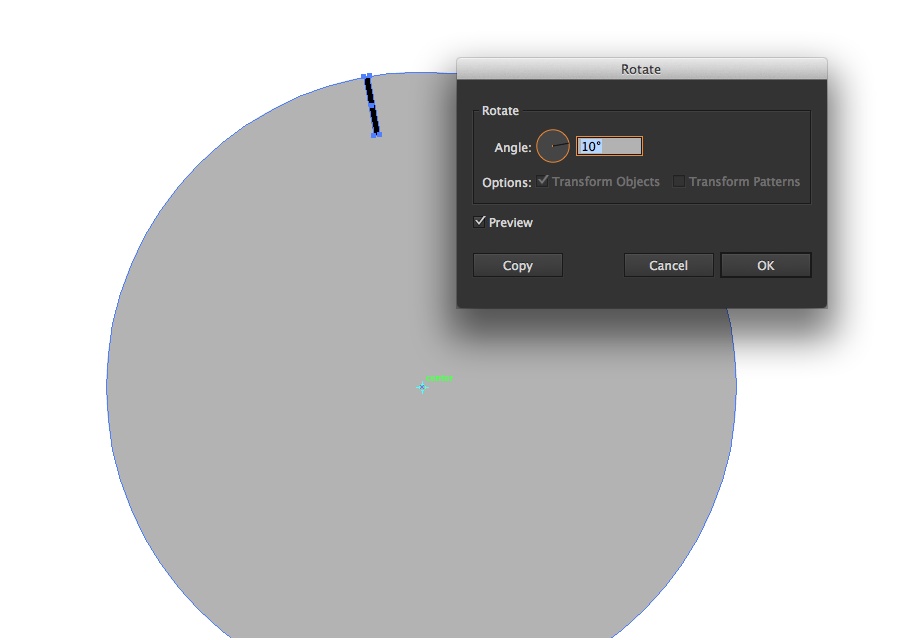
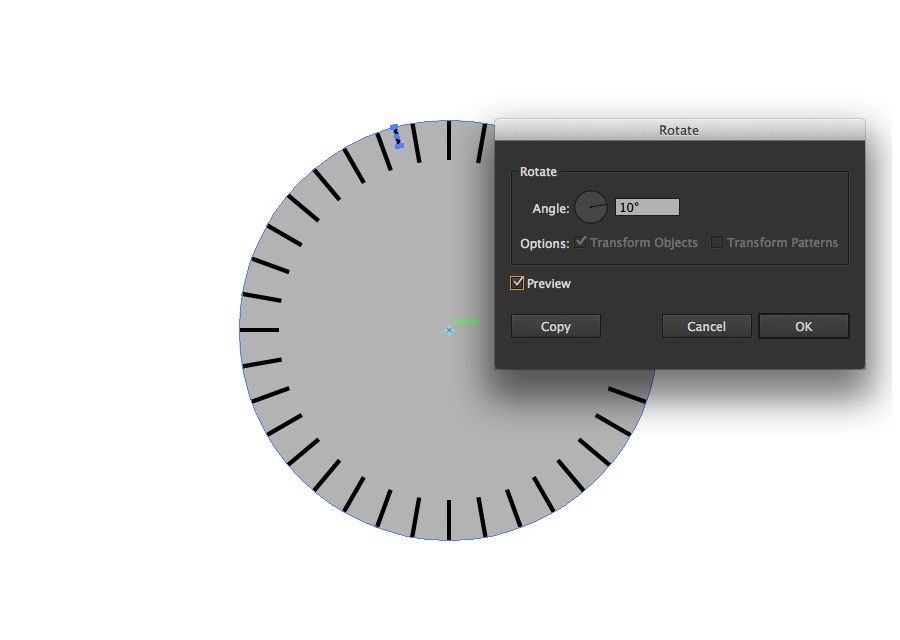
With the rectangle layer selected, pick the Rotate tool and whilst holding down the Alt key click the center of the guide circle. In the dialog that appears enter 10 degrees as the Angle and click Copy. (Tip: turn on Smart Guides in Illustrator to make finding the center of the circle easier)
Step 10
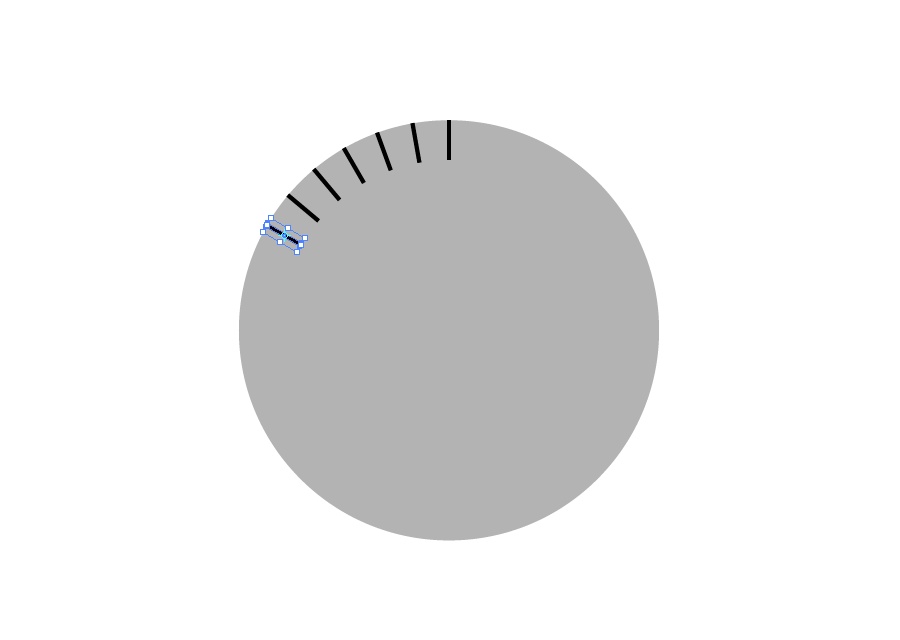
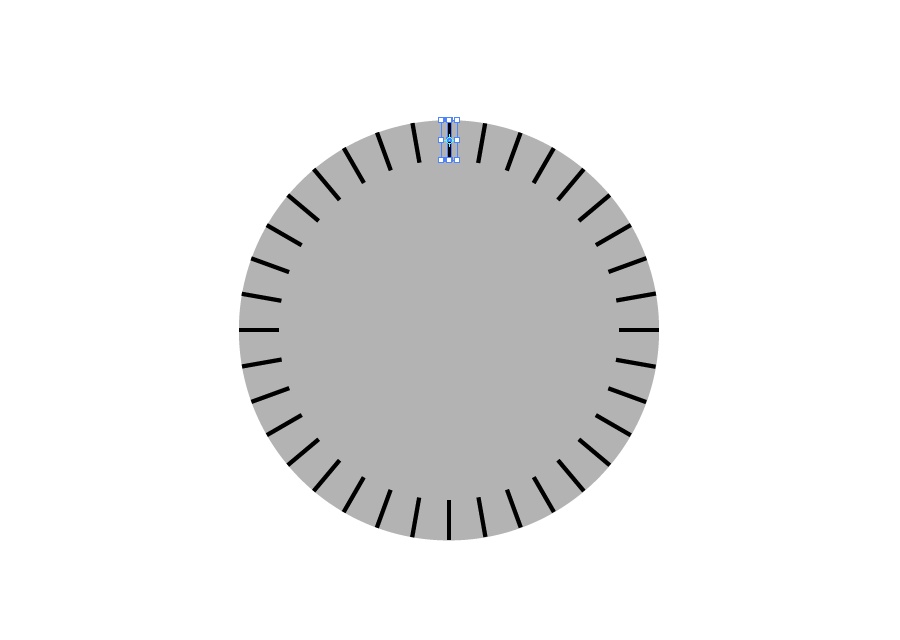
Tap CMD+D (Mac) or CTRL+D (Win) to repeat the last step until a full circle is formed.
Step 11
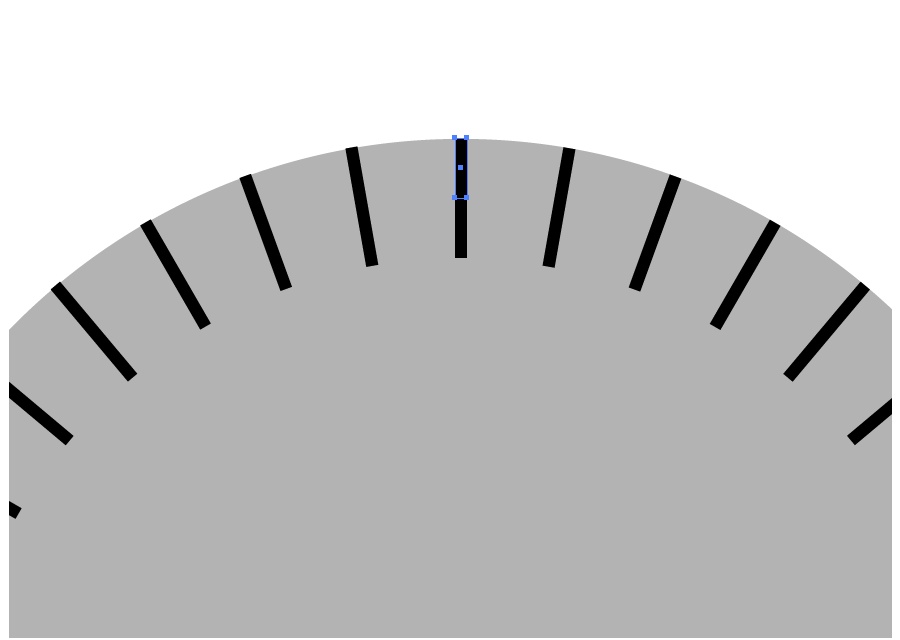
Duplicate the first rectangle and resize it, or draw a new one that is 4 x 20 pixels above the original.
Step 12
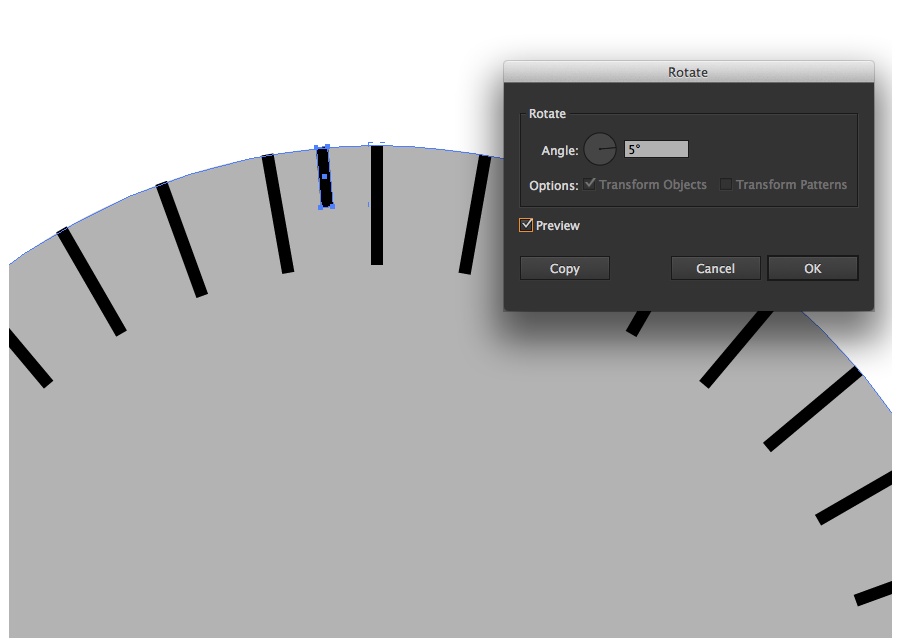
Use the Rotate tool again but this time enter half of the original value, which is 5 degrees and click OK.
Step 13
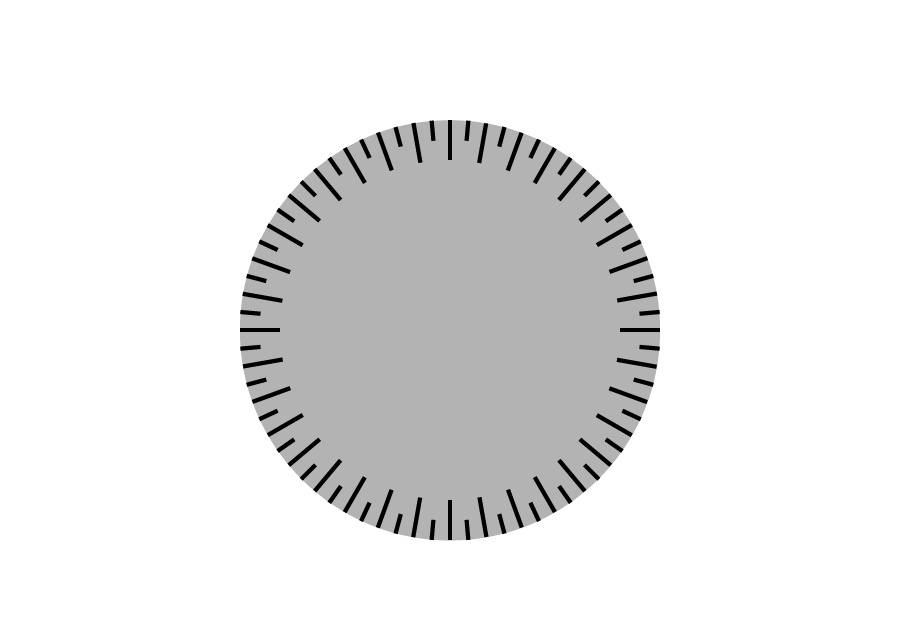
With the Rotate tool repeat steps 9 and 10 to create another full circle of rectangles in between the originals.
Step 14
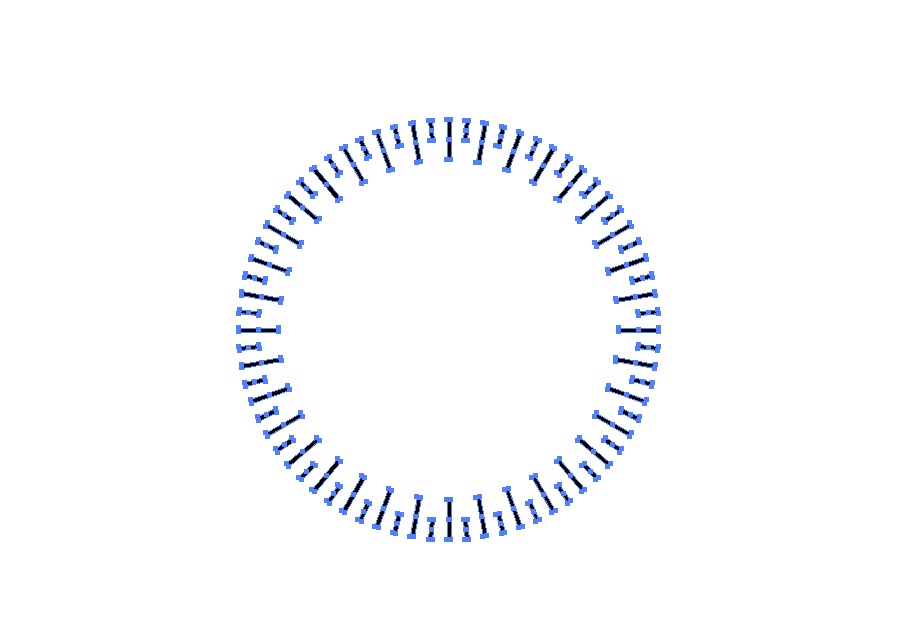
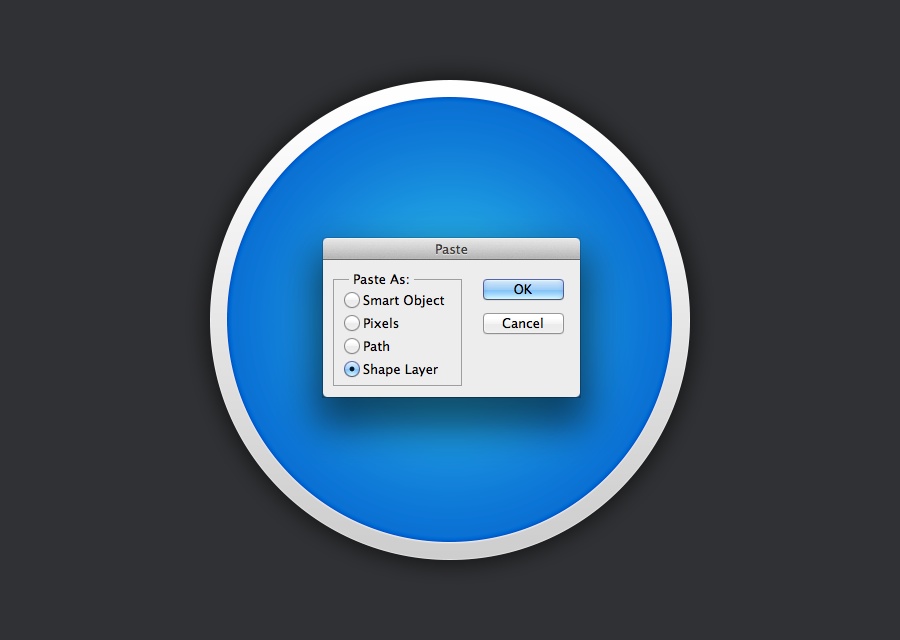
Delete the guide circle and select all of the rotated rectangles. Then copy and paste them into your Photoshop document using the Shape Layer option.

Step 15
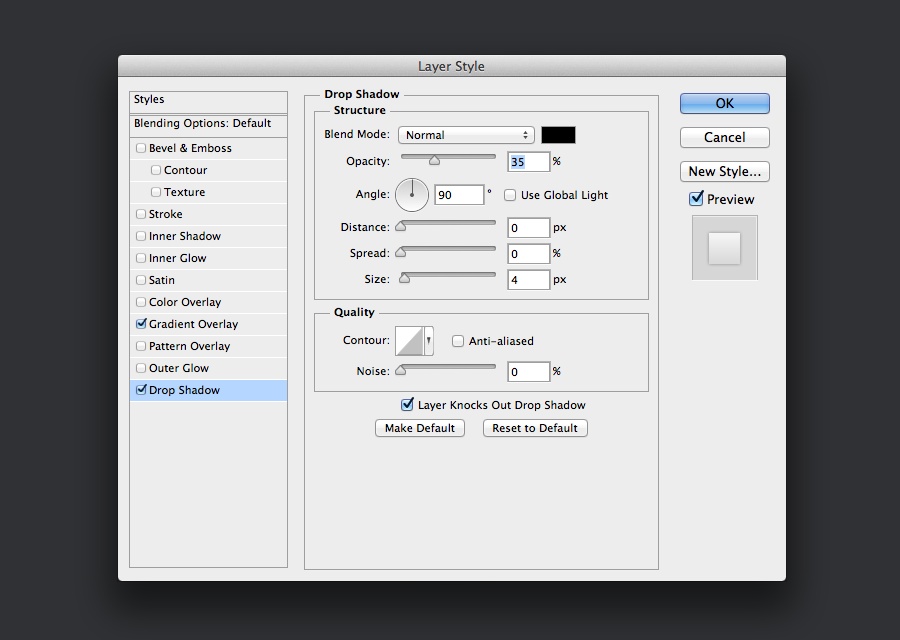
Apply Gradient Overlay and Drop Shadow layer styles to the new shape layer that was pasted from Illustrator.


Step 16
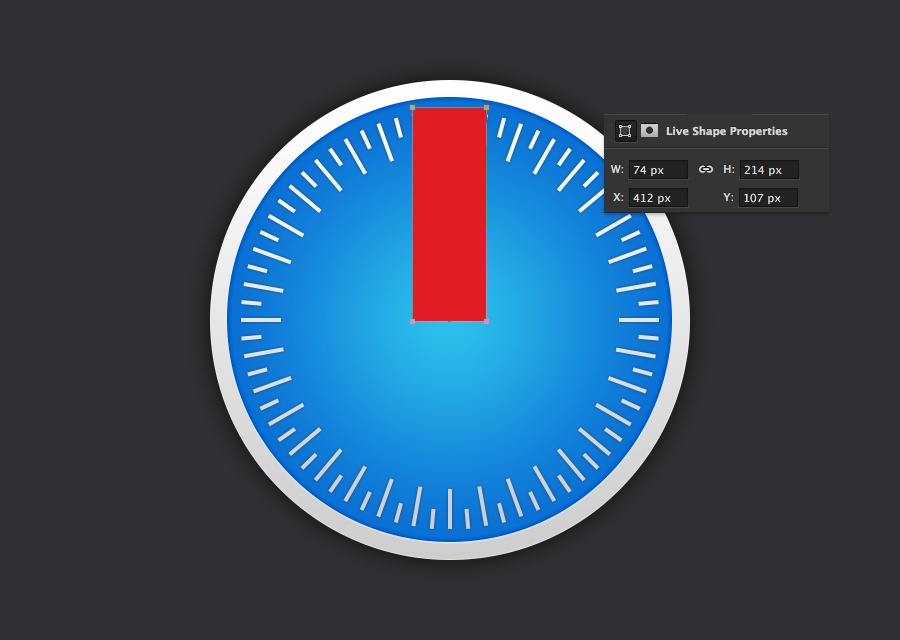
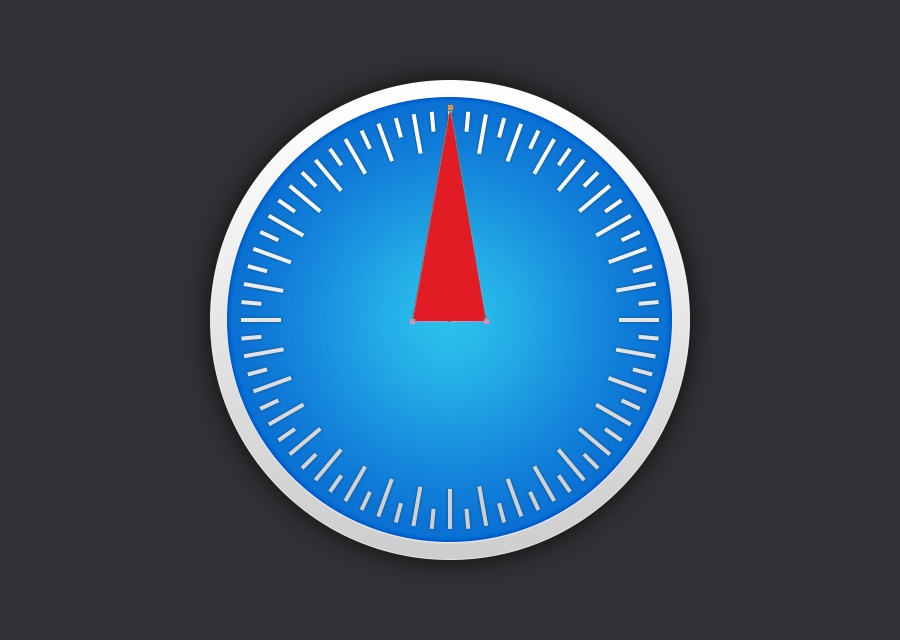
For the needle element of the compass, begin with just the top section by drawing a red (#e41f1f) 74 x 214 pixel rectangle. Delete the top left vector point and move the top right point 37 pixels to the left (or vise versa) to create a triangular shape.
Step 17
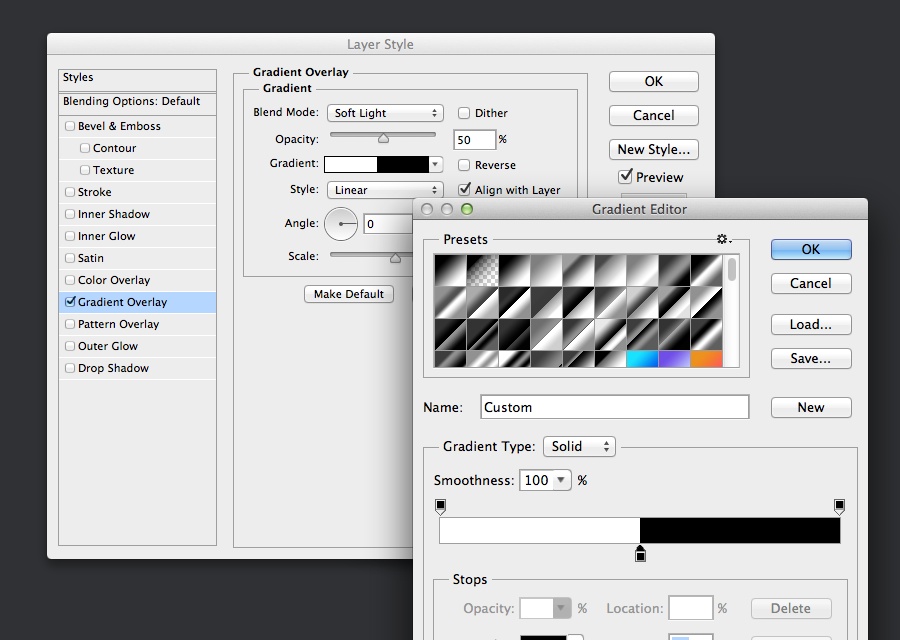
Apply a Gradient Overlay layer style and edit the default Black to White gradient by placing both colour stops at 50%:
Step 18
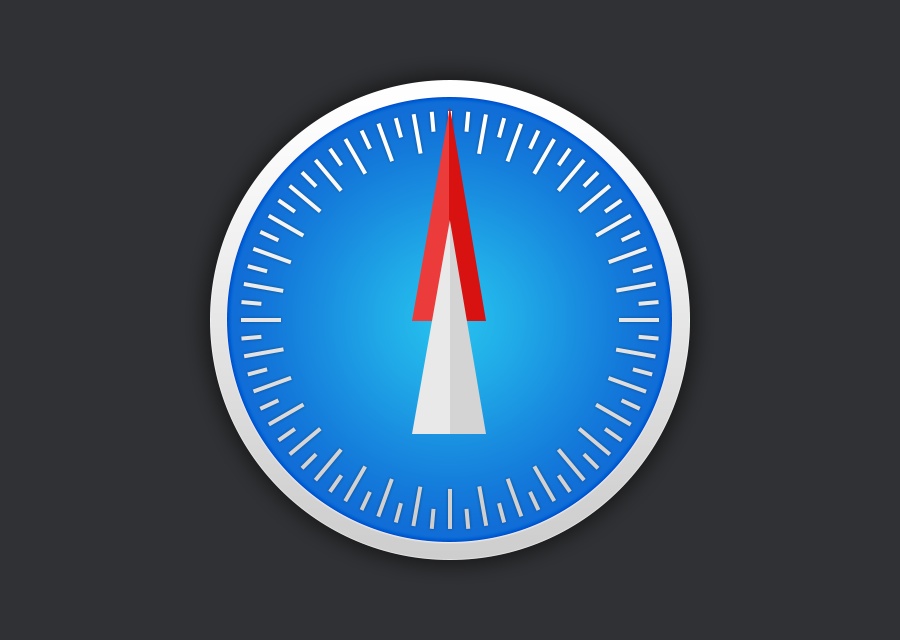
Duplicate the triangle shape and change the colour fill to light grey (#e1e1e1).
Step 19
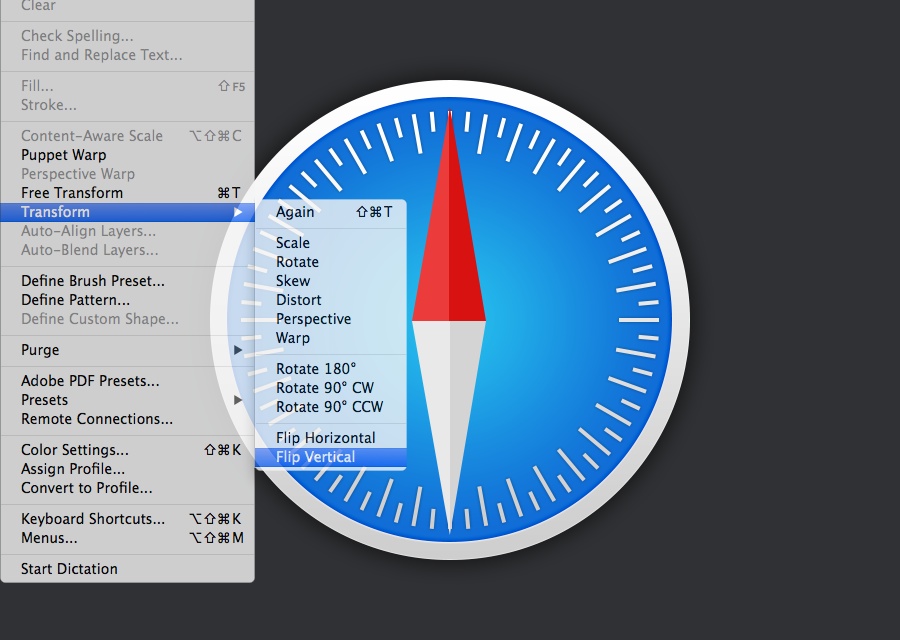
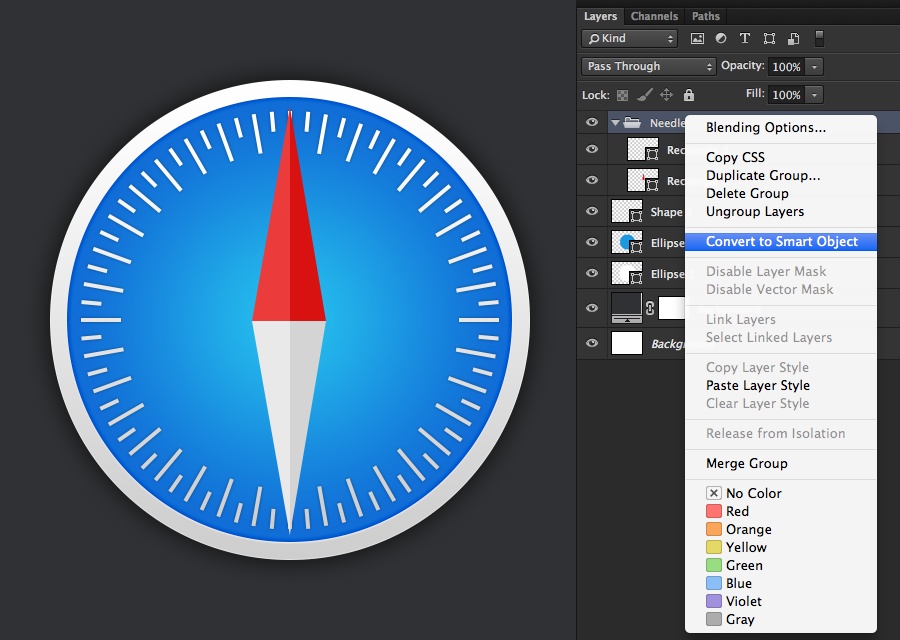
Go the to Edit menu and select Transform > Flip Vertical, then position the grey shape directly below the red shape. Group both triangle layers and convert them to a Smart Object in the Layers panel.
Step 20
Rotate the needle Smart Object 45 degress holding down the Shift key.
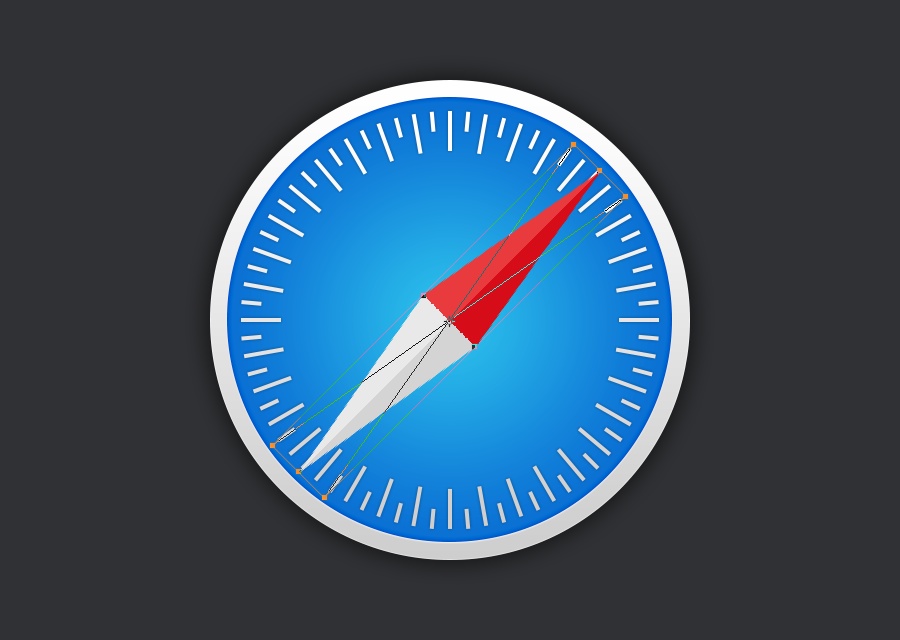
Step 21
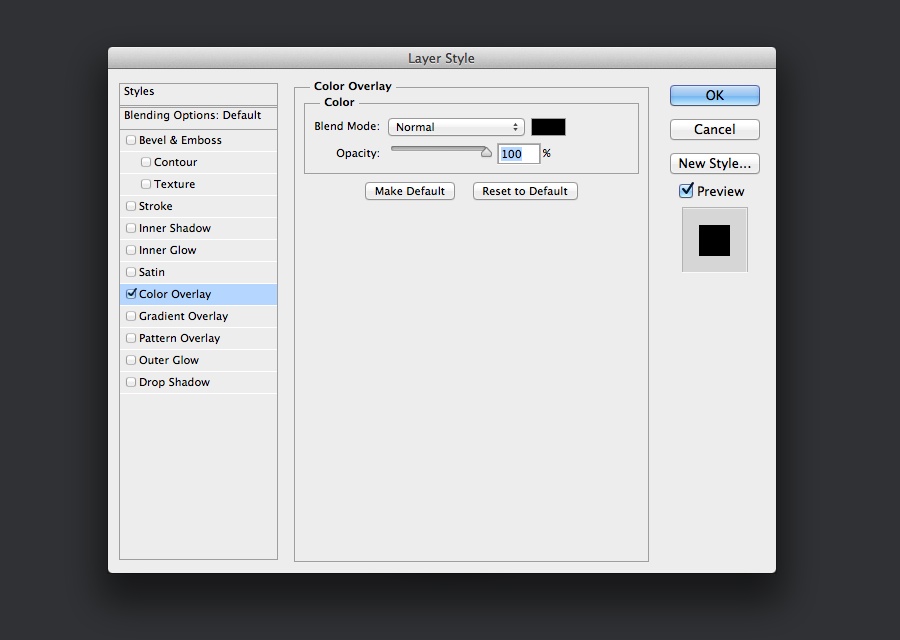
For the shadow, duplicate the Smart Object and apply a Color Overlay layer style
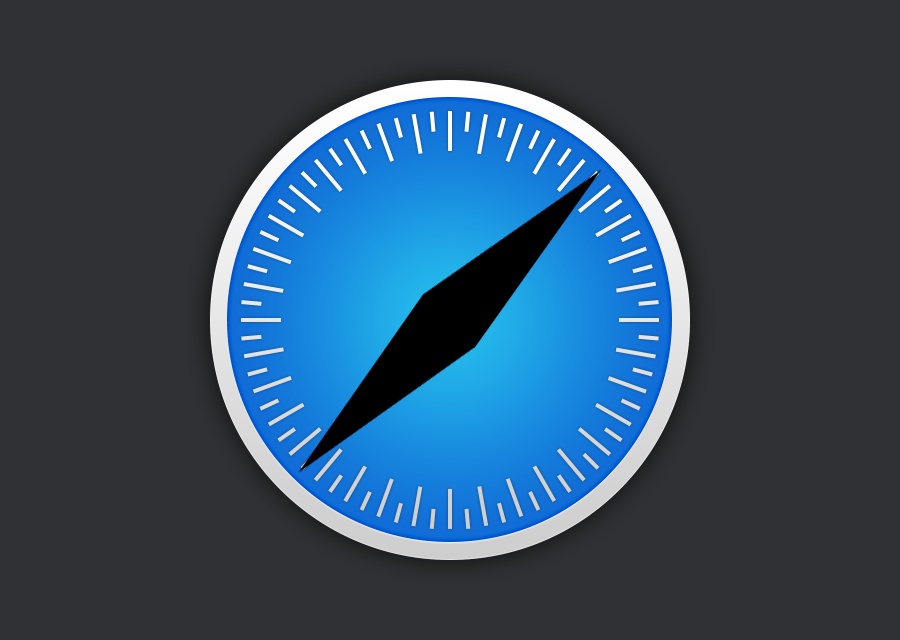
Step 22
Move the duplicated Smart Object layer below the original and use the Transform > Warp tool to distort the shape of the layer. Try to make the effect symmetrical but don't worry if it isn't quite perfect.
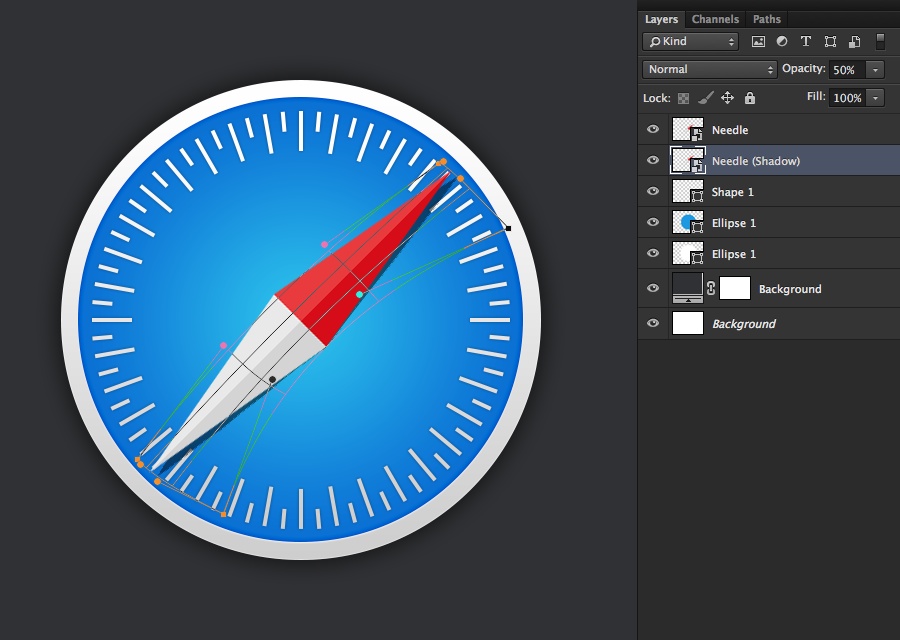
Step 23
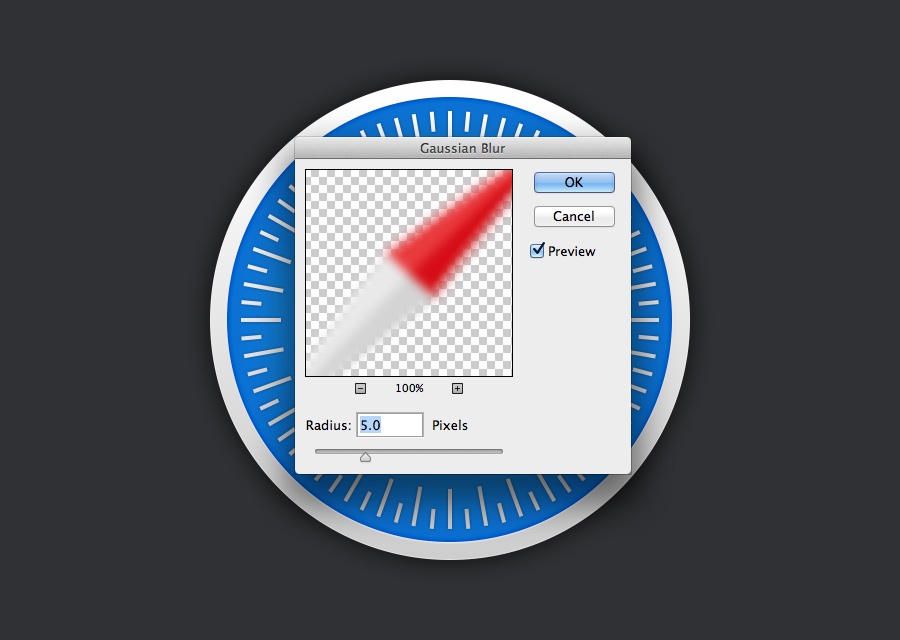
Finally, apply a Gaussian Blur filter to the shadow Smart Object layer with a radius of about 5 pixels.
The Result

This is what the end result should look like, a pleasant blend between skeuomorphic and flat design principles that serves it's purpose well. As always I try to cover techniques that can be applied to other similar projects, so if you are new to app icon design I hope this walkthrough was helpful!


