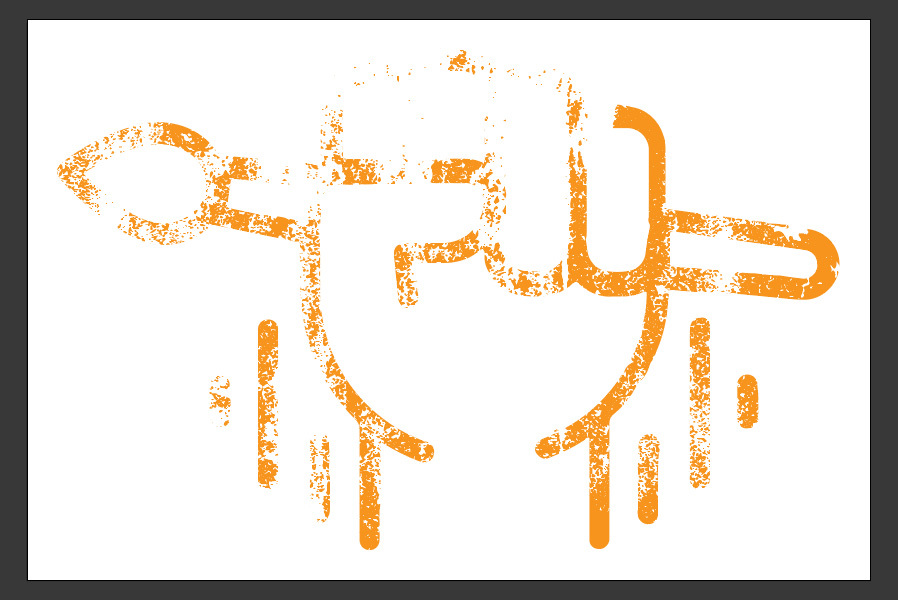
How to Create a Grunge Effect in Illustrator
Illustrator Vector Effects
Sometimes, when you need to give to your graphics a grunge look & feel usually the first thing you think is to make it in Photoshop. But there is a method (in fact, various) to make a grunge effect in Illustrator and keep you design in the original vector format you make it. Today, you will learn how easy is to make a grunge effect in Illustrator that can be used over any element you want, text, logos or even backgrounds. All you will need to begin is the grunge texture image you want to use, preferably in black and white.
Step 1
Open Illustrator and go to File > Open. Locate the grunge texture file of your choice and click Open.
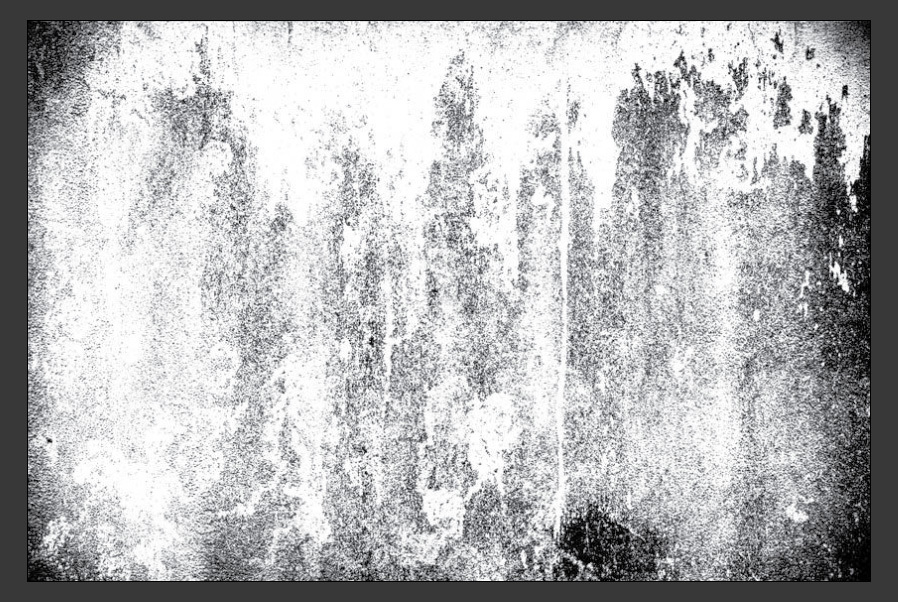
Step 2
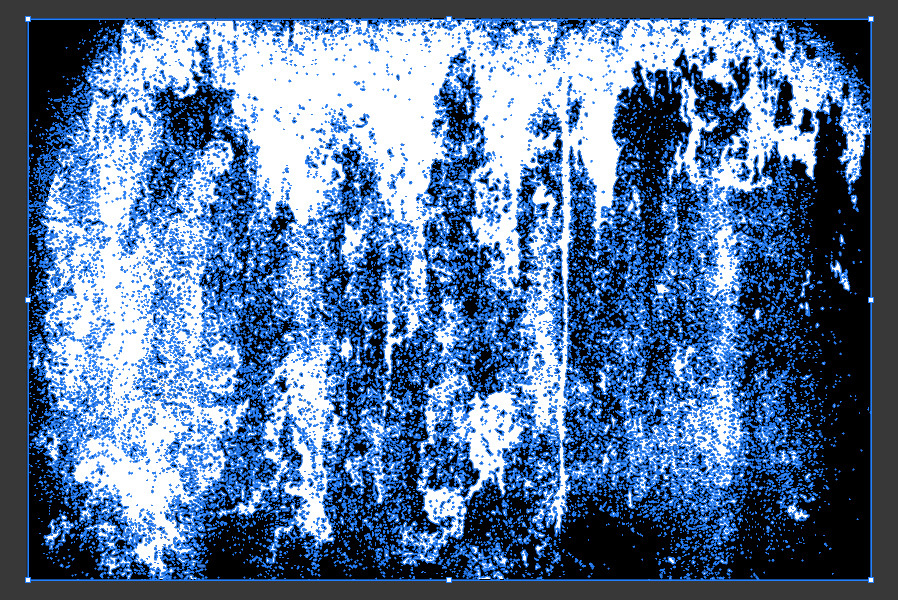
Select the texture and go to Object > Image Trace > Make.
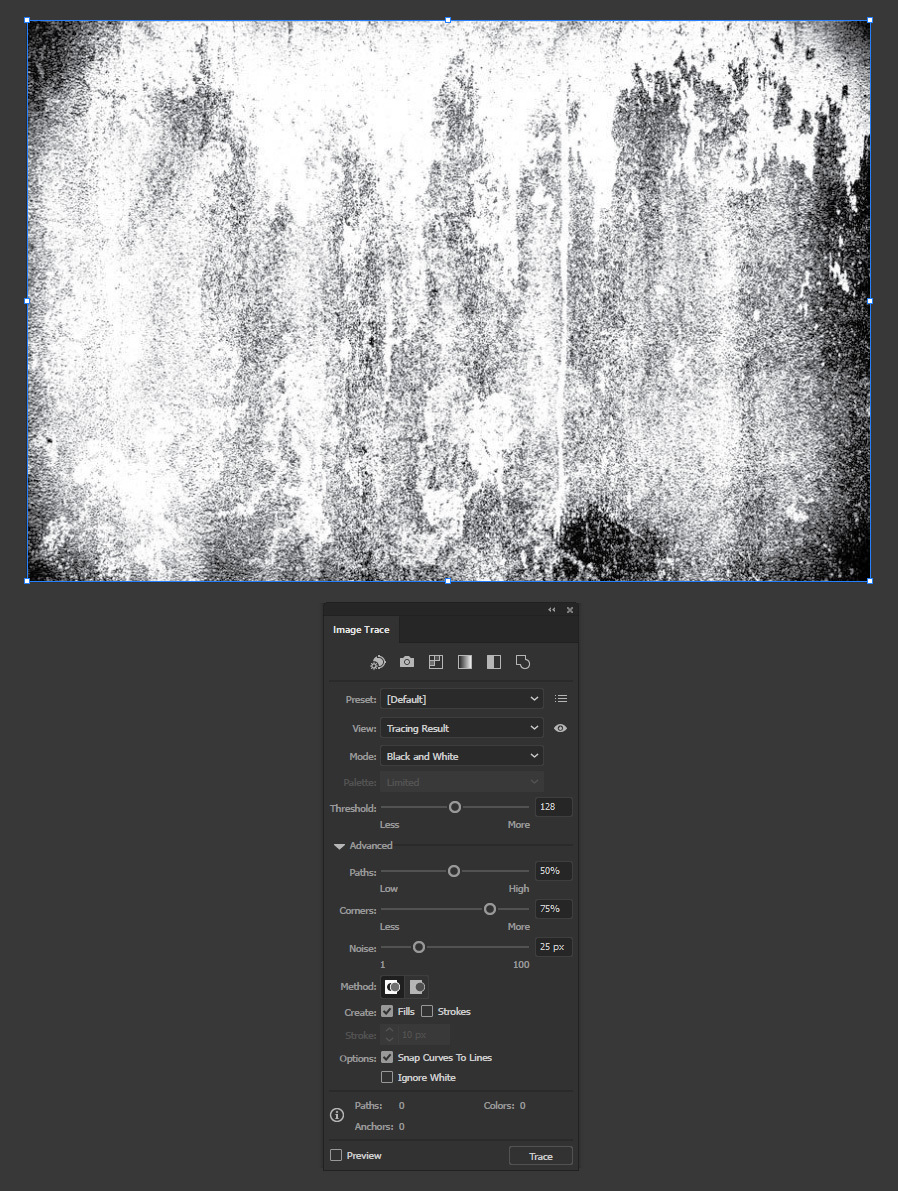
Step 3
In the Image Trace Panel, apply the following settings.
Note: depending on the texture of your choice the values may work a bit different so you may need to adjust them a bit, specially the Threshold.
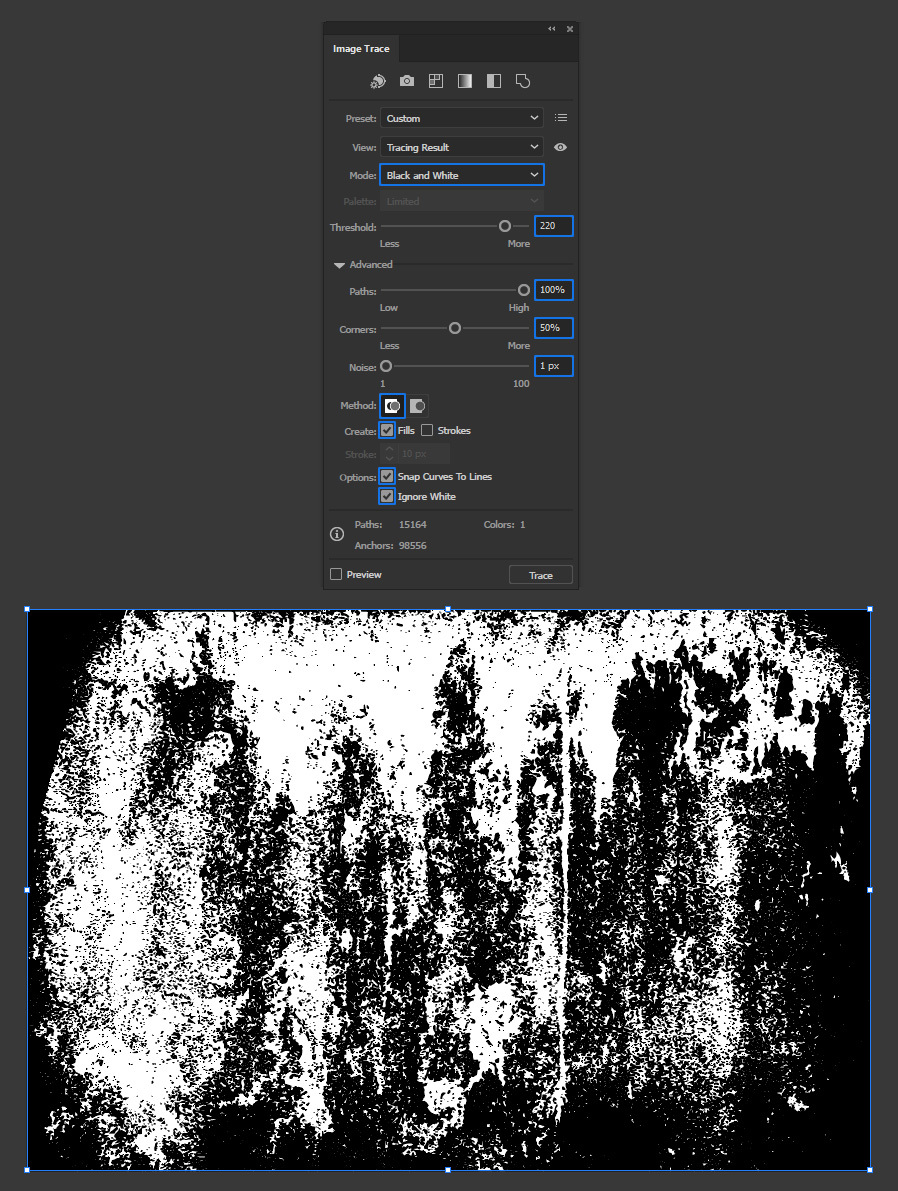
Step 4
In the top toolbar click the "Expand" button.

Step 5
With the traced image selected, go to Object > Compound Path > Make.
Step 6
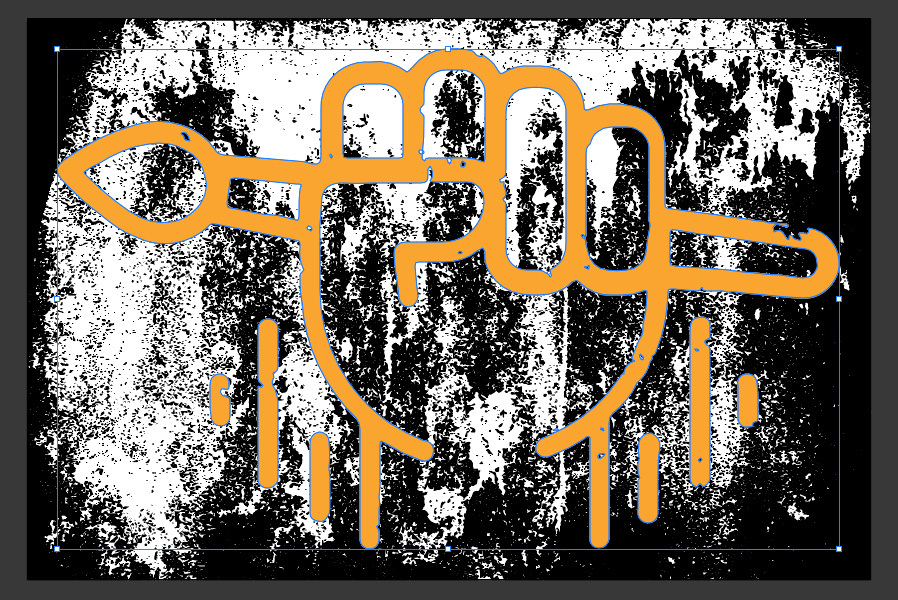
Next, place the vector graphic that you want to give the grunge effect to and place it right in front of the grunge texture as shown.
Step 7
Just to be 100% sure that the effect will run smooth, with your graphic selected go to Object > Compound Path > Make.

Step 8
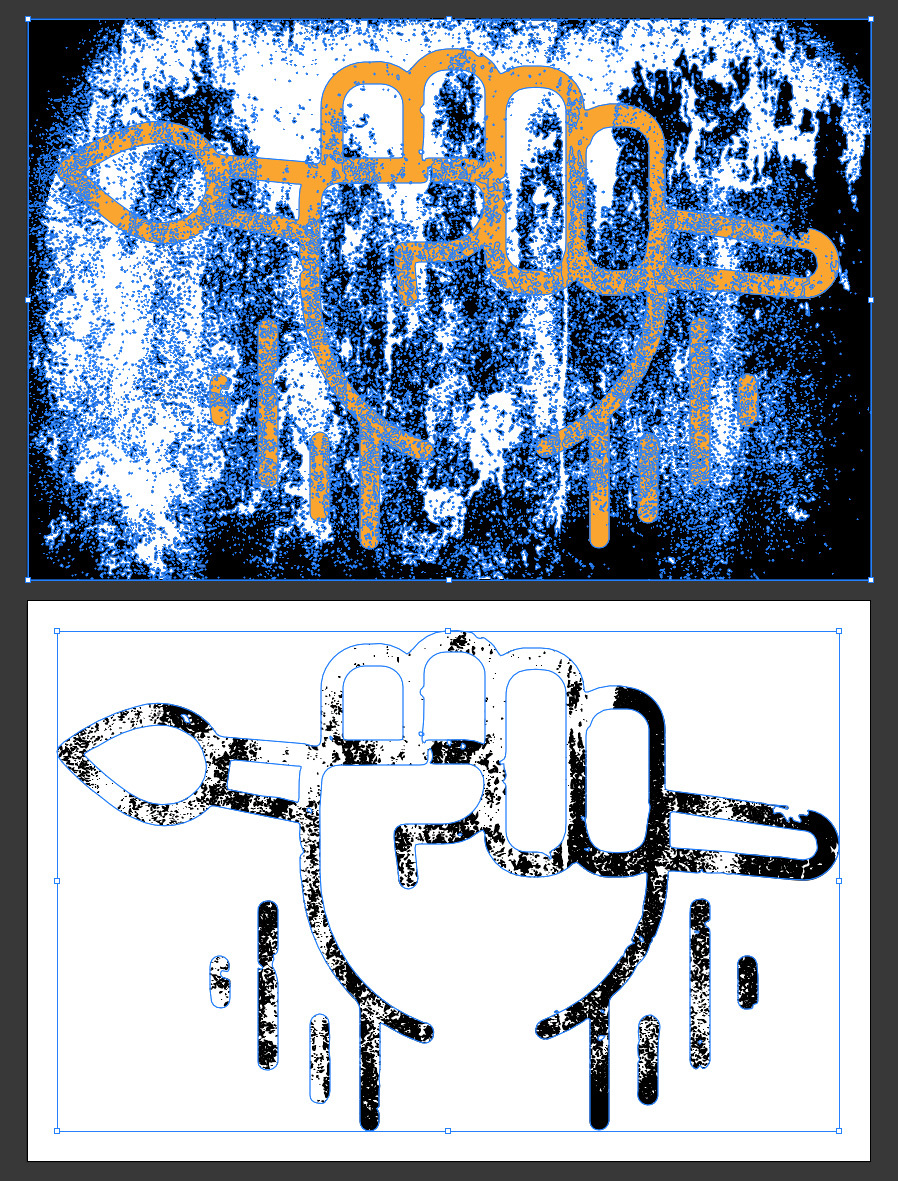
Select all objects in the artboard (Ctrl+A) and go to Object > Clipping Mask > Make.
Step 9
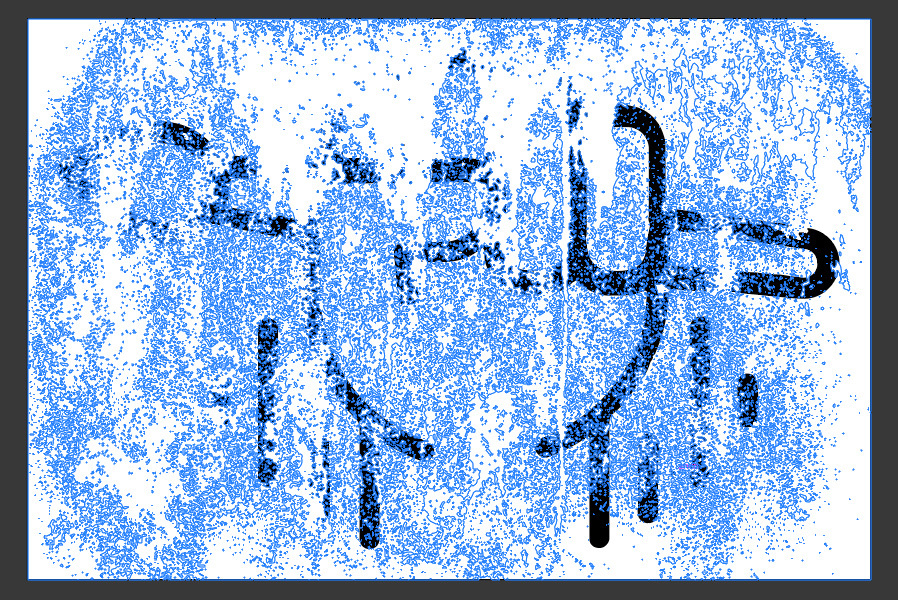
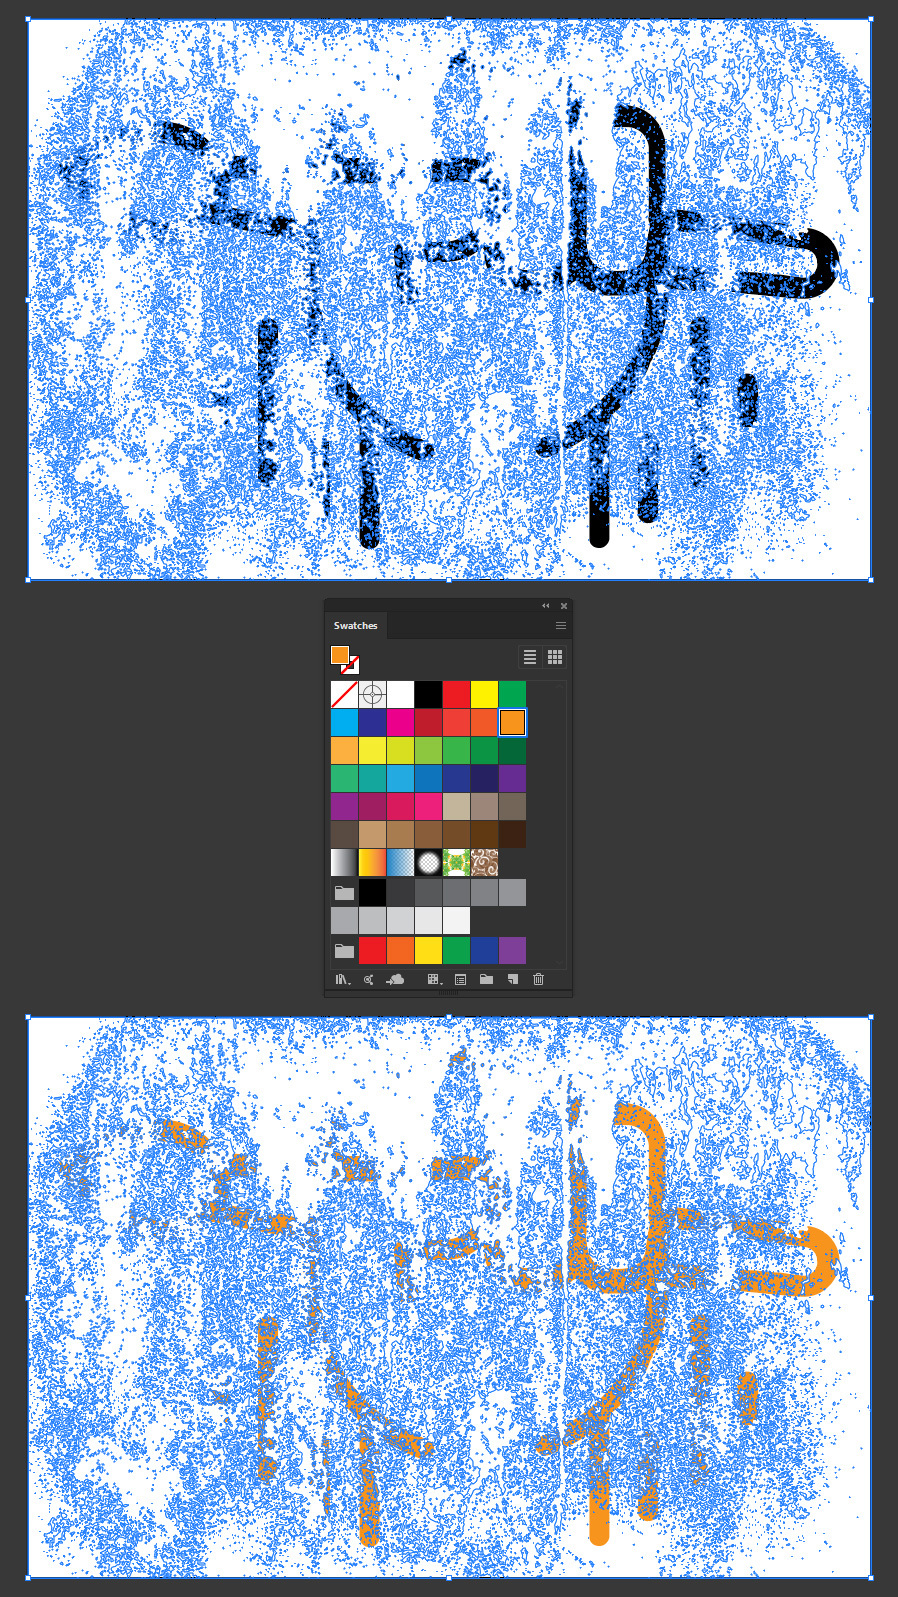
With the grunge effect already made, if you want to change the texture color double click on your graphic to enter Isolation Mode.
Step 10
Select the vectorized grunge texture and pick any color in the Swatches Panel.
Step 11
Lastly, double click anywhere outside the texture area to exit Isolation Mode.
