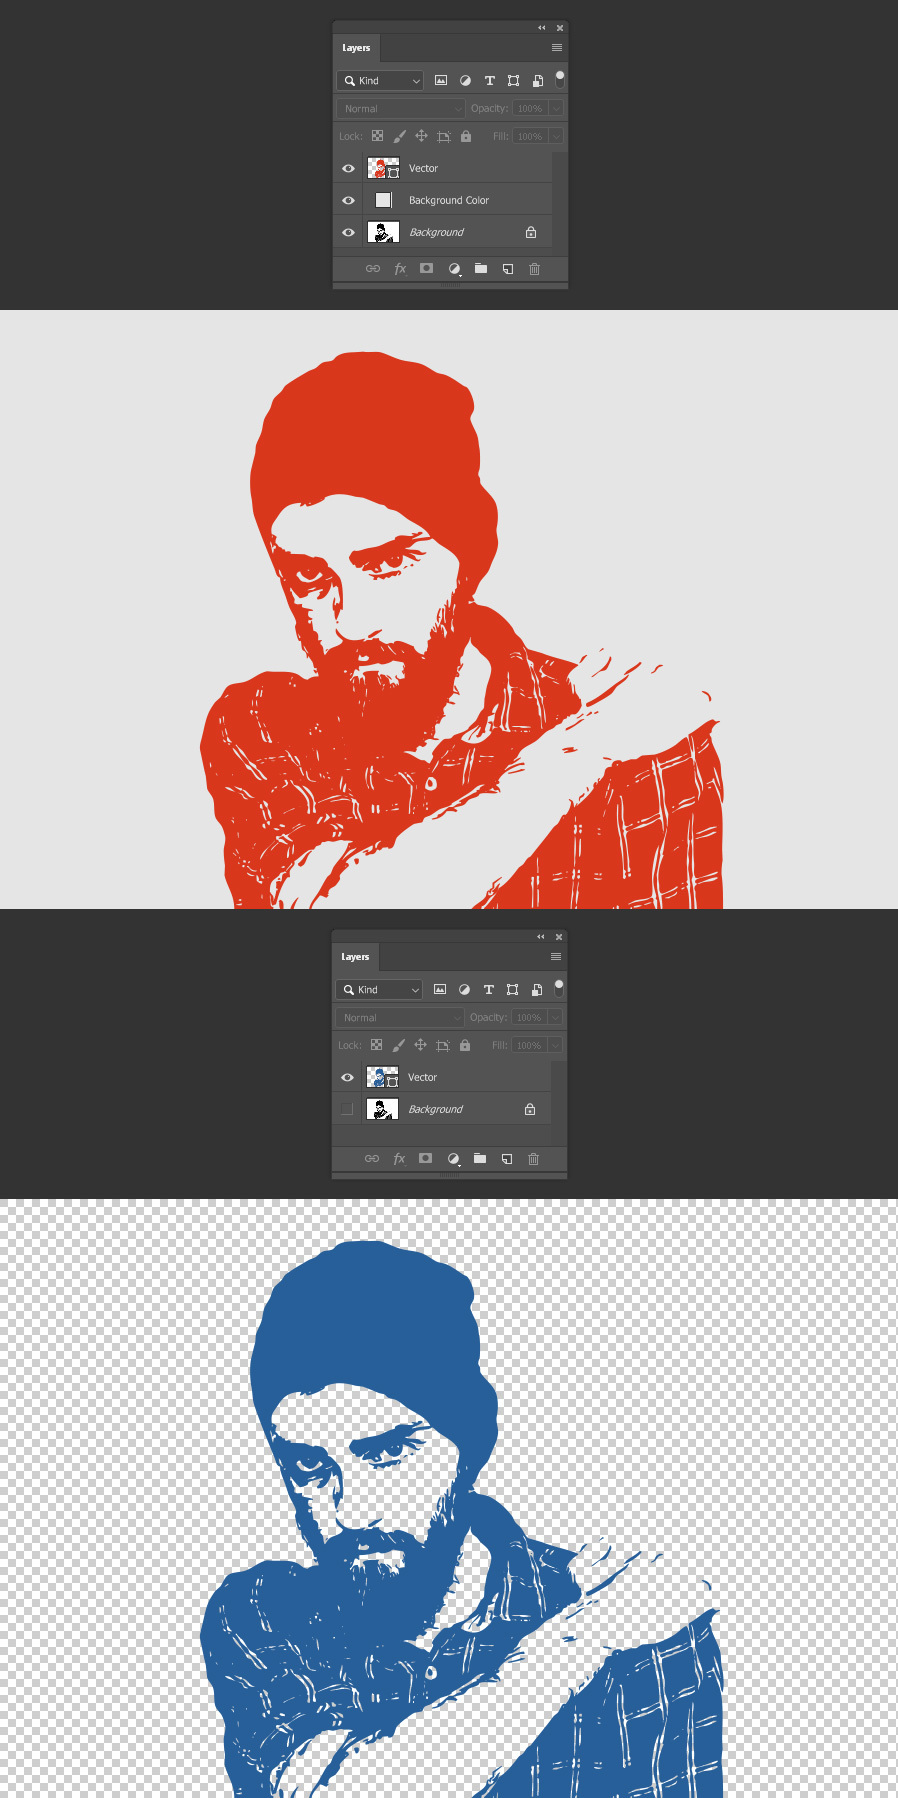
How to Convert a Raster Image into Vector in Photoshop
Raster to Vector in Photoshop
In this tutorial, you will learn a simple and effective technique to convert a raster image into vector in Photoshop. Although there are many different ways to achieve a similar result, with this method you can transform a raster image into a vector one quickly and easily.
But before we begin, and if you want to follow this tutorial exactly as described, please download the following image from Pixabay.
Step 1
Open your image in Photoshop. It does not need to be a Black and White or a Grayscale one, any Color image will work as well.

Step 2
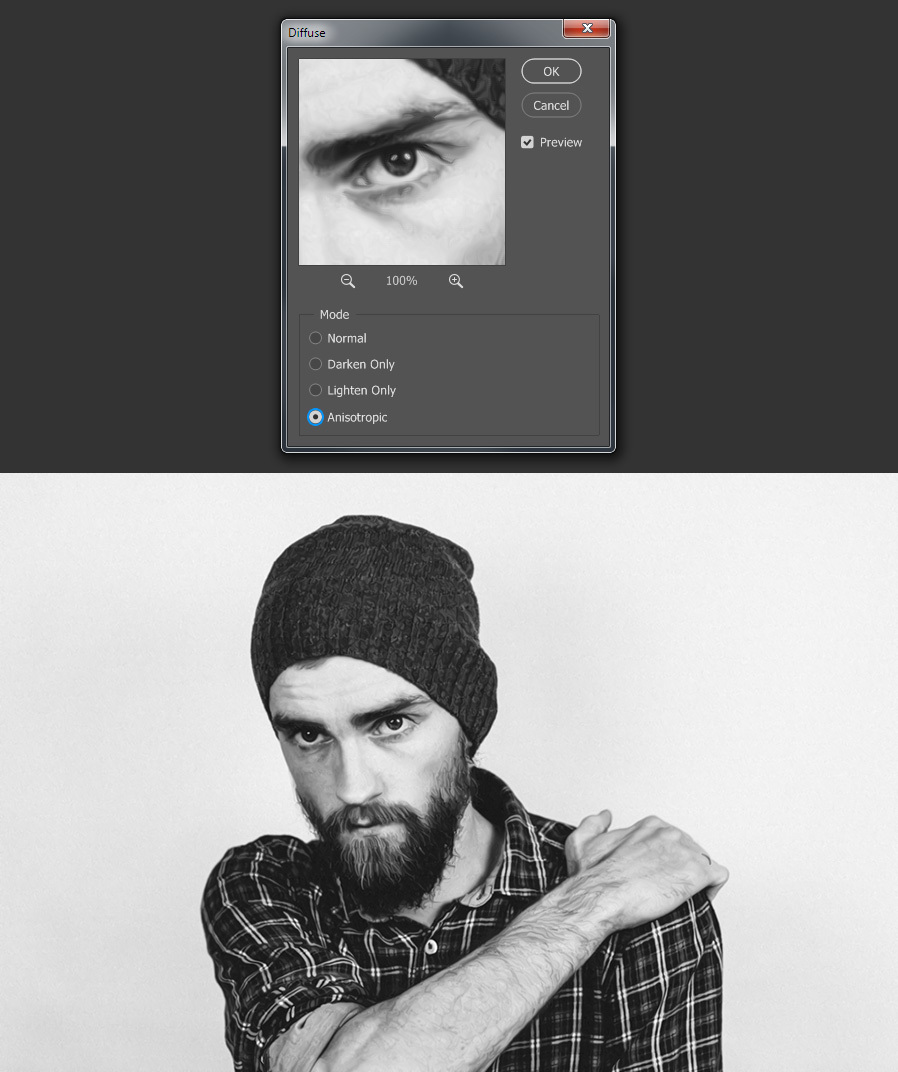
Go to Filter > Stilyze > Diffuse. In the Diffuse window select the Anisotropic Mode and click OK.

Step 3
Again, go to Filter > Stilyze > Diffuse. In the Diffuse window select the Anisotropic Mode and click OK.
Step 4
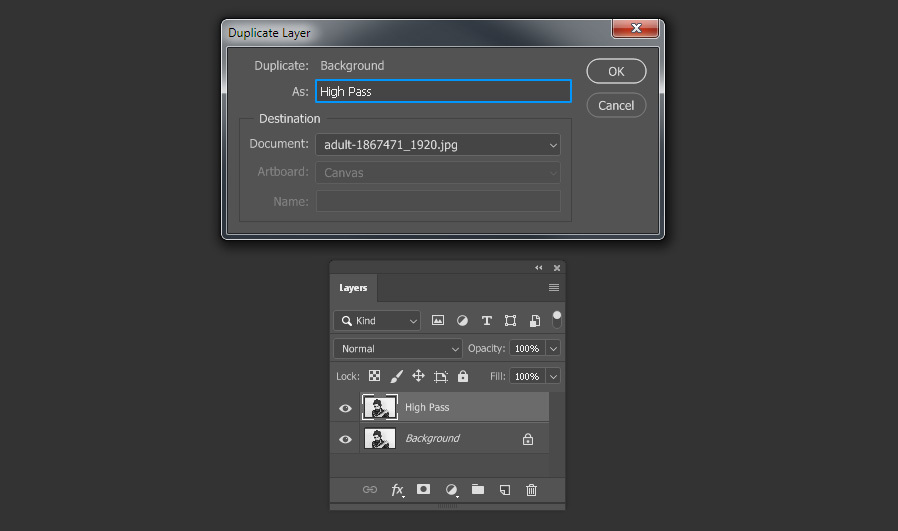
Go to Layer > Duplicate Layer. Name this layer as “High Pass” and click OK.
Step 5
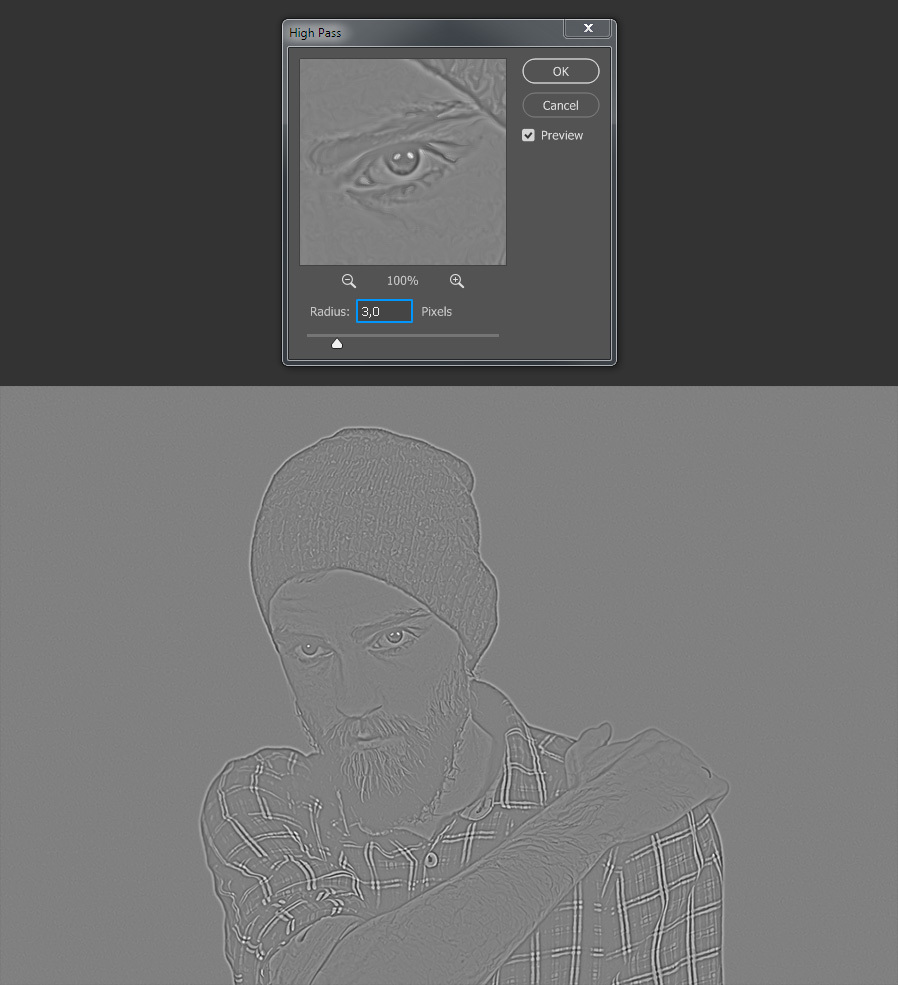
With the “High Pass” layer selected go to Filter > Other > High Pass. Set a value of 3 and click OK.
Step 6
In the Layers Panel set the blending mode of the “High Pass” layer to Vivid Light.
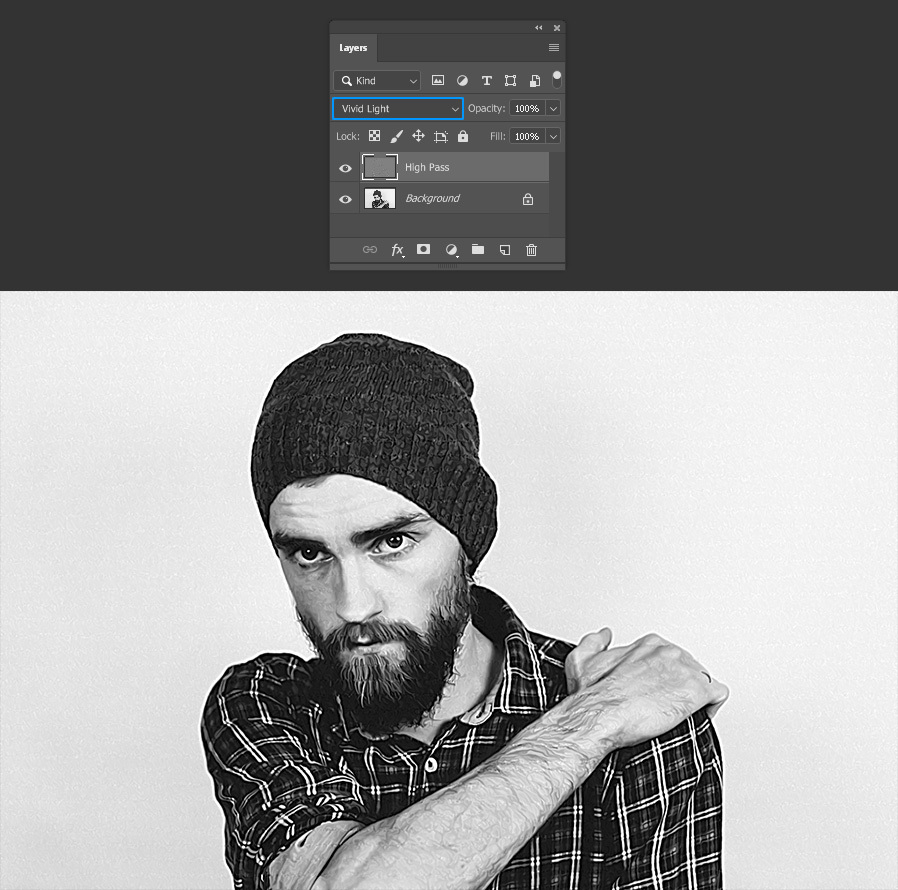
Step 7
Go to Layer > New Adjustment Layer > Threshold. Name this layer as “Threshold” and click OK.
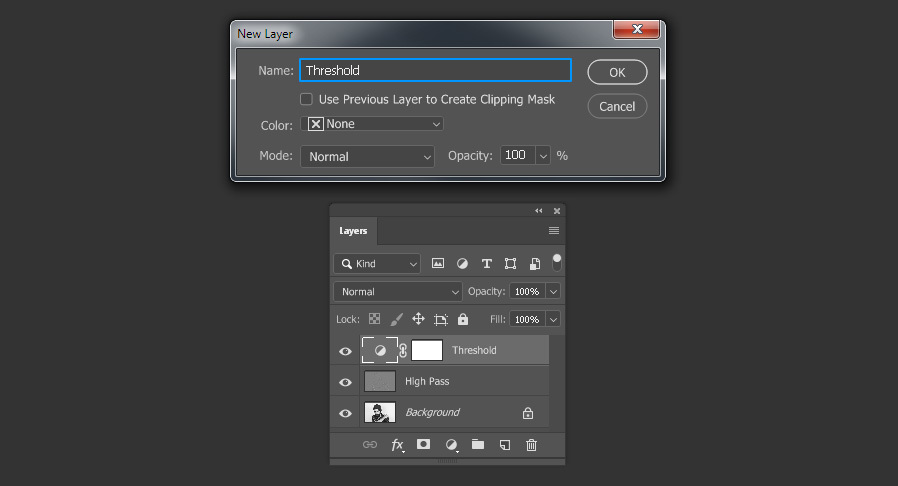
Step 8
Adjust the Threshold level according to the image you are using. In this case a value of 138 will work just fine.
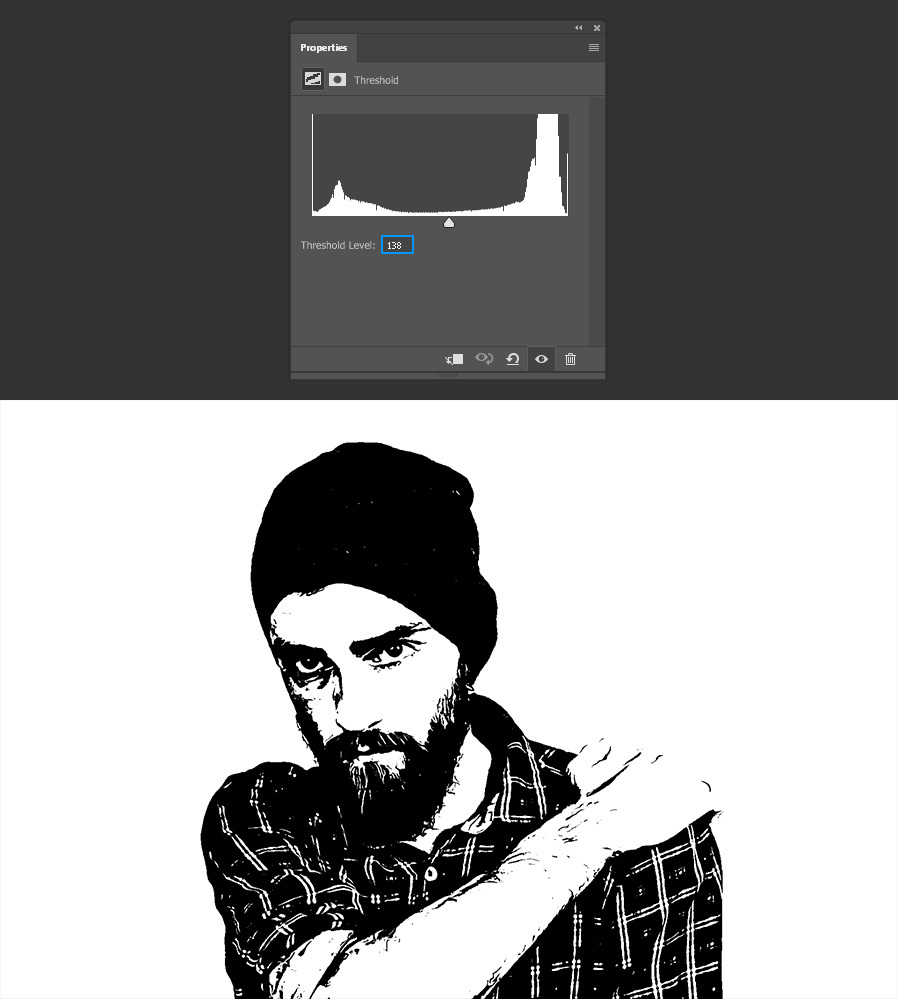
Step 9
Once you are happy with the Threshold result, go to Layer > Merge Visible.
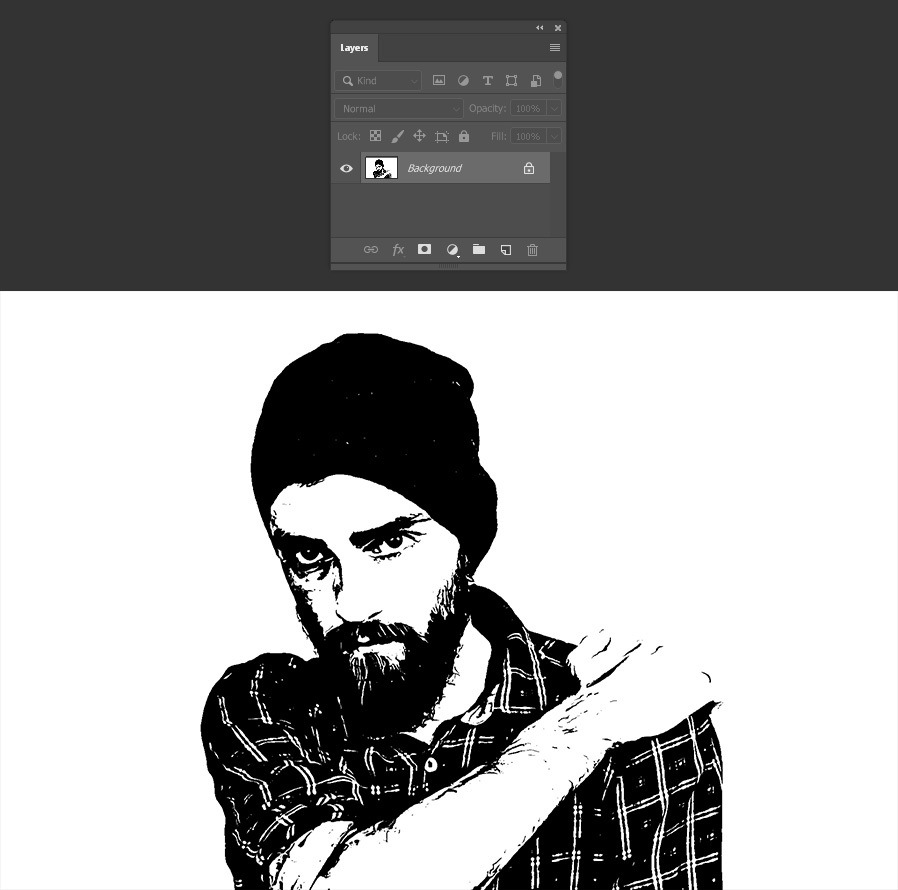
Step 10
At this point you can remove all the unnecessary details using the Brush Tool (B) with black and white colors.
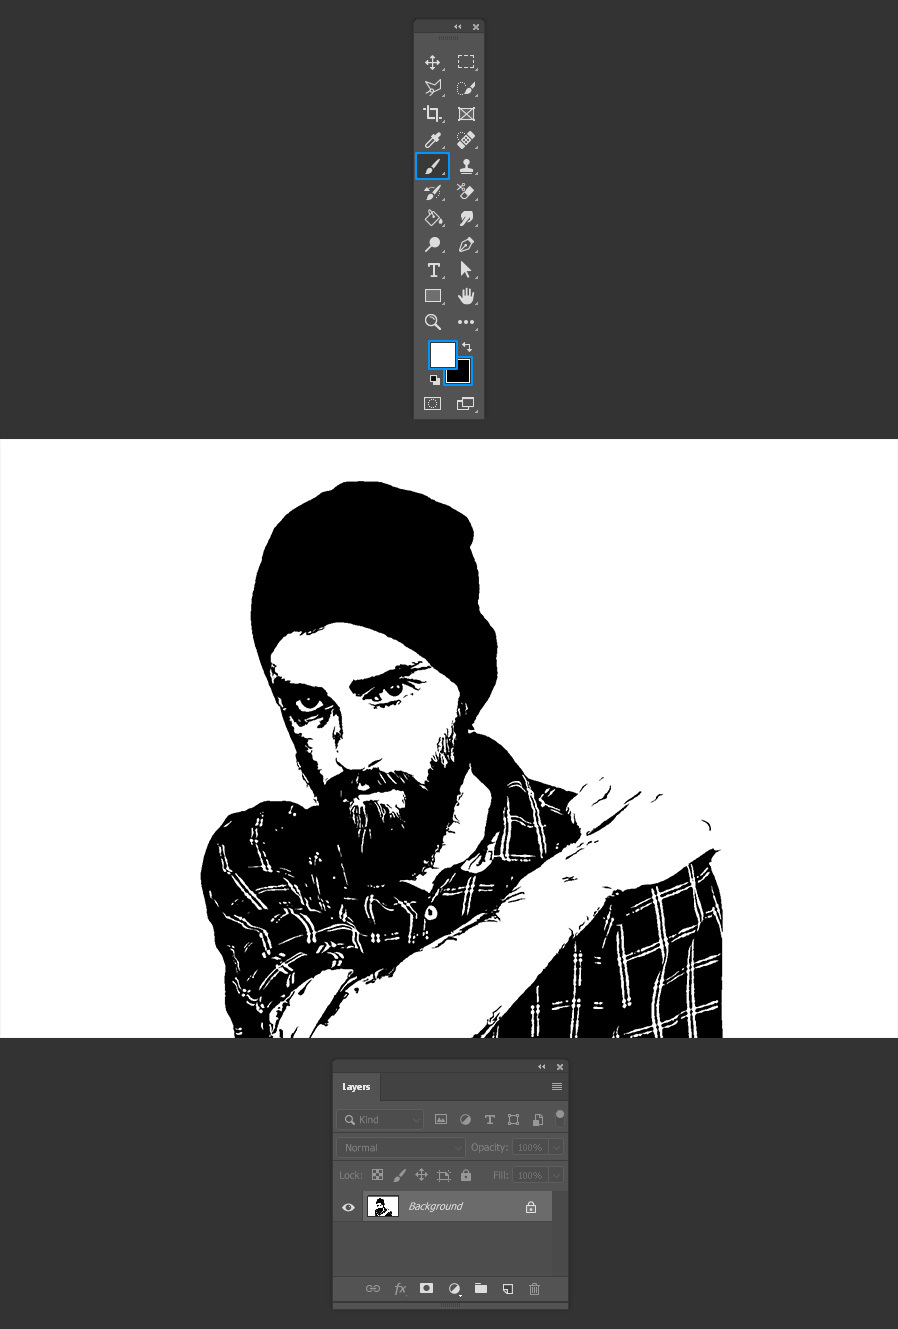
Step 11
With the merged layer selected go to Filter > Blur > Gaussian Blur. Set a value of 0,5 pixels and click OK.
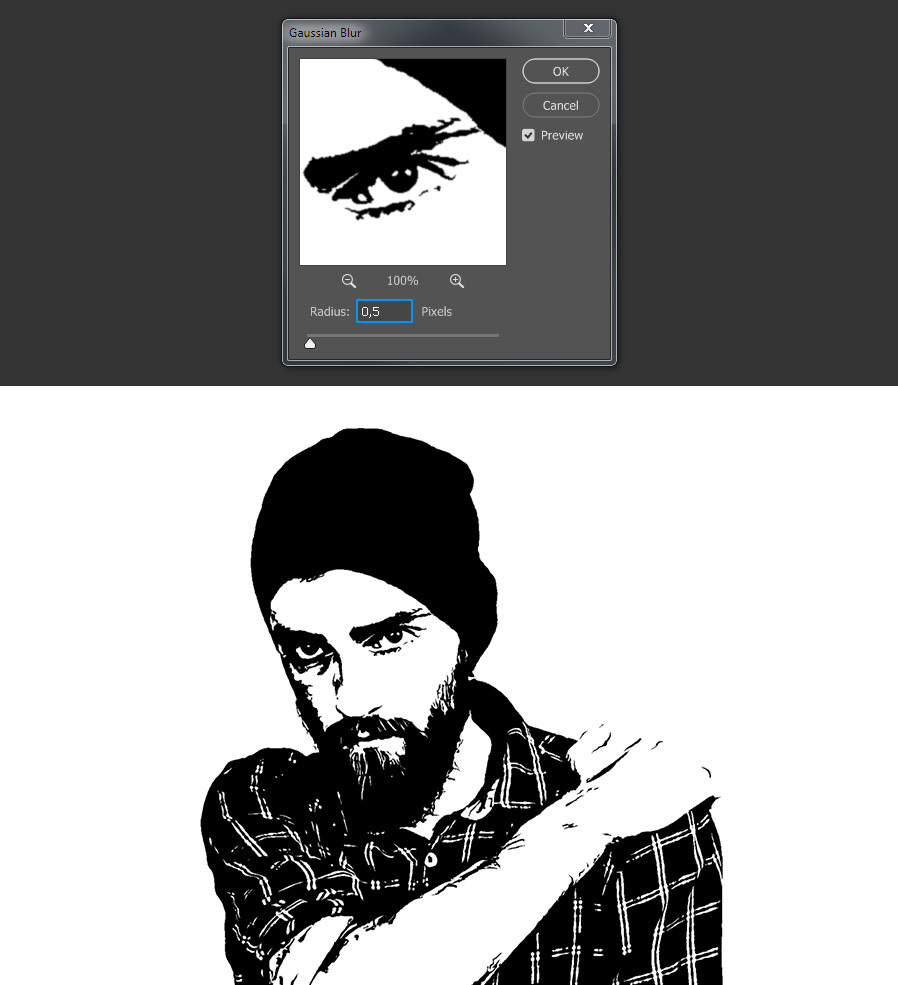
Step 12
Go to Select > Color Range. Select “Shadows” from the dropdown menu and adjust the Fuzziness and Range to your liking. In this case I will set the Fuzziness to 100% and the Range to 150. When you are happy with the selection click OK.
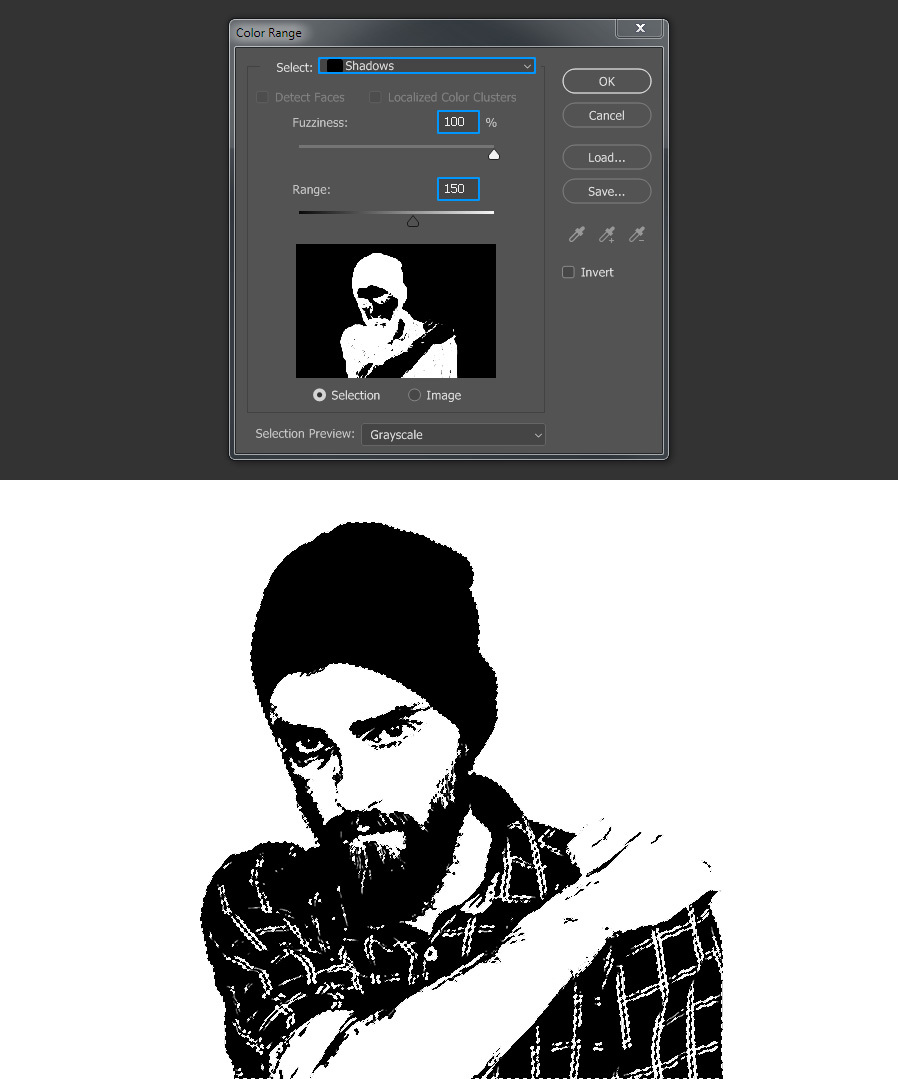
Step 13
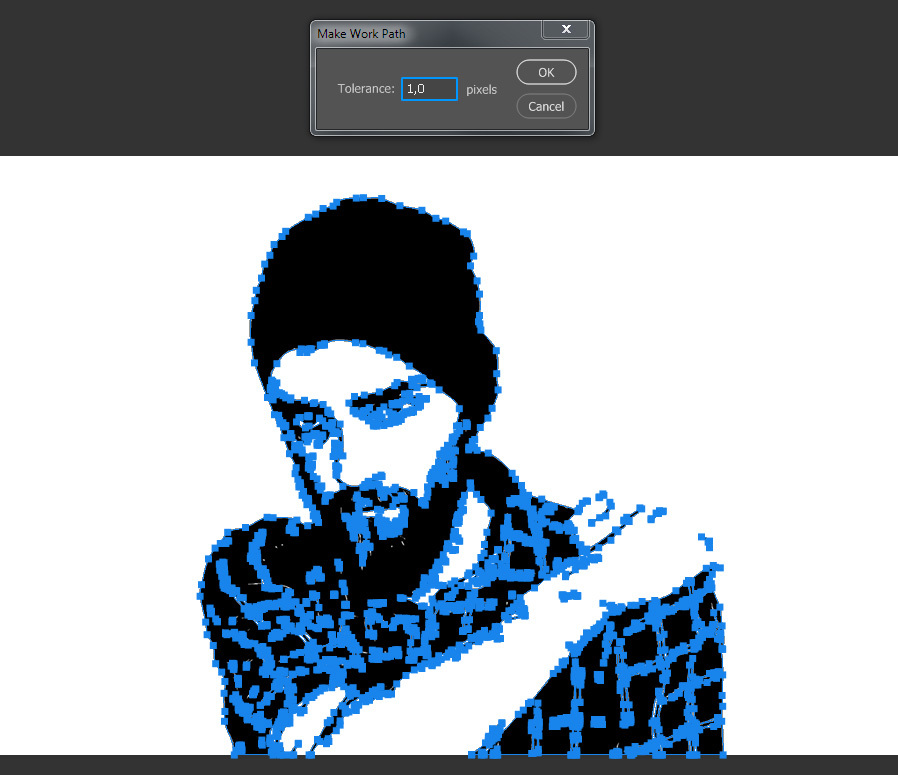
With the selection active, select the Rectangular Marquee Tool (M) and right click over the selection. From the dropdown menu select “Make Work Path”.
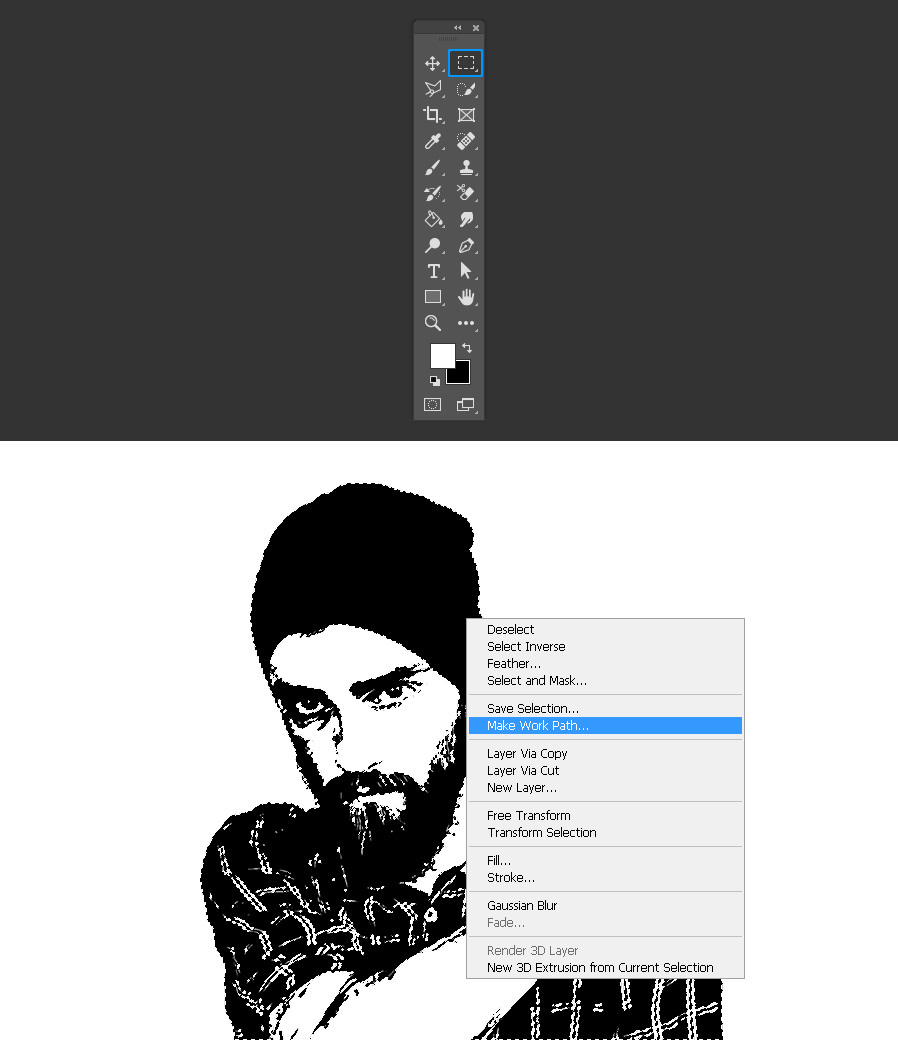
Step 14
In the Make Work Path window, set the Tolerance to 1 or 1,5 pixels and click OK.
Step 15
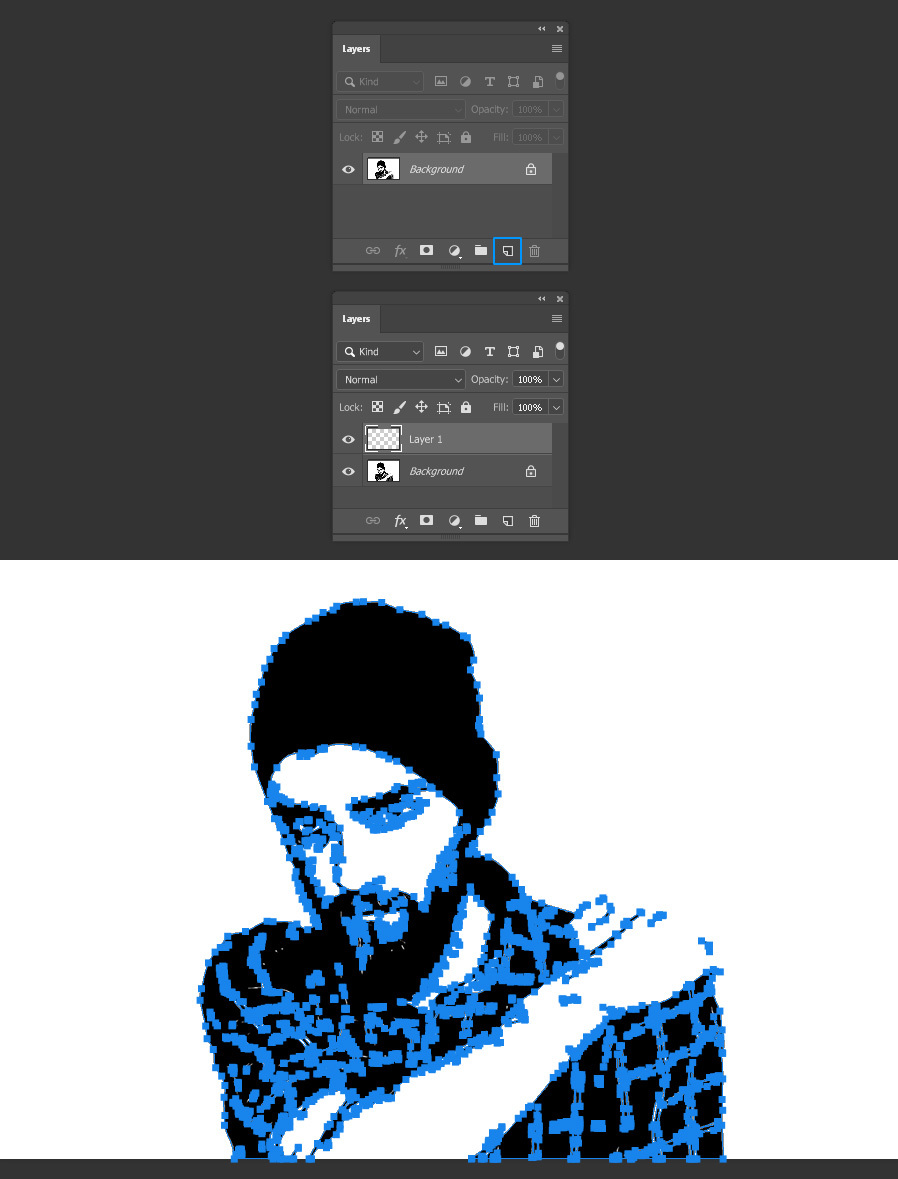
In the Layers Panel click on the “Create a New Layer” icon.
Step 16
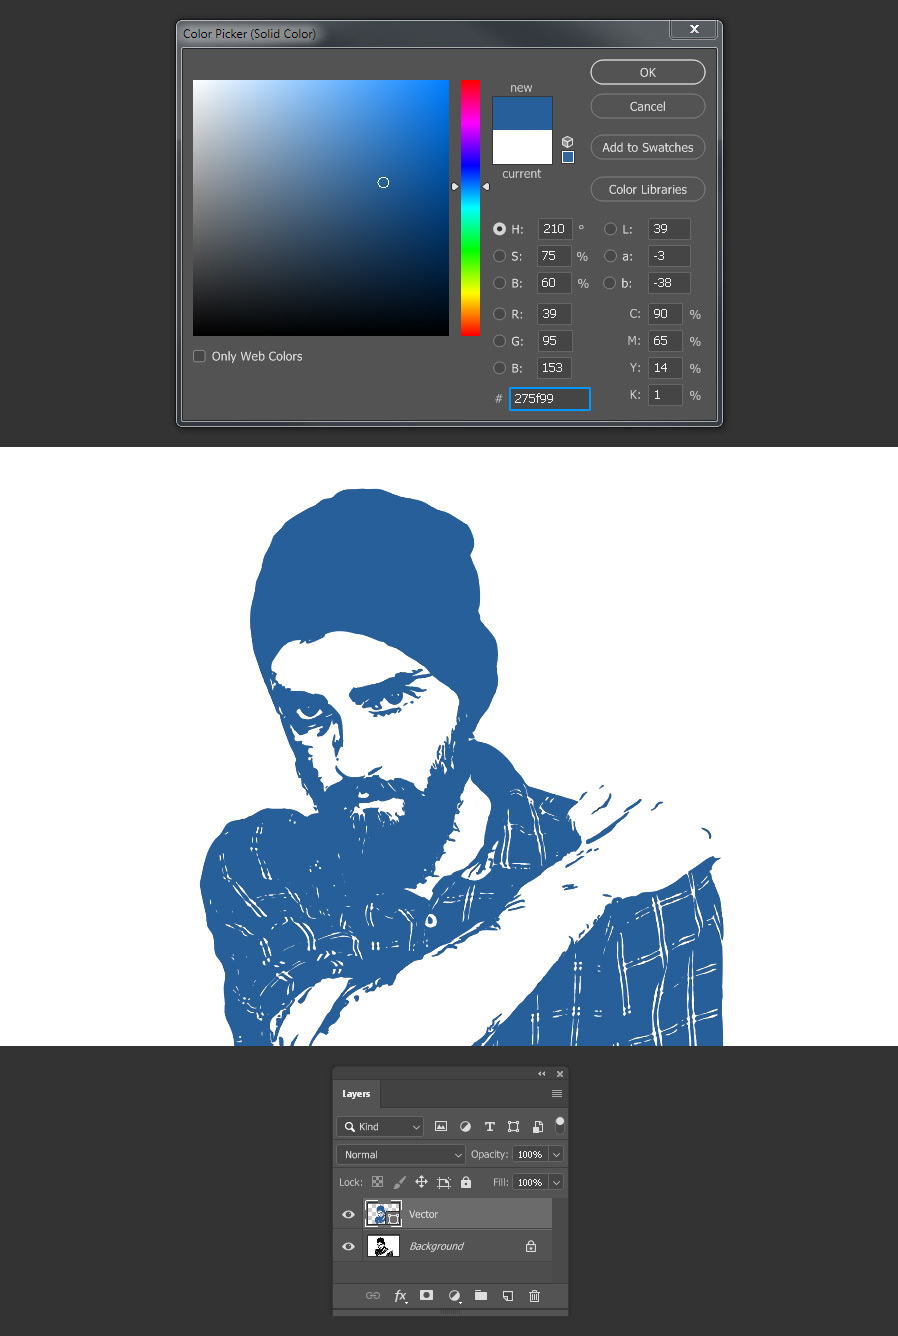
Go to Layer > New Fill Layer > Solid Color. Name this layer as “Vector” and click OK.

Step 17
In the Color Picker window pick any color that you want and click OK.
Some Final Notes
Now you can scale the vector to any size and easily change your vector color with the Color Picker, make a new background layer to fill with any color or simply turn off the Background layer to have it over a transparent background.
