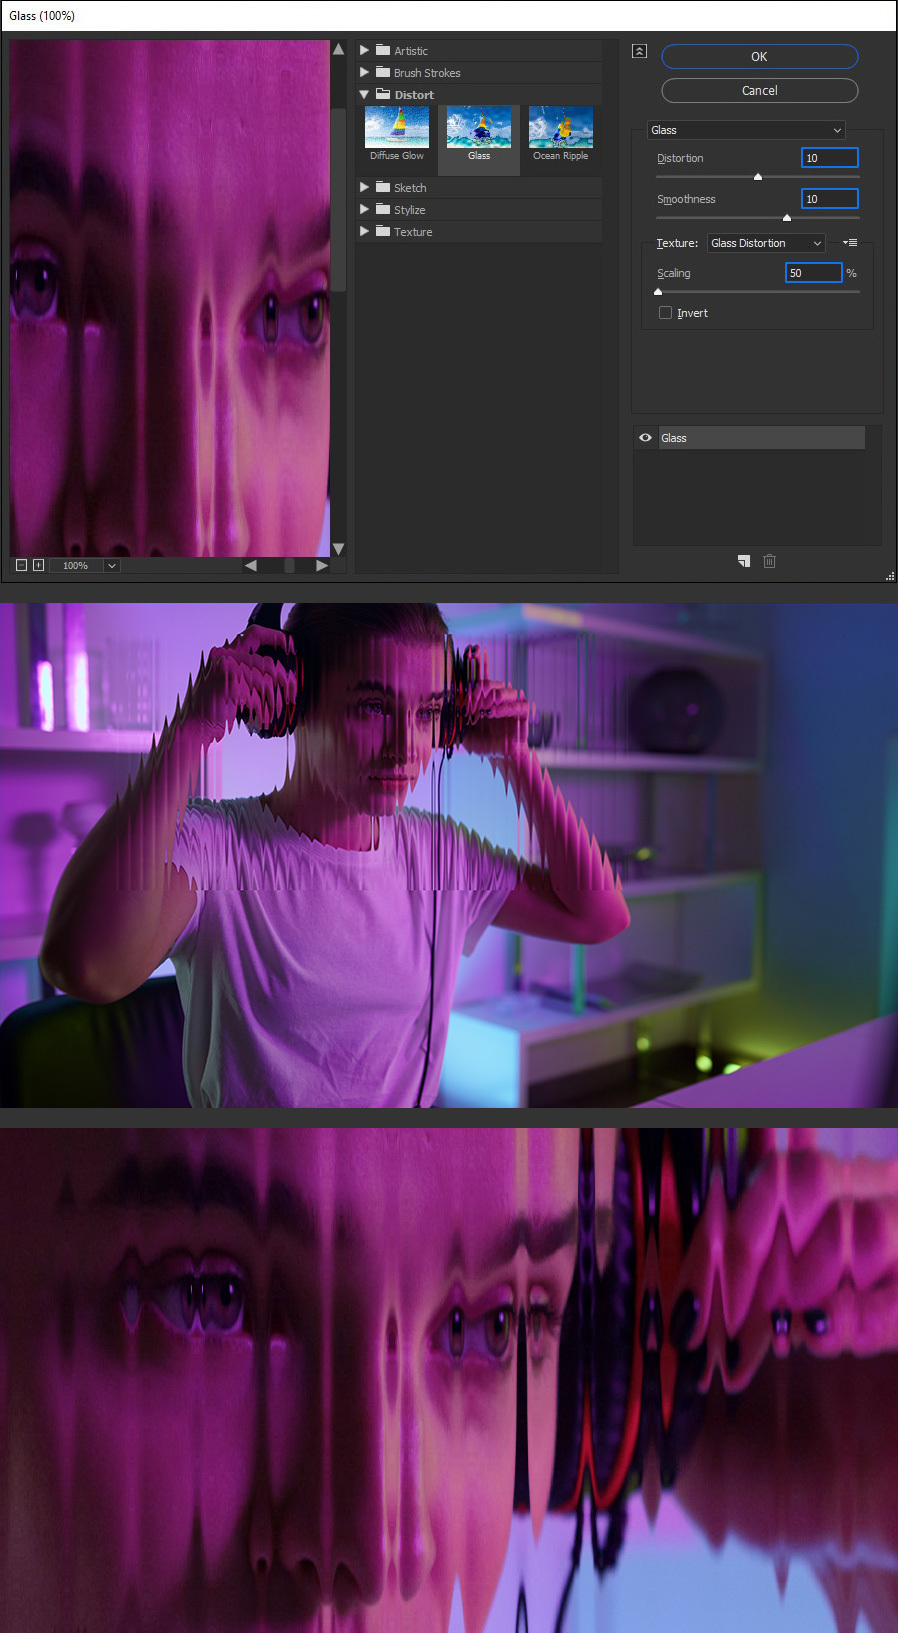
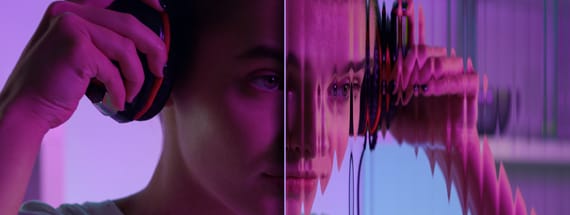
Easily Make a Glass Texture Effect in Photoshop
Photoshop Photo Effects
The glass effect has been used by many designers and photographers to add depth and dimension to their compositions with a touch of modern elegance. There are, of course, many different ways to apply a glass effect in Photoshop, but today I will show you how easy it is to make your own glass texture and apply realistic distortion to any of your images using nothing but the default Photoshop tools.
Step 1
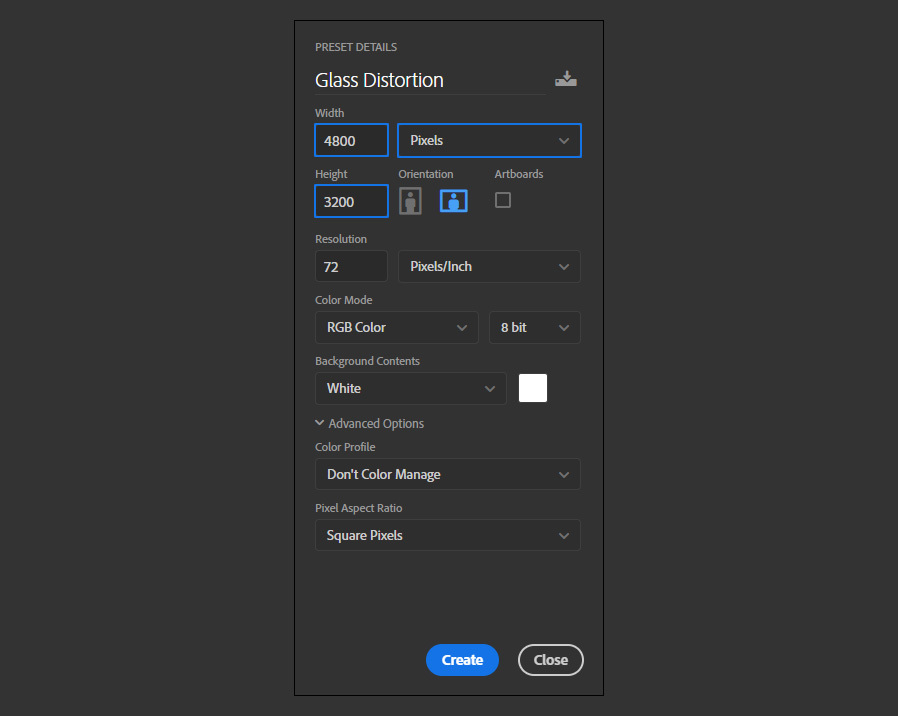
Open Photoshop and make a new file at any size you want your glass texture to be. In this case, I will make mine at 4800 x 3200 px.
Step 2
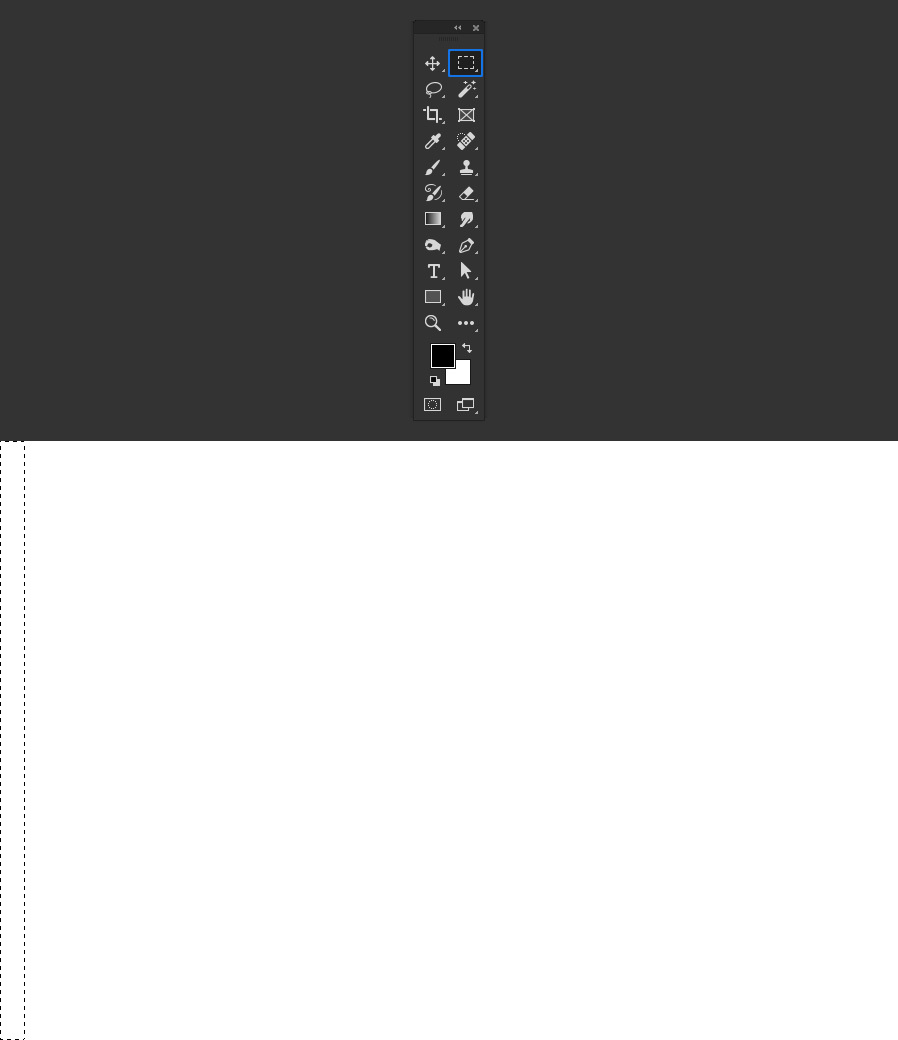
Select the Rectangular Marquee Tool (M) and make a selection from top to bottom of your canvas with any width you want for your glass effect. Here I will make a selection of aprox. 130 px.
Step 3
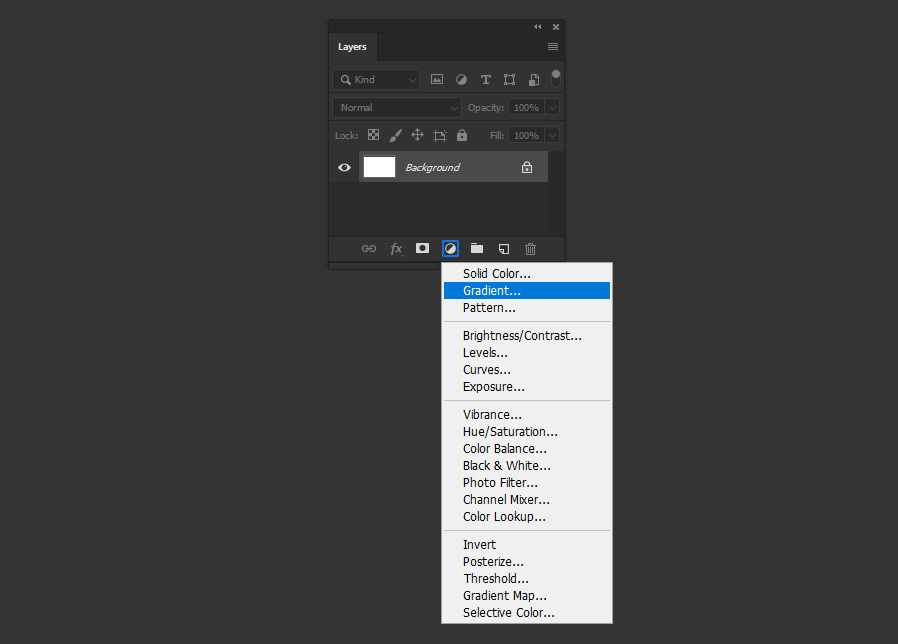
With the selection active, click on the "Create new fill or adjustment layer" icon in the Layers Panel, and from the dropdown menu select "Gradient".
Step 4
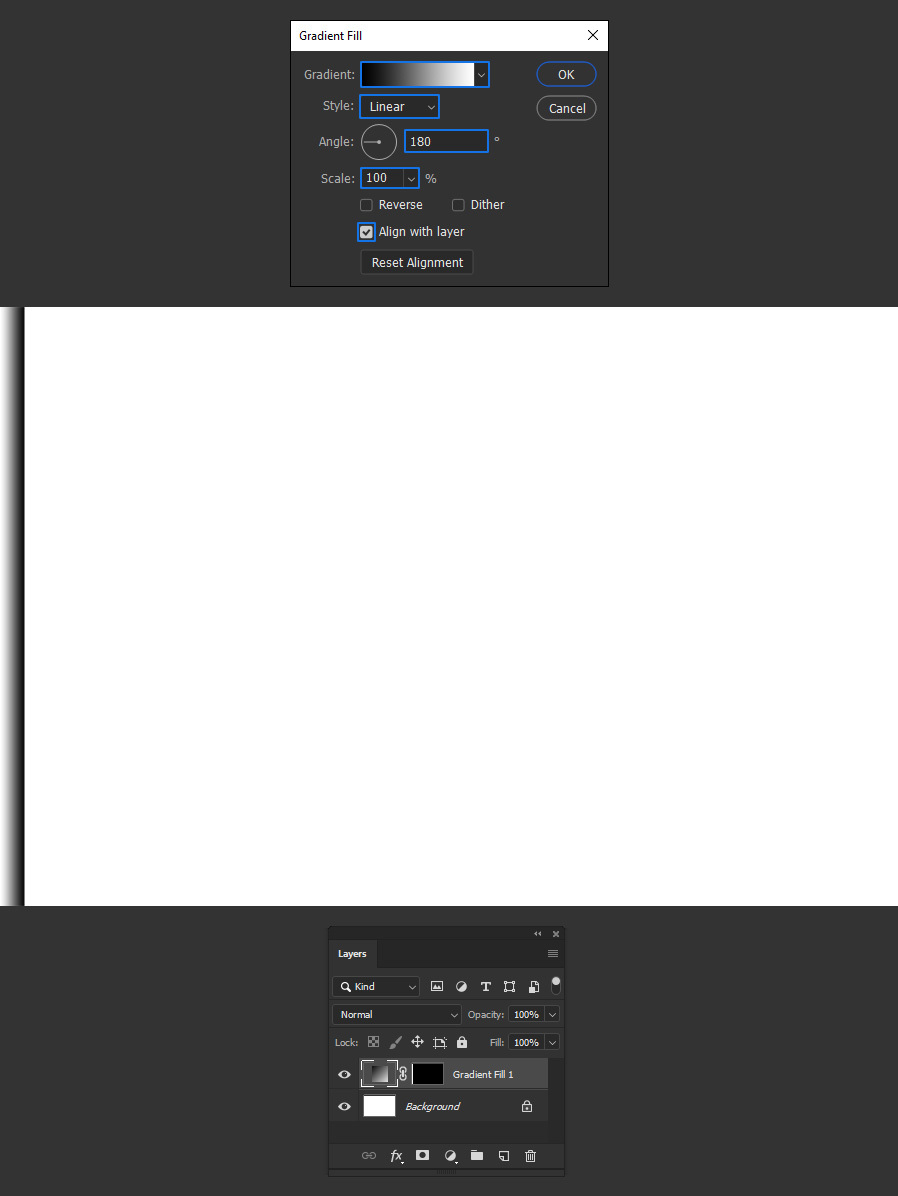
Select the Black to White default gradient, set the angle to 180º and click OK.
Step 5
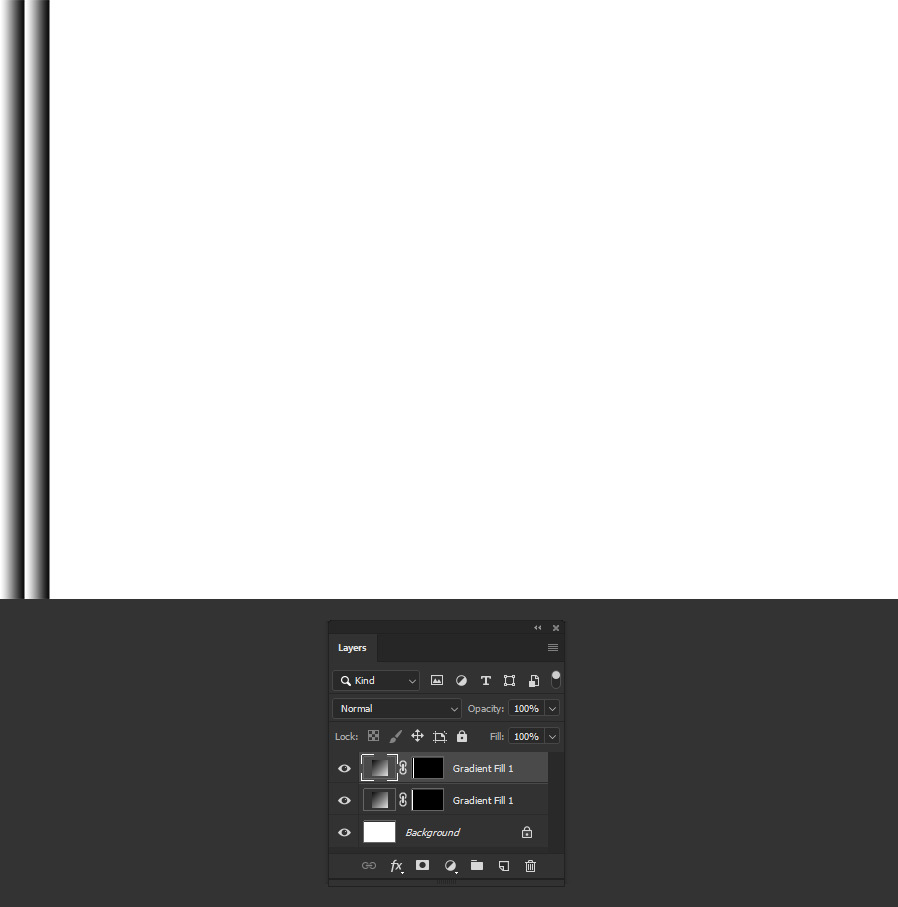
Duplicate the Gradient layer and move it to the right until is side by side with the first one as shown.
Step 6
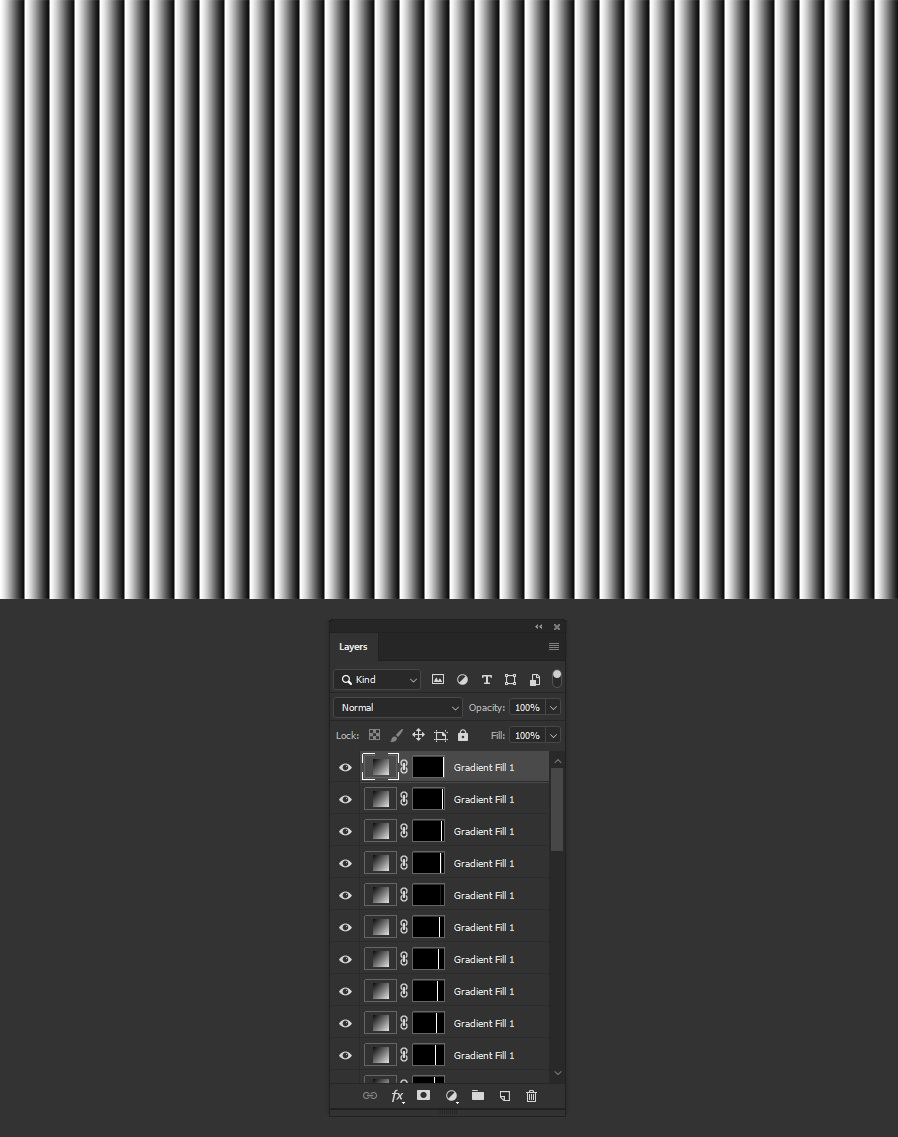
Repeat this step until you complete the whole width of the artboard.
Step 7
Save the file on your computer as "Glass Distortion.psd" and close it.
Step 8
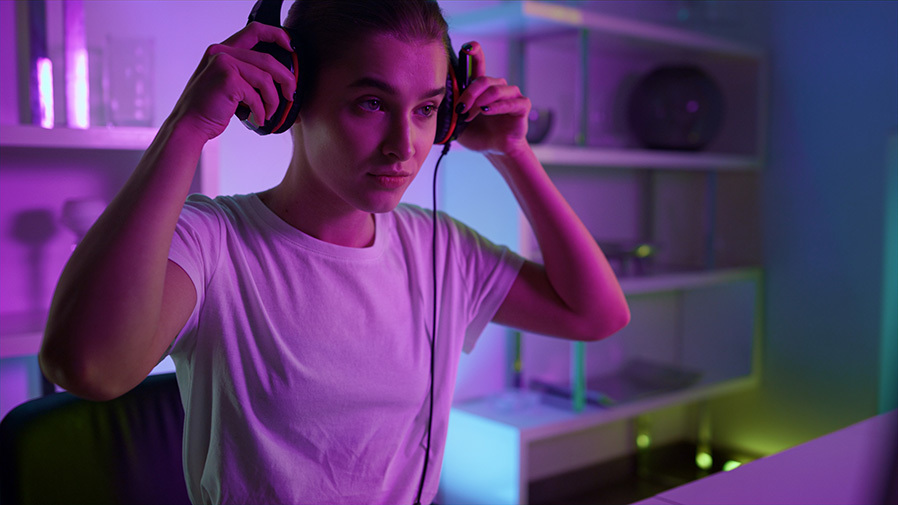
Open the image you want to use to apply the glass effect.
Step 9
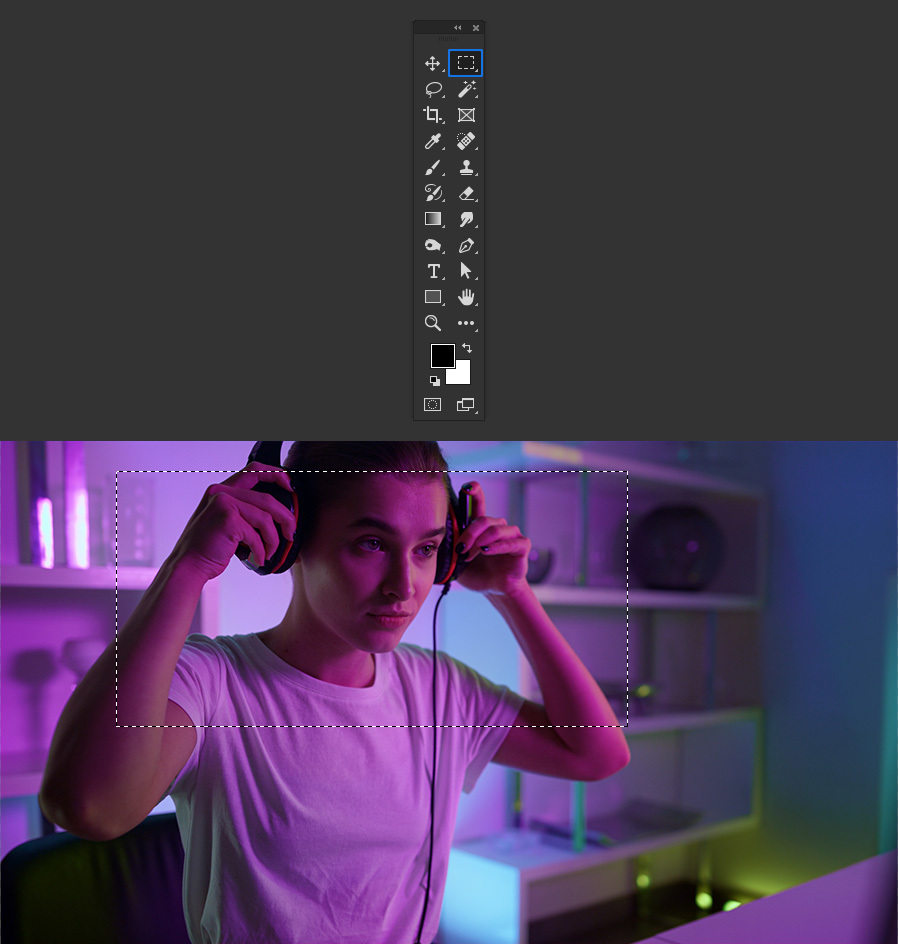
With the Rectangular Marquee Tool (M) make a selection on the area you want to apply the glass effect.
Step 10
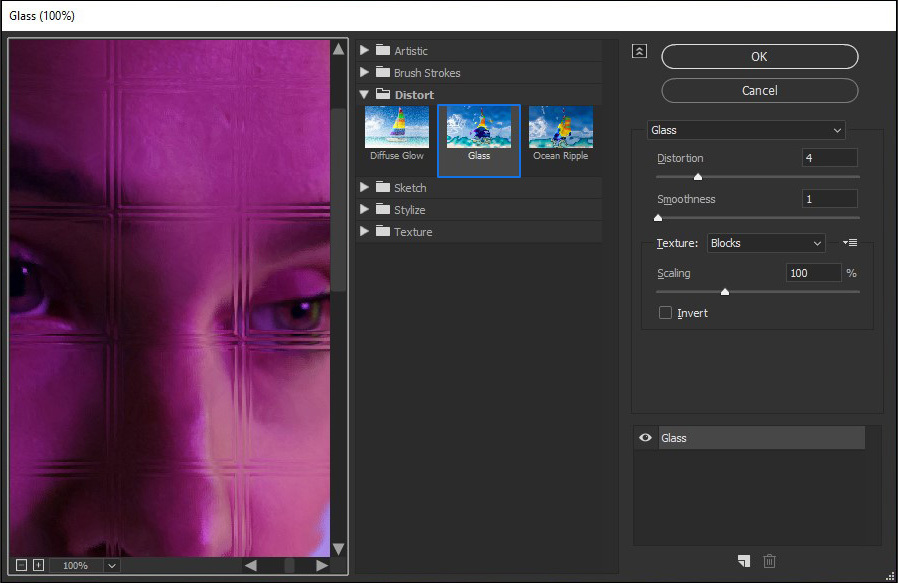
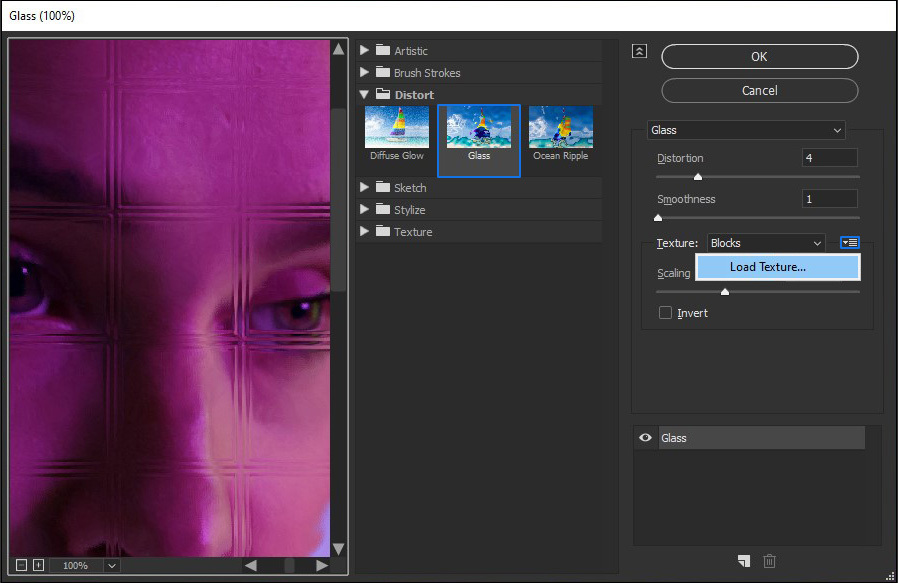
Go to Filter > Filter Gallery. Open the "Distort" effects and select the "Glass" effect.
Step 11
Click on the "Load Texture" icon and select "Load Texture".
Step 12
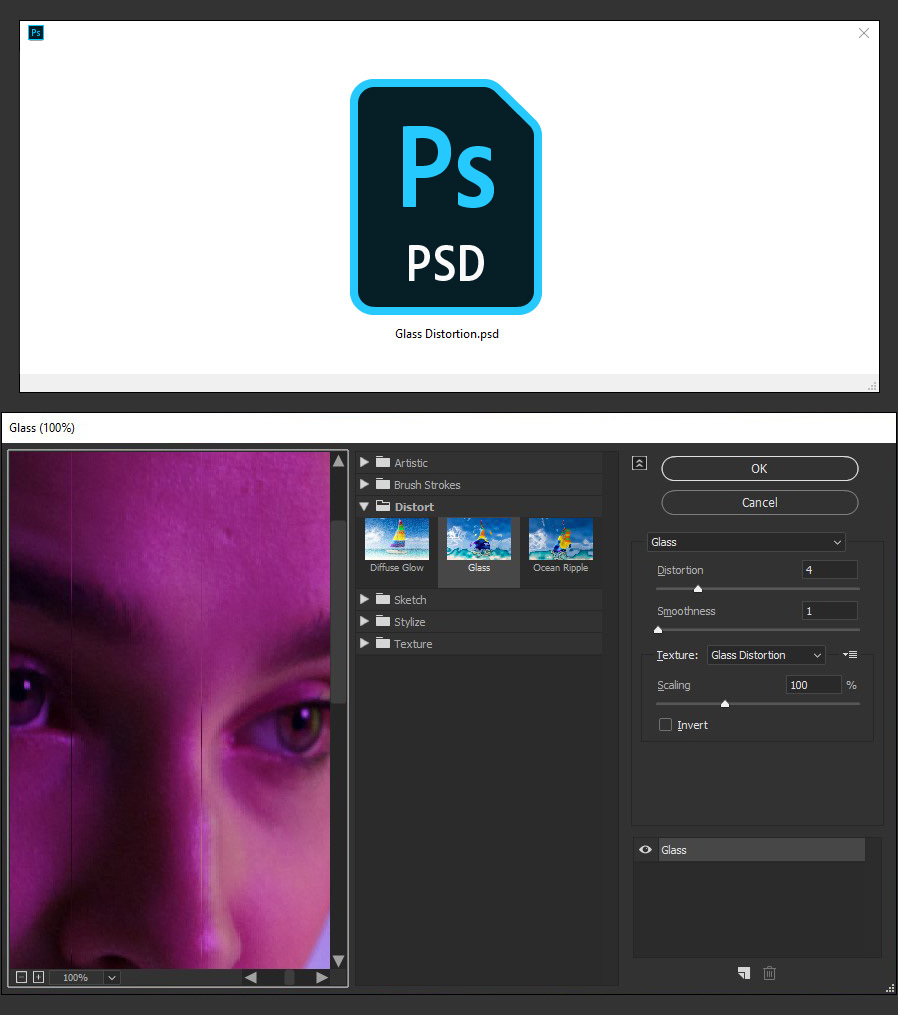
Locate the saved "Glass Distortion.psd" file on your computer and click the "Open" button.
Step 13
Lastly, apply the following settings on the Glass effect and click OK.
Note: You may use any values you want for the Distortion, Smoothness and Scale.
