Easily Make a Complex Spiral Design in Illustrator
Spirals in Illustrator
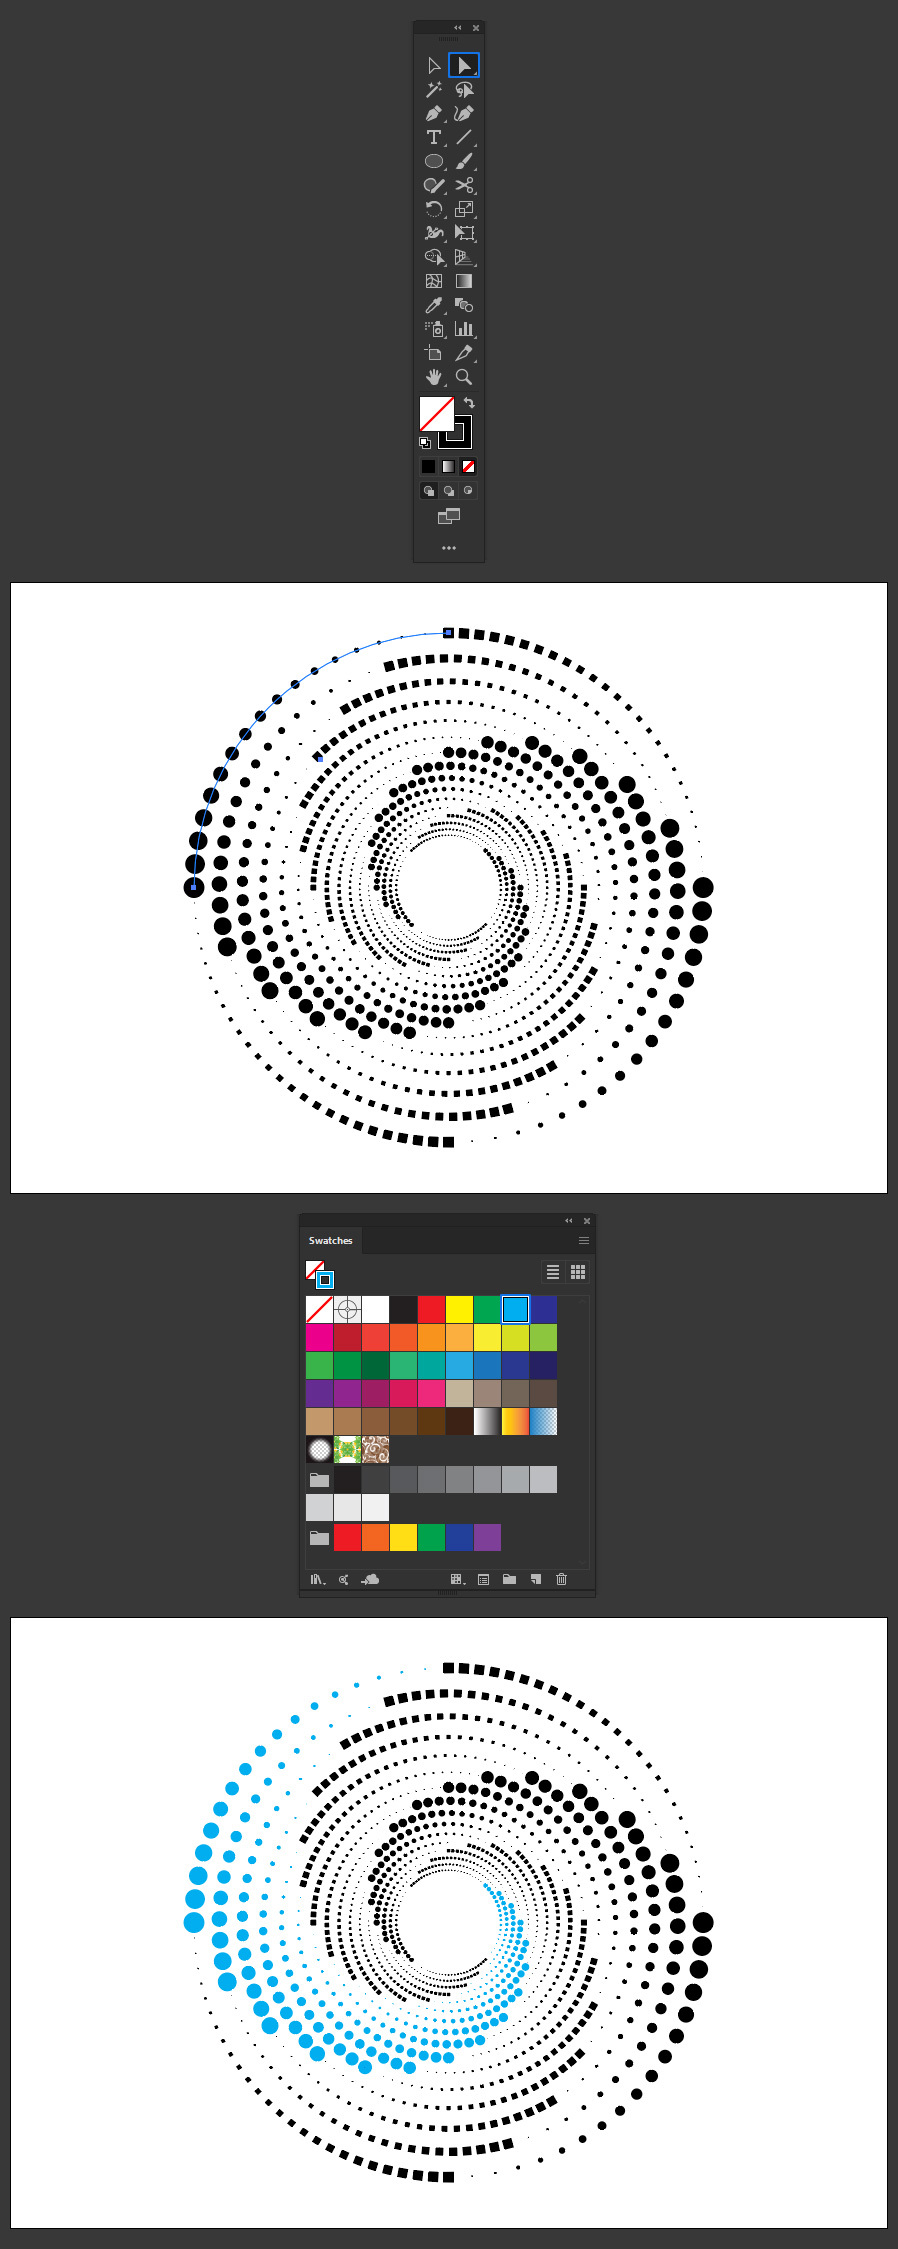
Spirals are a popular design element used on a wide range of designs, ranging from logos to backgrounds to add a dynamic and engaging visual element to a project. However, creating a complex spiral design can be a challenging and time-consuming task especially if you're new using Illustrator. So today, I will show you a very easy method to create a complex spiral design in less than 5 minutes using the default Illustrator tools and the powerful Transform panel.
Step 1
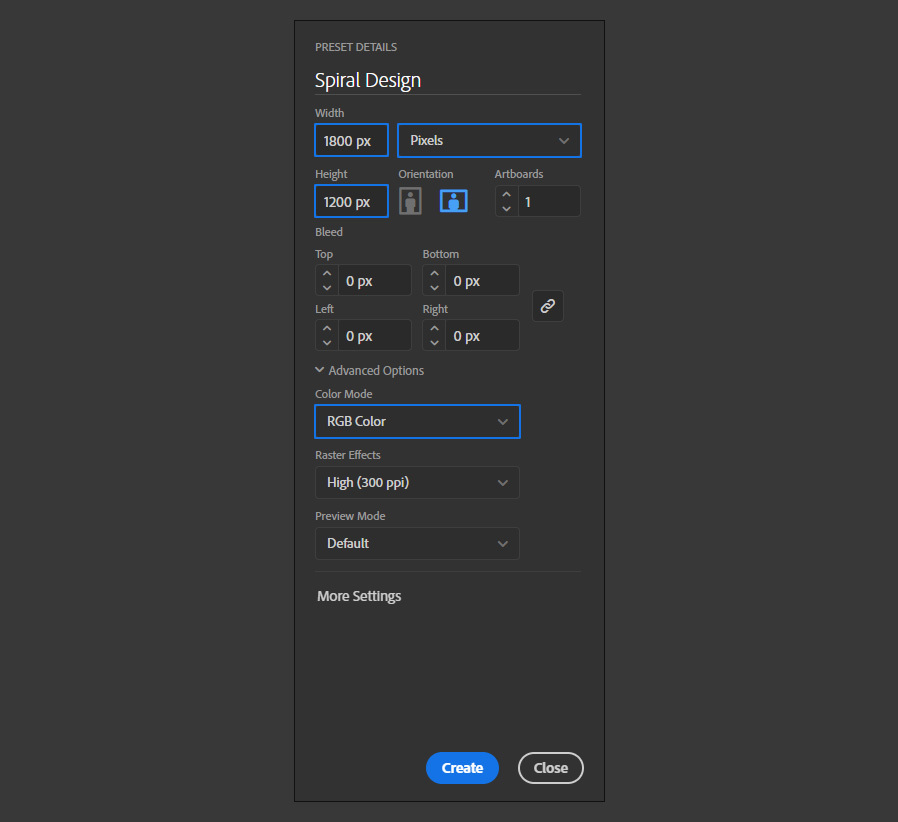
Open Illustrator and make a new file at any size you want. In this case I will make mine at 1800 x 1200 px.
Step 2
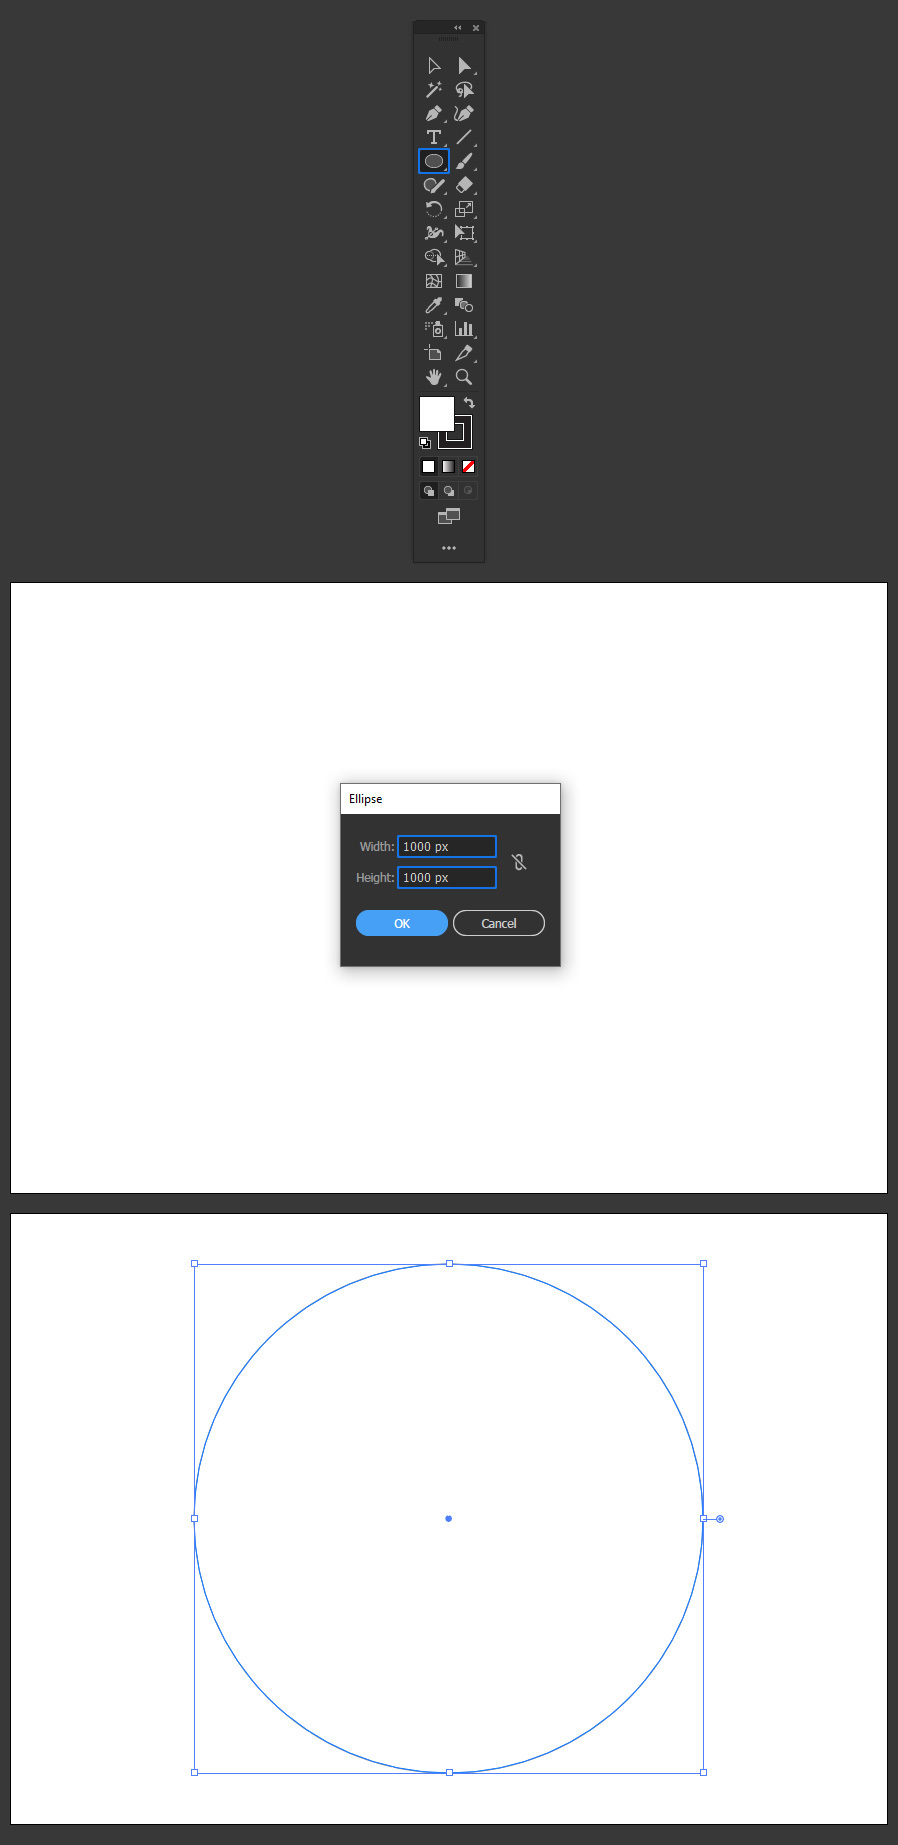
Select the Ellipse Tool (L). Click once over the artboard, set the width and height to 1000 px and click OK.
Step 3
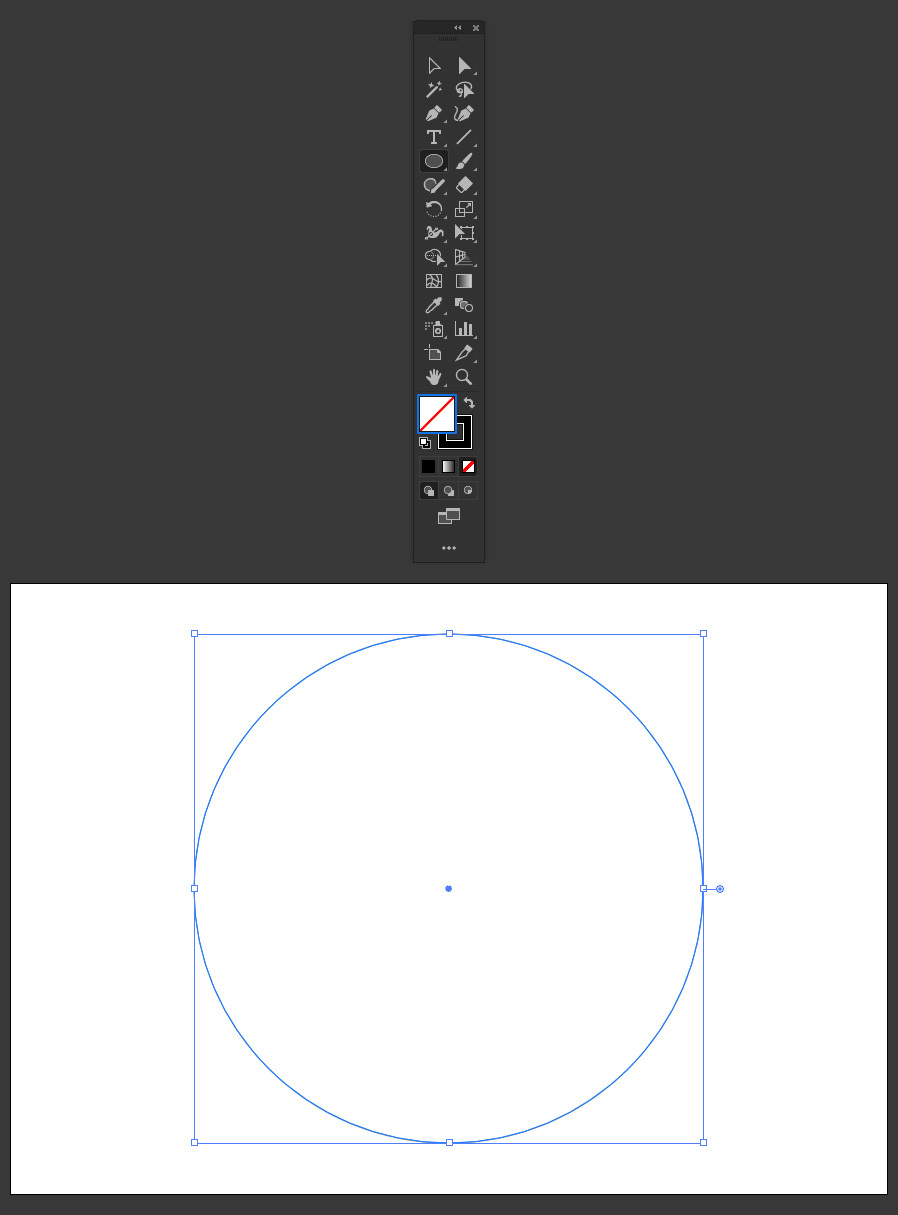
Set the fill to "none" in the toolbar and pick any color you want for the stroke.
Step 4
Go to Window > Stroke under "Profile" pick the "Width Profile 4" and then apply the following settings.
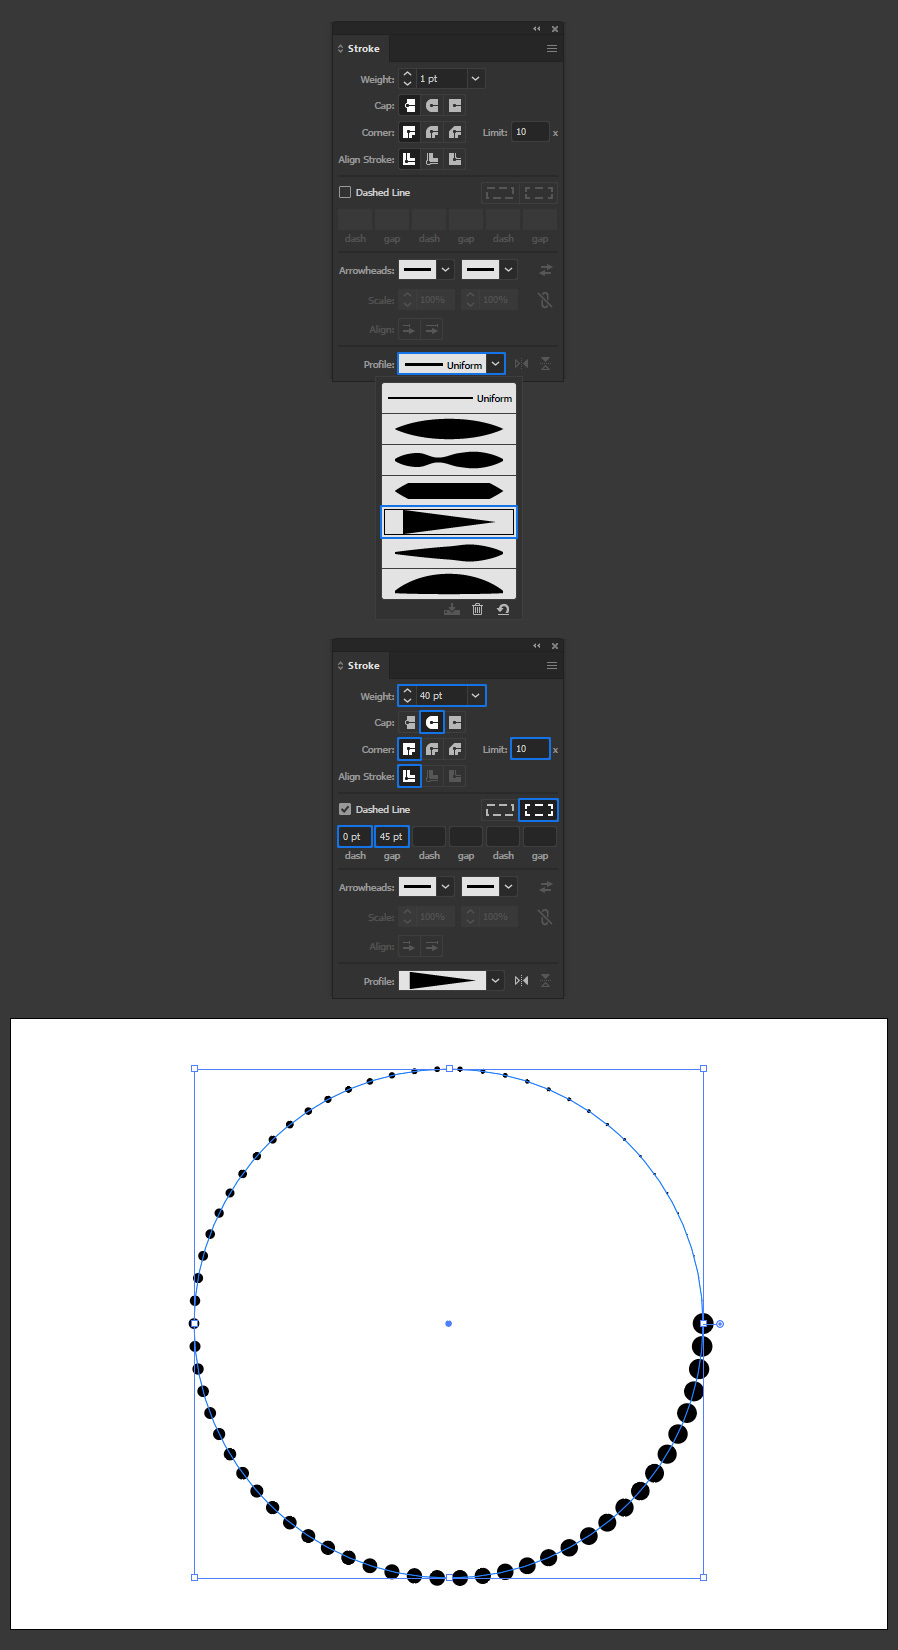
Step 5
Select the Scissors Tool (C) and click over over each of the 4 circle anchor points.
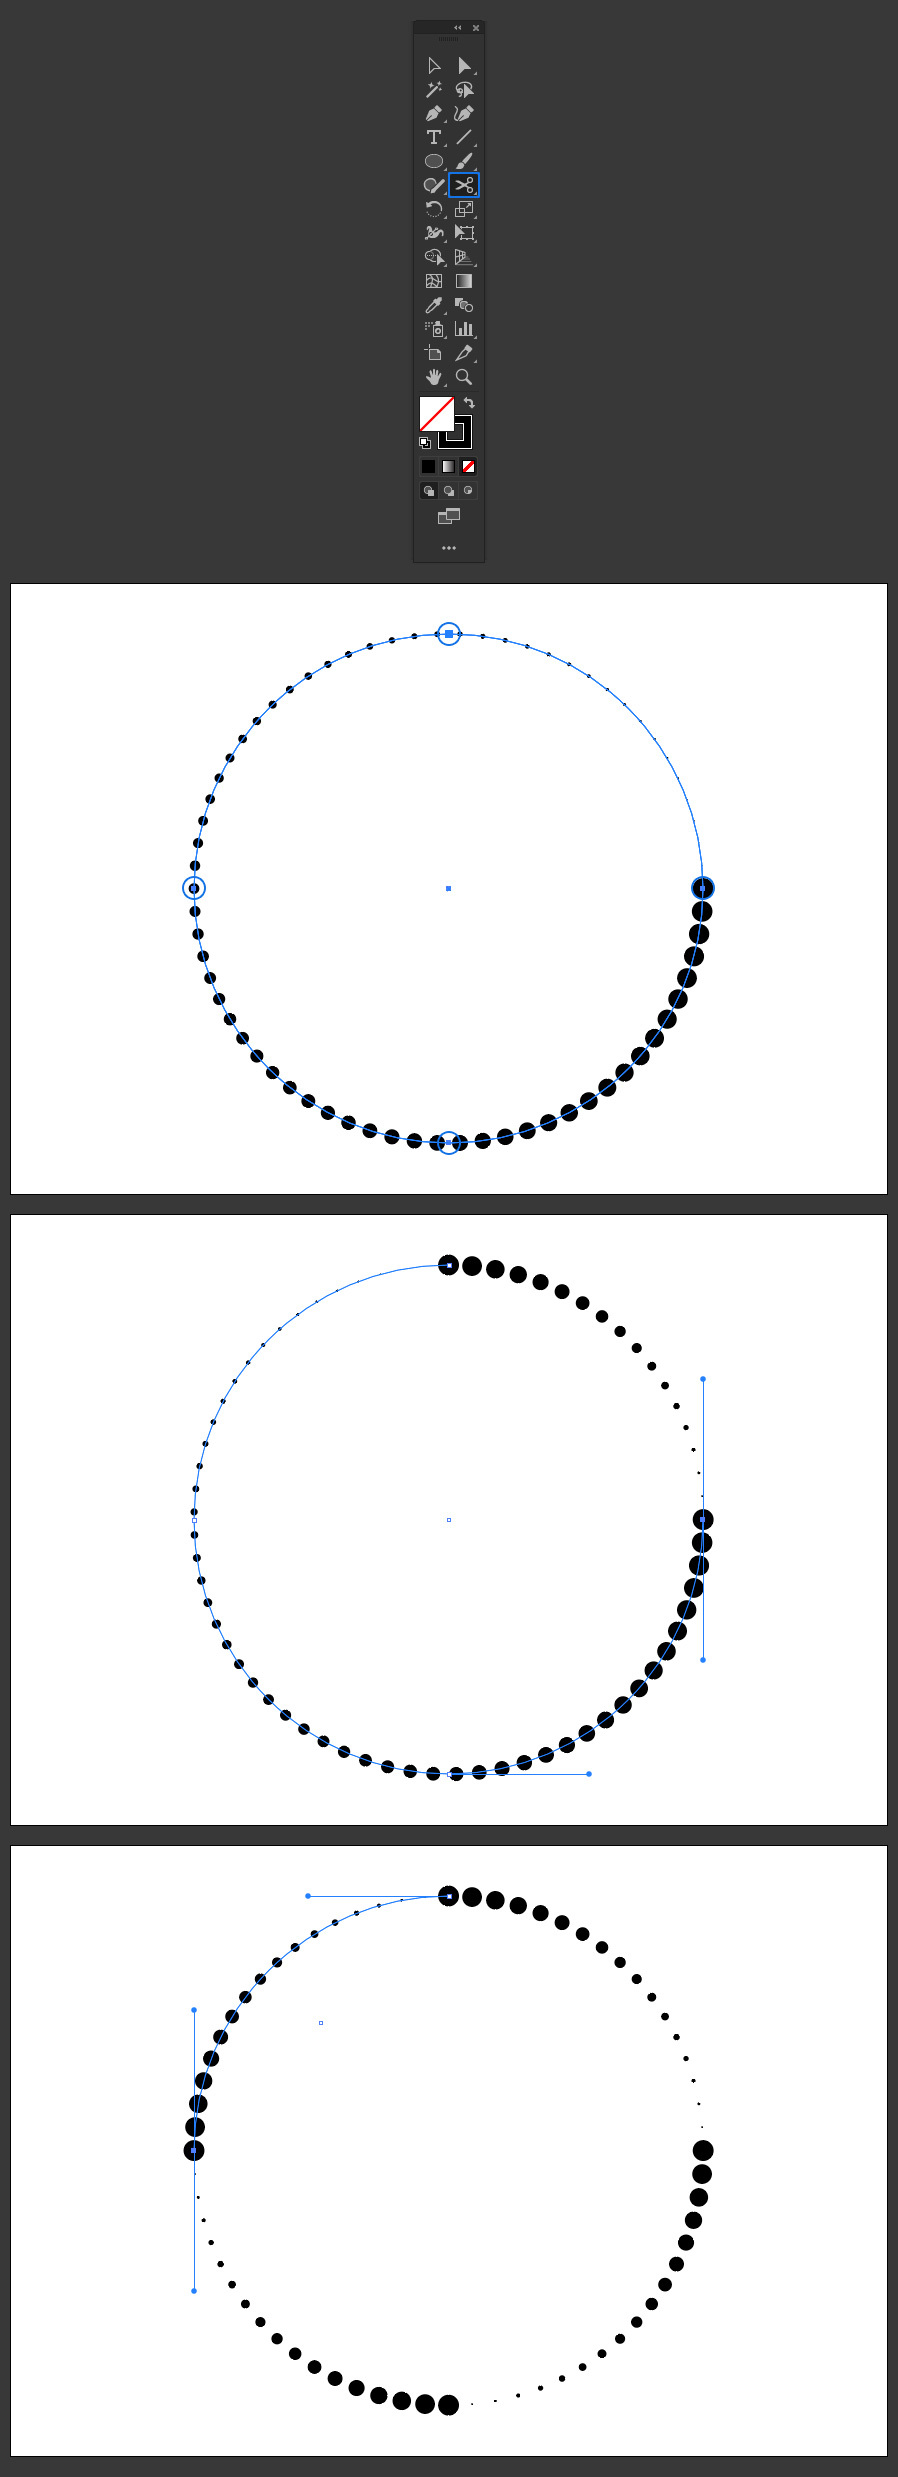
Step 6
Go to Select > All and then to Object > Group.
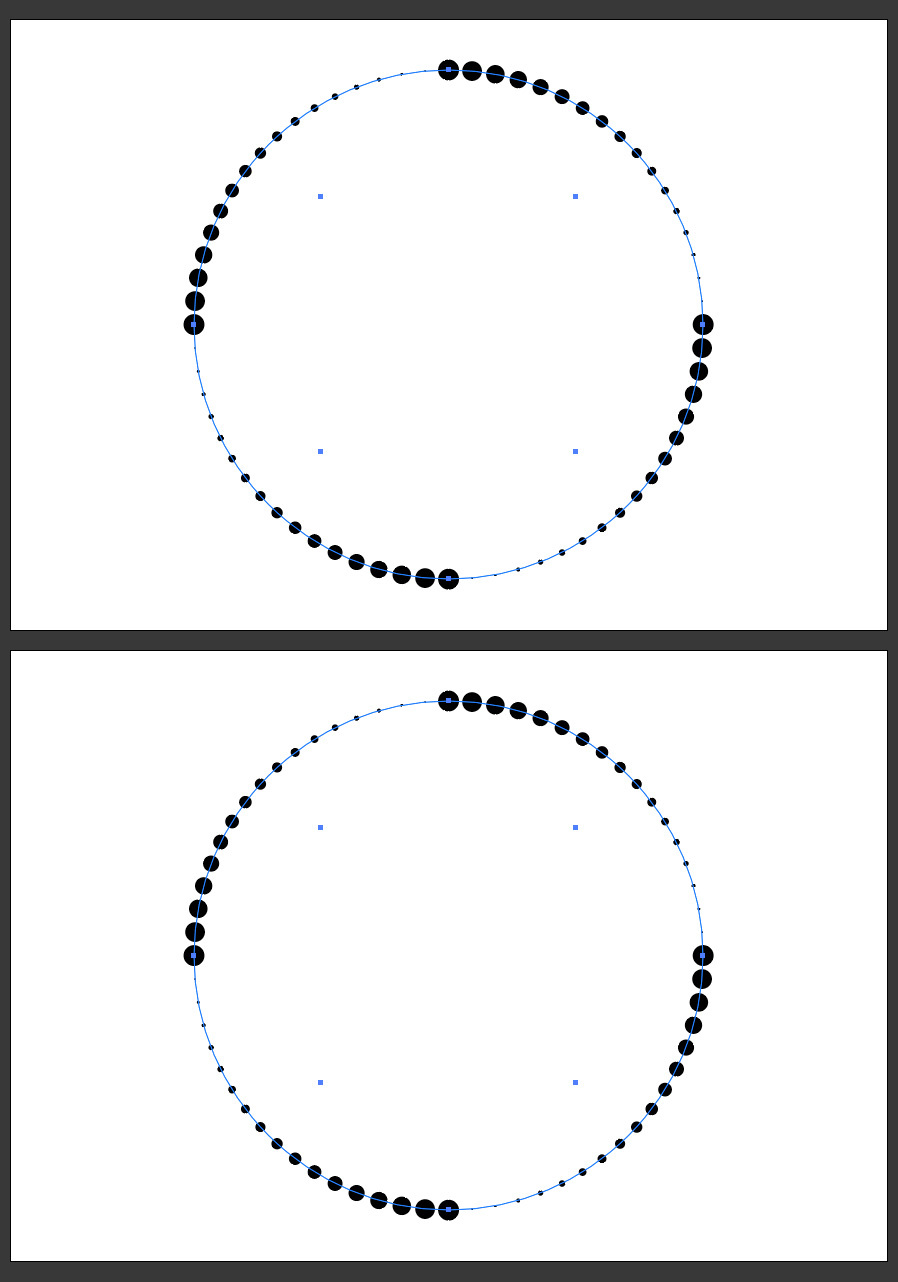
Step 7
Go to Effect > Distort & Transform > Transform. Apply the following settings and click OK.
Note: you may set any scale, angle and amount of copies that you want.
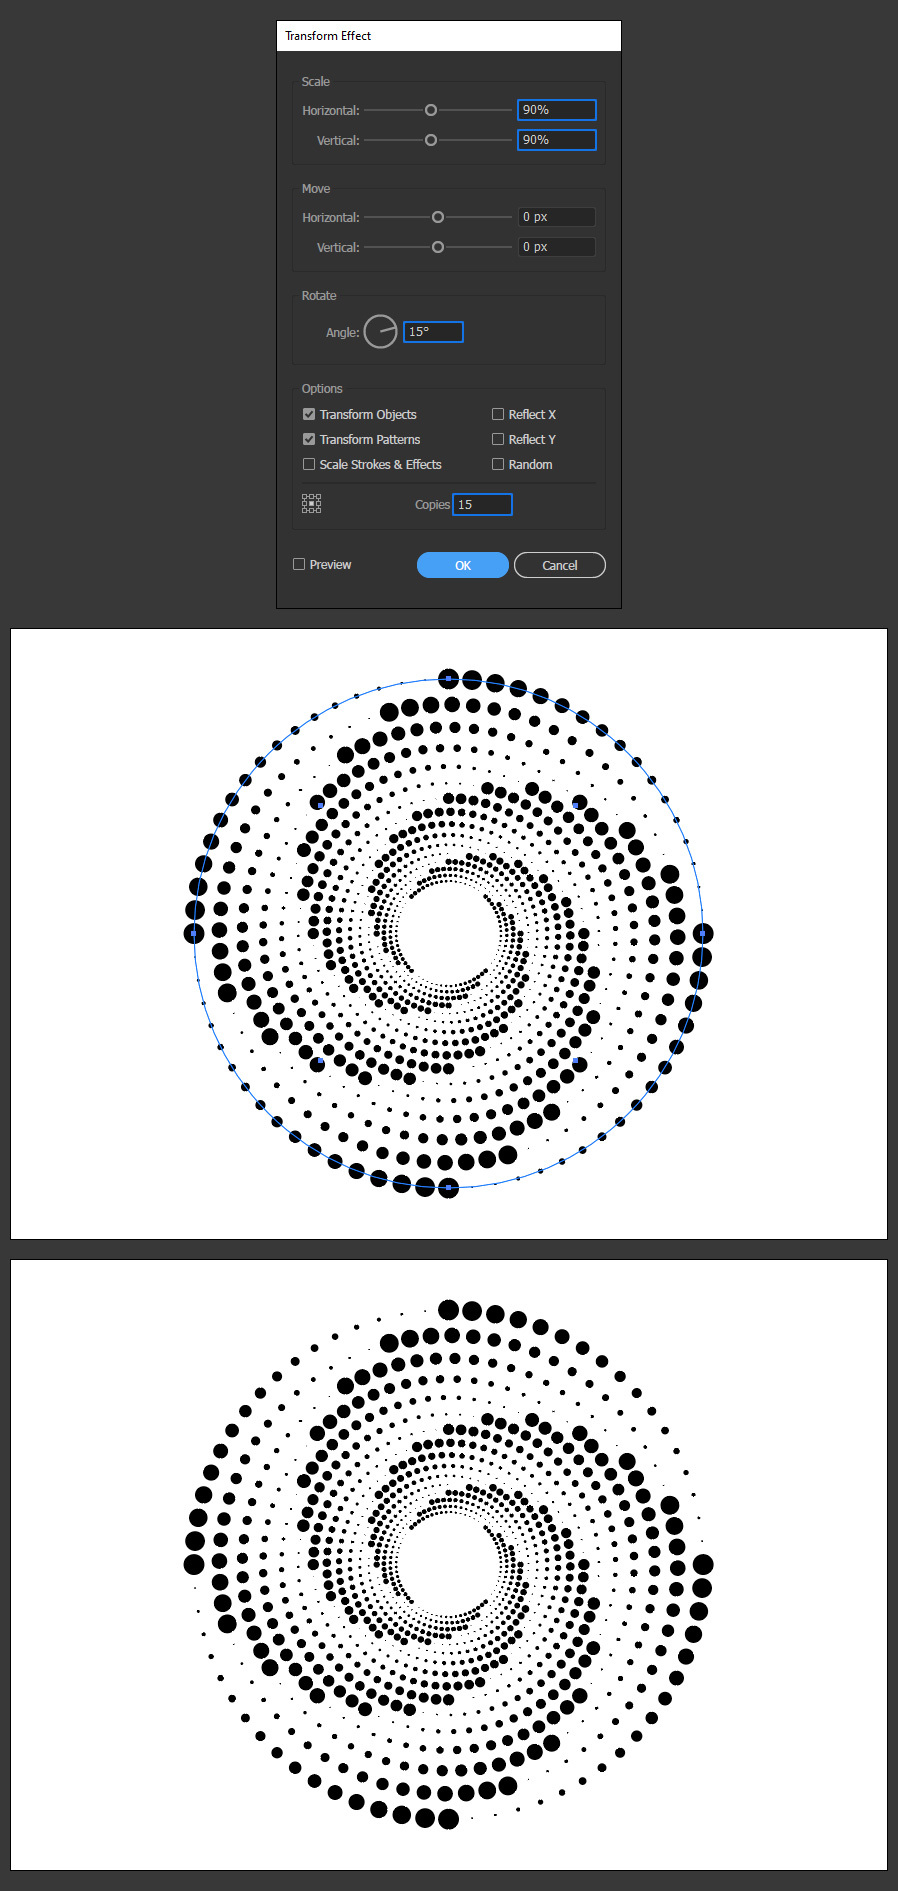
Step 8
Now that the effect is complete, you still can change any of the stroke values to your liking to get a new spiral design. Pick the Direct Selection Tool (A) and select one of the 4 arcs that forms the circle.
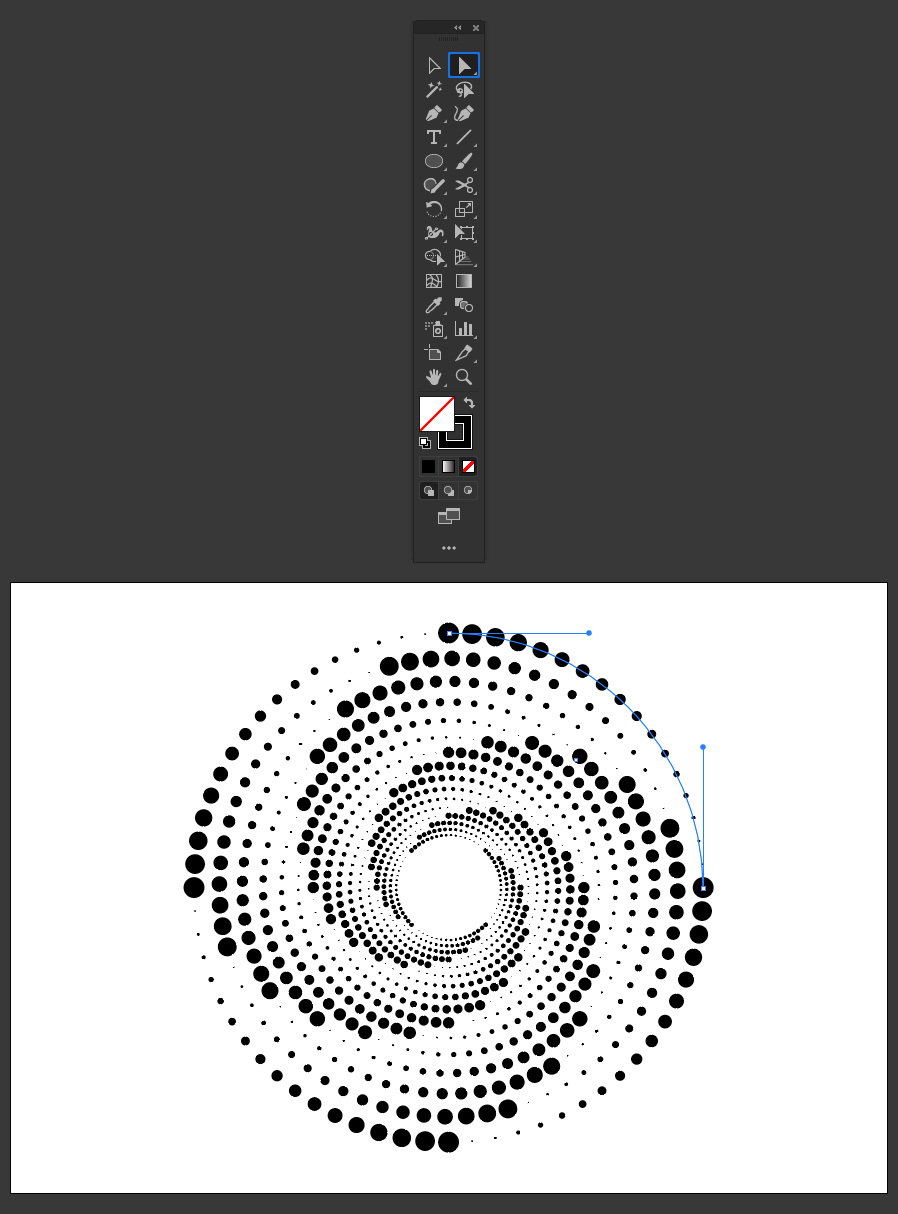
Step 9
Go to Window > Stroke and apply any new settings you wish. In this case, I've changed the stroke Weight to 20 pt, the Cap from "Round" to "Projecting" and the "Gap" value.
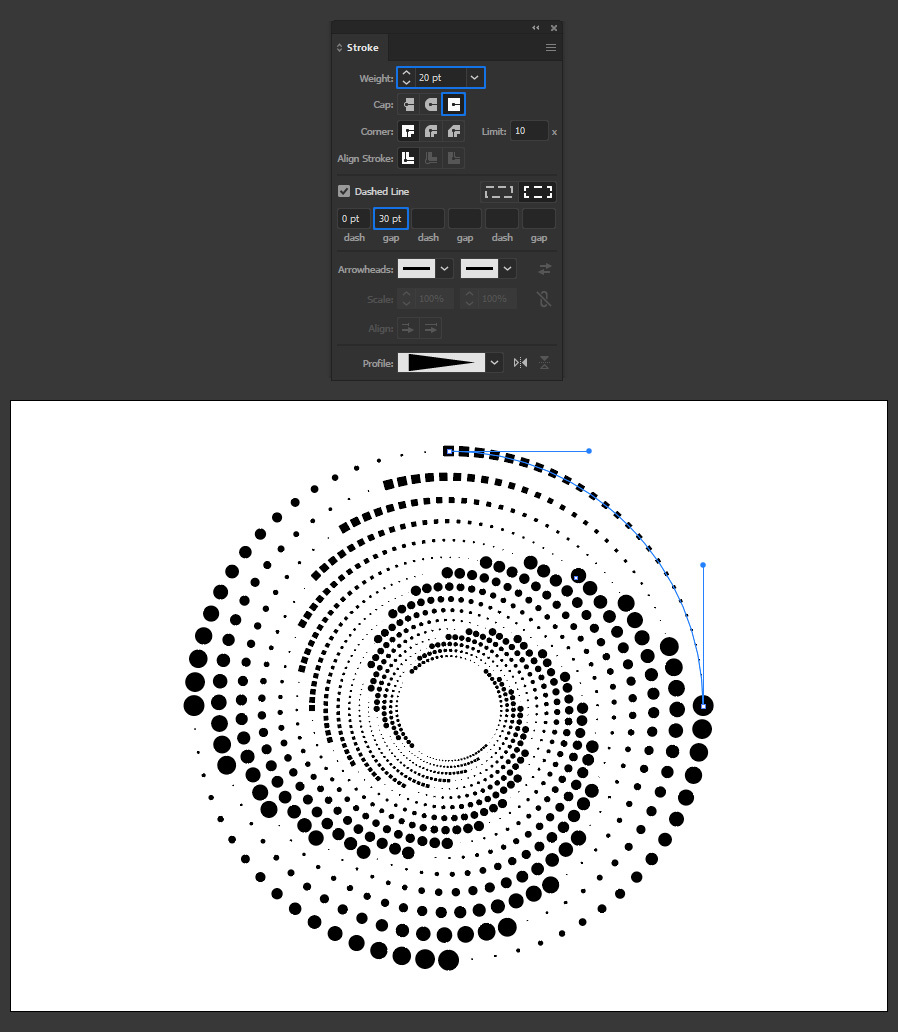
Step 10
Lastly, if you wish to change the stroke color simply pick the Direct Selection Tool (A) and select any of the 4 arcs, go to Window > Swatches and set any new stroke color that you like.
