Create Vintage Coupon in Photoshop
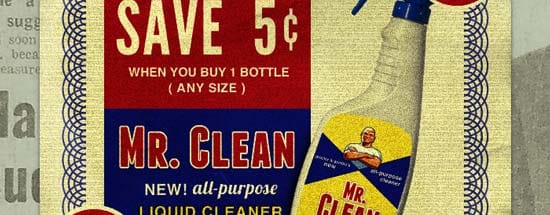
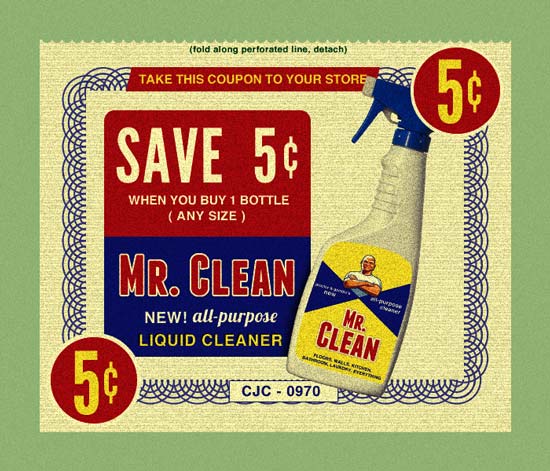
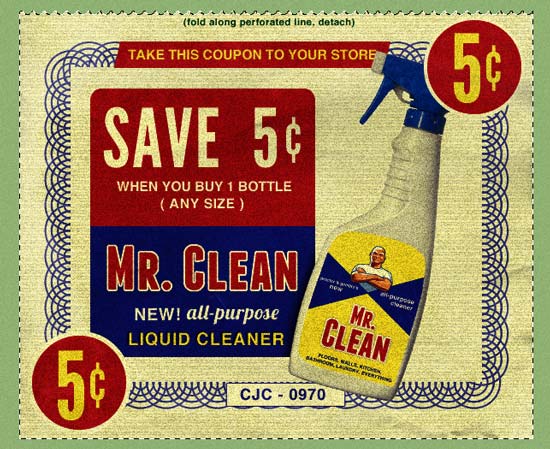
In this tutorial I will lead you through the process of creating vintage coupon in Photoshop. We combine basic shapes, textures, filters and stock images to achieve the final design. Read on to see how to make this vintage coupon from scratch.
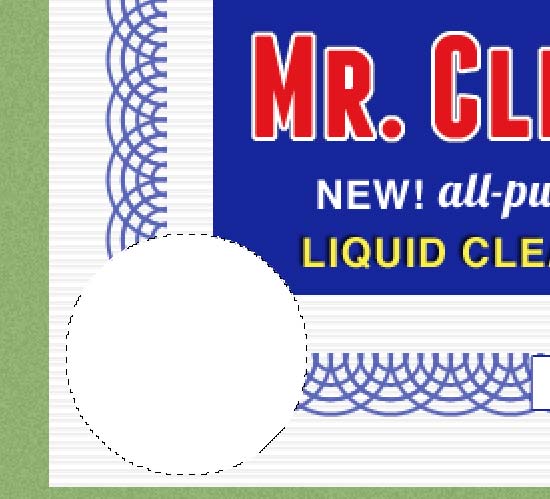
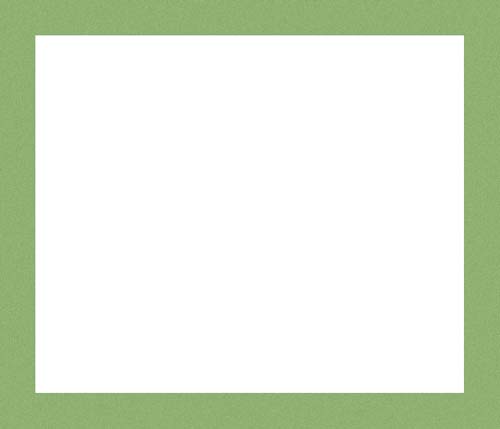 Our next step is to create edge cutouts. Zoom in on your coupon, grab the Elliptical Marquee Tool (M) and create a circular selection - hold Shift to create a perfect circle - place it close to the left edge and hit Delete key.
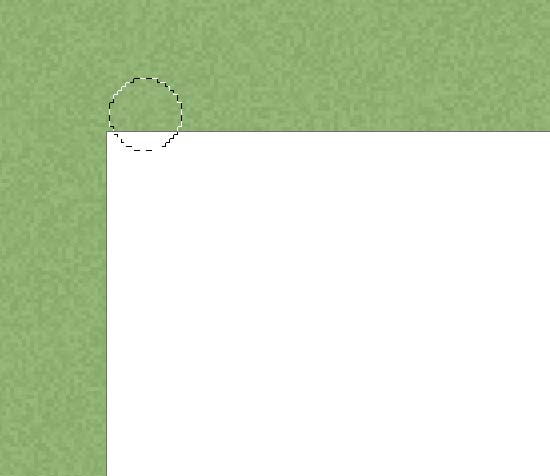
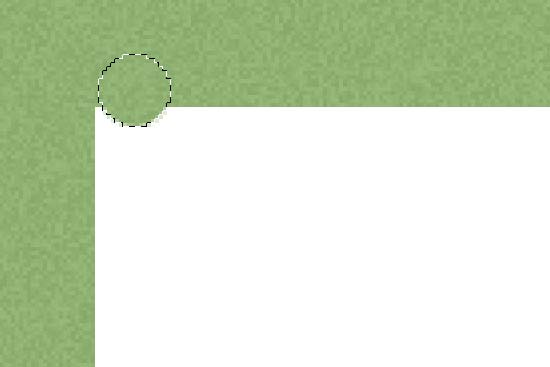 With the Elliptical Marquee Tool (M) still selected, move selection using arrow keys to create distance from the first hole then hit Delete key again. Repeat this for the length of the coupon.
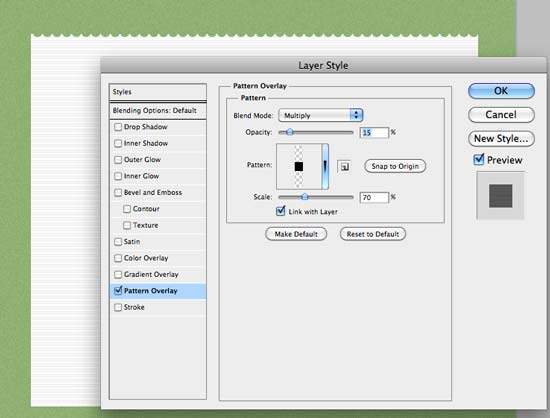
 Back to our design, open the Layer Style dialog window by double-clicking on the coupon body layer. Add Pattern Overlay effect using the pattern we created.
 Duplicate this layer (Cmd/Ctrl + J), then using Free Transform Tool (Cmd/Ctrl + T) make duplicated layer a bit bigger.
 Repeat this 3 more times.
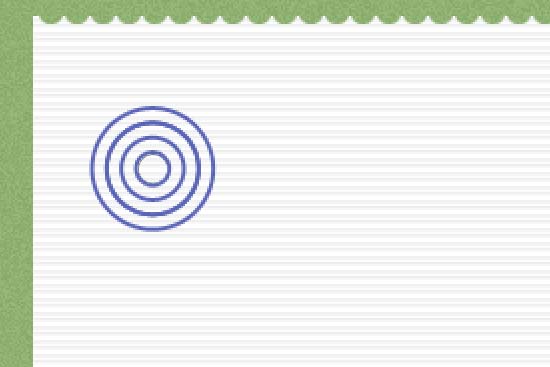 Select all circle layers and group them in one group, then duplicate this group, and move it a bit down. Use image below as a reference.
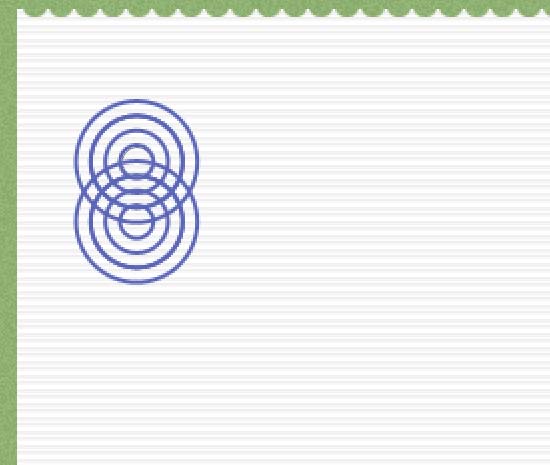 Repeat this for the height of the coupon, then continue bottom, other side and top until your entire coupon has the same edge detail.
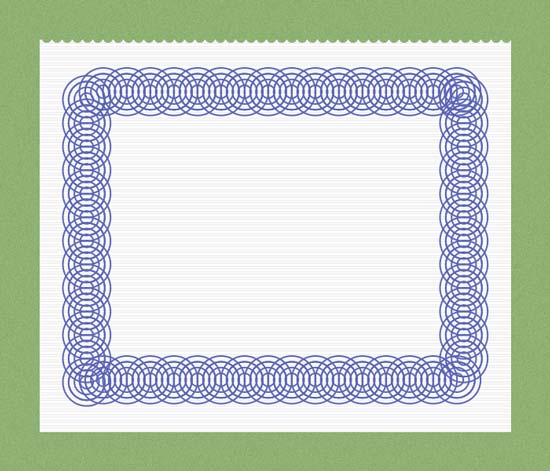 Select all those groups and group them in one group. Name this big group "edge". Lover the opacity of this group to 70%. With Rectangular Marquee Tool (M), create slection
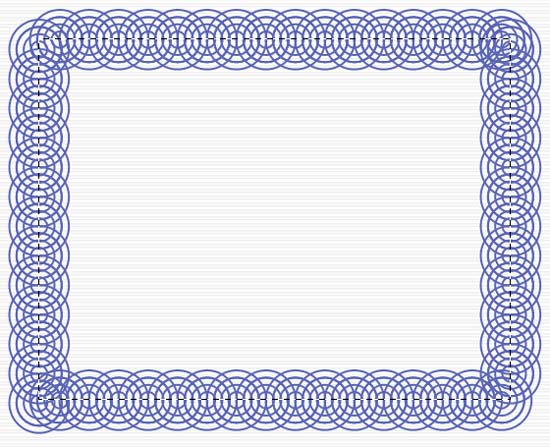 and apply layer mask to "edge" group (Layer > Layer Mask > Hide Selection).
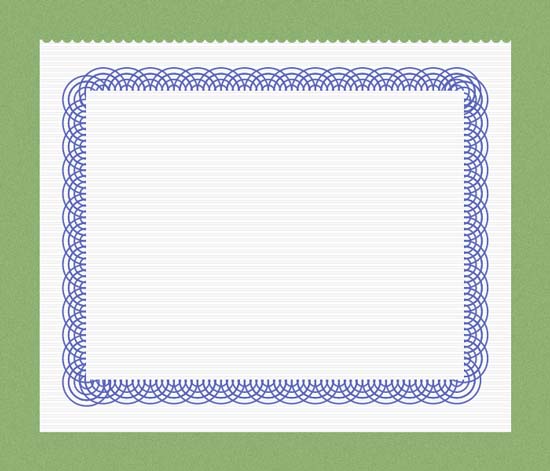
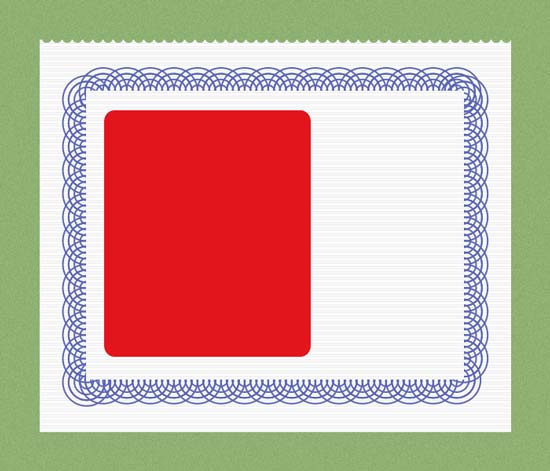 Duplicate rectangle (Cmd/Ctrl + J), change the color to #17269b,
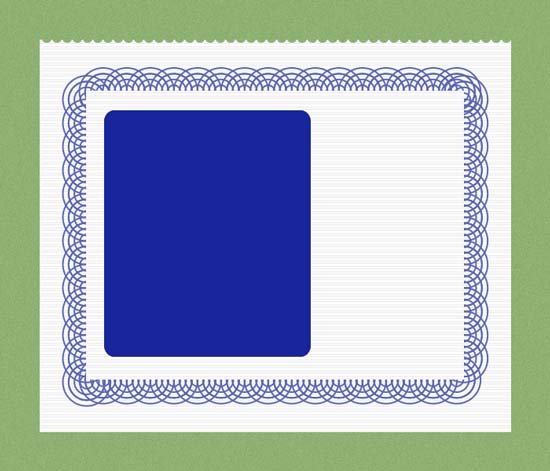 then pick up Rectangular Marquee Tool (M) and draw slection,
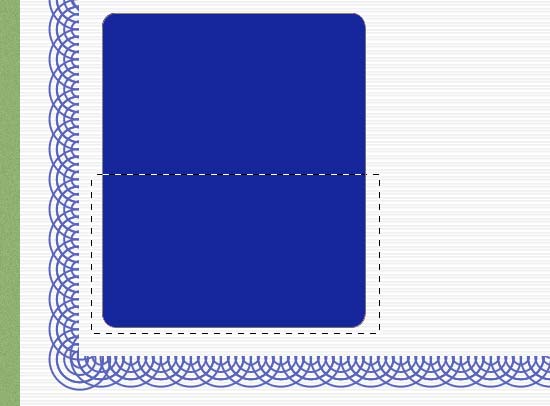 and go to Layer > Layer Mask > Reveal Selection.
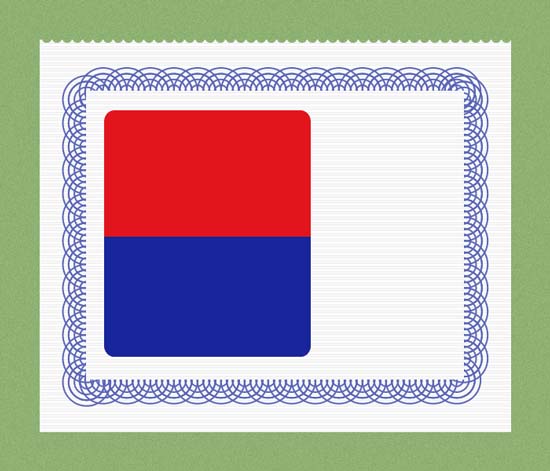
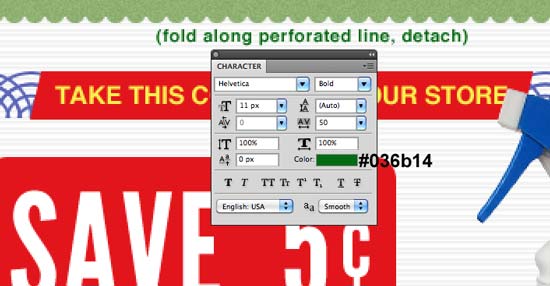
 Change font to Helvetica and add more text.
 Download and install Franchise Bold font and add "Mr. Clean" using this font.
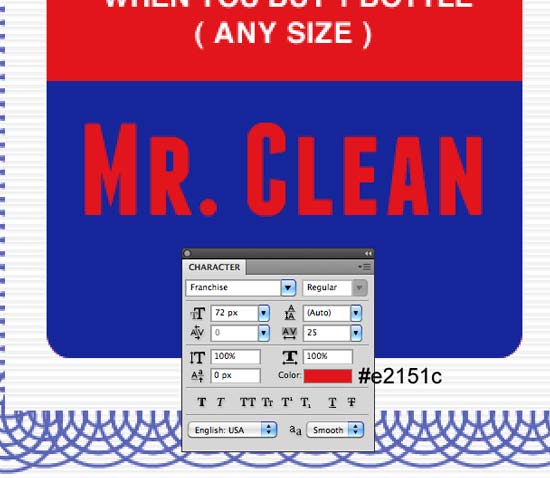 Cmd/Ctrl + click on "Mr. Clean" layer thumbnail to create selection around text, then go to Select > Modify > Expand and expand selection by 2px.
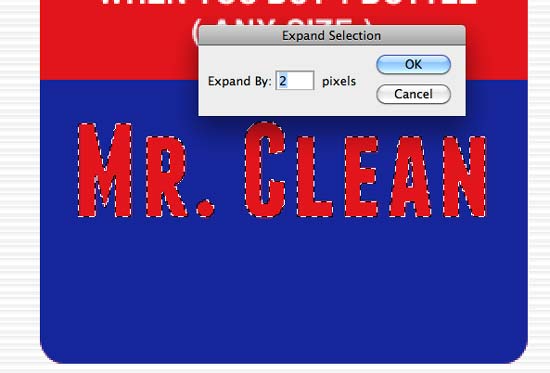 Create new layer below "Mr. Clean" layer and fill the selection with white color.
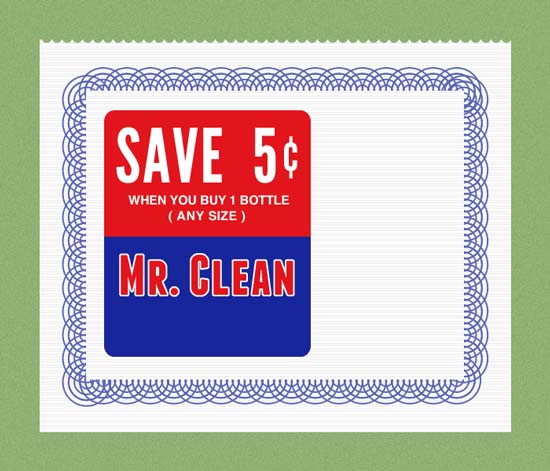 Using Helvetica for the font type "NEW!".
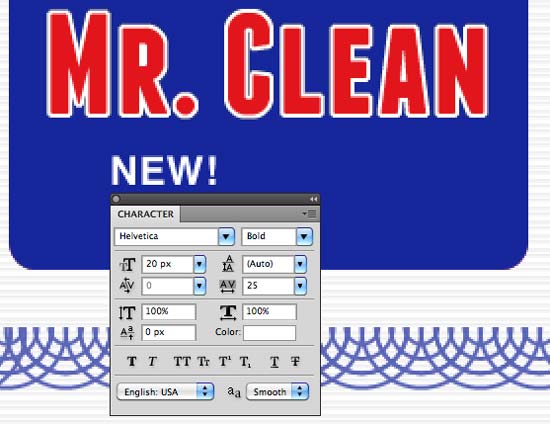 Let's add another line of text but this time we will use Lobster font.
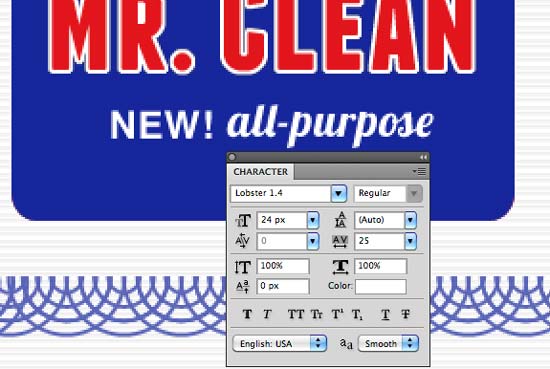 For the last line of text we will use Helvetica font again.
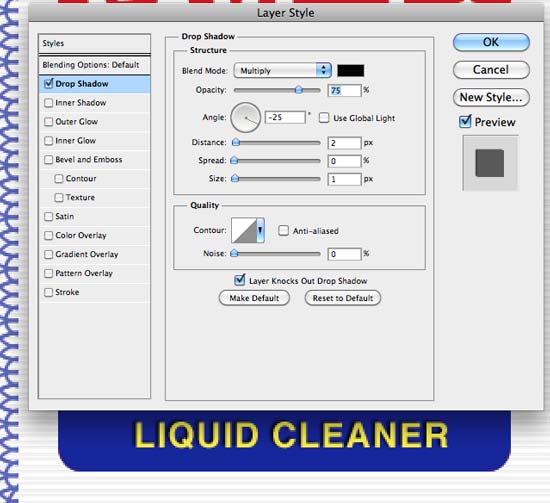
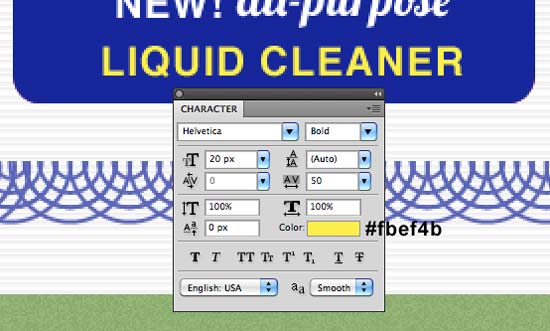 Apply Drop Shadow to this line of text.
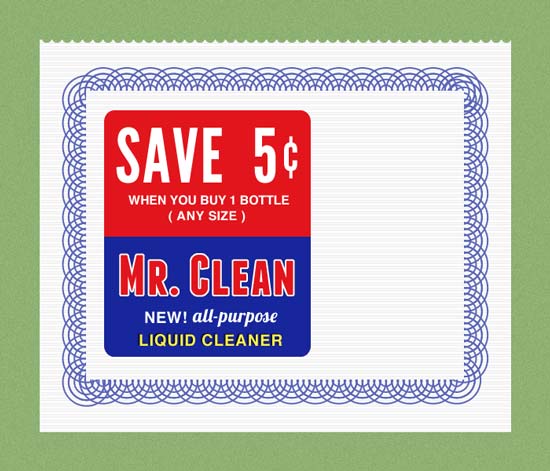

 Draw another rectangle, but this time white,
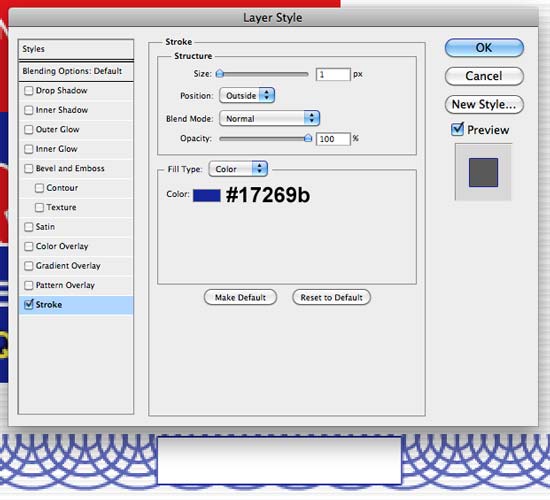
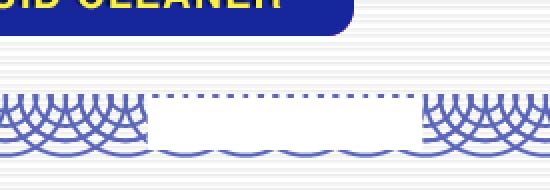 add 1px stroke,
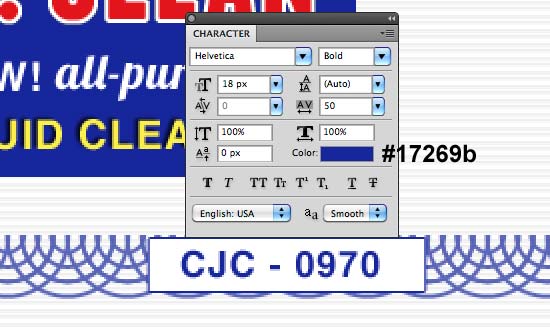
 and type coupon number.
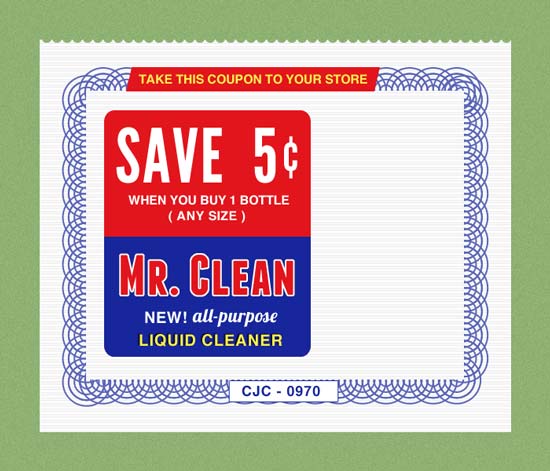
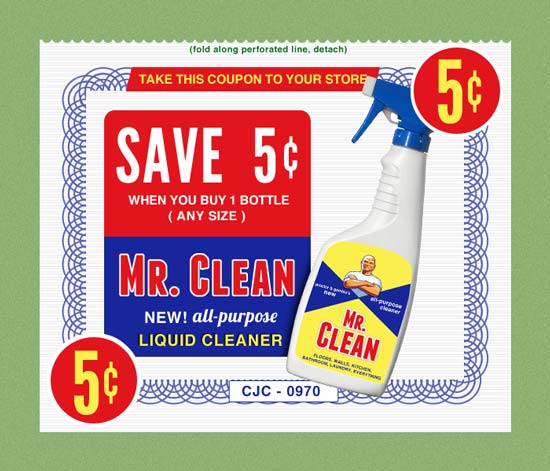
 Here's what we have so far.
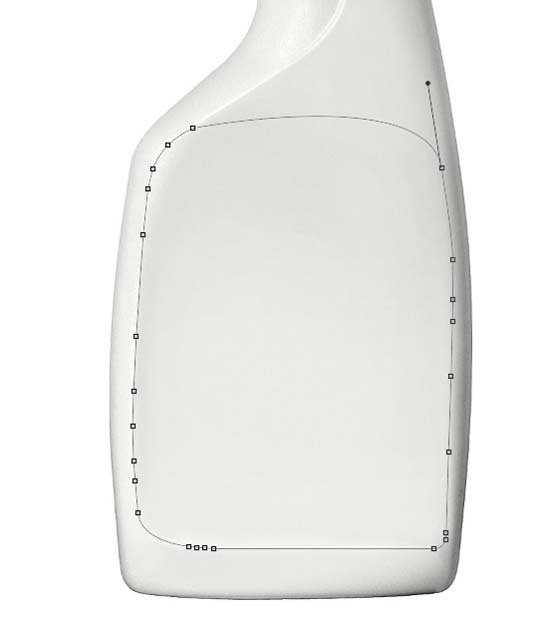 Instead of using this path as a mask for a single layer, we're going to use it as a mask for an entire group. Create a new layer called background and fill the layer with #fbef4b color. With the new layer selected press Cmd/Ctrl + G to put it into it's own group.
Select it, Cmd/Ctrl + click on the path to create slection, then go to Layer > Layer Mask > Reveal Selection to apply Layer Mask.
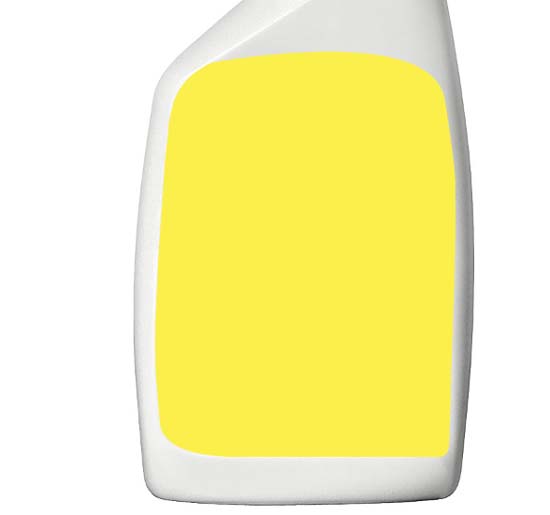 Using Custom Shape Tool (U) create 2 blue (#17269b) triangles and place it like on the picture below.
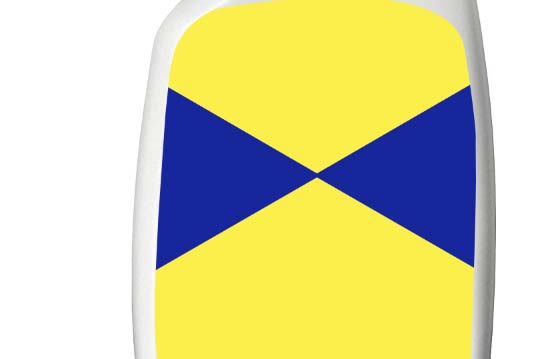 Grab Mr. Clean logo, cut out from the background using Pen Tool (P) and import to our design, and position below triangles.
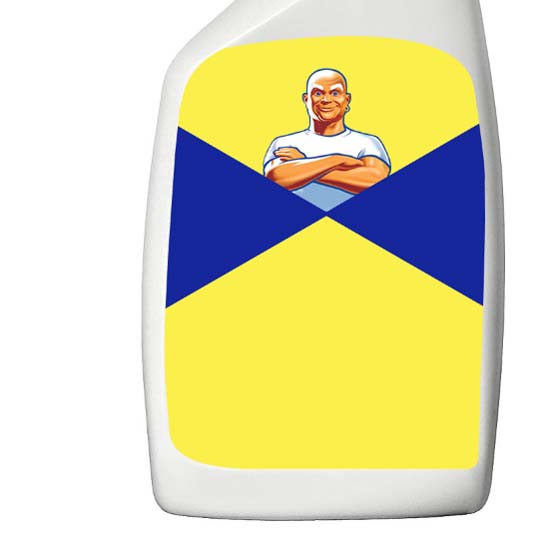 Duplicate Mr. Clean logo, move duplicated layer above triangles,
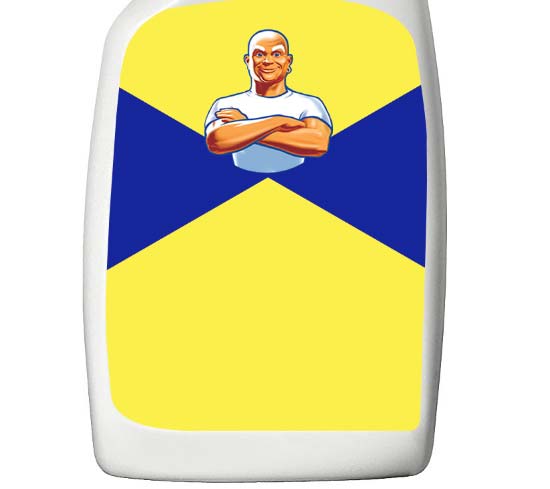 grab Pen Tool (P), draw path, then create selection and apply Layer Mask (Layer > Layer Mask > Hide Selection). Use image below as reference.
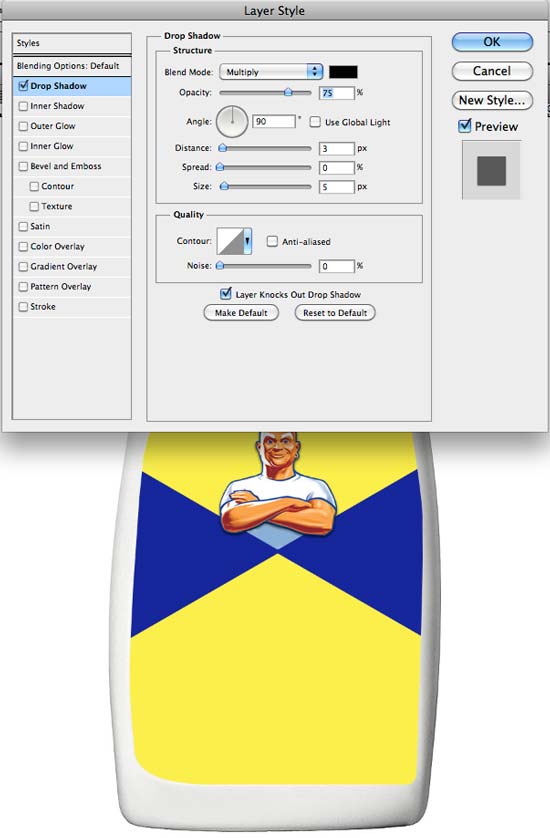
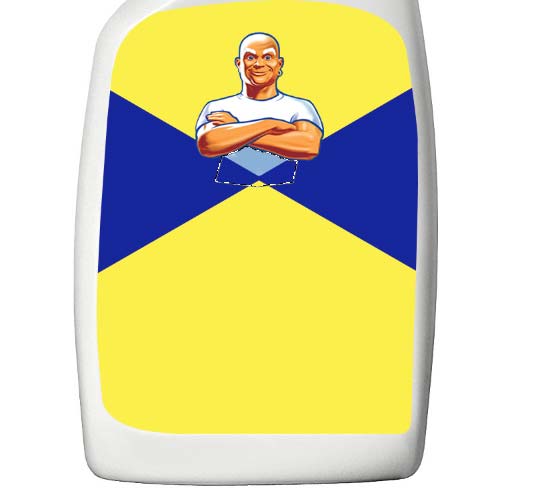 Open Layer Style and apply Drop Shadow to this layer.
 Let's add some text.
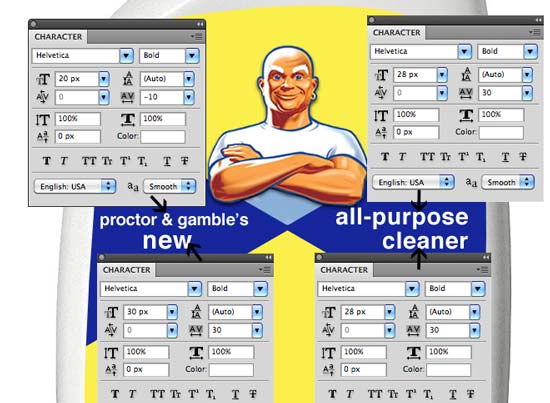
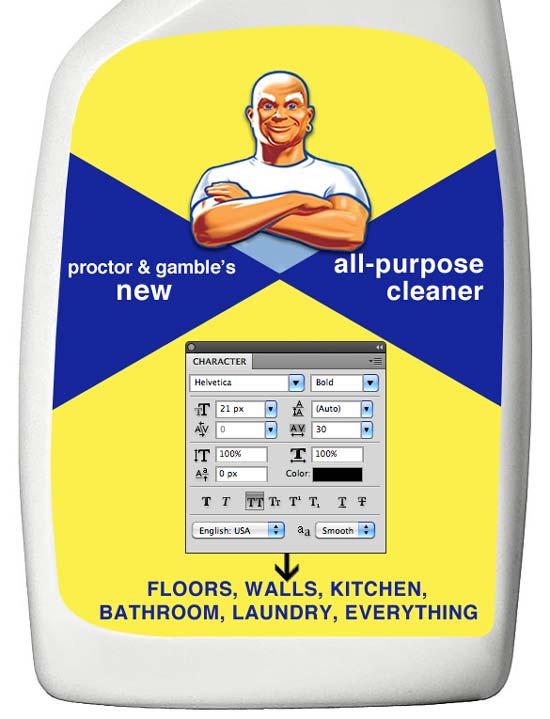
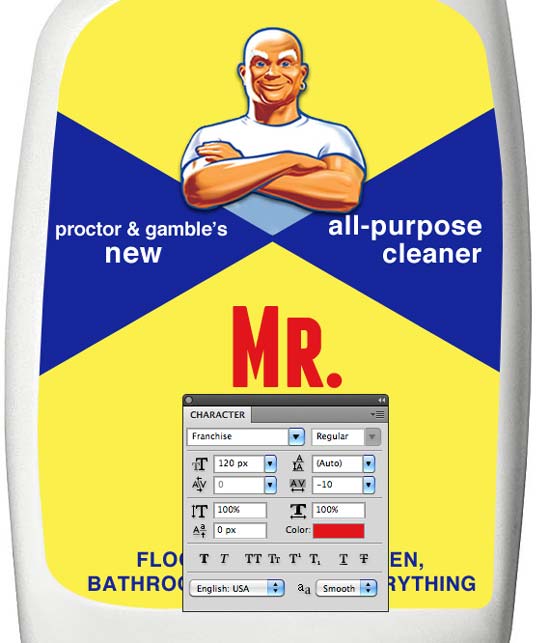
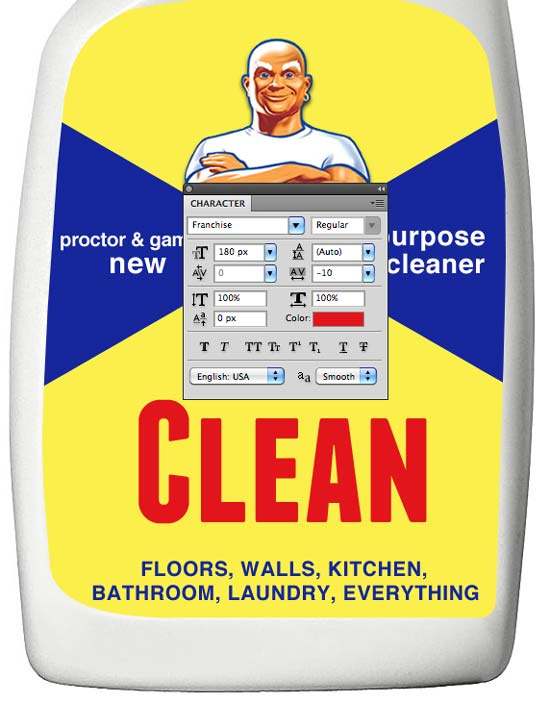 Next, Cmd/Ctrl + click on "Clean" layer to create selection around text, go to Select > Modify > Expand and expand selection by 4px. Create new layer below word "Clean" and fill it with white color.
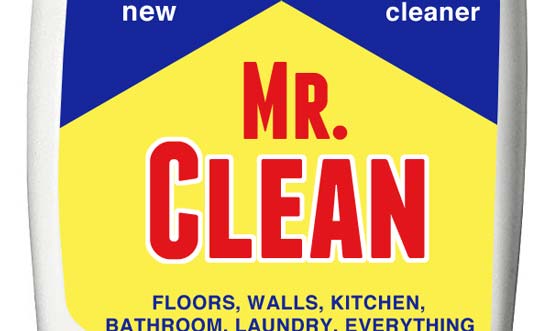 Open Layer Style and apply Bevel and Emboss and Stroke.
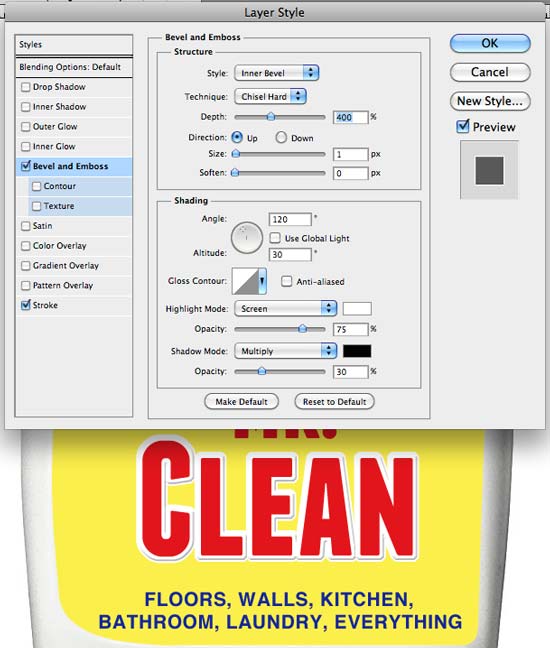
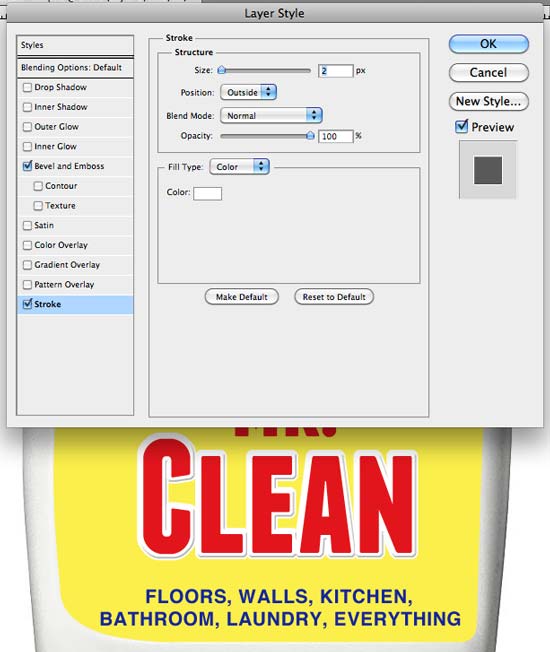 Do the same for the word "Mr.".
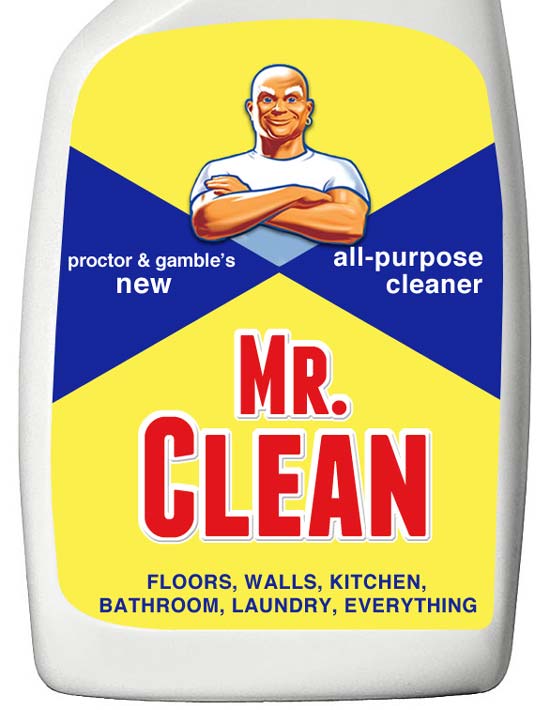
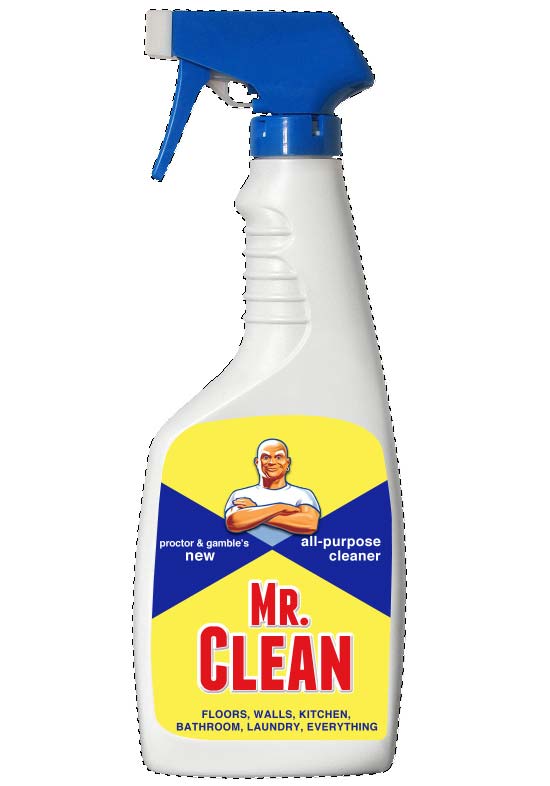 and insert into our main canvas, scale it down (make it smaller), rotate and place it like on the picture below.
 Cmd/Ctrl + click on vaporizer thumbnail to create selection around it, create new layer below vaporizer layer and fill it with black. Name this layer "vaporizer shadow". Clear the selection (Cmd/Ctrl + D). Move the "vaporizer shadow" layer to the left a bit,
 then give this layer 5px Gaussian Blur.
 Create selection around red rounded rectangle (Cmd/Ctrl + click on red rounded rectangle layer thumbnail), select "vaporizer shadow" layer and apply Layer Mask (Layer > Layer Mask > Reveal Selection).
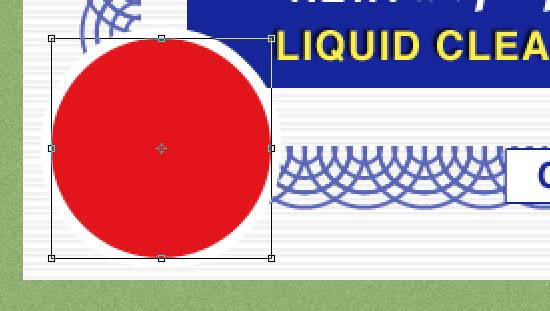
 Duplicate this layer and scale it down using Free Transform Tool (Cmd/Ctrl + T). Open Layer Style window and apply Color Overlay. For the color use #e2151c.
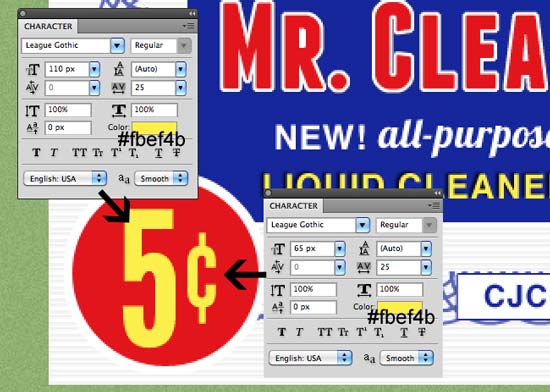
 Finally add text.
 Create another one, using the same method, in the upper right corner.
 And add some more text.
 Cmd/Ctrl + click on "coupon" group layer mask thumbnail, Edit > Copy Merged and then Edit > Paste to paste resulting layer on top of all layers. Apply Noise Filter to this layer.
 Set the Blend Mode to Muliply and Opacity to 60%.
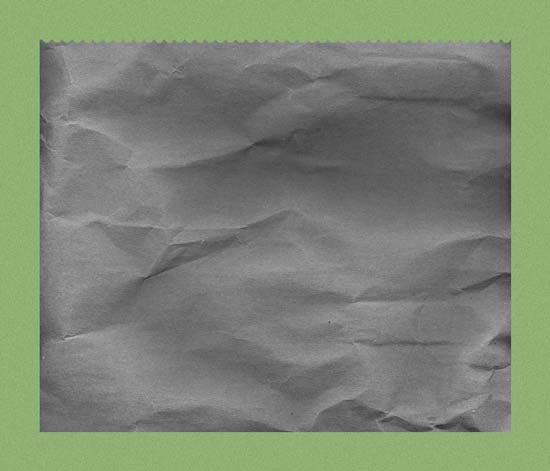 adjust Brightness and Contrats (Image > Adjustments > Brigtness/Contrast)
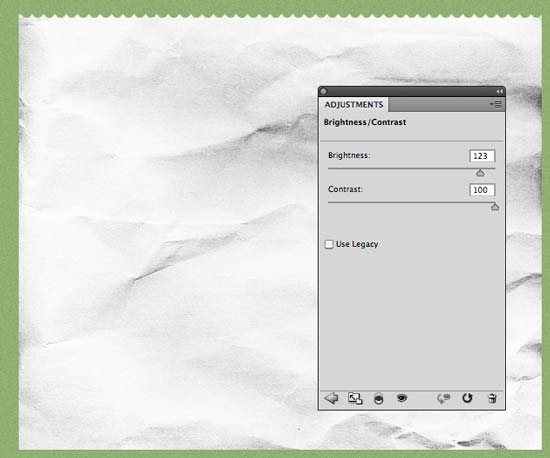 and set the Blend Mode to Multiply and lower the Opacity to 50%.
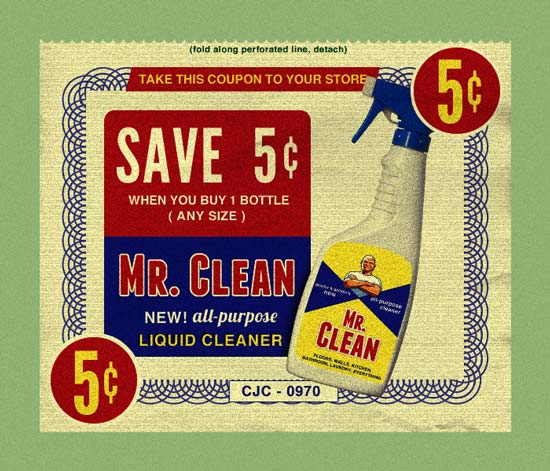 Download Film Texture and open it in Photoshop. Place it into our design.
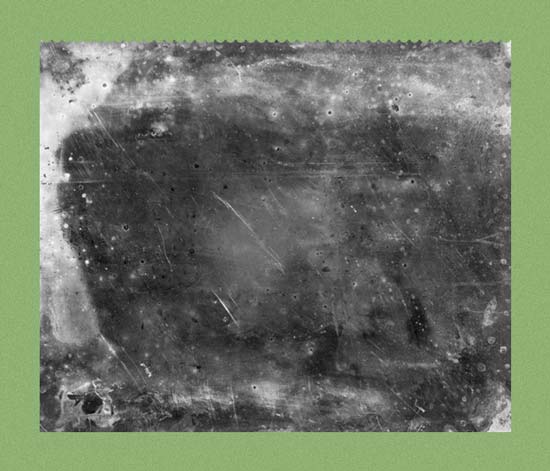 Change the Blend Mode to Soft Light and Opacity to 50%.

 then create new layer below "coupon" group and fill it with black color. Hide "coupon" group to see this layer.
 Give this layer Gaussain Blur with 1.1px Radius and set Opacity to 40%.
 Next duplicate this layer, apply Gaussian Blur with 3px Radius and lower the Opacity of this layer to 30%,
 and finally unhide "coupon" group.
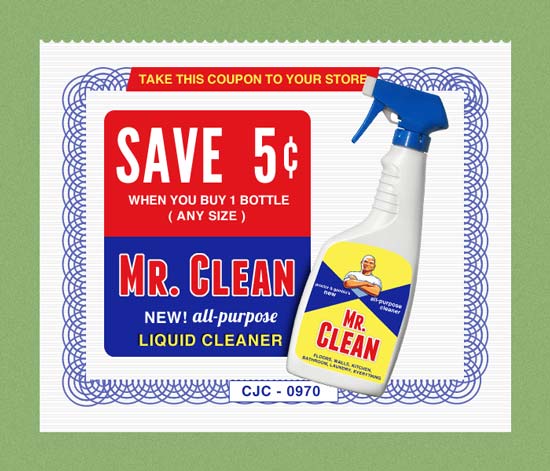
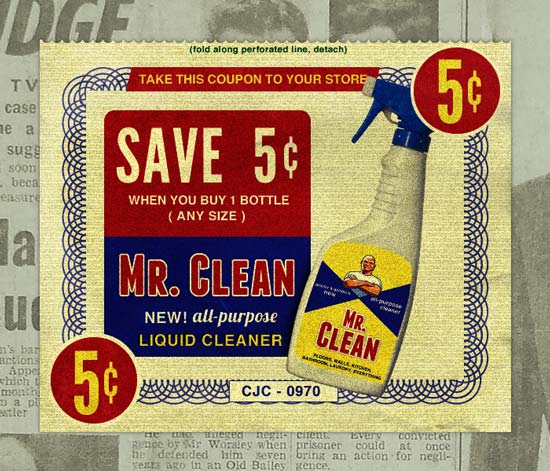
 We can change the background to get more interesting result like the one below.
 I hope you enjoyed this tutorial. Thanks for reading!
Preview

Step 1
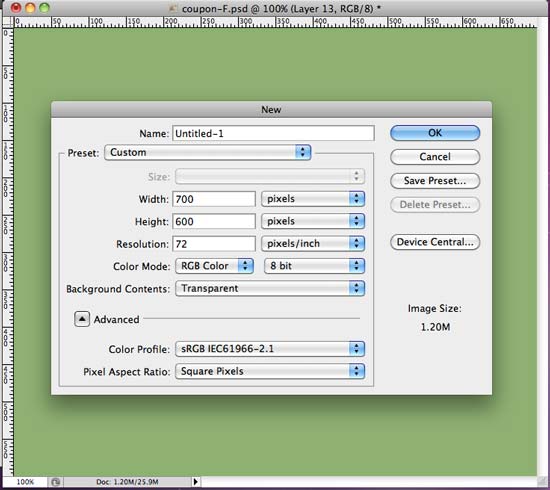
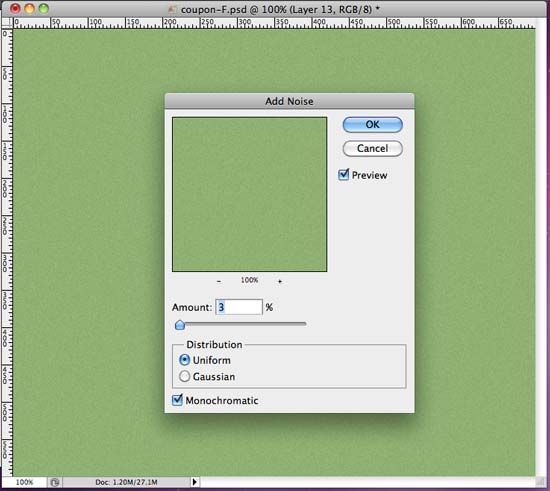
Fire up Photoshop and create new document (File > New) sized at 700x600px. Fill the background with #8eb072 color and add some noise.

Step 2
With Rectangle Marquee Tool (M) create coupon body and fill it white color. Our next step is to create edge cutouts. Zoom in on your coupon, grab the Elliptical Marquee Tool (M) and create a circular selection - hold Shift to create a perfect circle - place it close to the left edge and hit Delete key.

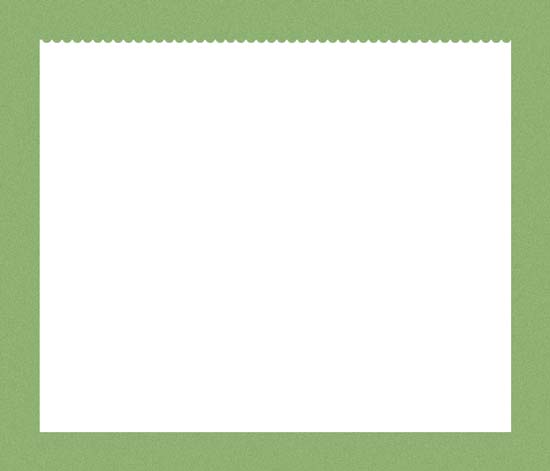
 With the Elliptical Marquee Tool (M) still selected, move selection using arrow keys to create distance from the first hole then hit Delete key again. Repeat this for the length of the coupon.

Step 3
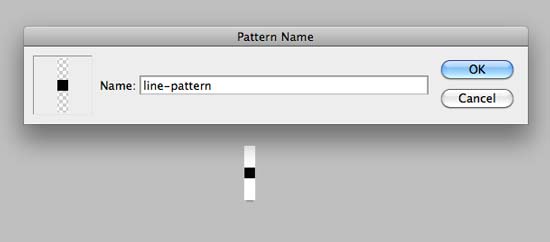
Next, we'll create pattern and then apply to coupon body. Create new document using 1 pixel for the width and 5 pixels for the height, with transparent background. Using Rectangle Tool (U) draw small rectangle and fill it with black color. Go to Edit > Define Pattern. Name the new pattern the way you want it. Back to our design, open the Layer Style dialog window by double-clicking on the coupon body layer. Add Pattern Overlay effect using the pattern we created.

Step 4
Create a new layer group (Layer > New > Group), name it "coupon" and drag coupon body layer into this group. Cmd/Ctrl + click on coupon body layer thumbnail to make selection, then select "coupon" group layer and apply layer mask (Layer > Layer Mask > Reveal Selection).Step 5
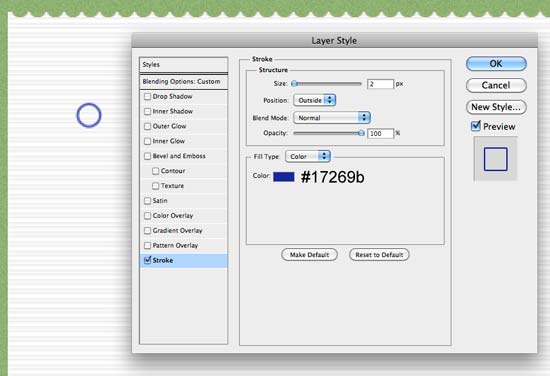
Grab Ellipse Tool (U) and draw small circle above coupon body layer, like on the picture below. Apply 2px stroke from Layer Style dialog window and set fill to 0%. Duplicate this layer (Cmd/Ctrl + J), then using Free Transform Tool (Cmd/Ctrl + T) make duplicated layer a bit bigger.
 Repeat this 3 more times.
 Select all circle layers and group them in one group, then duplicate this group, and move it a bit down. Use image below as a reference.
 Repeat this for the height of the coupon, then continue bottom, other side and top until your entire coupon has the same edge detail.
 Select all those groups and group them in one group. Name this big group "edge". Lover the opacity of this group to 70%. With Rectangular Marquee Tool (M), create slection
 and apply layer mask to "edge" group (Layer > Layer Mask > Hide Selection).

Step 6
With Rounded Rectangle Tool (U) draw rectangle (set Radius to 15px) and set the color to #e2151c. Duplicate rectangle (Cmd/Ctrl + J), change the color to #17269b,
 then pick up Rectangular Marquee Tool (M) and draw slection,
 and go to Layer > Layer Mask > Reveal Selection.

Step 7
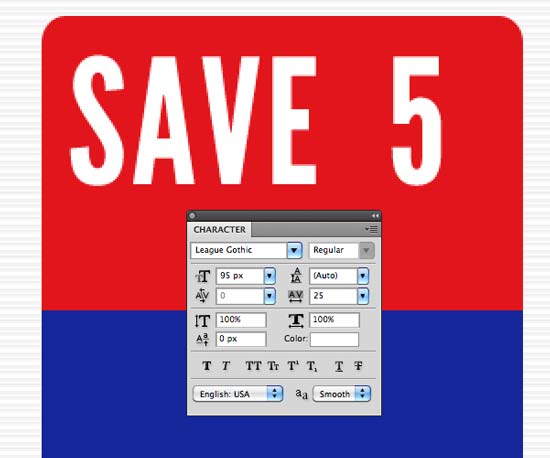
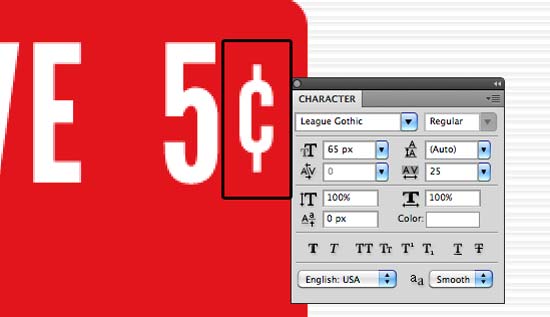
It's time to add some text to our coupon. For the font choose League Gothic font.
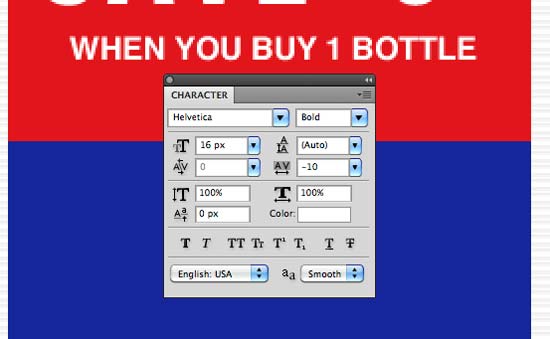
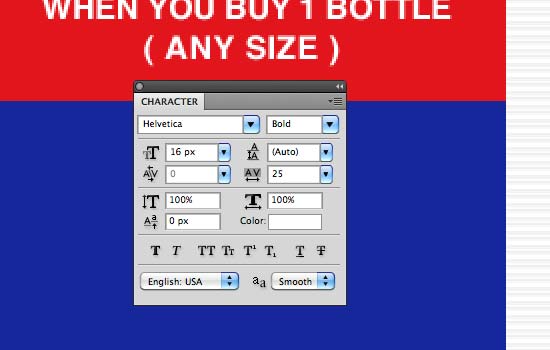
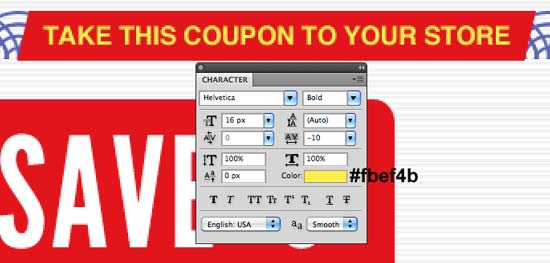
 Change font to Helvetica and add more text.

 Download and install Franchise Bold font and add "Mr. Clean" using this font.
 Cmd/Ctrl + click on "Mr. Clean" layer thumbnail to create selection around text, then go to Select > Modify > Expand and expand selection by 2px.
 Create new layer below "Mr. Clean" layer and fill the selection with white color.
 Using Helvetica for the font type "NEW!".
 Let's add another line of text but this time we will use Lobster font.
 For the last line of text we will use Helvetica font again.
 Apply Drop Shadow to this line of text.


Step 8
Draw red (#e2151c) rectangle with Rectangle Tool (U), then go to Edit > Transform Path > Skew and modify rectangle a bit and add text.
 Draw another rectangle, but this time white,
 add 1px stroke,
 and type coupon number.
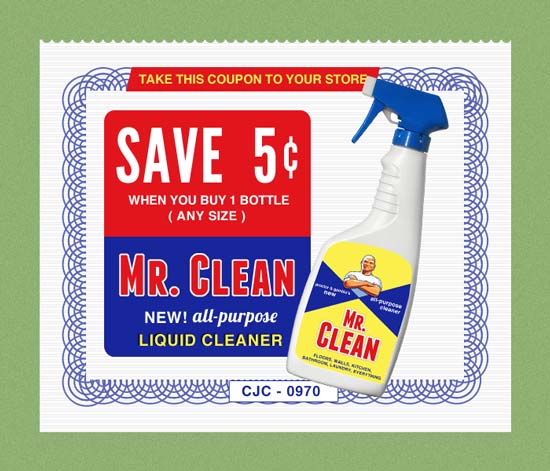
 Here's what we have so far.

Step 9
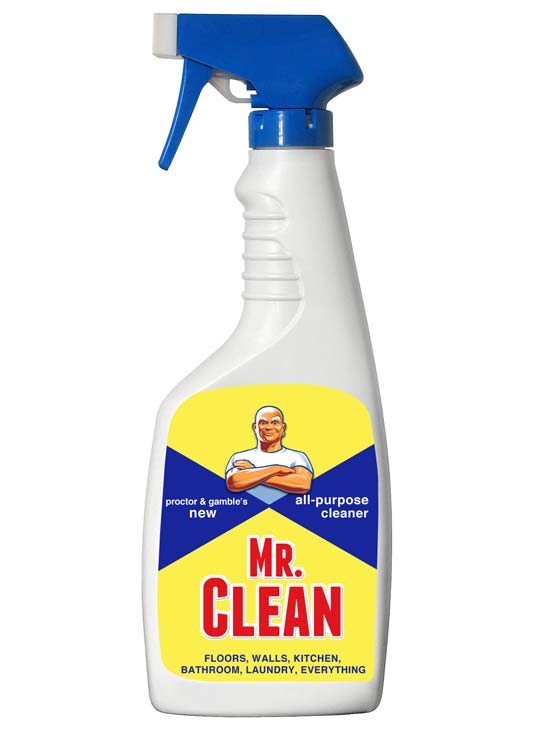
Download and open in Photoshop Stock photo: vaporizer. Now let's grab the Pen Tool (P) and create a Path to define the label. Instead of using this path as a mask for a single layer, we're going to use it as a mask for an entire group. Create a new layer called background and fill the layer with #fbef4b color. With the new layer selected press Cmd/Ctrl + G to put it into it's own group.
Select it, Cmd/Ctrl + click on the path to create slection, then go to Layer > Layer Mask > Reveal Selection to apply Layer Mask.
 Using Custom Shape Tool (U) create 2 blue (#17269b) triangles and place it like on the picture below.
 Grab Mr. Clean logo, cut out from the background using Pen Tool (P) and import to our design, and position below triangles.
 Duplicate Mr. Clean logo, move duplicated layer above triangles,
 grab Pen Tool (P), draw path, then create selection and apply Layer Mask (Layer > Layer Mask > Hide Selection). Use image below as reference.
 Open Layer Style and apply Drop Shadow to this layer.
 Let's add some text.


 Next, Cmd/Ctrl + click on "Clean" layer to create selection around text, go to Select > Modify > Expand and expand selection by 4px. Create new layer below word "Clean" and fill it with white color.
 Open Layer Style and apply Bevel and Emboss and Stroke.

 Do the same for the word "Mr.".


Step 10
Clip out vaporizer from its background using Pen Tool (P), and insert into our main canvas, scale it down (make it smaller), rotate and place it like on the picture below.
 Cmd/Ctrl + click on vaporizer thumbnail to create selection around it, create new layer below vaporizer layer and fill it with black. Name this layer "vaporizer shadow". Clear the selection (Cmd/Ctrl + D). Move the "vaporizer shadow" layer to the left a bit,
 then give this layer 5px Gaussian Blur.
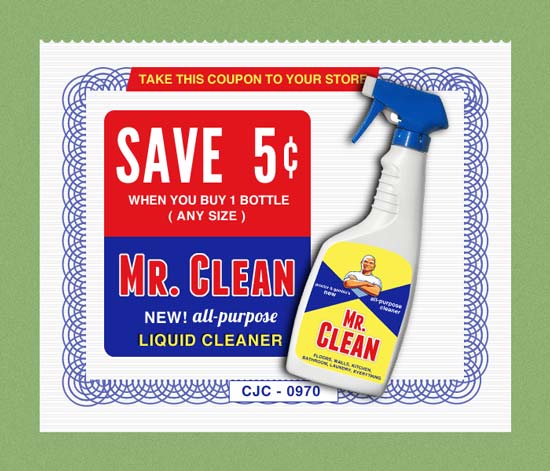
 Create selection around red rounded rectangle (Cmd/Ctrl + click on red rounded rectangle layer thumbnail), select "vaporizer shadow" layer and apply Layer Mask (Layer > Layer Mask > Reveal Selection).

Step 11
Draw circle using Elliptical Marquee Tool (M), create new layer on top, and fill selection with white color. Duplicate this layer and scale it down using Free Transform Tool (Cmd/Ctrl + T). Open Layer Style window and apply Color Overlay. For the color use #e2151c.
 Finally add text.
 Create another one, using the same method, in the upper right corner.
 And add some more text.


Step 12
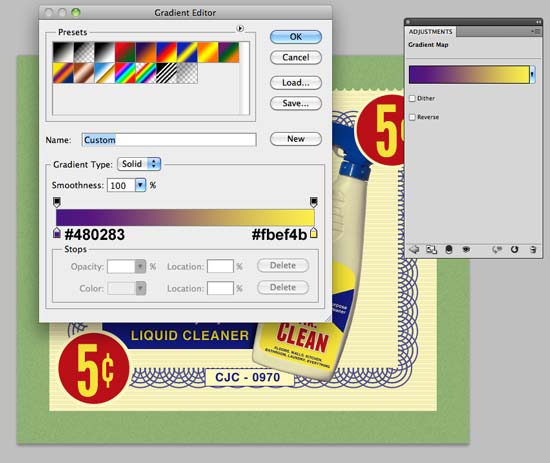
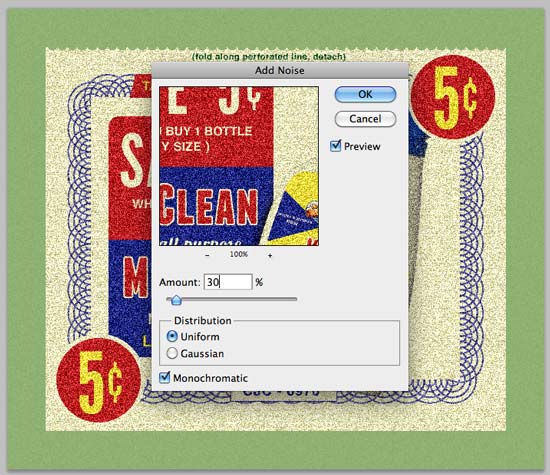
Go to Layer > New Adjustment Layer > Gradient Map to add an adjustment layer above all the other layers. Set a gradient going from #480283 to #fbef4b, set the Blend Mode to Multiply and then lower Opacity of adjustment layer to 35%. Cmd/Ctrl + click on "coupon" group layer mask thumbnail, Edit > Copy Merged and then Edit > Paste to paste resulting layer on top of all layers. Apply Noise Filter to this layer.
 Set the Blend Mode to Muliply and Opacity to 60%.

Step 13
Import Paper11 texture, from wegraphics free 12 high-res paper textures pack, into main canvas, scale it down, desaturate (Image > Adjustments > Desaturate) adjust Brightness and Contrats (Image > Adjustments > Brigtness/Contrast)
 and set the Blend Mode to Multiply and lower the Opacity to 50%.
 Download Film Texture and open it in Photoshop. Place it into our design.
 Change the Blend Mode to Soft Light and Opacity to 50%.

Step 14
We are almost the there. It's time for the final detail - we need to create shadow below the coupon. First, Cmd/Ctrl + click on "coupon" group layer thumbnail mask, to create selection around coupon, then create new layer below "coupon" group and fill it with black color. Hide "coupon" group to see this layer.
 Give this layer Gaussain Blur with 1.1px Radius and set Opacity to 40%.
 Next duplicate this layer, apply Gaussian Blur with 3px Radius and lower the Opacity of this layer to 30%,
 and finally unhide "coupon" group.
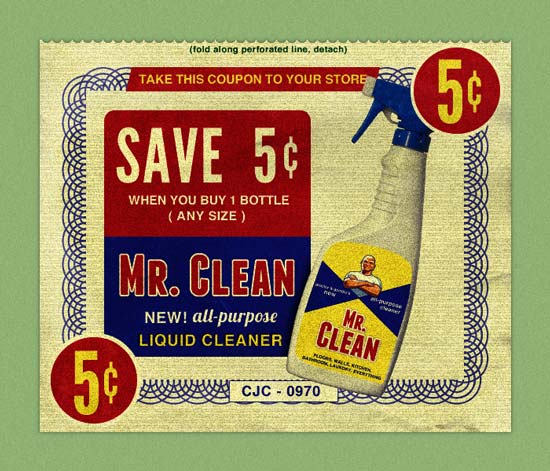
Final Result
 We can change the background to get more interesting result like the one below.
 I hope you enjoyed this tutorial. Thanks for reading!